73T - Rear Polybronze Install / Sway-a-Way Spring Plates
Posted: Thu Jul 02, 2009 3:59 pm
Rather than add this information in to the existing thread I have for the reassembly of my rear suspension, I thought I would separate it out here, although I do understand it has been done many times before, but I wanted to document my progress. As always, if you see anything wrong here, please do say.
This is part one, as the JB Weld is now hardening, so the actual assembly will be early next week as I am now off to the Goodwood Festival of Speed.
Firstly, the instructions received from Chuck Moreland with the bushings are excellent, and if you follow those, you should have no problems.
I spent as I always do far too long mulling over the instructions, test fitting pieces, measuring and generally assuring myself that I was ready to start and had what I needed to hand.
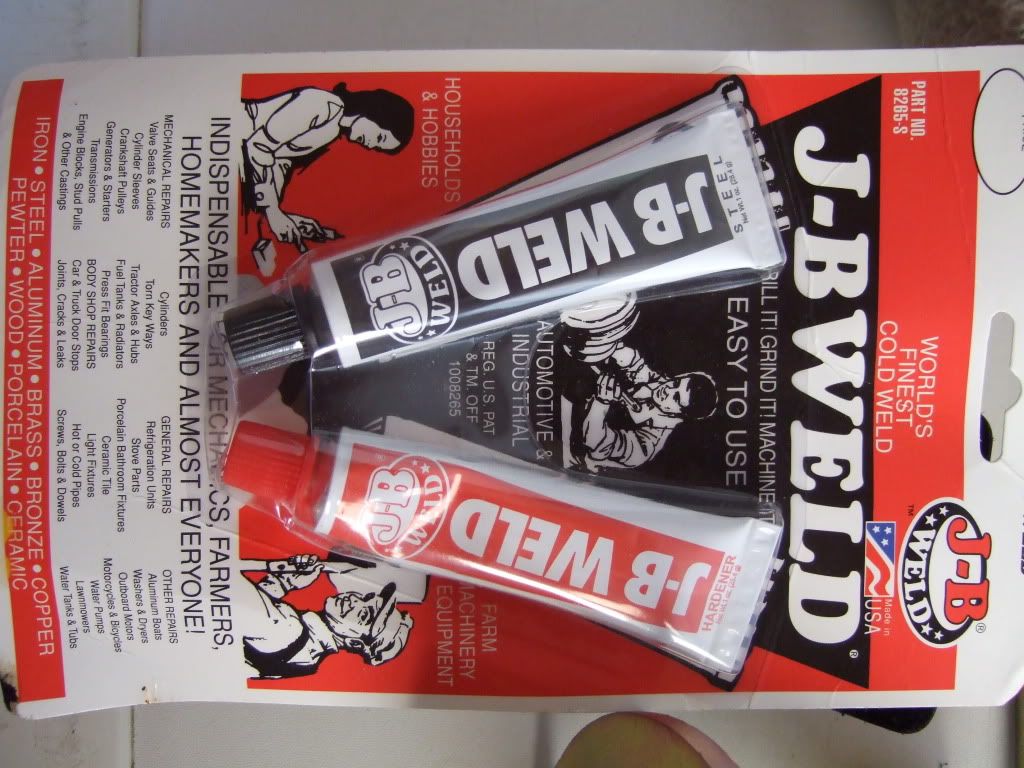
I had purchased the JB Weld on Ebay, and it proved to be easy to work with, so no concerns there.
First thing to do was to identify the inner and outer bearings, clearly marked with an 'I' and an 'O'.
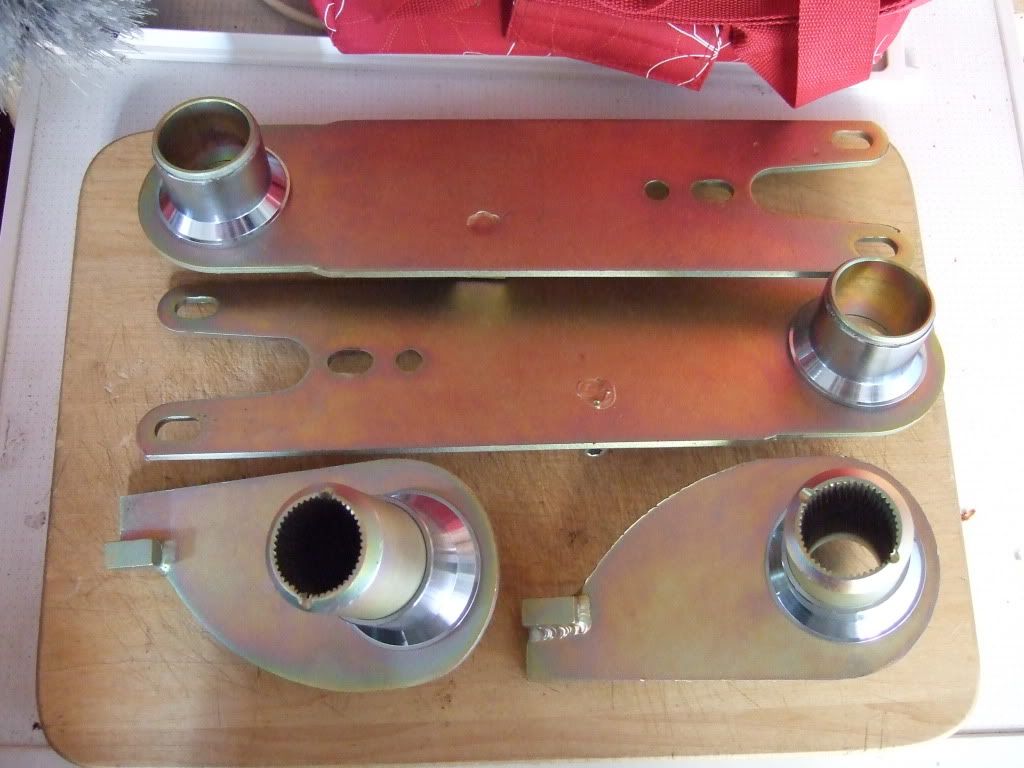
Then separate the sleeve from the bushing and trail fit - this showed up a couple of ridges that needed to be filed first before committing to the JB Weld process.
Mix equal length strips together and use a piece of wood dowel (pencil) or card to smear the mixture over the spring plate and the inside of the sleeve.
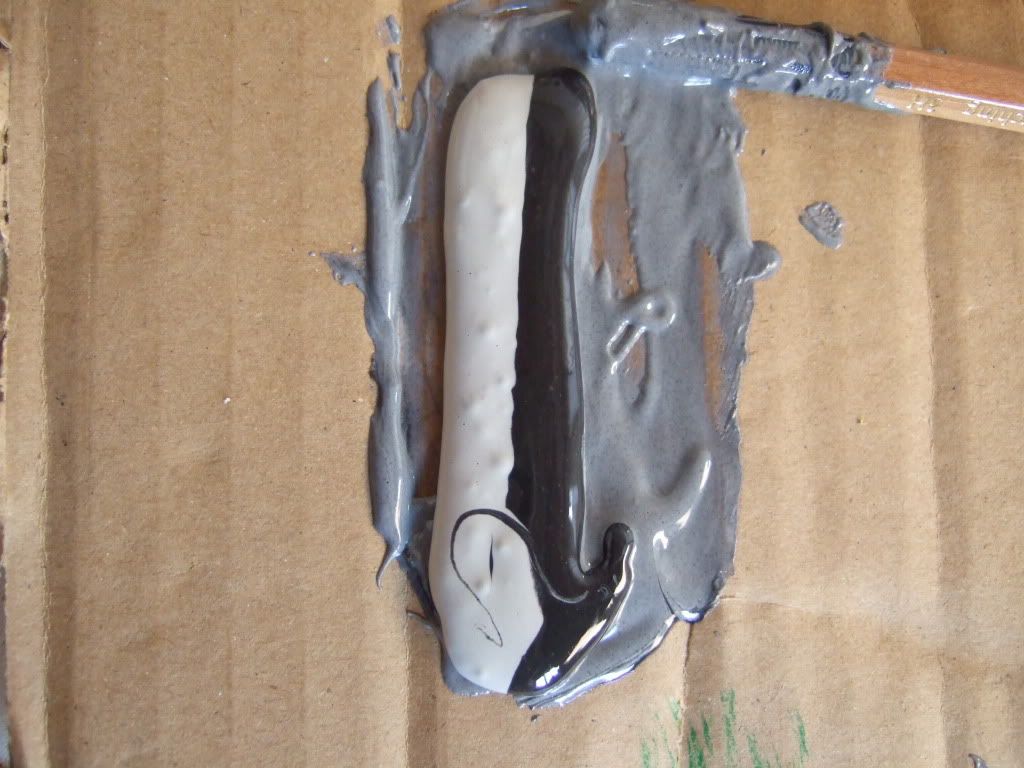
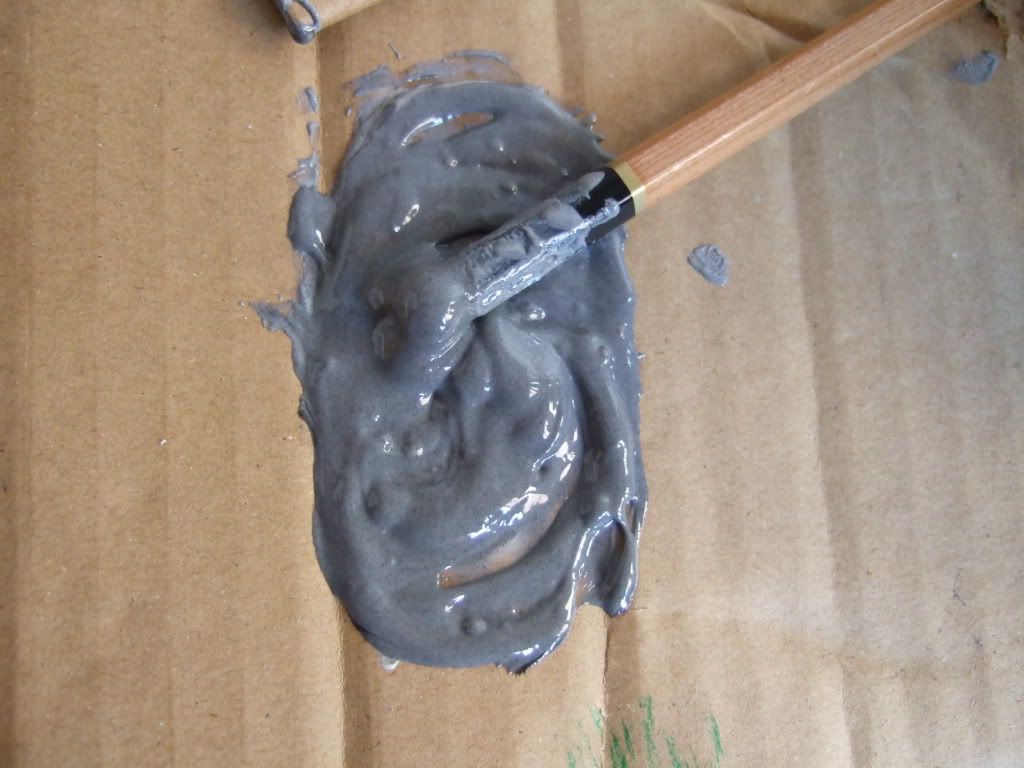
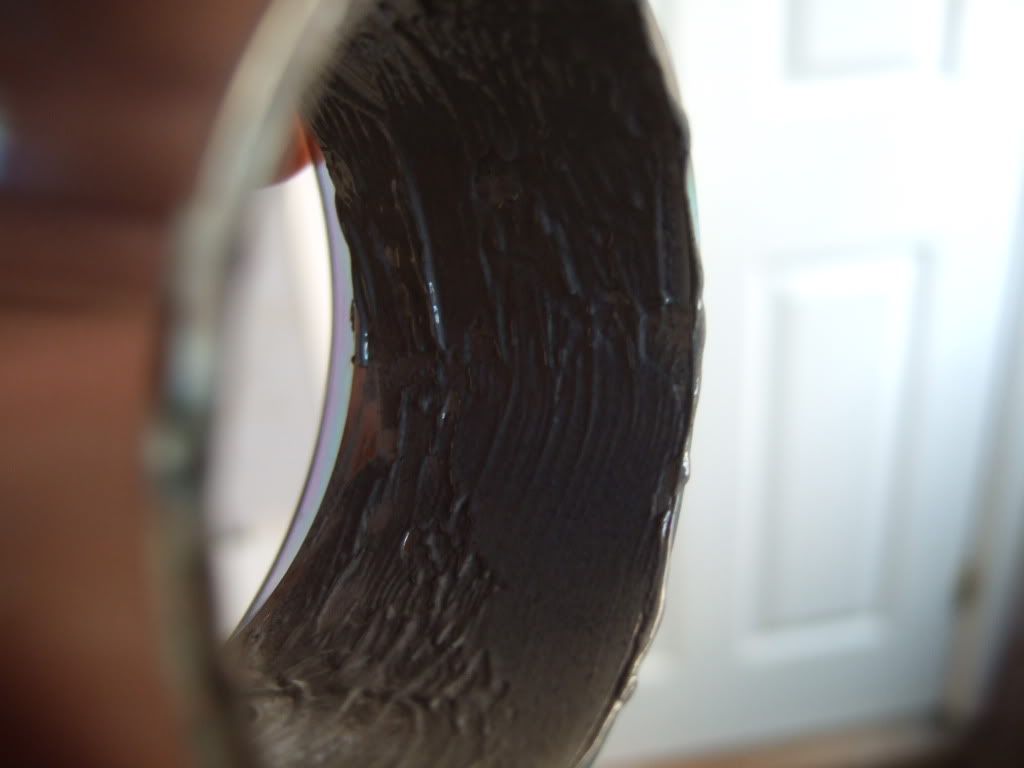
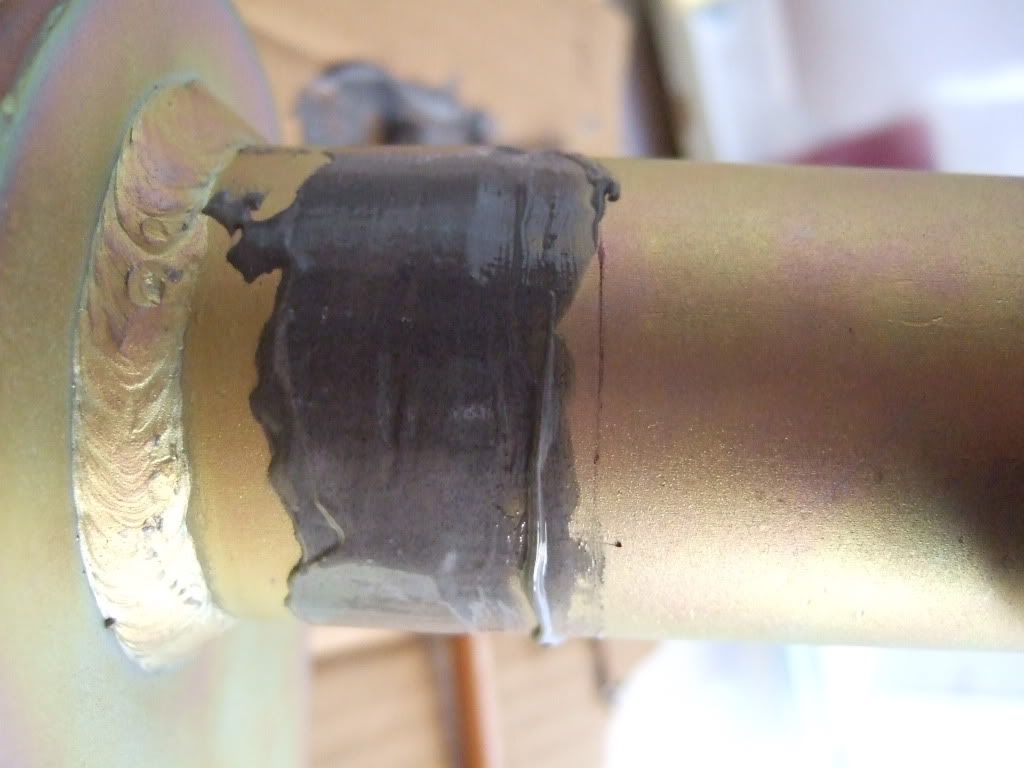
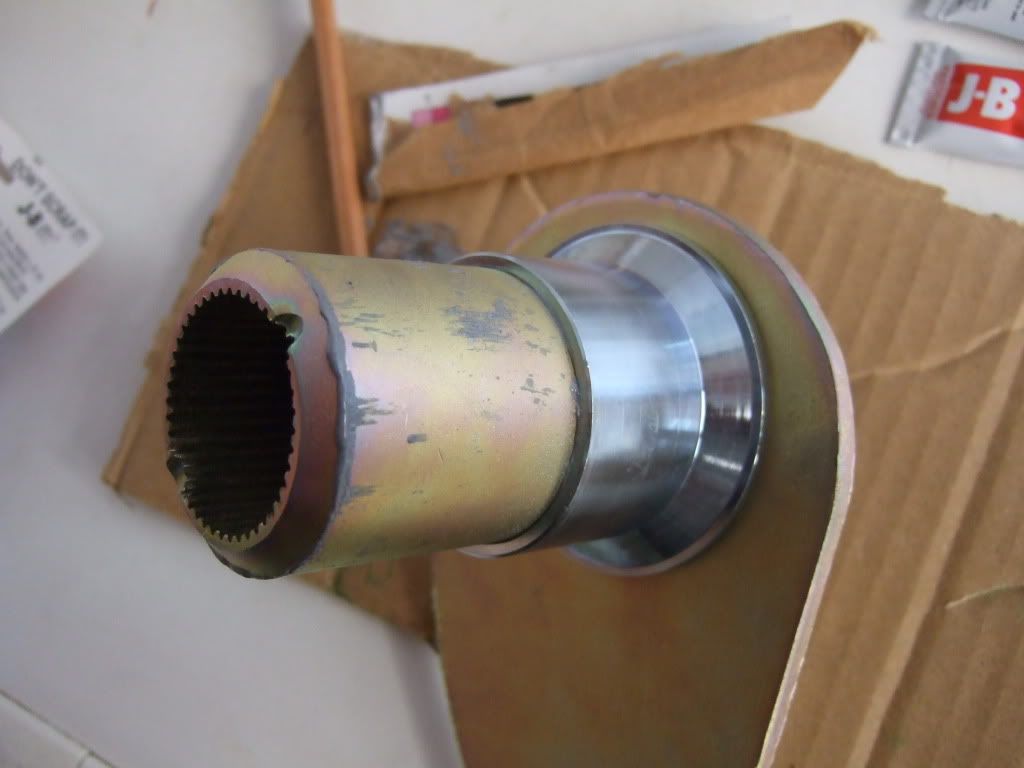
Note I drew a line around the sleeve so as not to get the mixture where I didn't want it, and made my cardboard spatula the correct thickness to avoid getting mixture where is wasn't wanted. It is also important to ensure no mixture gets on to the outside of the sleeve.
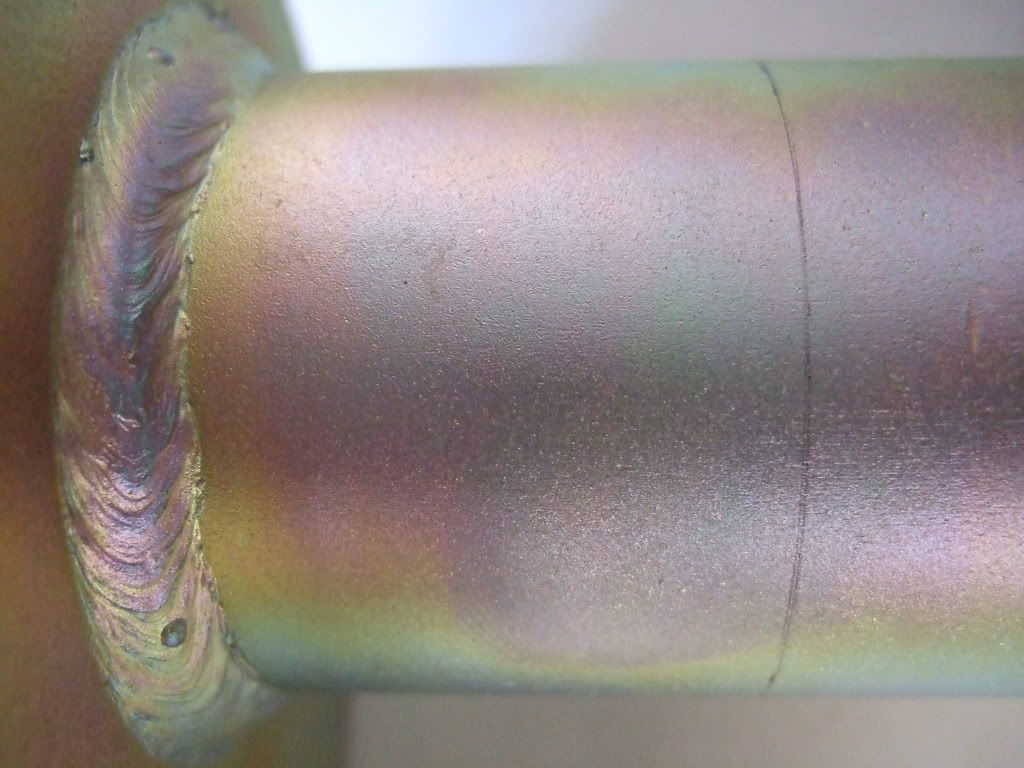
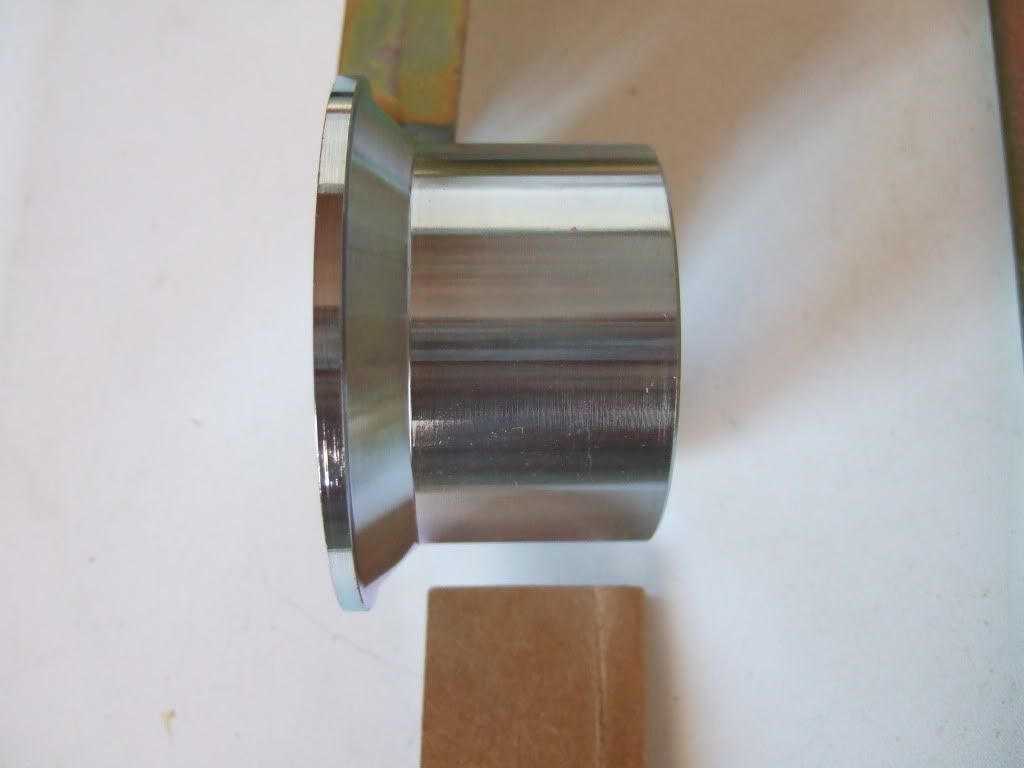
Then slip the sleeve over the spring plate (with a turning motion) and clean away any excess mixture.
Repeat for all four sleeves and set aside to dry overnight.
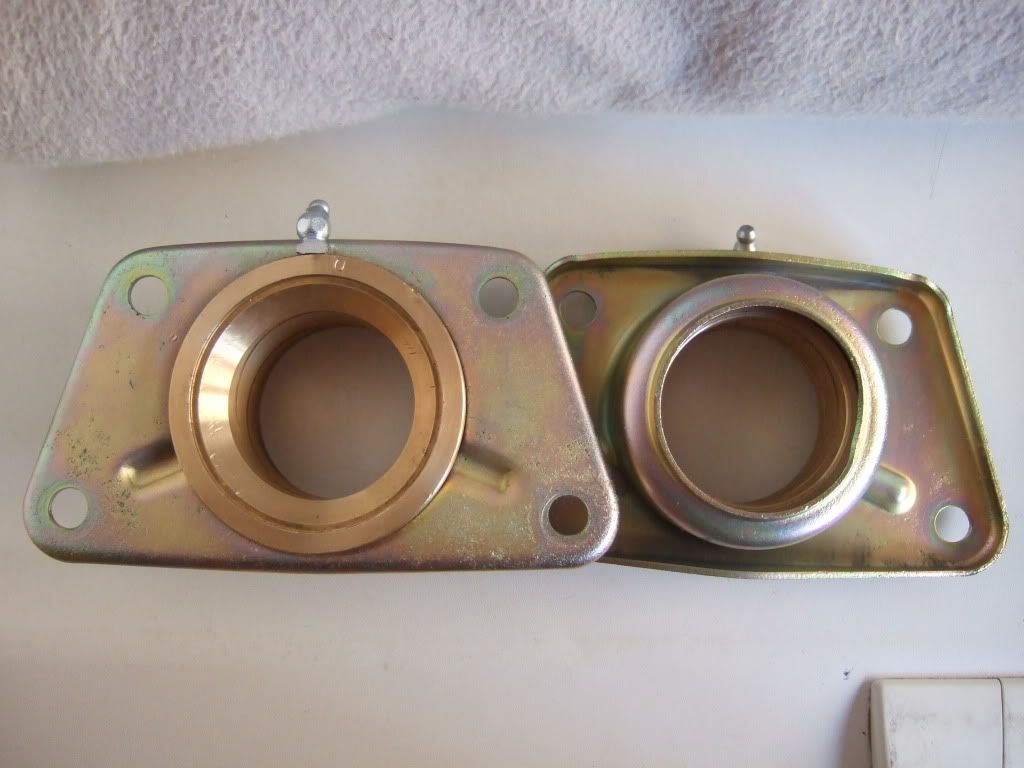
Next up is the fitting of the bushings in to the spring plate covers.
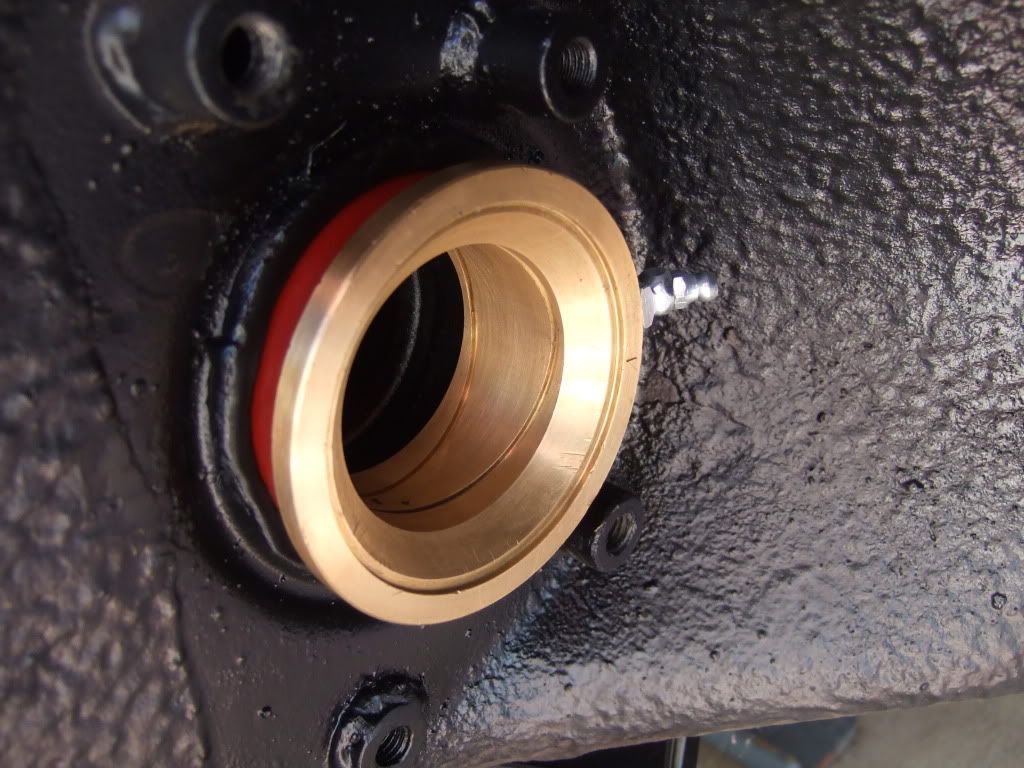
Although Chuck recommends a press with 75 - 150lbs, I found that on this very hot day, with soap and water I was able to press fit with my hands and a simple G-clamp, being careful not to damage any surfaces in doing so. Note the orientation of the grease nipple.
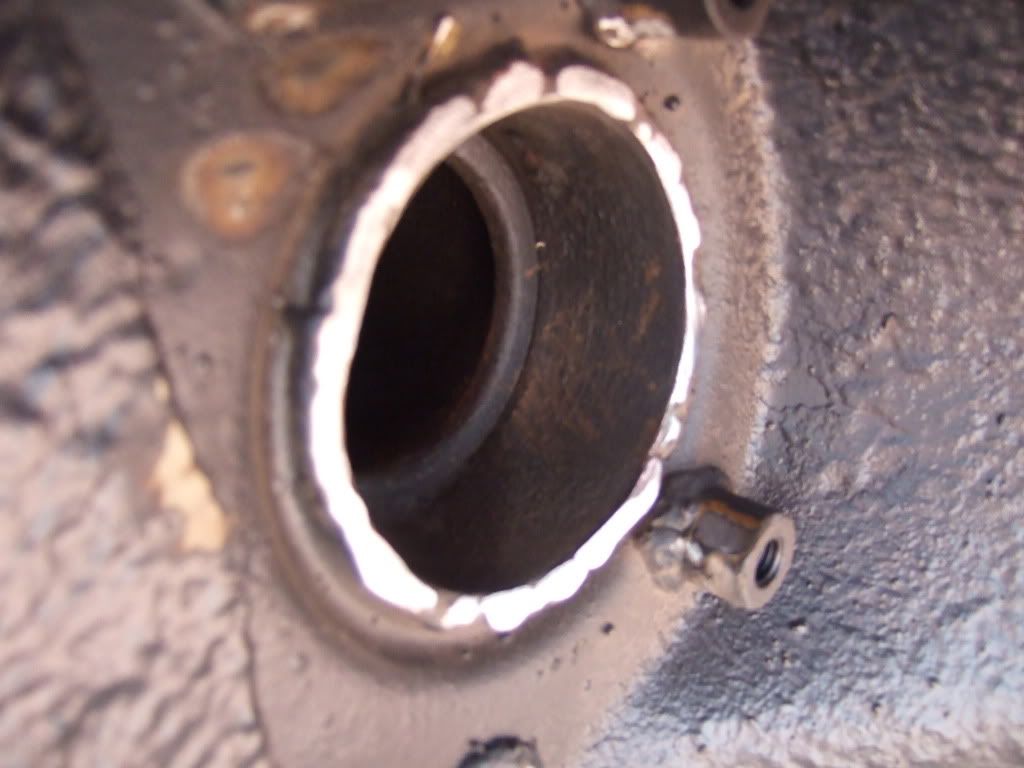
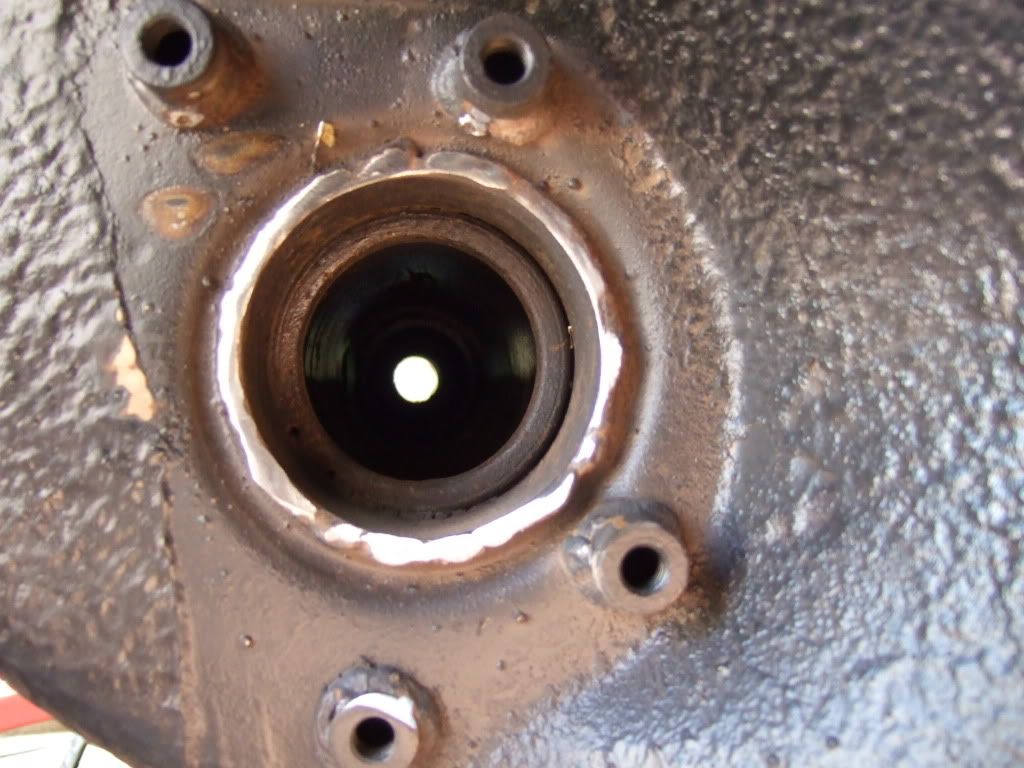
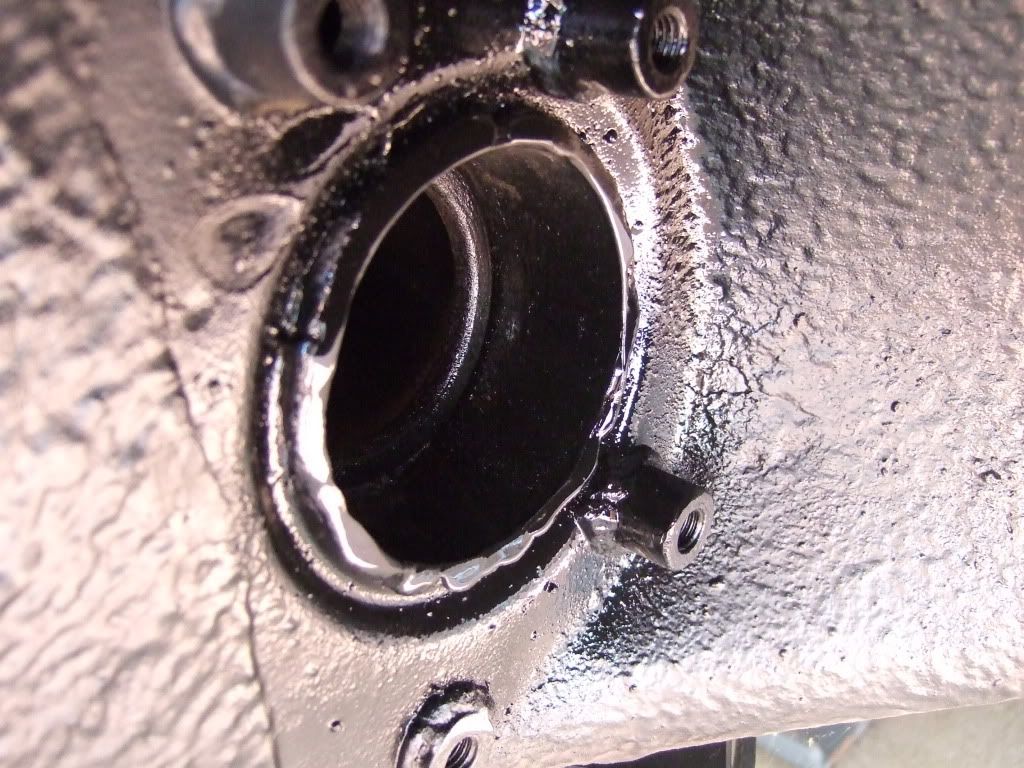
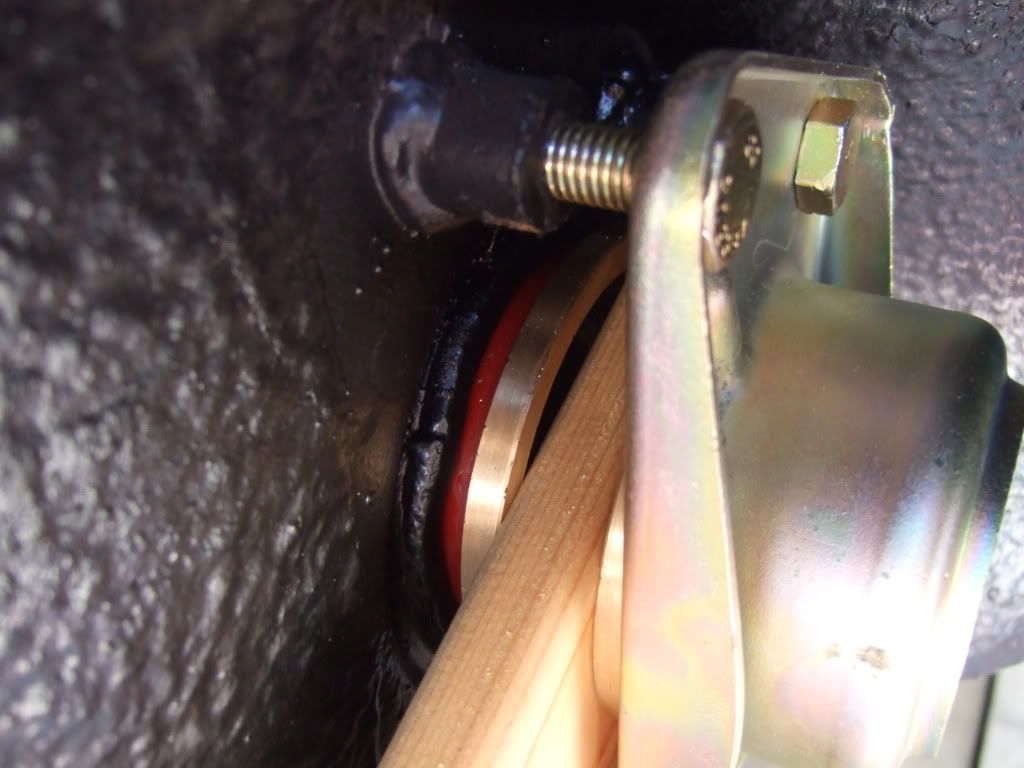
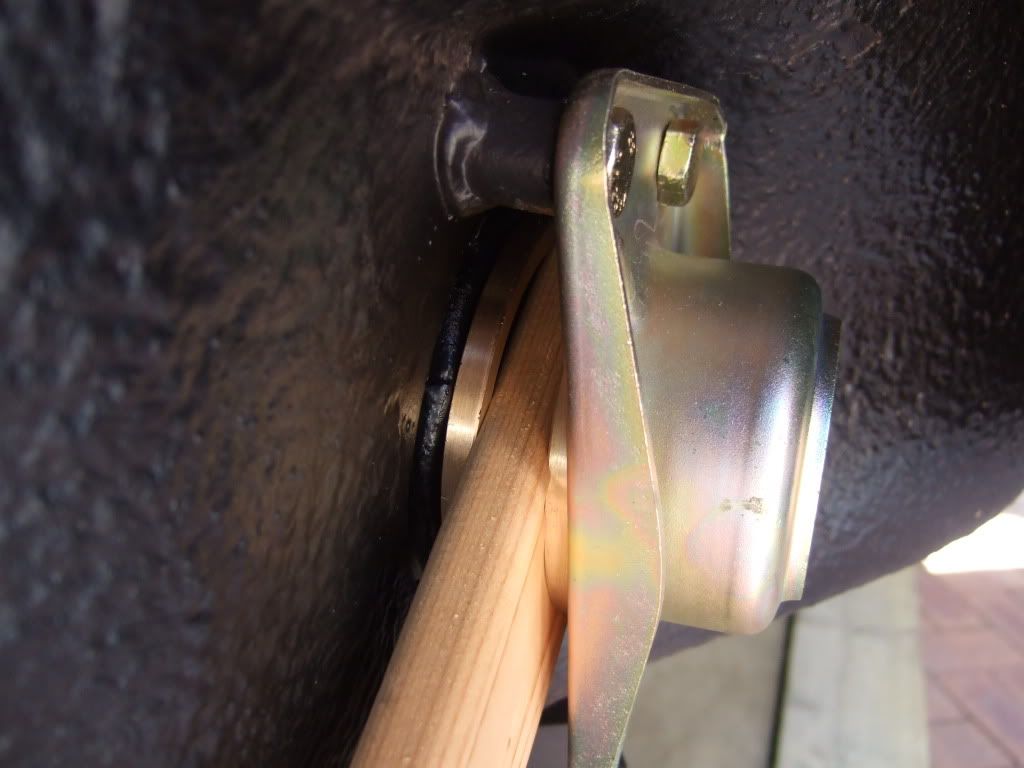
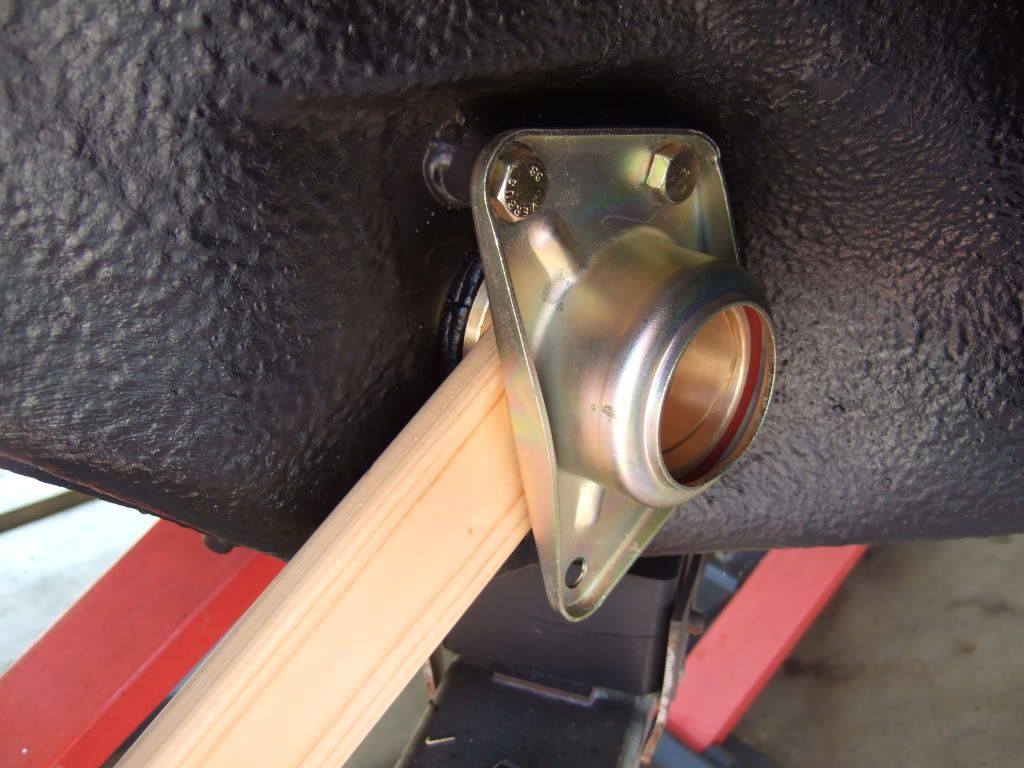
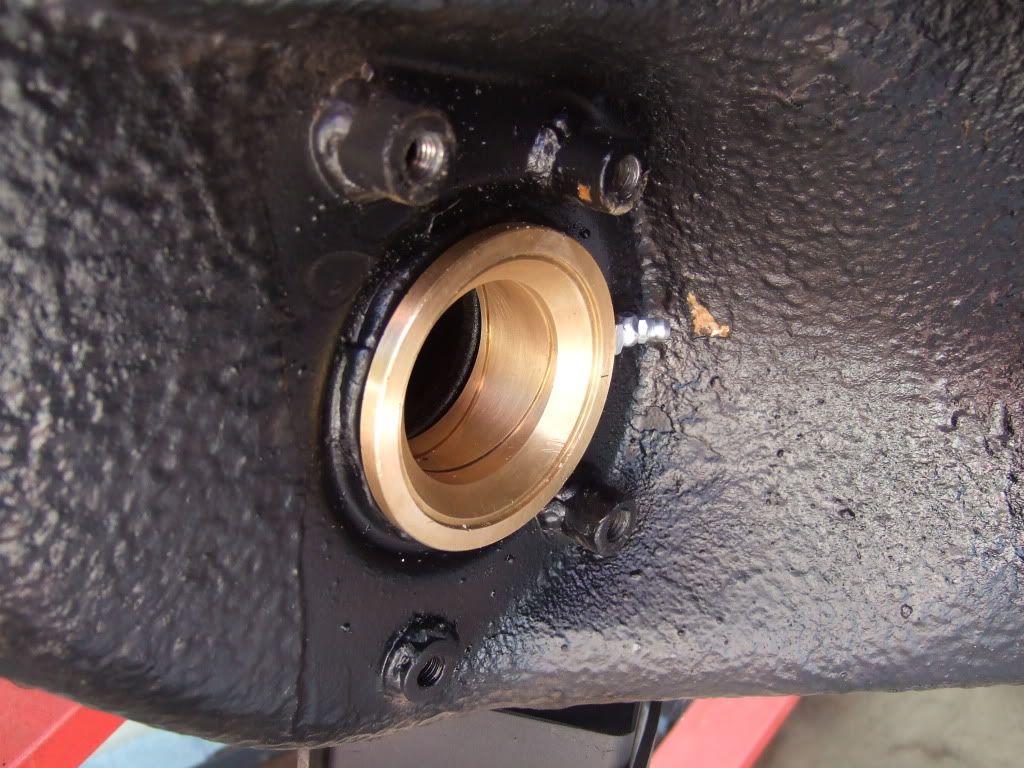
Then I moved outside to fit the bushings to the car.
Ian
This is part one, as the JB Weld is now hardening, so the actual assembly will be early next week as I am now off to the Goodwood Festival of Speed.
Firstly, the instructions received from Chuck Moreland with the bushings are excellent, and if you follow those, you should have no problems.
I spent as I always do far too long mulling over the instructions, test fitting pieces, measuring and generally assuring myself that I was ready to start and had what I needed to hand.
I had purchased the JB Weld on Ebay, and it proved to be easy to work with, so no concerns there.
First thing to do was to identify the inner and outer bearings, clearly marked with an 'I' and an 'O'.
Then separate the sleeve from the bushing and trail fit - this showed up a couple of ridges that needed to be filed first before committing to the JB Weld process.
Mix equal length strips together and use a piece of wood dowel (pencil) or card to smear the mixture over the spring plate and the inside of the sleeve.
Note I drew a line around the sleeve so as not to get the mixture where I didn't want it, and made my cardboard spatula the correct thickness to avoid getting mixture where is wasn't wanted. It is also important to ensure no mixture gets on to the outside of the sleeve.
Then slip the sleeve over the spring plate (with a turning motion) and clean away any excess mixture.
Repeat for all four sleeves and set aside to dry overnight.
Next up is the fitting of the bushings in to the spring plate covers.
Although Chuck recommends a press with 75 - 150lbs, I found that on this very hot day, with soap and water I was able to press fit with my hands and a simple G-clamp, being careful not to damage any surfaces in doing so. Note the orientation of the grease nipple.
Then I moved outside to fit the bushings to the car.
Ian


 but they are good if you review the various web forums.