Page 1 of 2
73T - Brake & Suspension Refurb Part 3 - Rear Install
Posted: Tue Jun 23, 2009 4:21 pm
by Highfield
Well after an age, I am at the point where I feel I am ready to start putting all the new and refurbished parts back under the rear arches of the car.
I have done a number of posts relating to the removal and refurbishment of various of the components, and now is the time to get them out of the garage and on to the car.
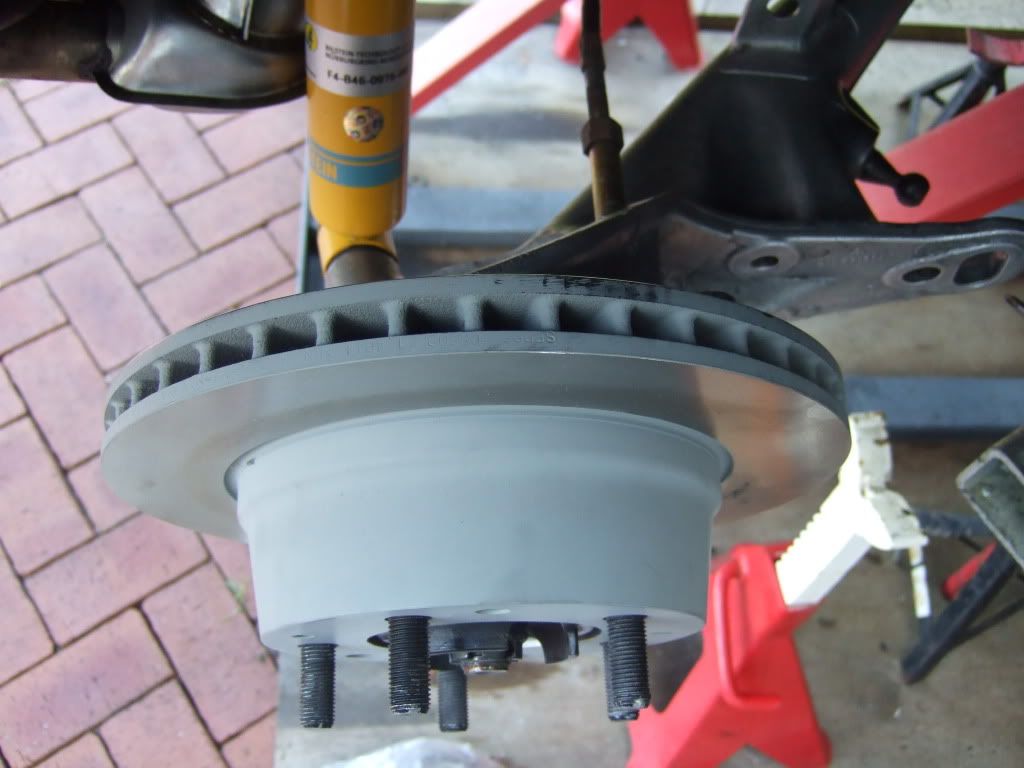
First up are the 1974 alloy banana arms, complete with new bearings, Elephant Racing Monoballs and Wevo E-Z Pins, to be followed by the new bilstein shocks.
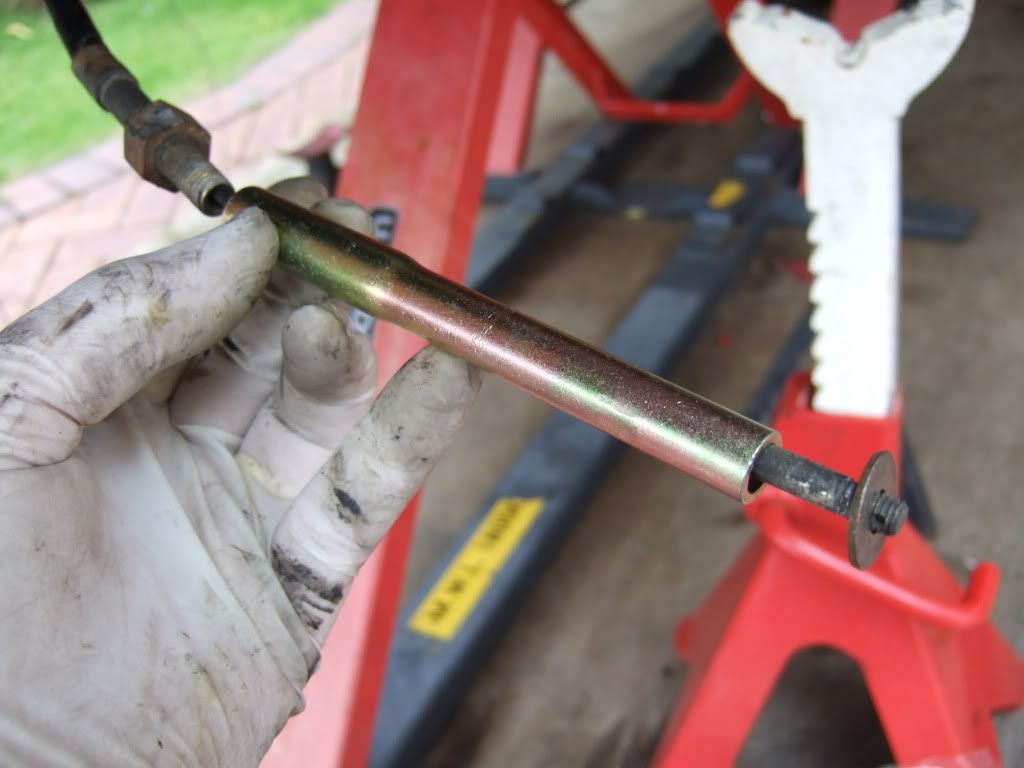
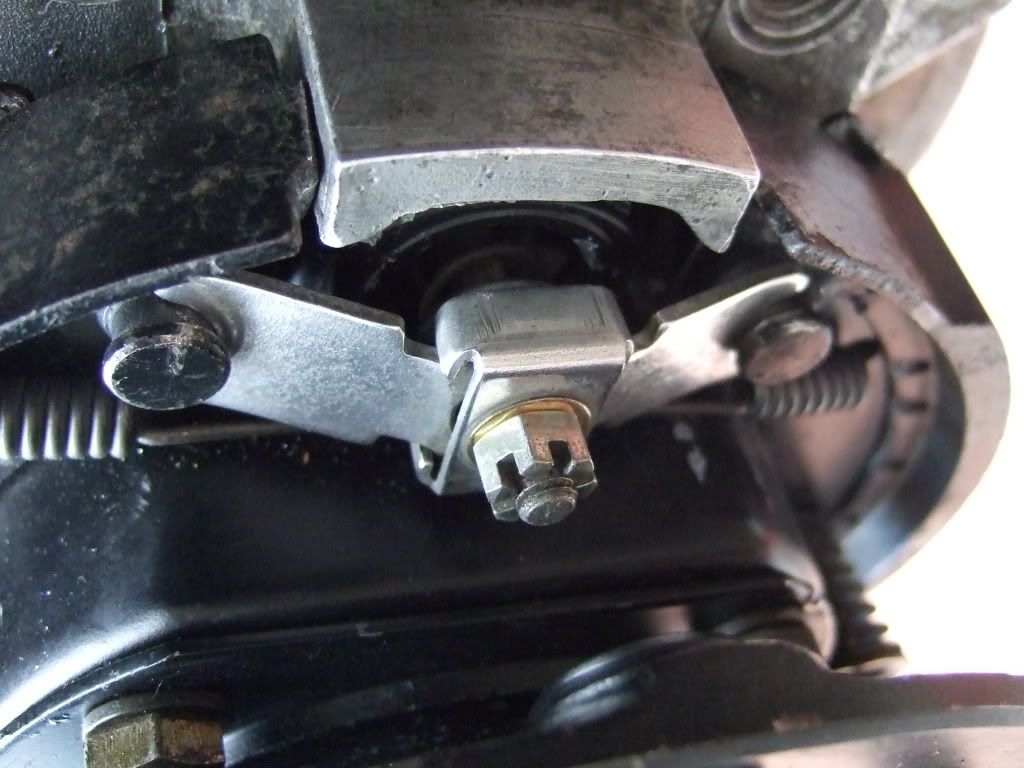
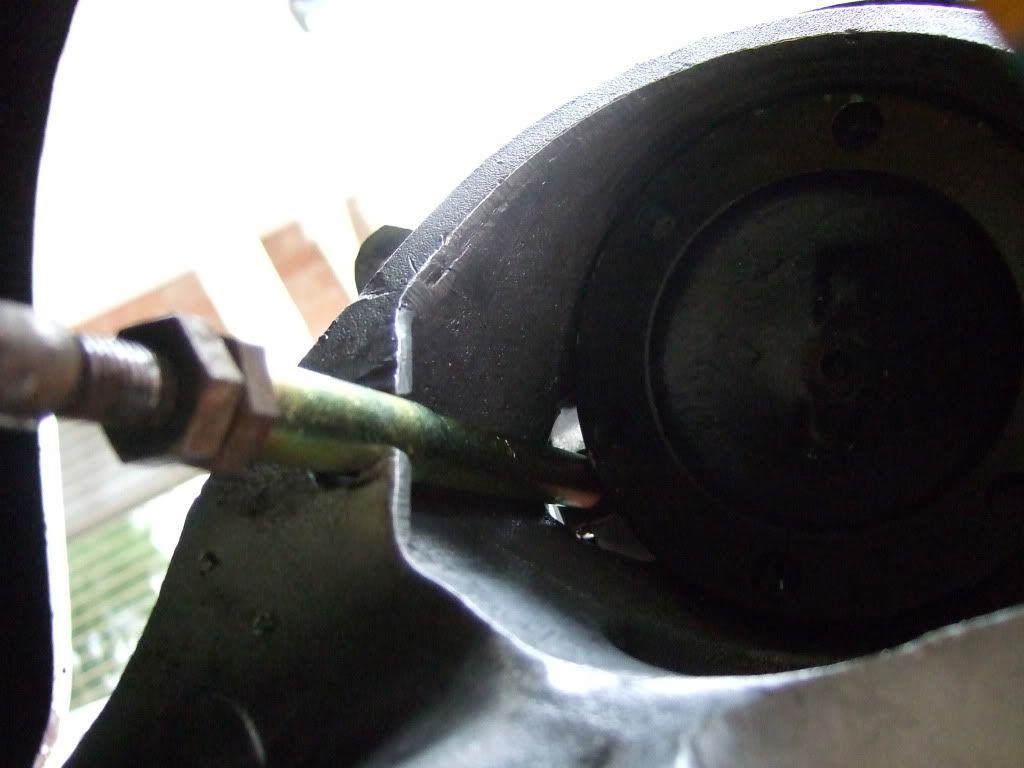
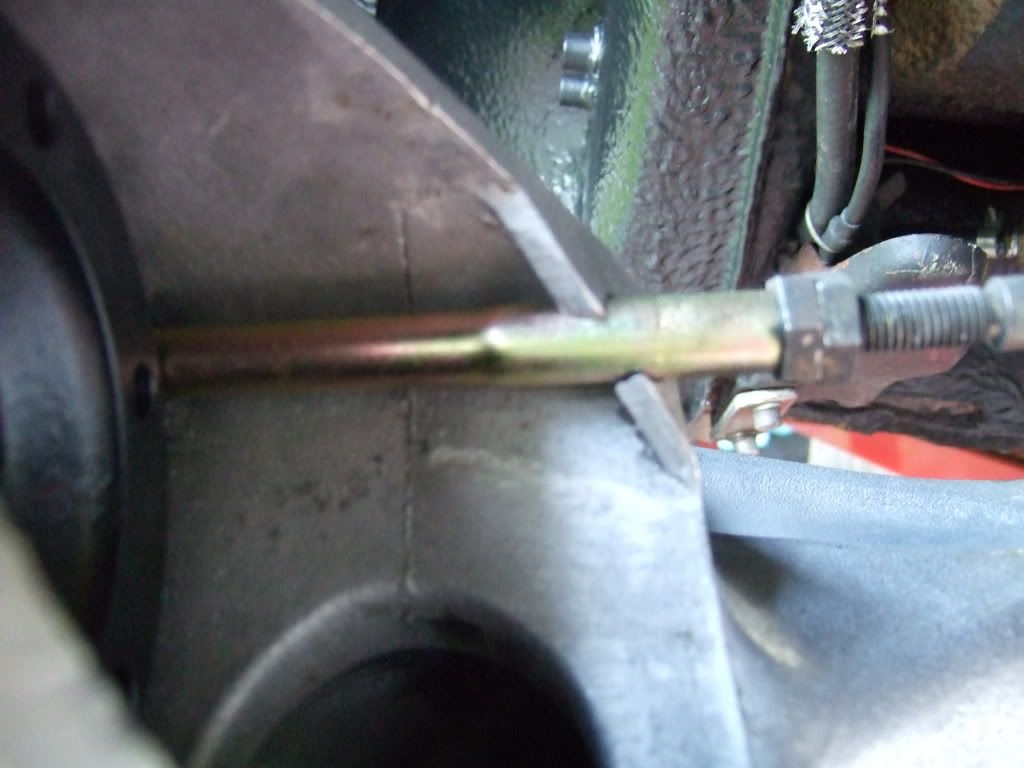
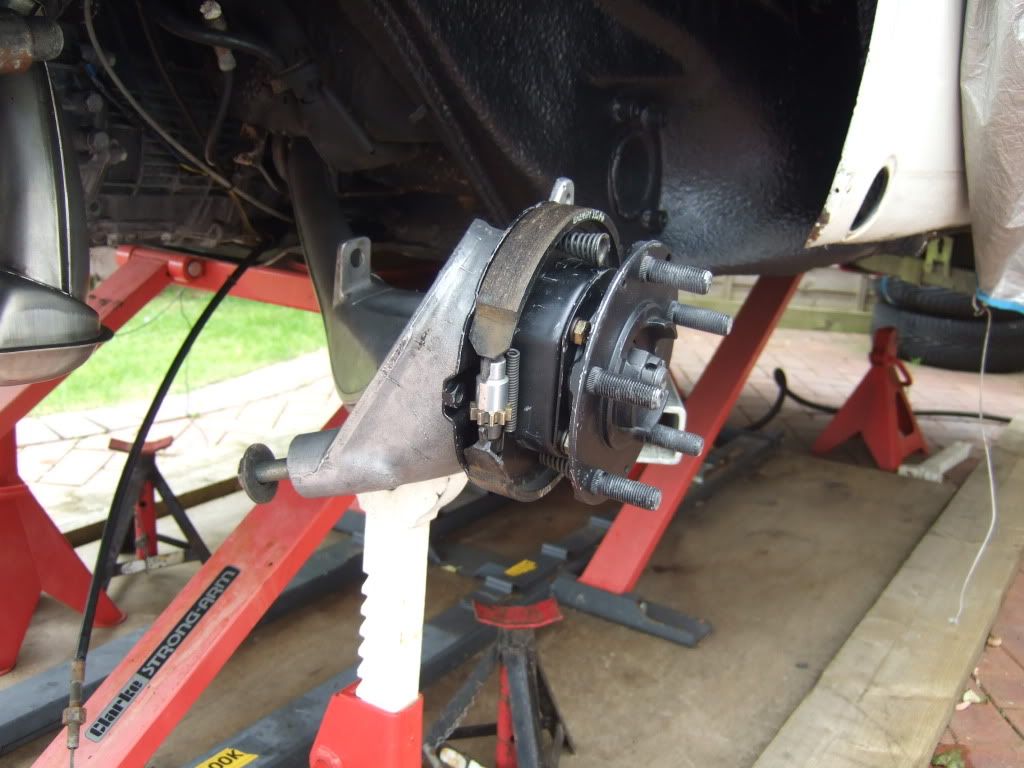
The final job on the banana arms was to fit the ER Monoball and Emergency Brake assembly. Very easy when you follow the instructions and use a home fabricated press

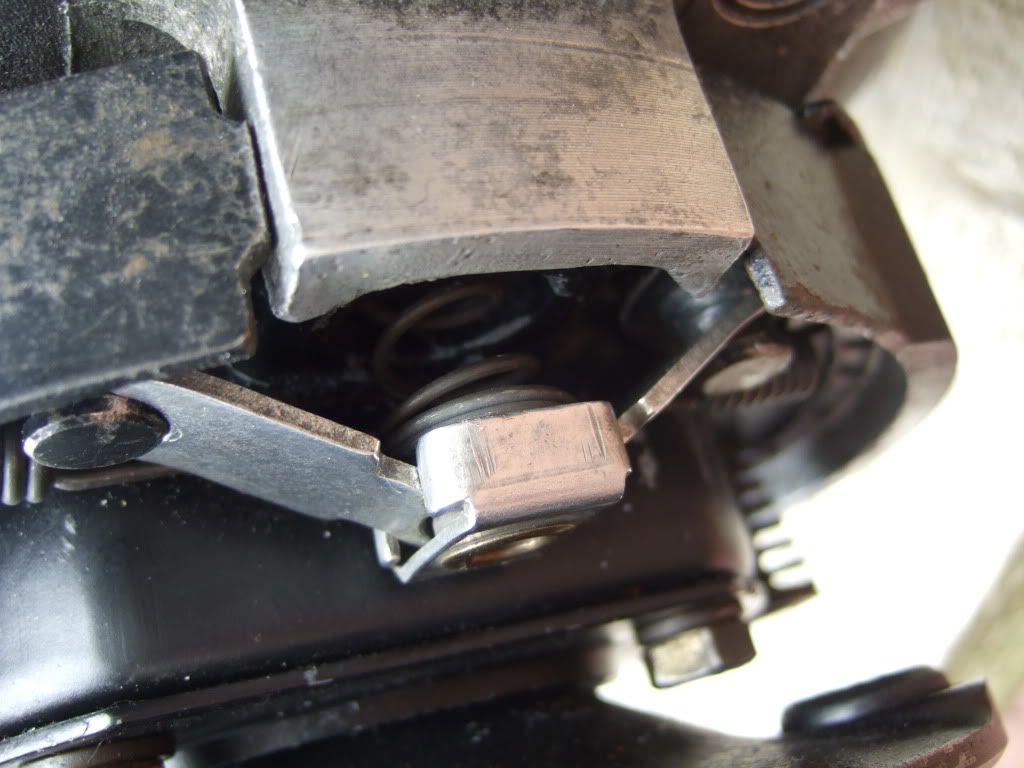
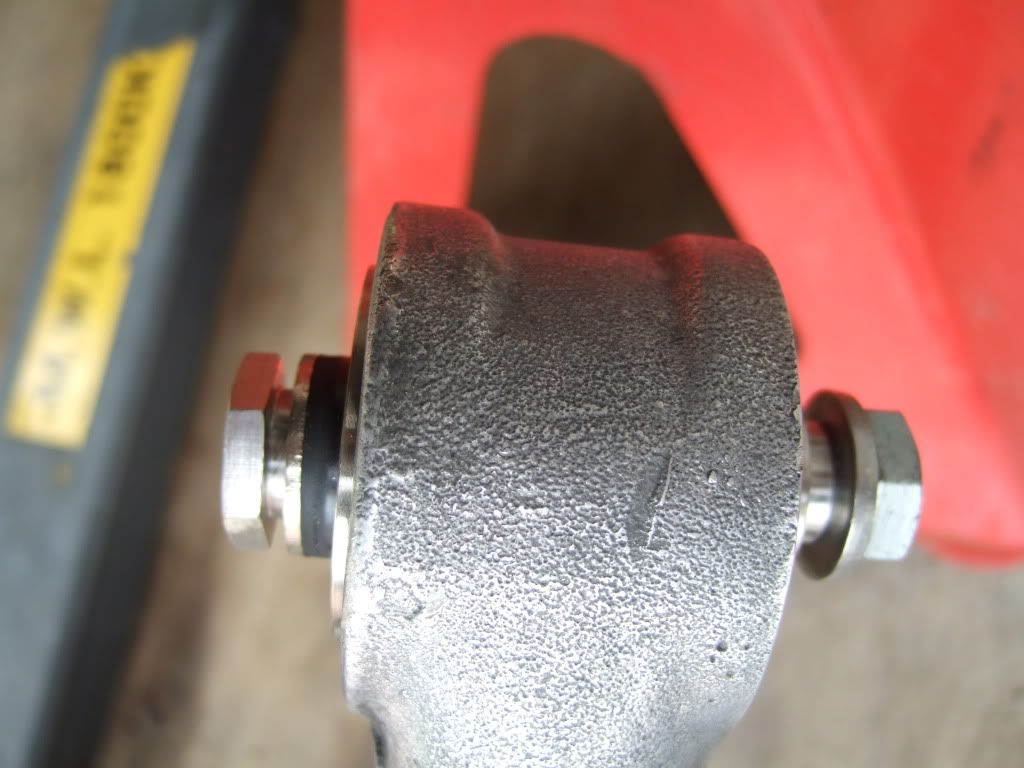
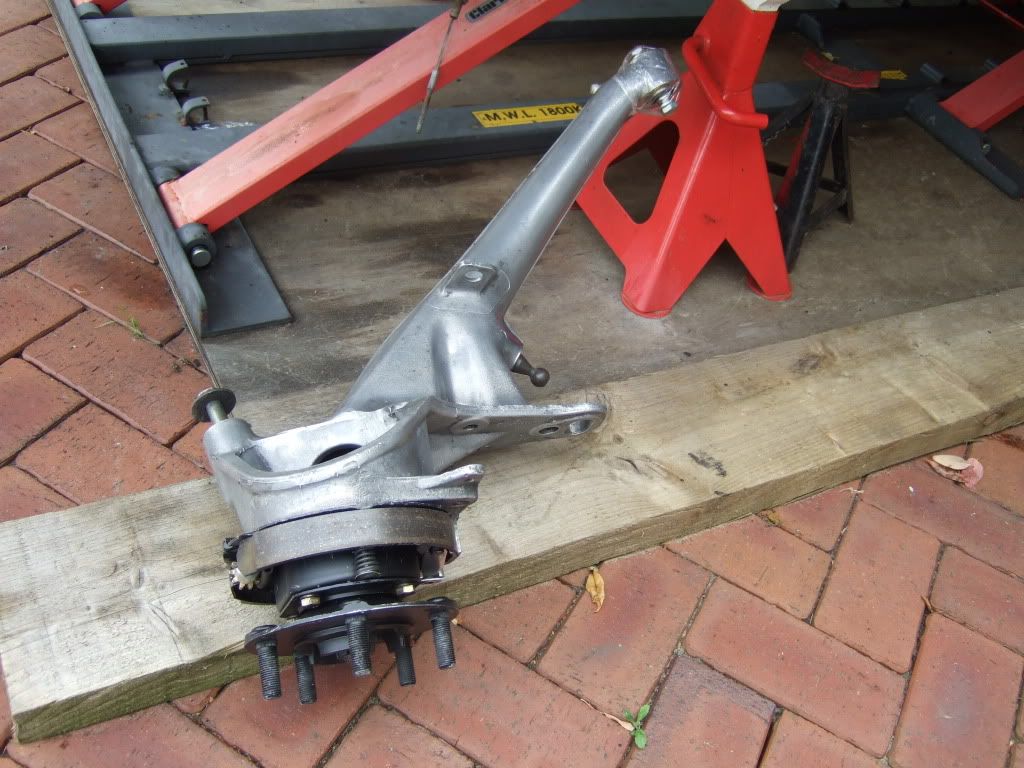
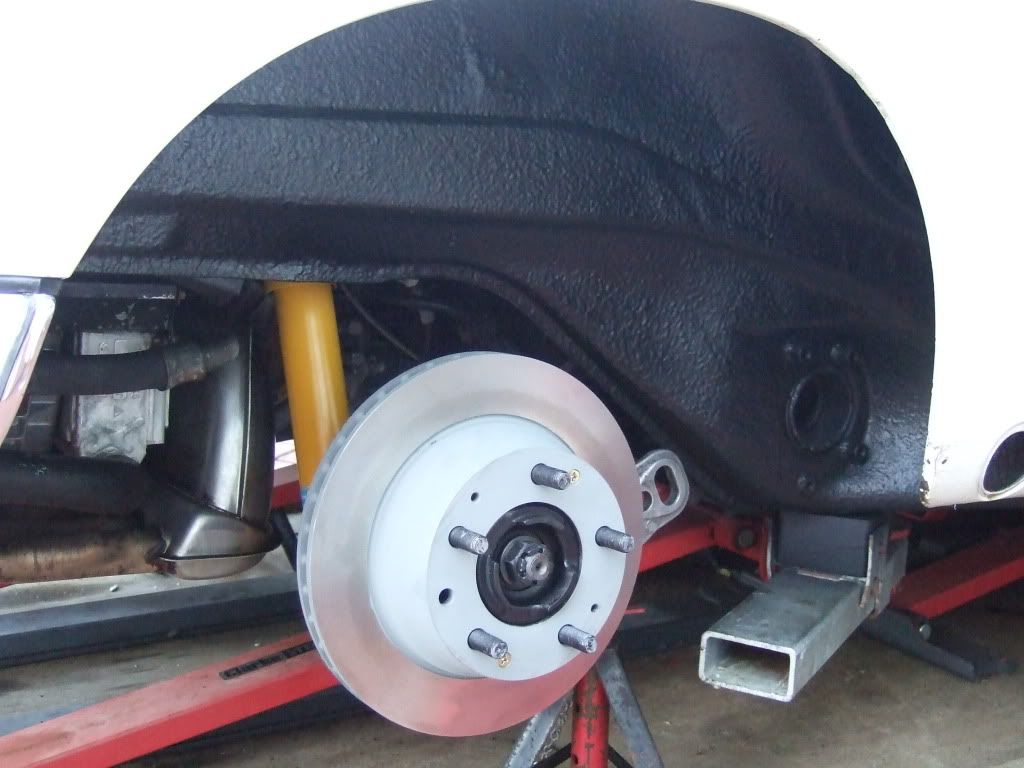
The car was raised up on the hydraulic lift, and the arm lifted in to place. I then rested it on axle stands whilst I fine tuned the position and pushed the Wevo E-Z Pin in from the torsion tube side. The are a really great fit.
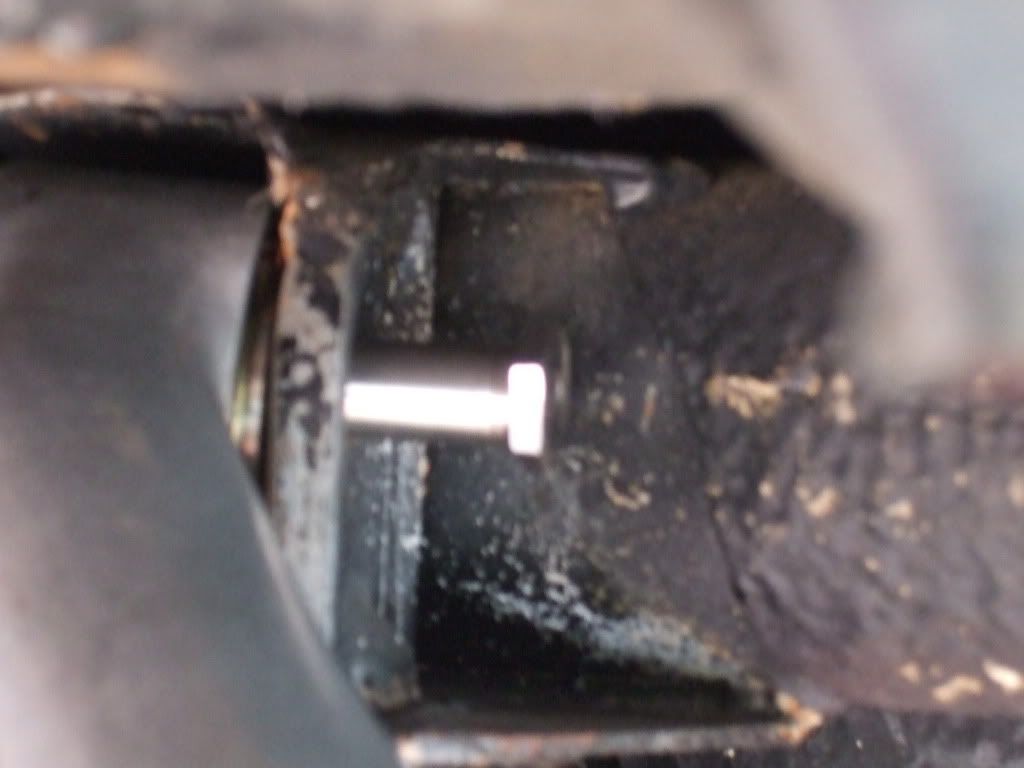
I learned the long and hard way that the bolt needs to be put in using two hands, and with the pin slightly withdrawn on the torsion bar side. Once in, you can hand tighten pretty much all the way, the fit is that good.
It is important to keep the arm supported at all times, to avoid unnecessary strain / pressure on the mounts.
Ian
Shock Absorber
Posted: Tue Jun 23, 2009 4:27 pm
by Highfield
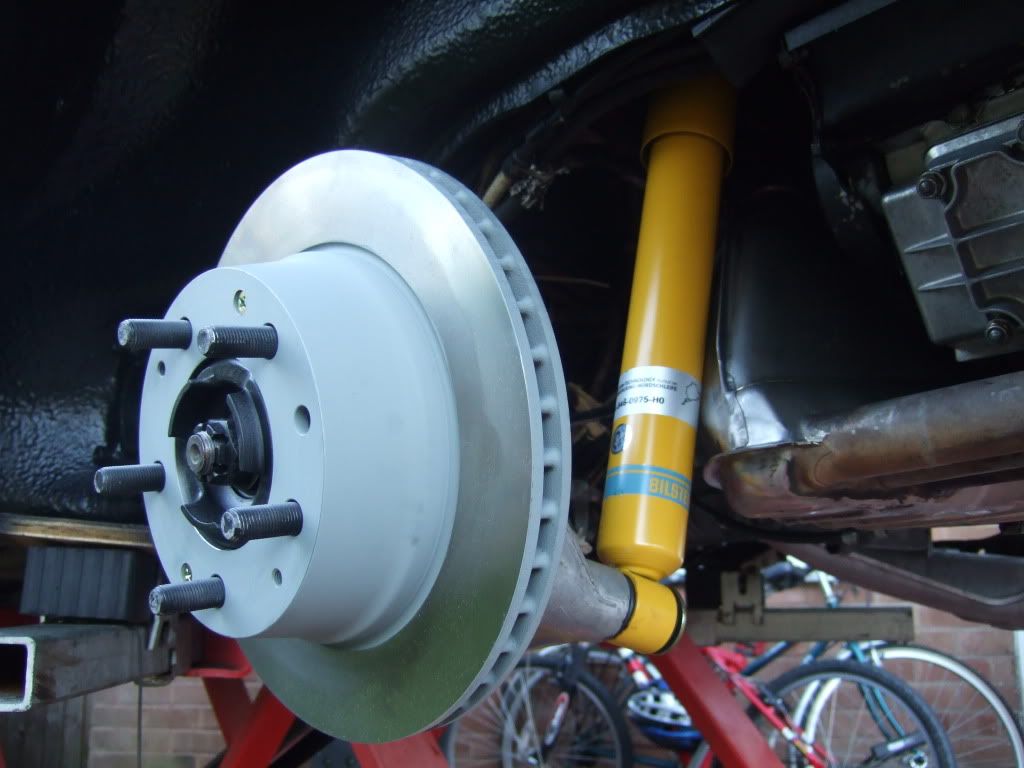
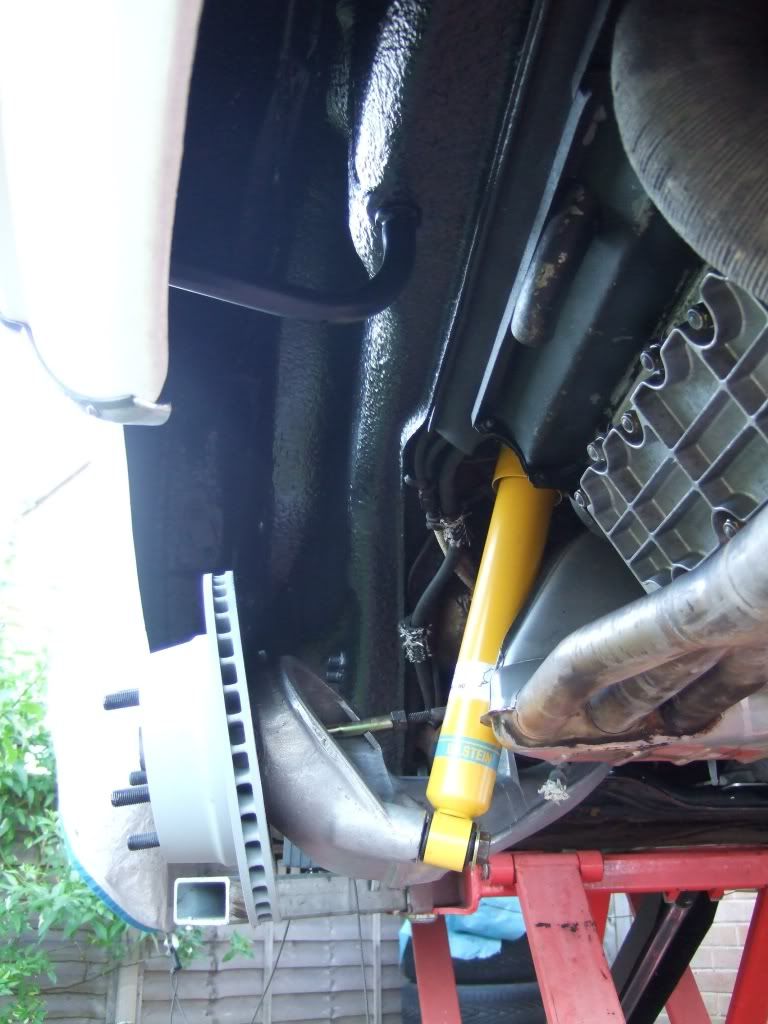
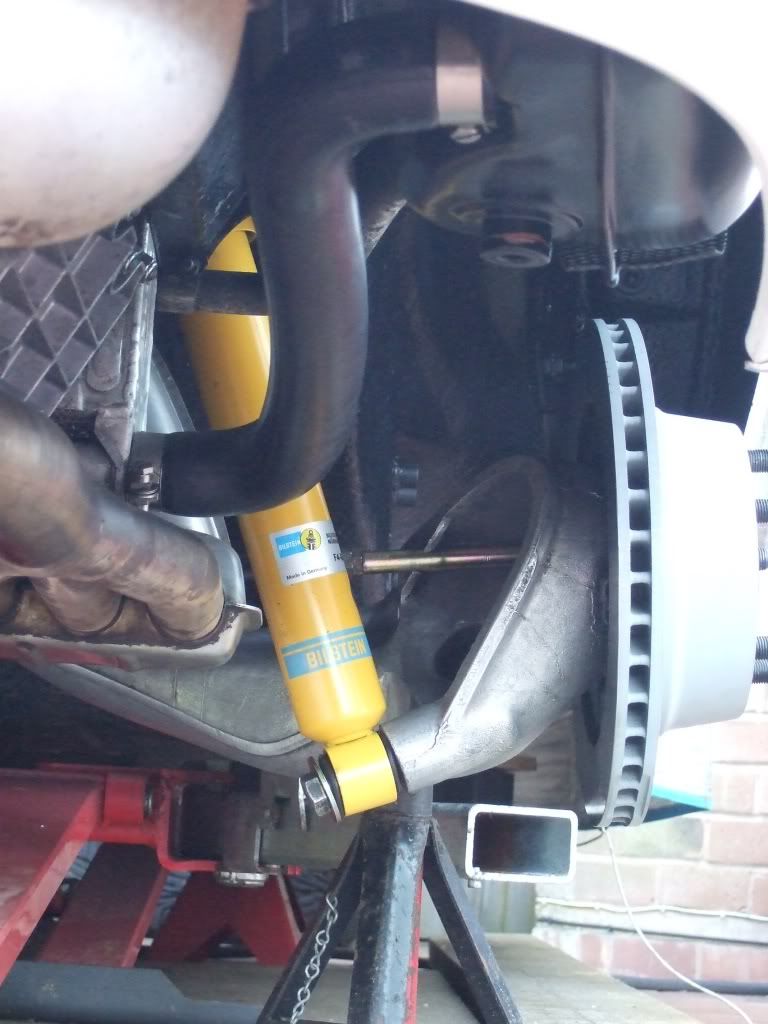
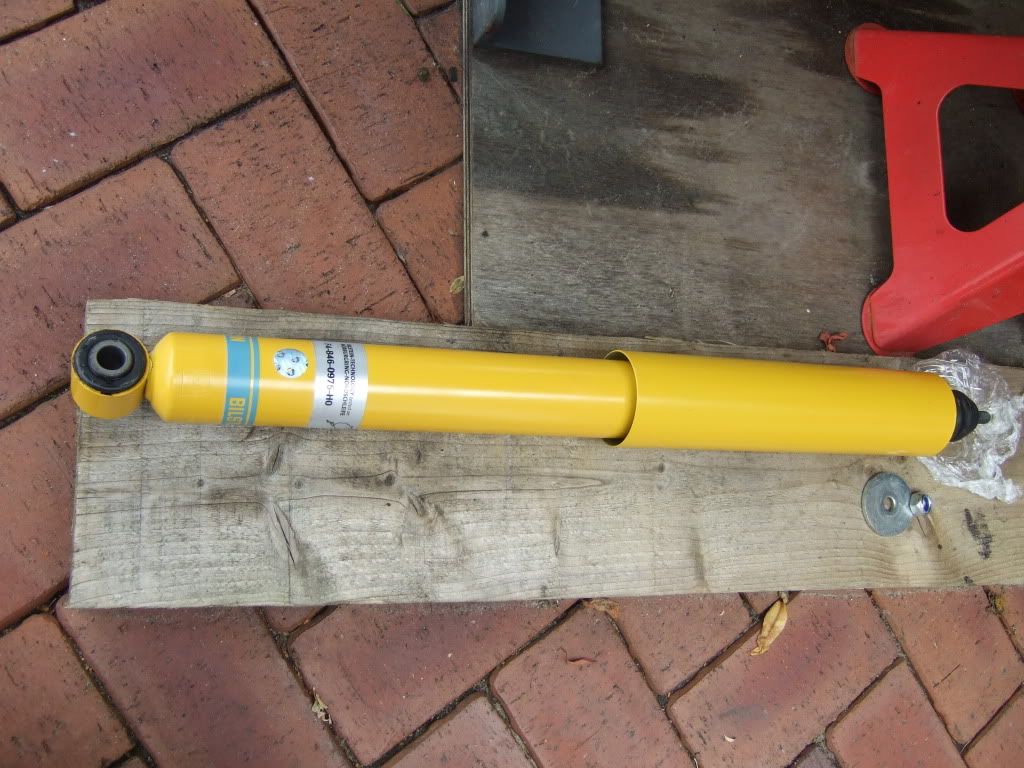
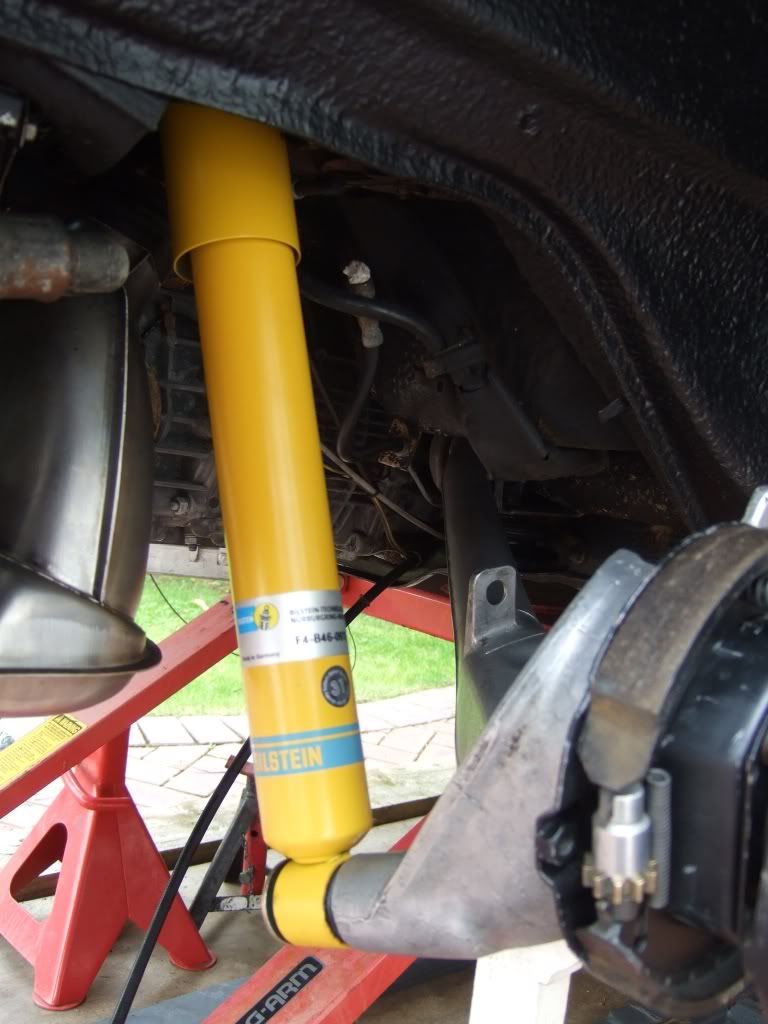
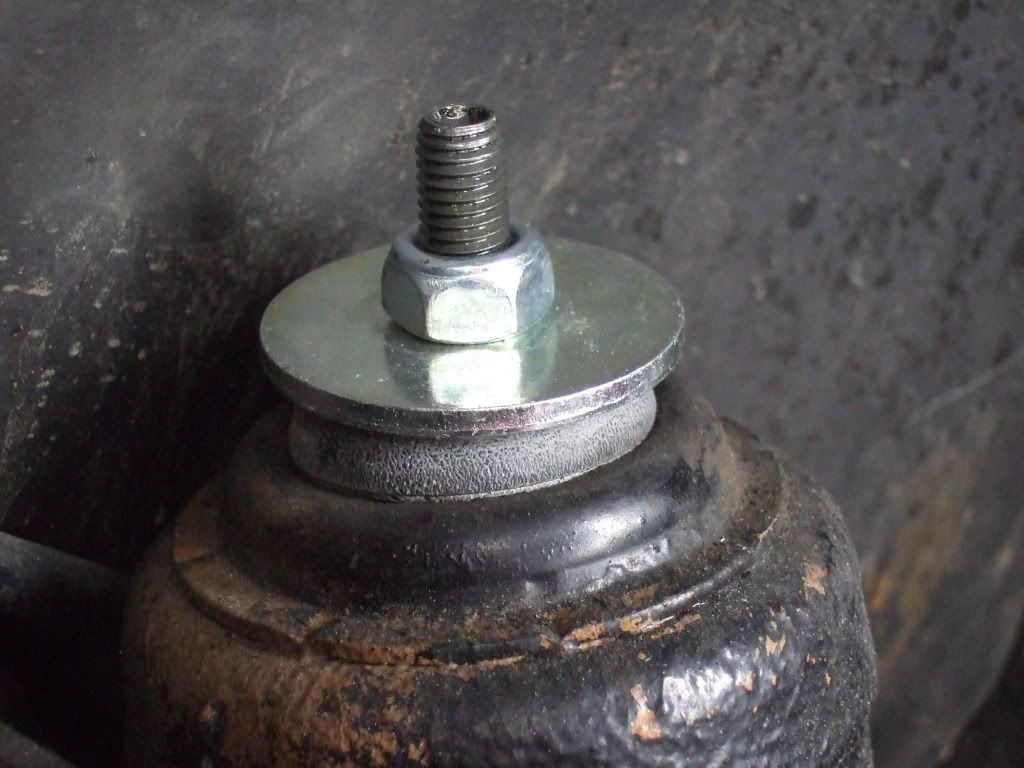
You have all seen them before, but I am fitting the yellow bilstein sprint shocks, as recommended by Tuthills to match the uprated 26mm torsion bars I have.
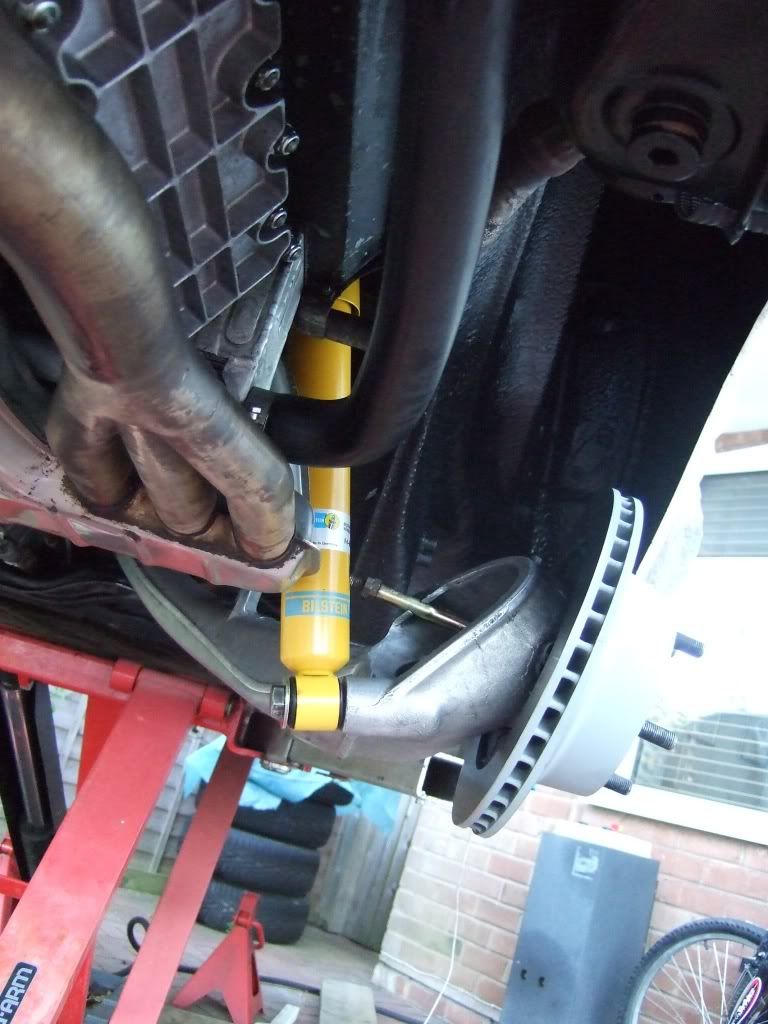
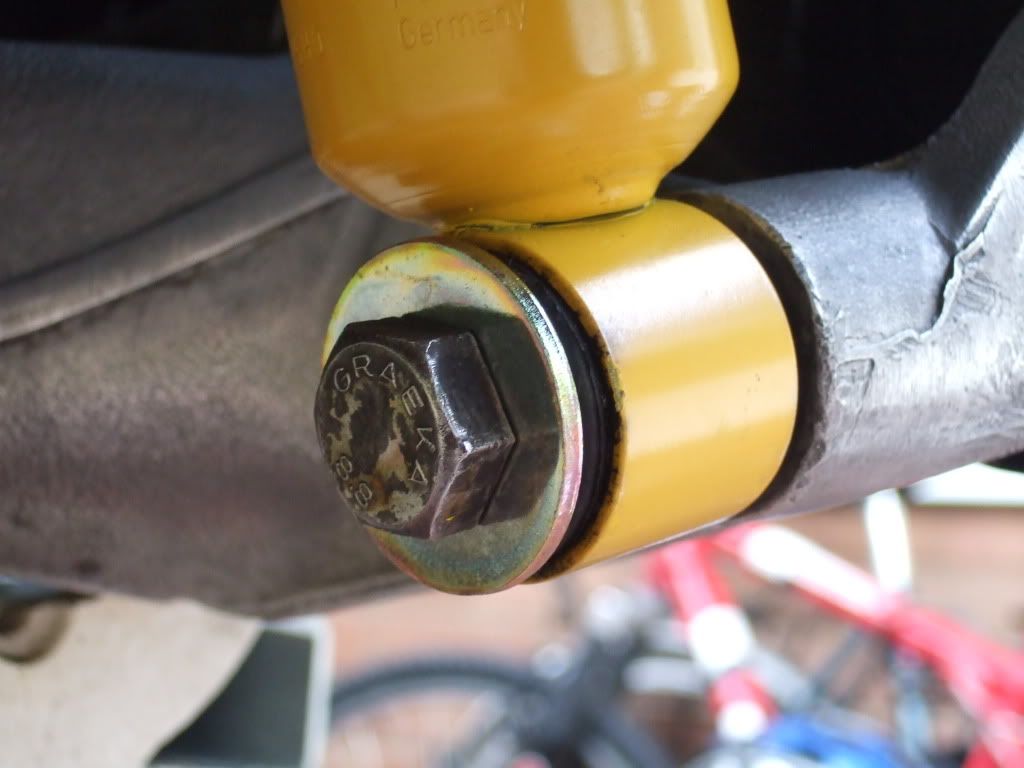
The come complete with new rubbers and washer / nut assembly. I also ordered new washers for the attachment to the banana arm.
Remember to separate the two rubber grommets and fit one under the car, and one on top - lesson learned
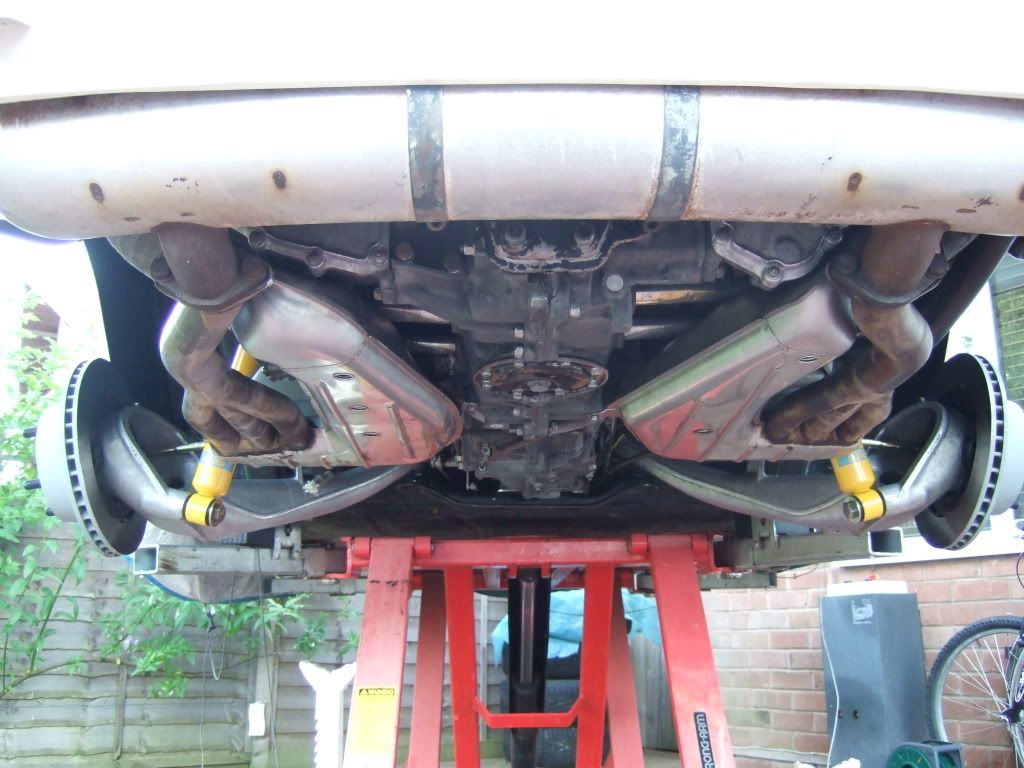
The shocks are in place to keep the banana arm from dropping fully down and straining the monoballs - or at least that is what I have done it for.
Ian
Emergency (Hand) Brake
Posted: Tue Jun 23, 2009 4:32 pm
by Highfield
Posted: Tue Jun 23, 2009 7:27 pm
by Gary71
Looking good

I'll be fitting a set of '75 arms to mine this winter, although it's not going to be that clean under there!
Posted: Tue Jun 23, 2009 9:28 pm
by oliveR
Nice job Ian!
Are you going to ER polybronze bearings?
you should also go to Rebel Racing coil over kit
 http://forums.pelicanparts.com/showthread.php?t=387735
Posted: Wed Jun 24, 2009 7:21 am
by Highfield
Gary - I cleaned the engine etc. as much as is practical without actually removing it. I considered getting the engine and gearbox out, but thought better of it for now - perhaps a job for the winter. Having the lift was a real hekp though with the arm replacement.
oliveR - yes I have ER polybronze bearings for both front and rear, and their front monoballs as well as the strut brace.
The bilsteins were recommended by Tuthills to match the 26mm bars I have, coupled with the standard 19mm front and custom valved bilsteins - I also have standard 15mm ARBs. What benefit do the coilover kits give ?
Ian
Posted: Wed Jun 24, 2009 6:48 pm
by johndglynn
Beautiful work mate, I am well overdue some pax laps
Posted: Wed Jun 24, 2009 9:21 pm
by Highfield
Hi John,
Ditto, I haven't blagged a ride in the Orange yet
Hopefully ready in time for the PCGB Track Day at Oulton in october, and the DDK 'Coast - to Coast' in September.
Needs to go to Tuthills for a corner weight and setup before then, as well as having John do a once over of the paintwork as I have a few ideas on that front - unless you have other recommendations for a local paint / body man.
Ian
Posted: Thu Jun 25, 2009 1:31 am
by johndglynn
Highfield wrote:unless you have other recommendations for a local paint / body man.
I use my mate's painter over in Bidford, did a good job on my two Landcruisers. His name is Derek, the company name will come to me!
Does Astons/Porsches etc all the time and all Rob's work on Allards, Bentleys etc. Worth talking to.
Rear Polybronze Install
Posted: Thu Jul 02, 2009 4:23 pm
by Highfield
I decided to post a separate thread on the installation of the ER Polybronze Bushings.
It is located here :-
http://www.ddk-online.com/phpBB2/viewtopic.php?t=25728
Normal service will be resumed next week subject to the weather being dry for me to work outside.
Ian
SAW Spring Plate Install
Posted: Wed Jul 08, 2009 11:06 pm
by Highfield
Amongst the rain showers this week, I have fitted the SAW Spring Plates, having already prepared the ER Polybronze Bushings - see separate post link above.
Having established that I would need 5 spacers under each torsion cover plate, in order for the plates to not bind, I then set about installing them with the 26mm upgraded Torsion Bars.
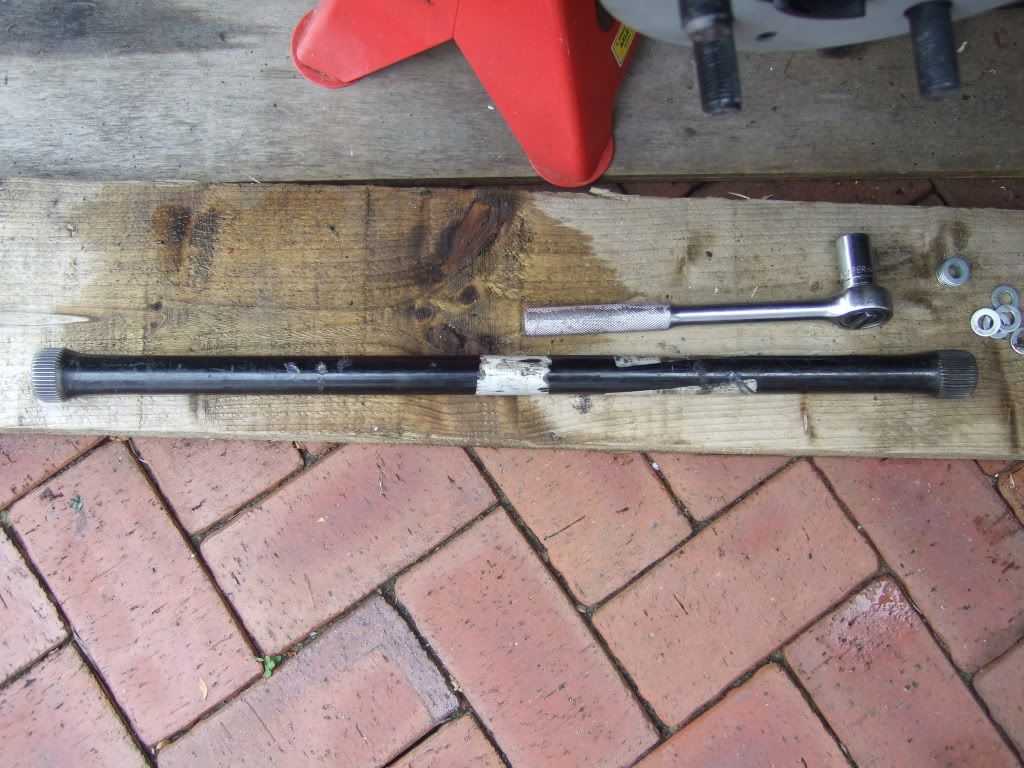
The T-Bar is greased and installed until it bites in the torsion tube.
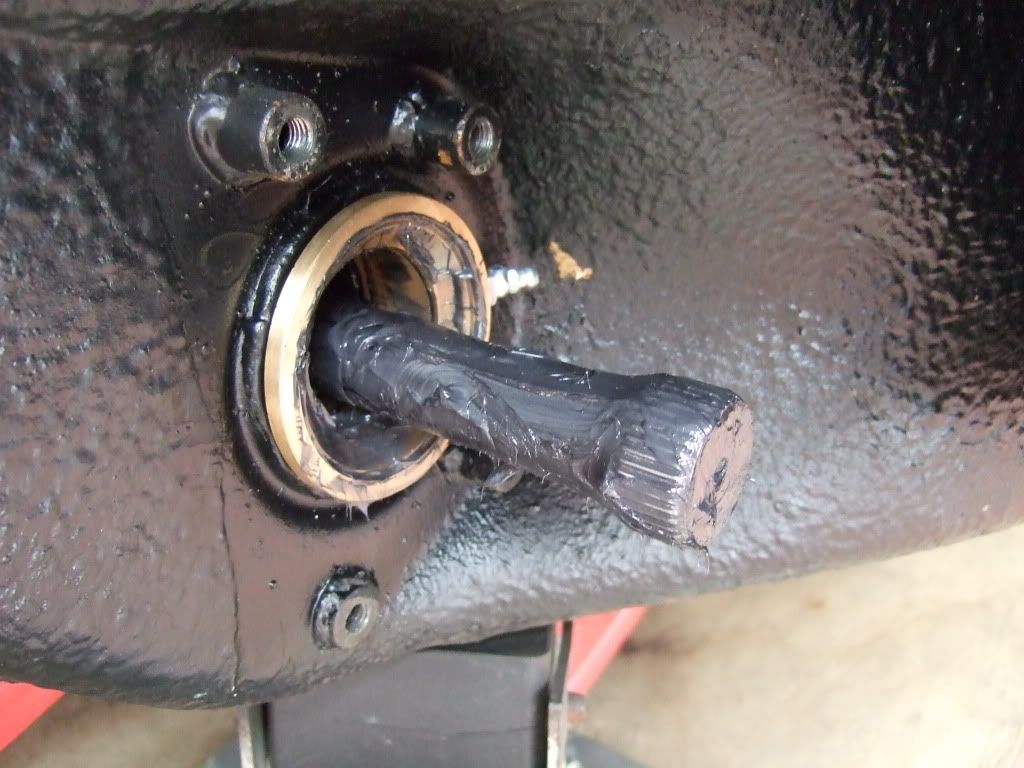
NOTE - my bars are not exactly aligned to the center of the car, as I cannot get the RH torsion cover far enough over the T-Bar. Tuthills will look at this when the car goes there, but you should look to align the bars equally on each side.
Next on is the inner spring plate, followed by the outer plate.
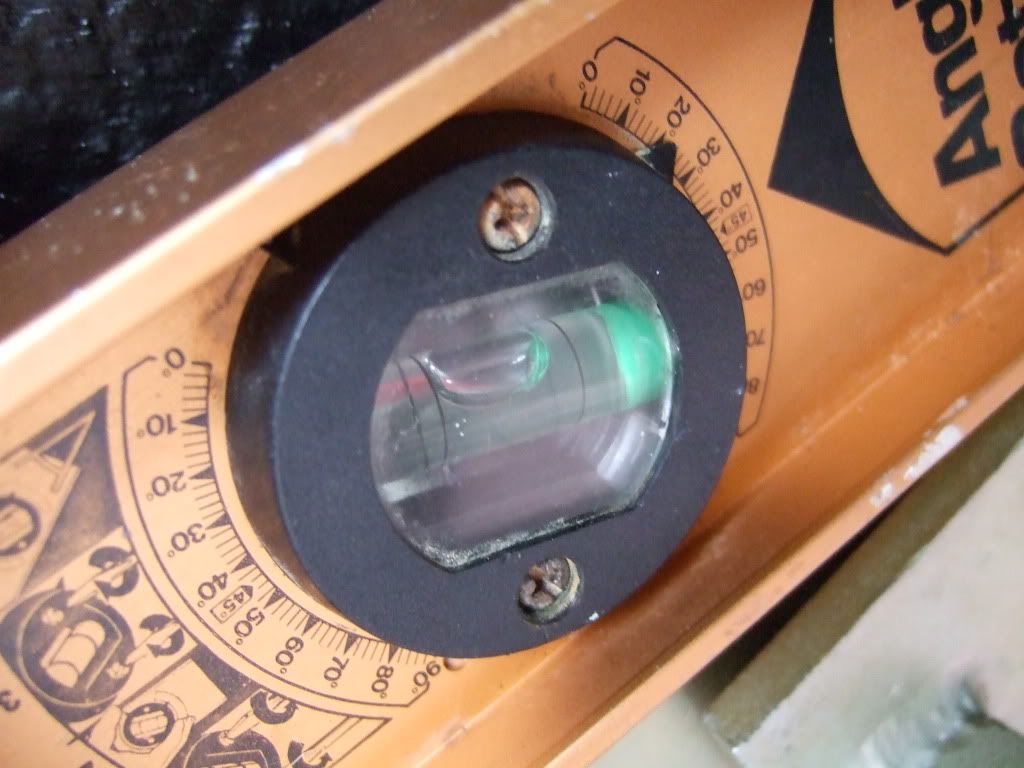
I used Tom / Wil angle calculator based on 2300lbs and race height - this gave me circa 22 degrees. Note the car is at 0 degrees on the lift - remarkable and not by design
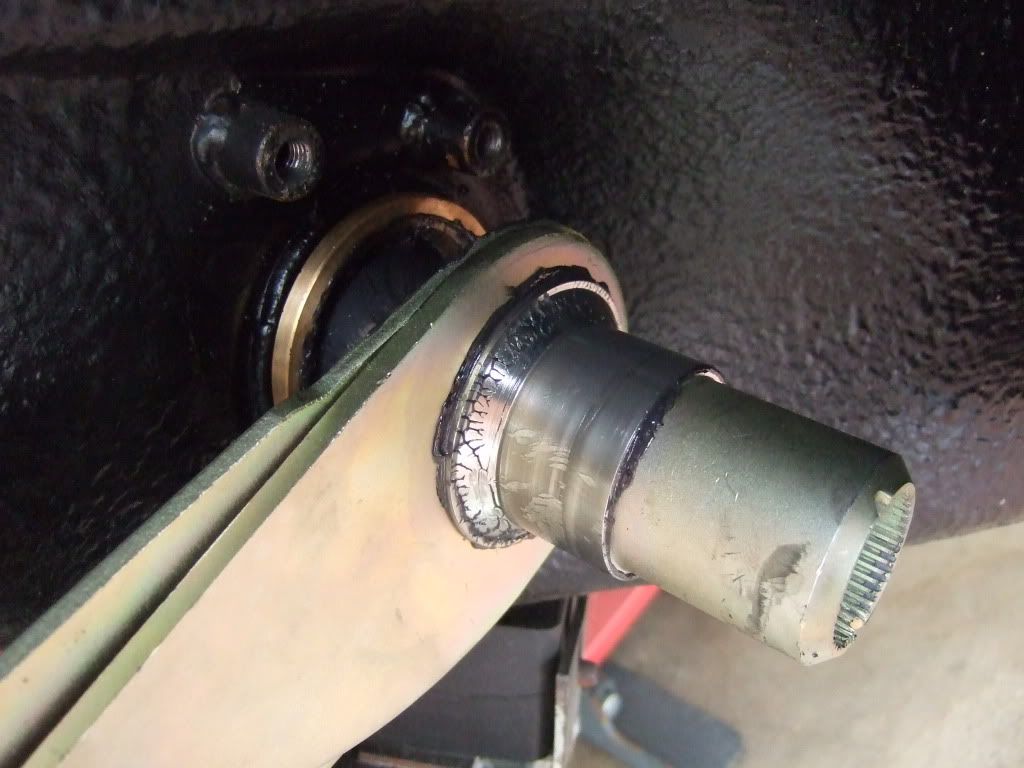
Next up is the torsion cover, complete with the 5 spacer washers under each bolt. Torque it up and stand back and admire
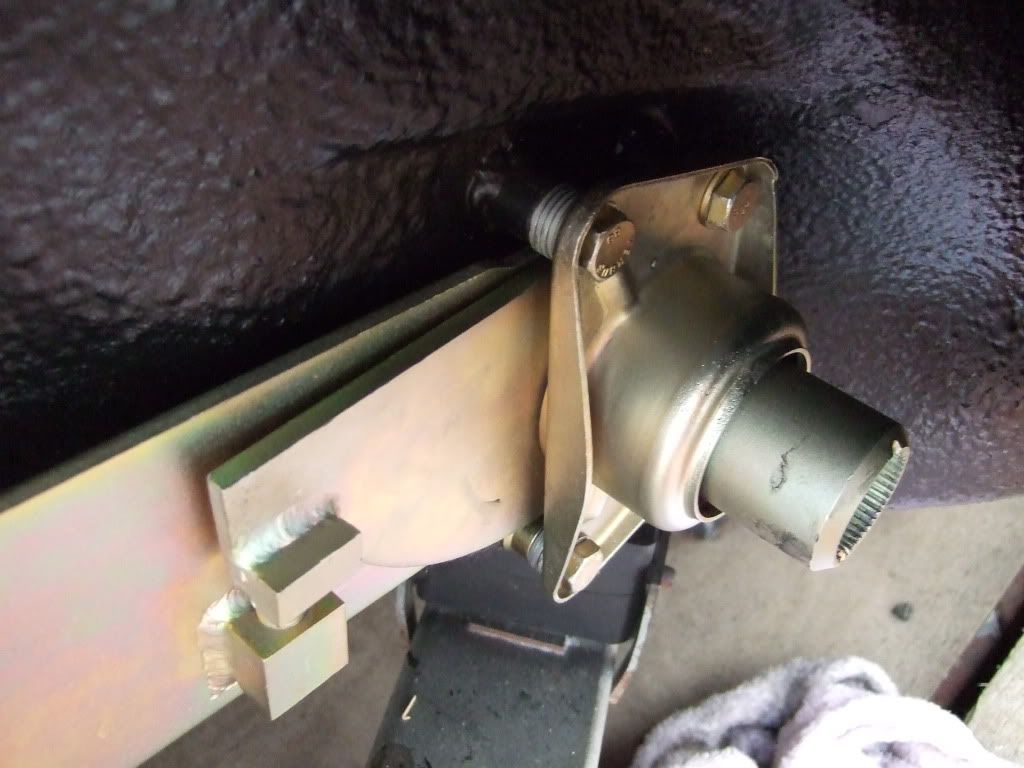
Next is the bolting to the aluminium arm.
Ian
Fixing to the Aluminium Arm
Posted: Wed Jul 08, 2009 11:14 pm
by Highfield
I started out with the wrong length nuts and bolts - lesson learned - plan ahead and get everything together.
I also have what I believe is too short a 'large' eccentric bolt, so will need to change that before final completion.
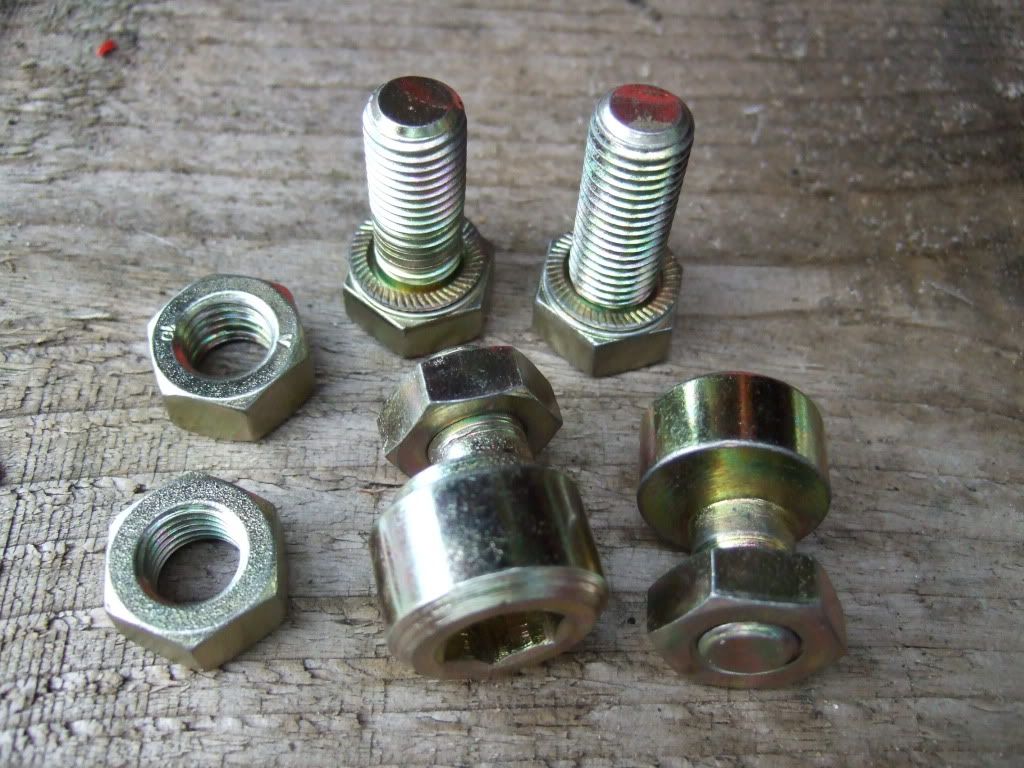
I used the jack under the aluminium arm and raised it to align with the SAW spring plates. Next you bolt it all up and 'voila'.
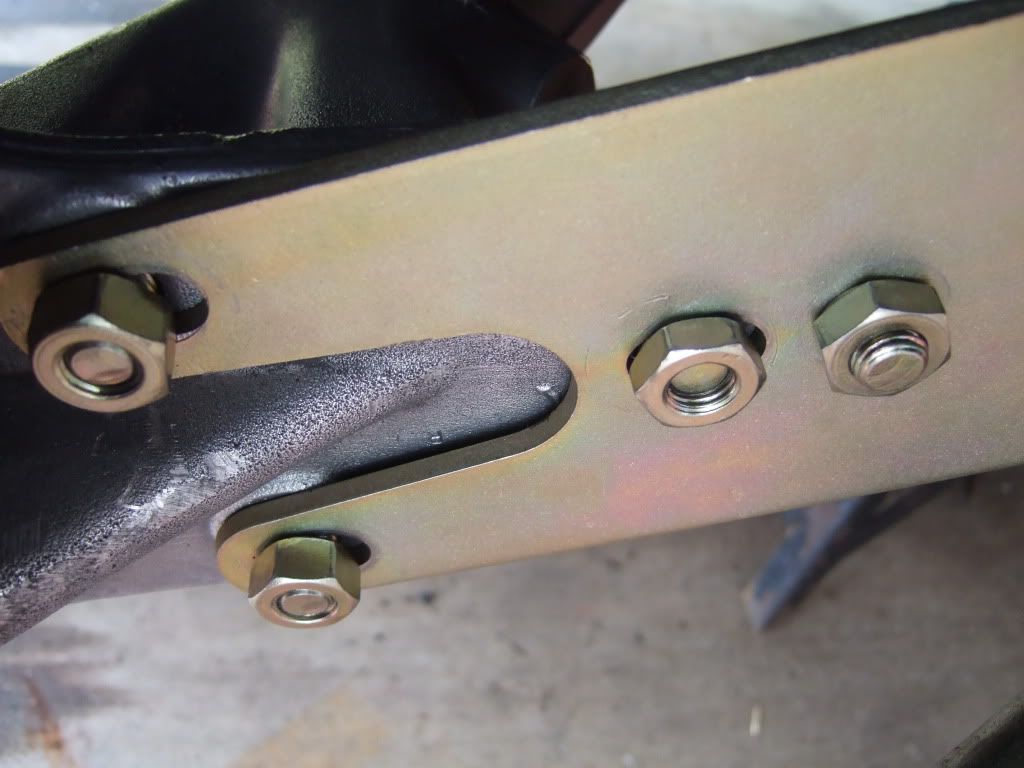
Here it is with the correct length bolts, but still needing the longer eccentric - anyone have one or know the dimesnions I need ?
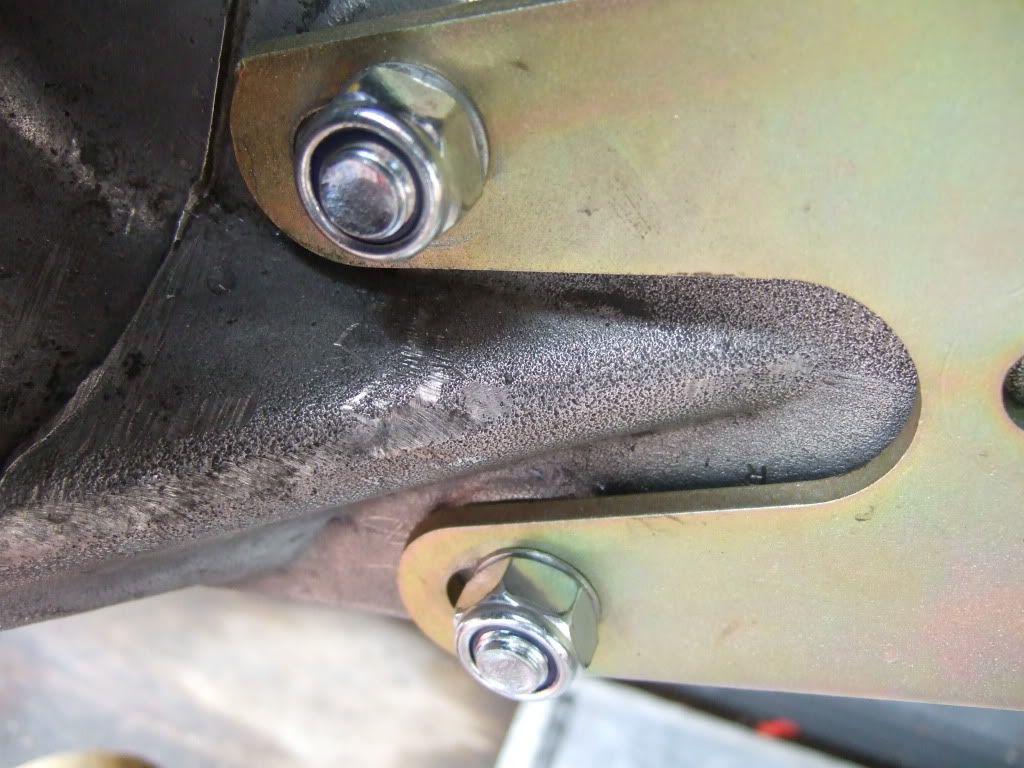
And here it is finished for tonight.
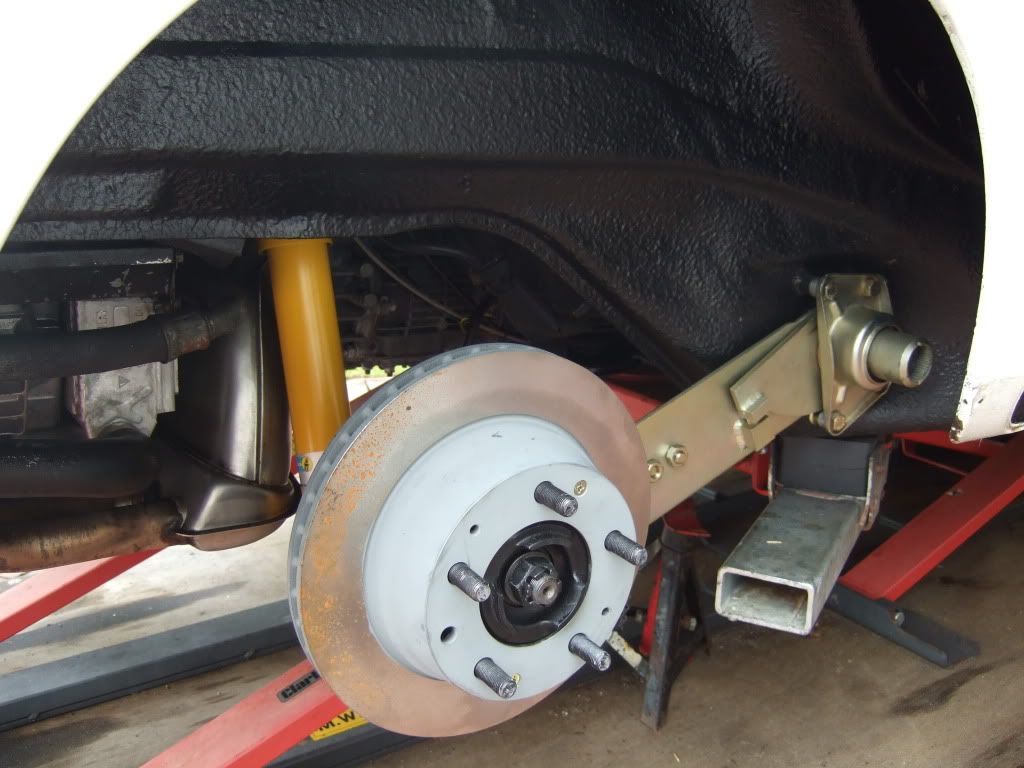
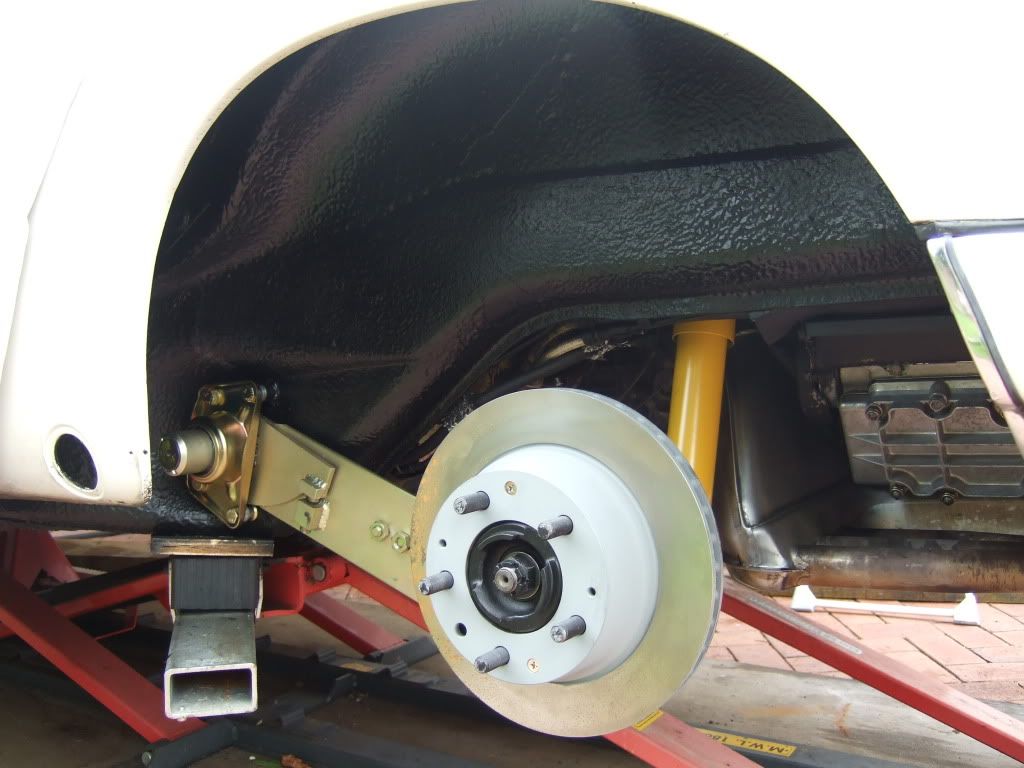
Ian
Rear ARB Install
Posted: Wed Jul 08, 2009 11:26 pm
by Highfield
Having had the SAW Plates on and off more times than I care to remember, I decided to accomplish something a little more straight forward (I so I thought) - the rear ARB.
I have new Super Flex bushings for the drop links and bar plus new bushings that clip on to the aluminium arms.
Getting the bushings in requires soaking in boiling water, followed by some supplied lube, and then the use of my favourite B&Q Clamp and a socket to allow the bushing to be compressed in and then out the other side of the fitting.
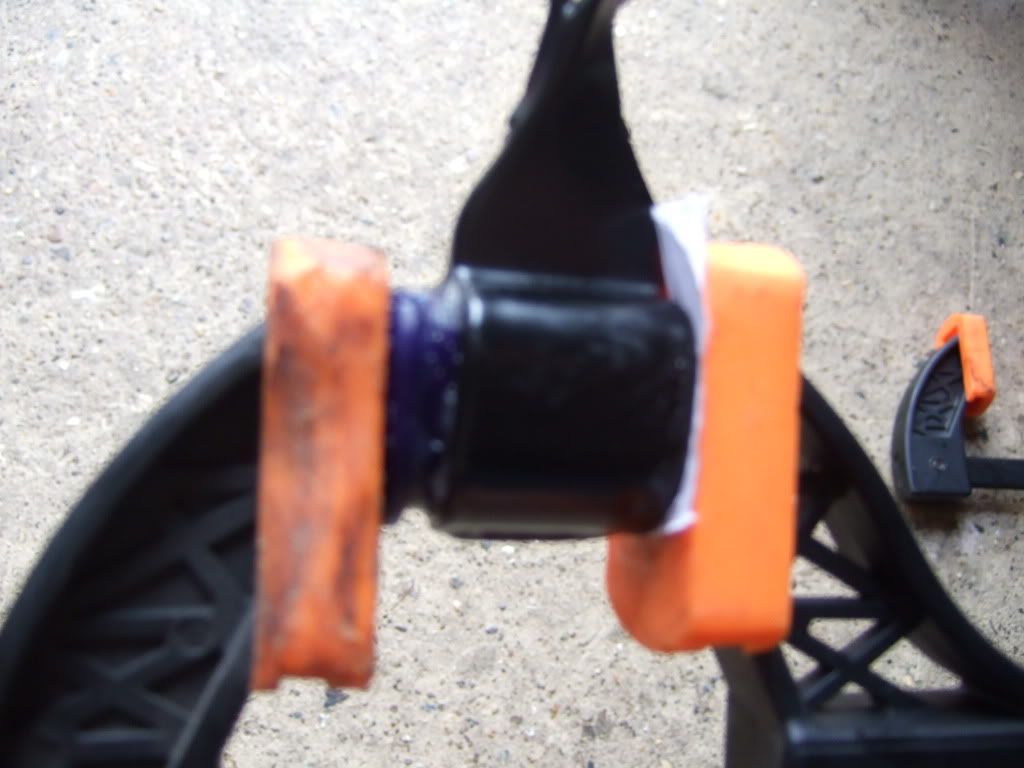
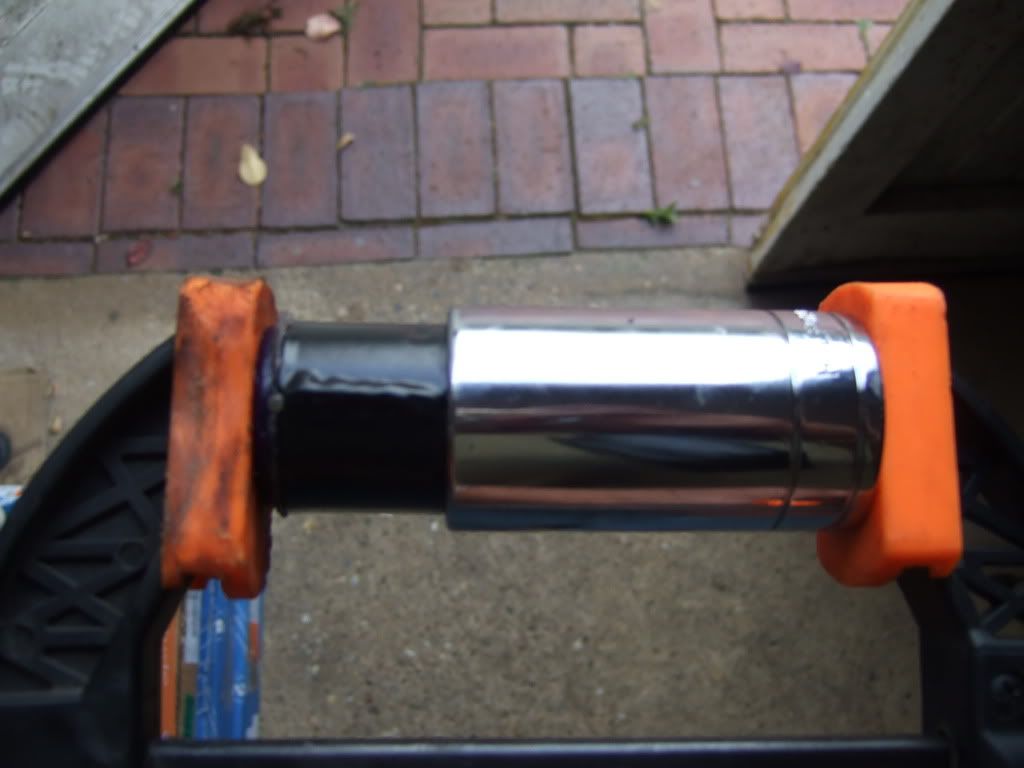
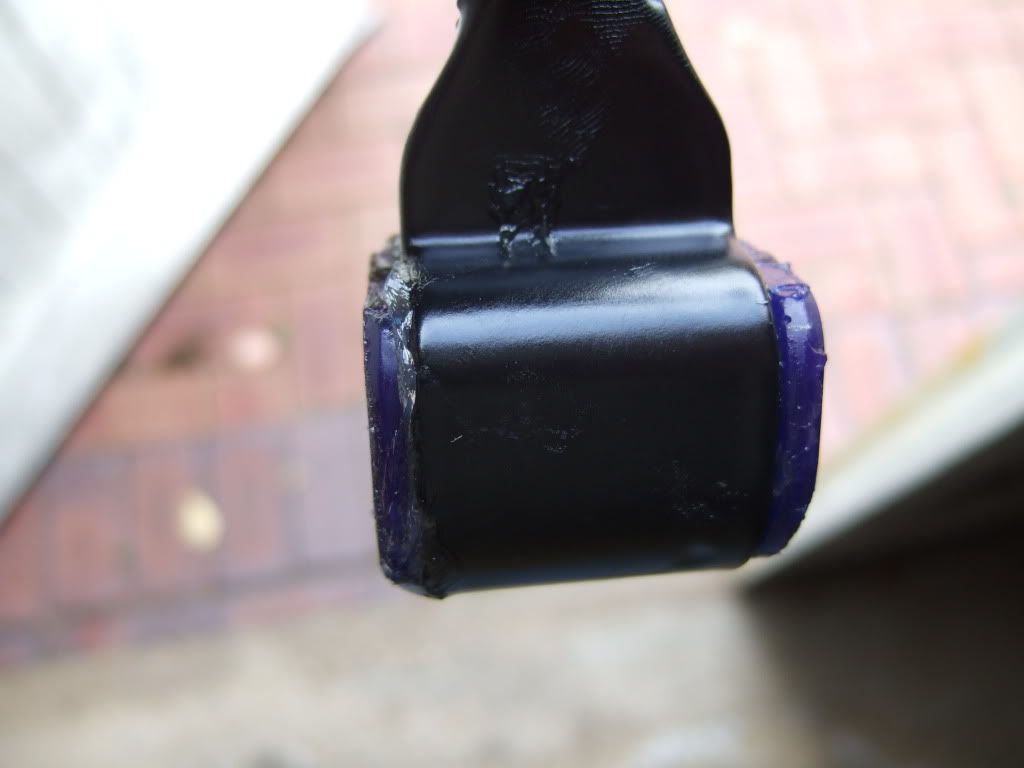
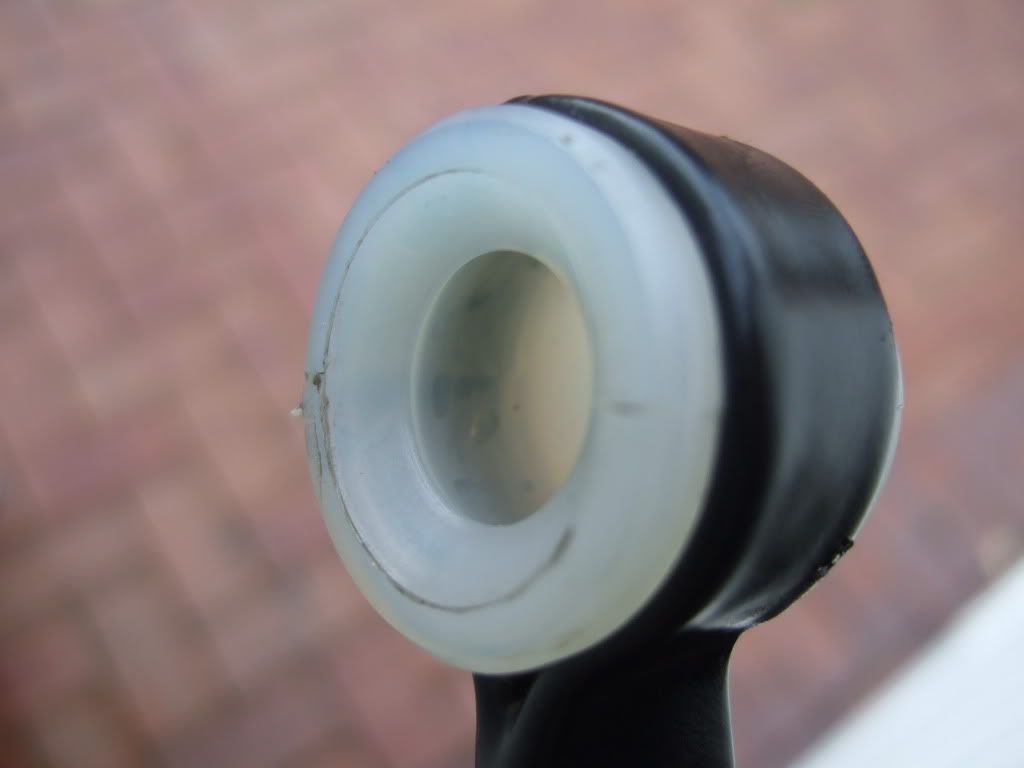
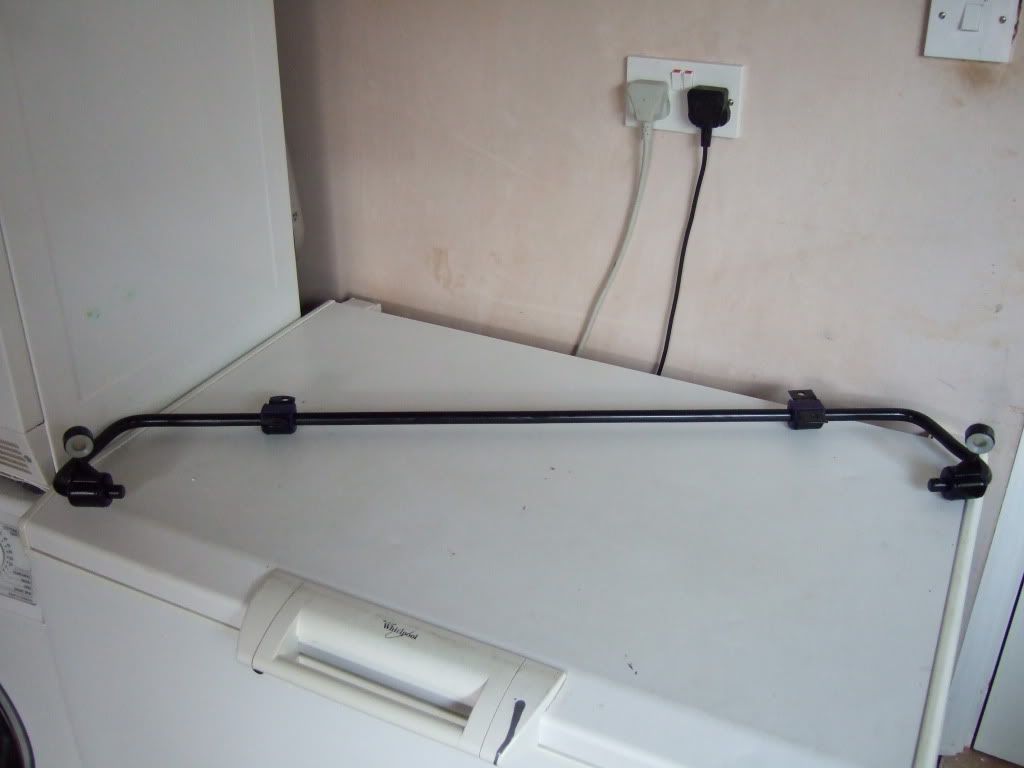
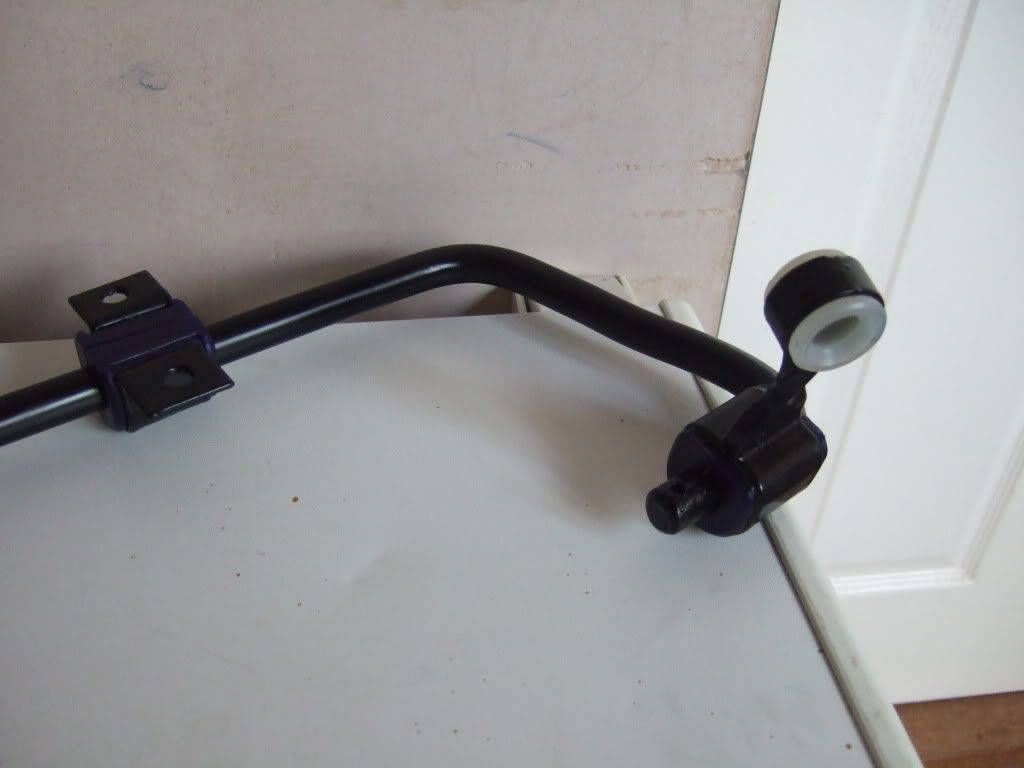
These are then installed on to the powder coated 15mm bar and fitted with new washers and split pins.
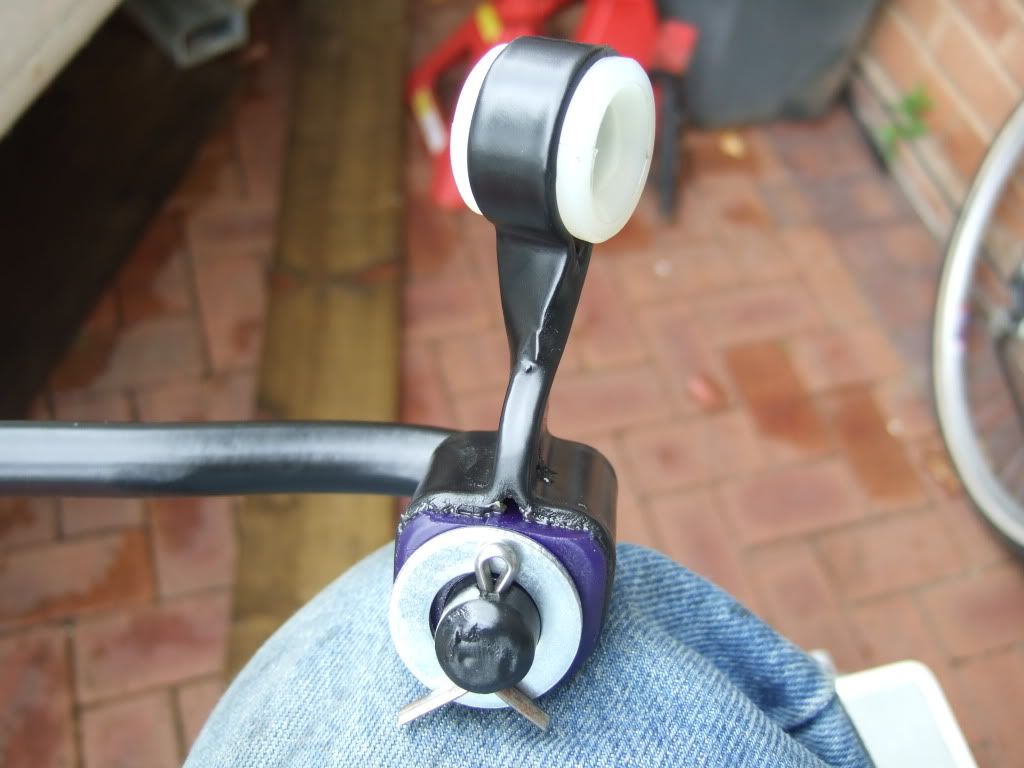
It then took an age to support the bar on one side of the car (axle stand in the end) whilst fiddling to get the bolts aligned and in on the other side. But I got there in the end. Note the Tuthill installed metal spacer to stop the bar from hitting the gearbox.
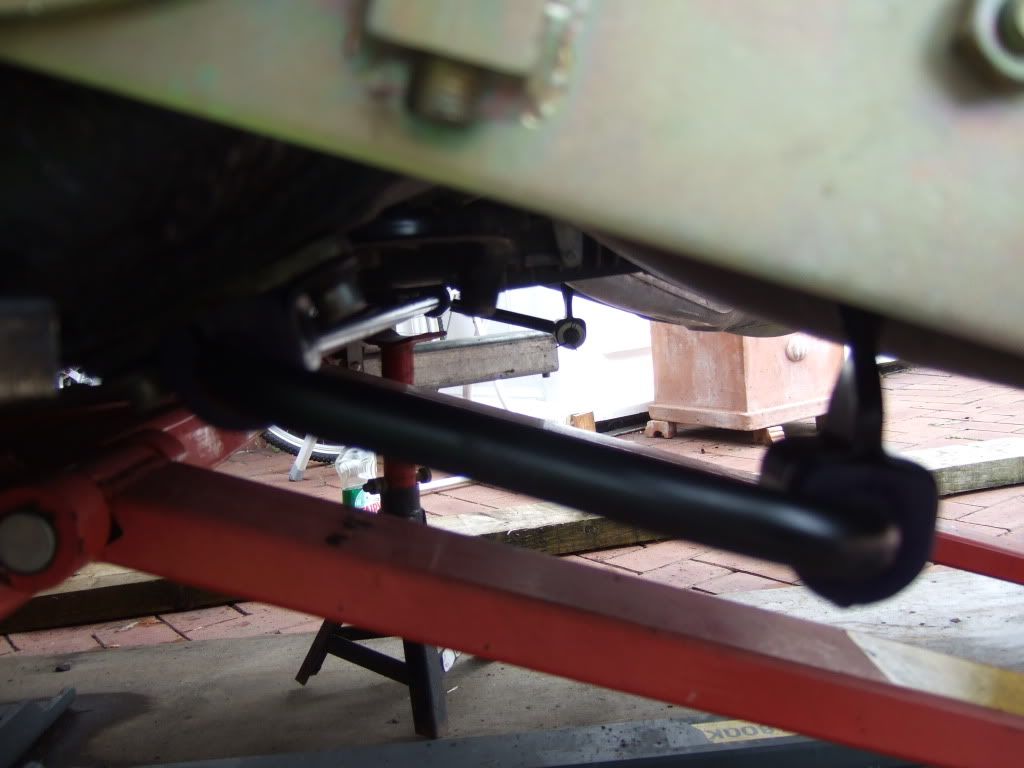
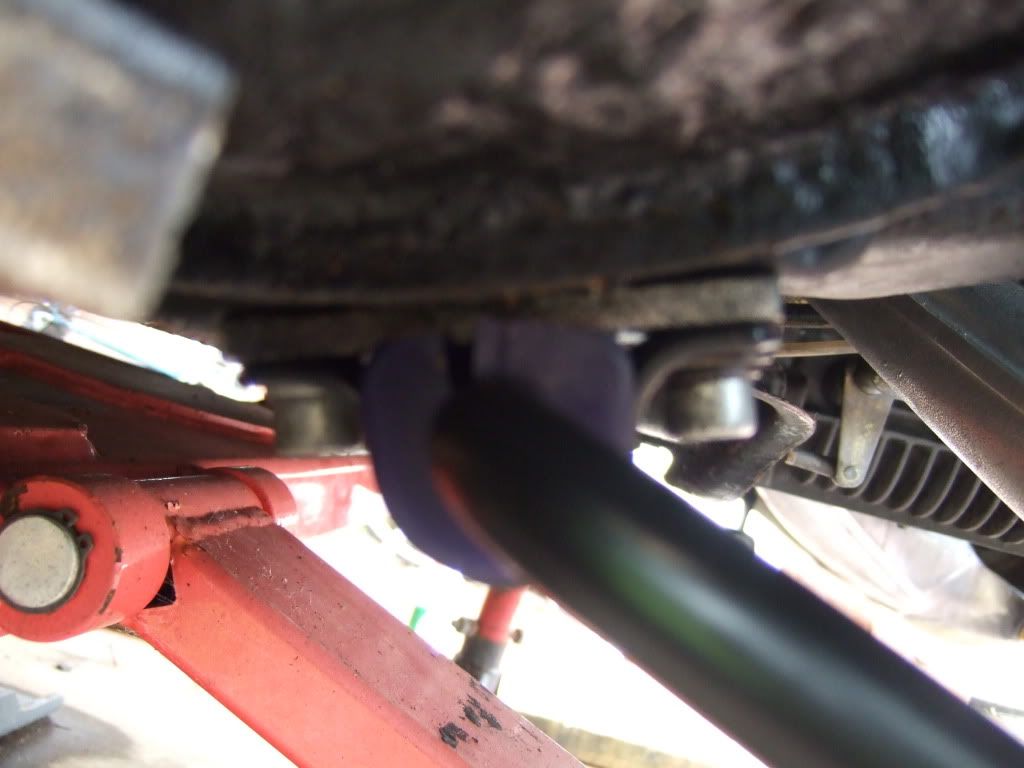
The worst bit is this - I greased it and tried my clamp, but there is no way I can see of squashing it on.
Please help !!!!
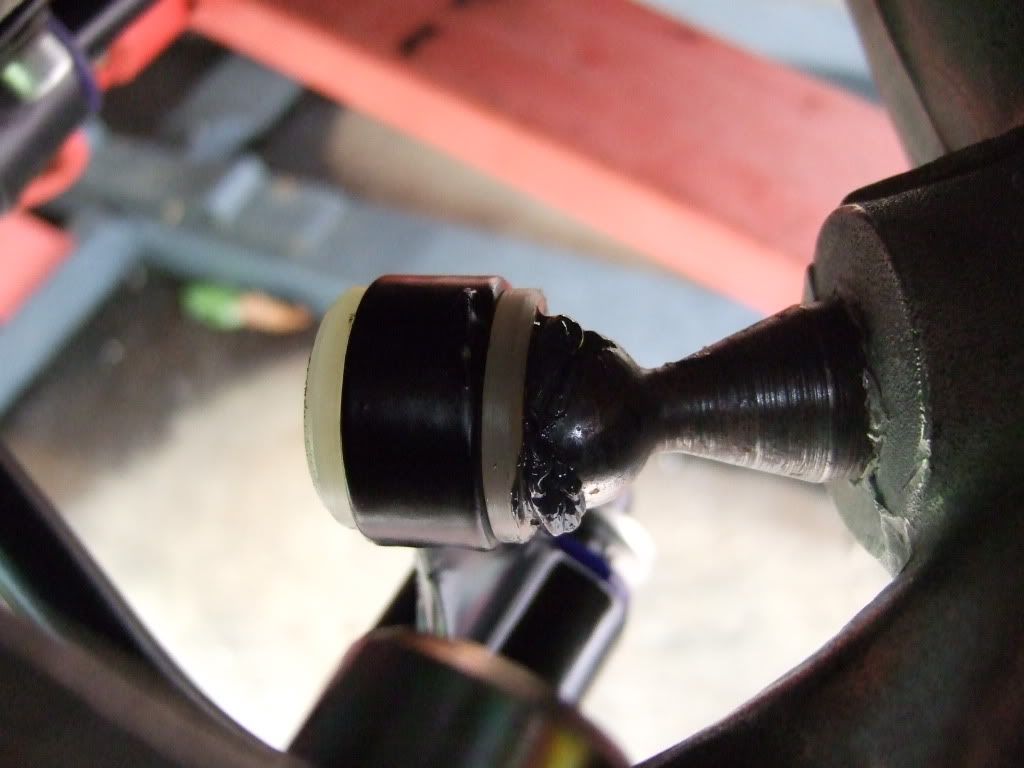
Ian
Driveshart Preparation
Posted: Wed Jul 08, 2009 11:34 pm
by Highfield
Last job of the day to finish on a positive note was to prepare the driveshafts for re-installation.
These have remained wrapped to protect them, as the CV Joints were OK and just need packing with new grease - but the looked in need of a spruce up so received a coat of satin black hammerite to protect and enhance.
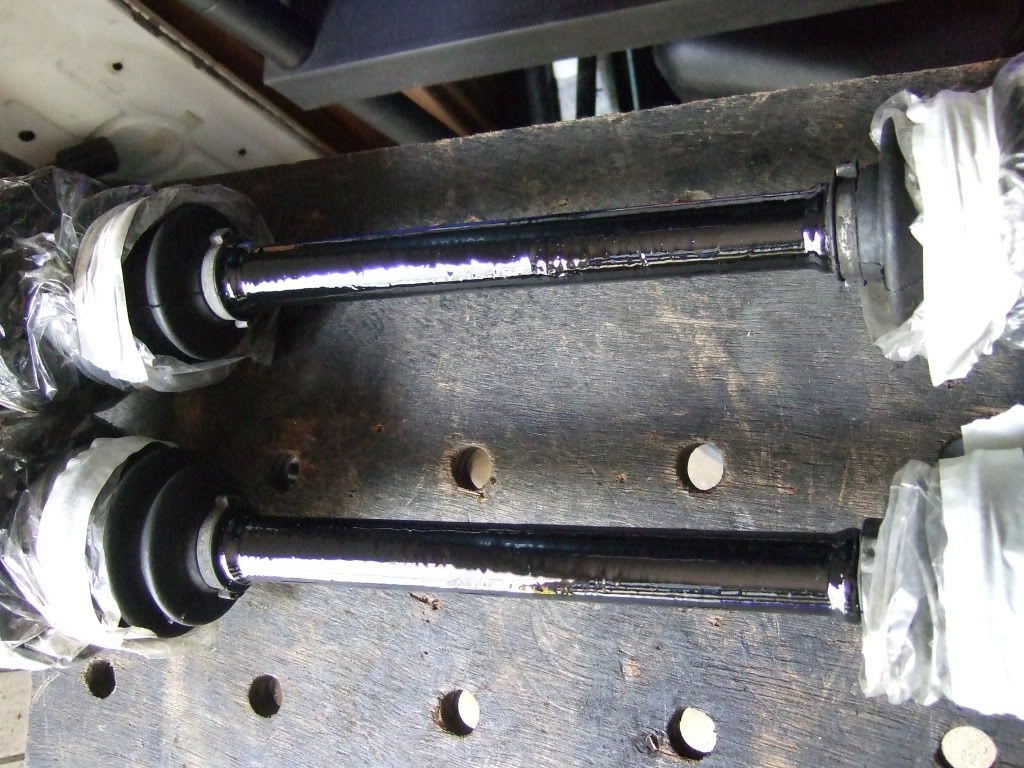
In order to be prepared for the install, I gather the correct 16 allen head bolts, lock washers and brackets, along with my super long extension that will be needed for the install.......more on this tomorrow.
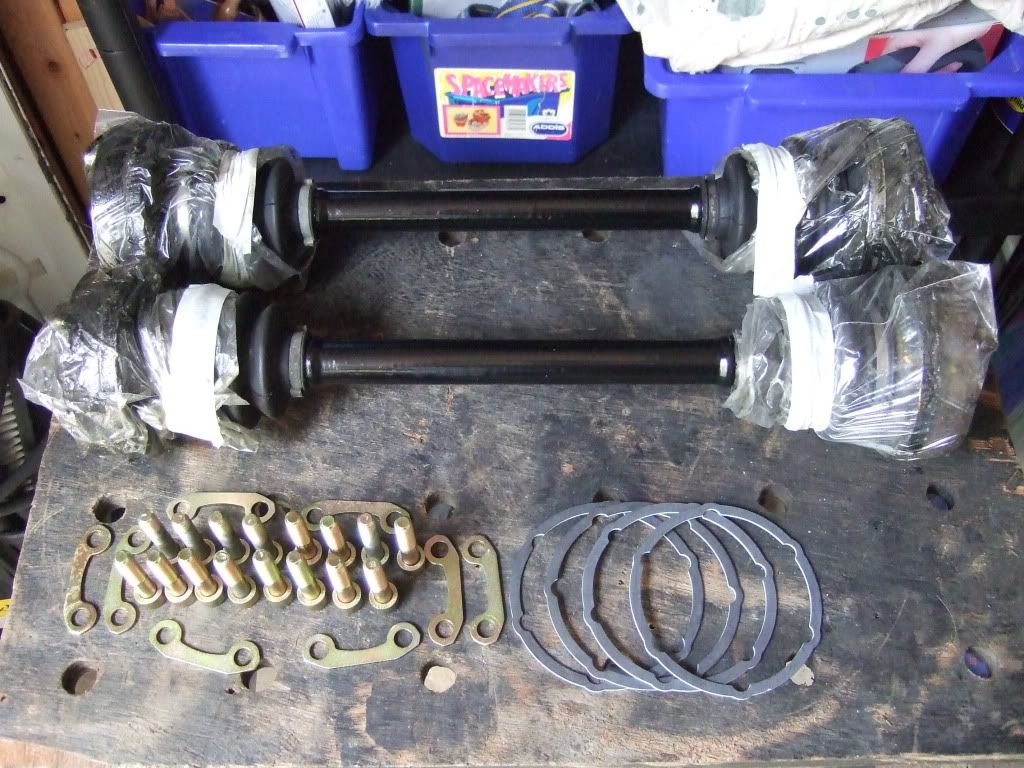
Ian
Brake Backing Plates
Posted: Wed Jul 08, 2009 11:37 pm
by Highfield
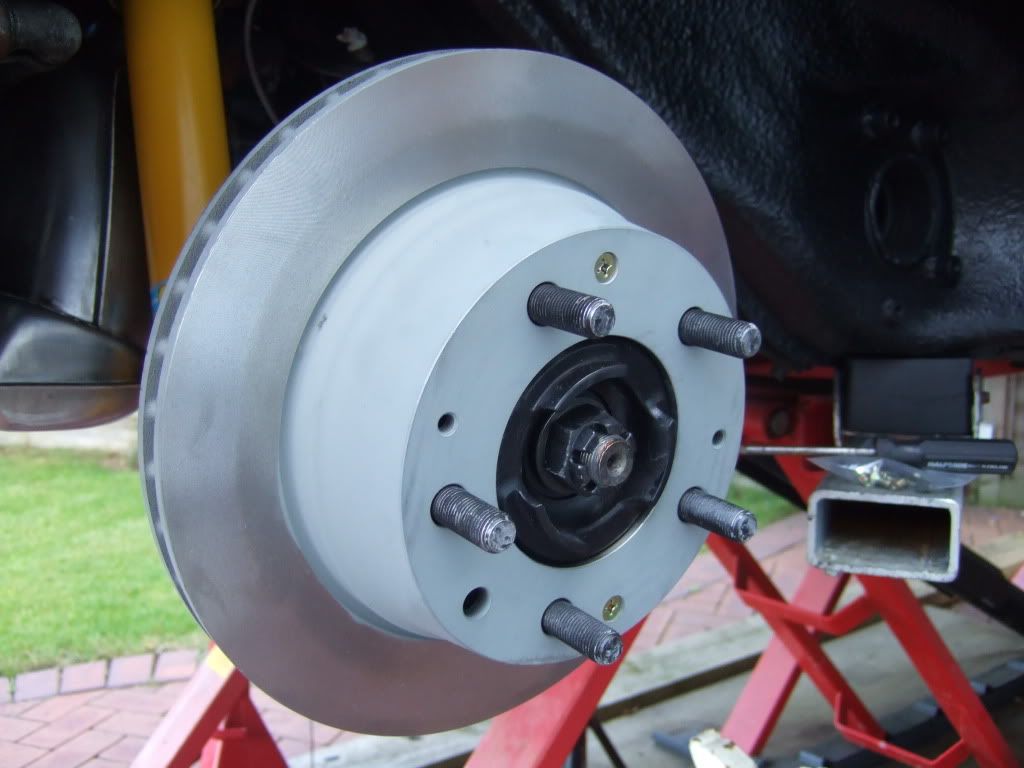
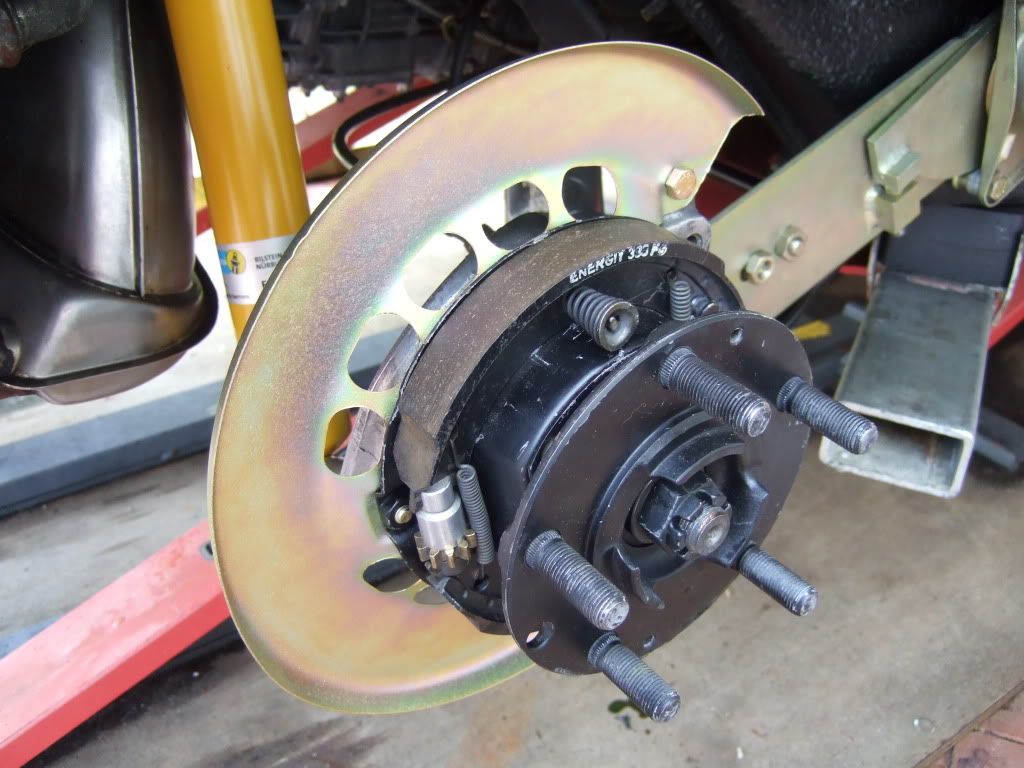
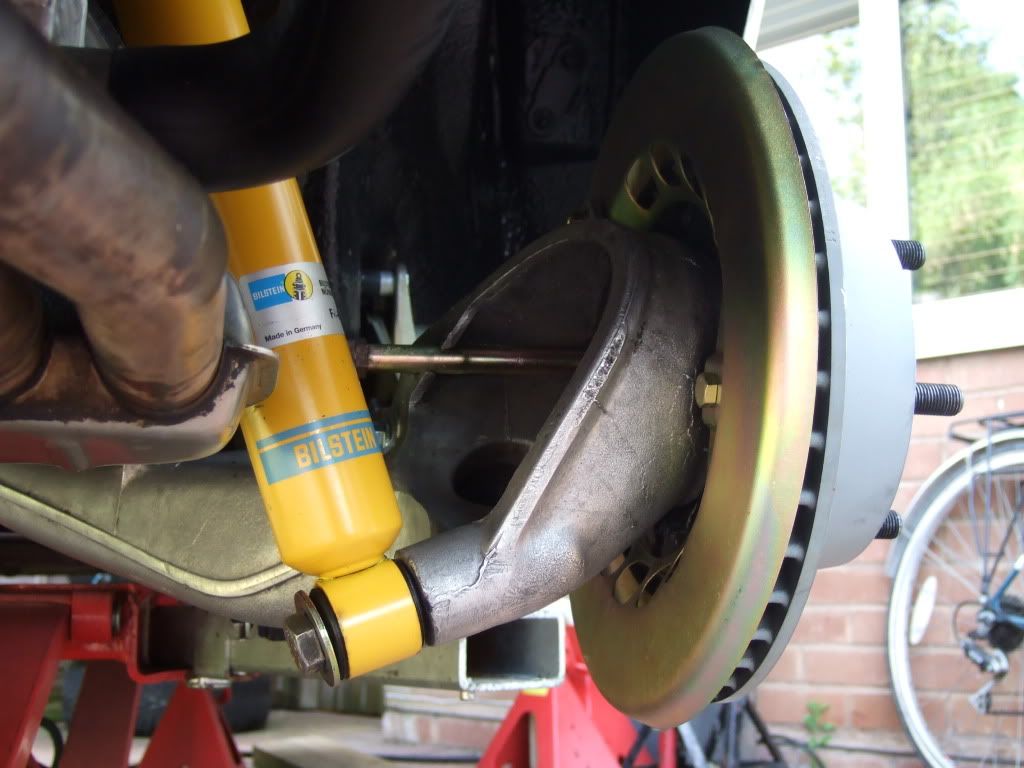
Final final job of the day was to fit the re-coated brake backing plates.
Collect together the necessary nuts, bolts and lock washers and install.
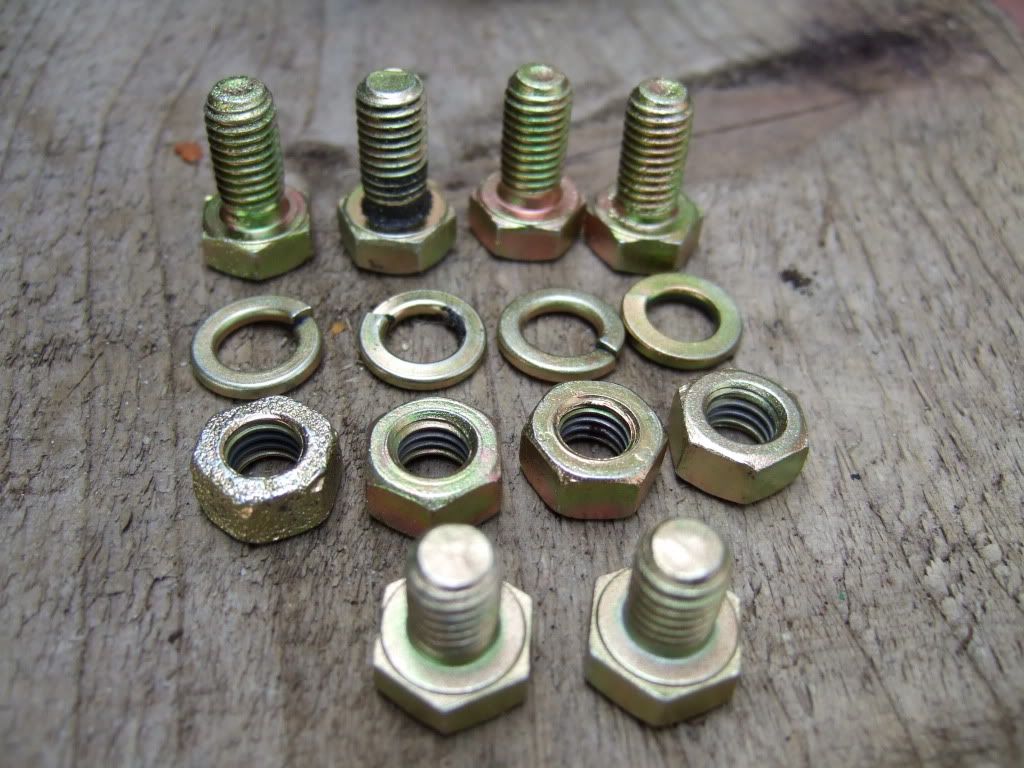
Ian