Page 1 of 3
73T - Inner Wheel Arch Refurb - Update 9th June 2009
Posted: Sun Jan 18, 2009 6:52 pm
by Highfield
Spent today cleaning and making ready the front left inner wheel arch for refurbishment, prior to fitting all the new and refurbished brakes, suspension and steering. No point in bolting all that in to a grubby wheel arch.
I used the pressure washer with flexible lance, parafin gun with hot jizer, wire and nylon brushes to get in to all the nooks and crannies and make the whole area as clean as possible.
It may not look much, but went from this :-
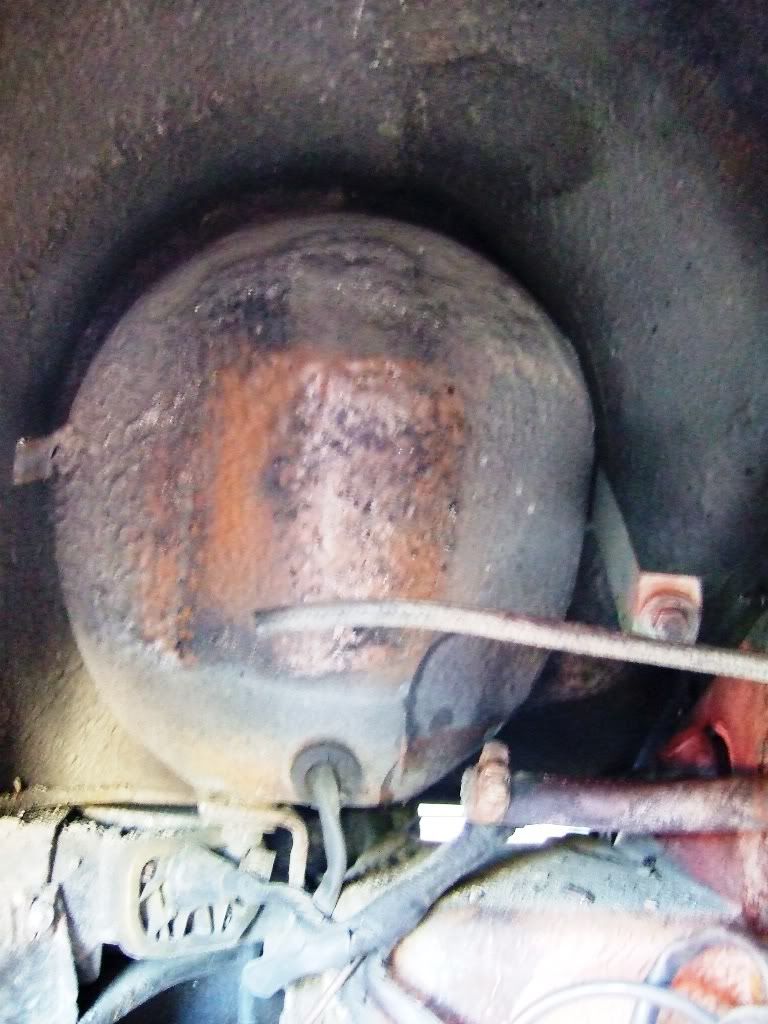
to this :-
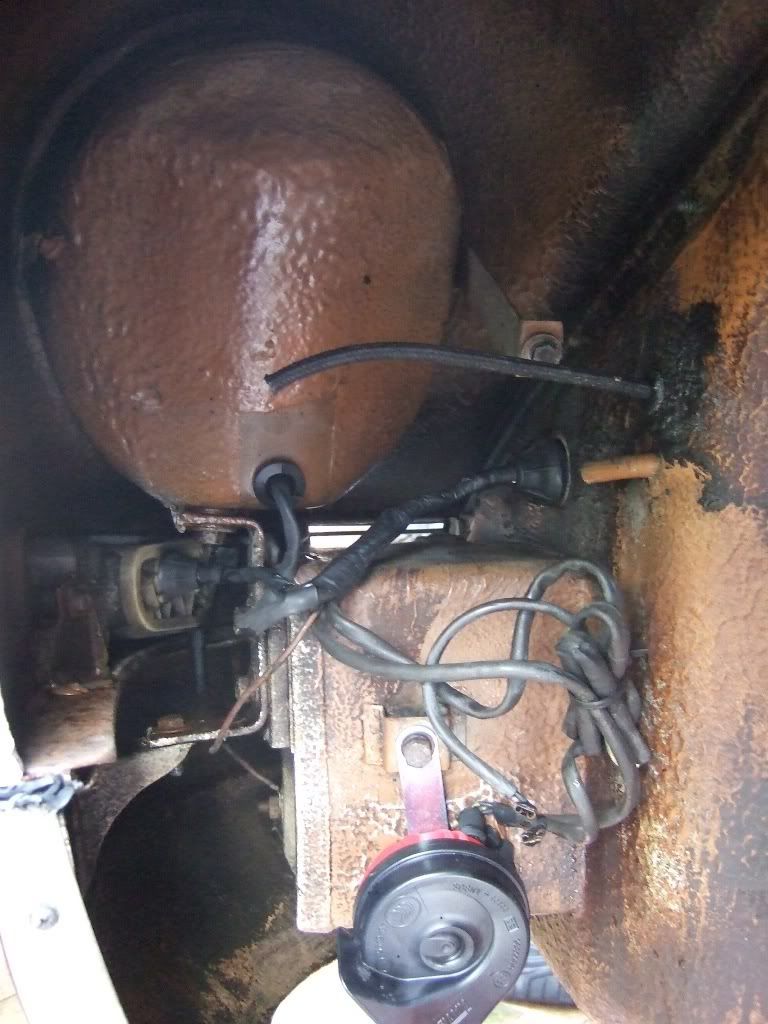
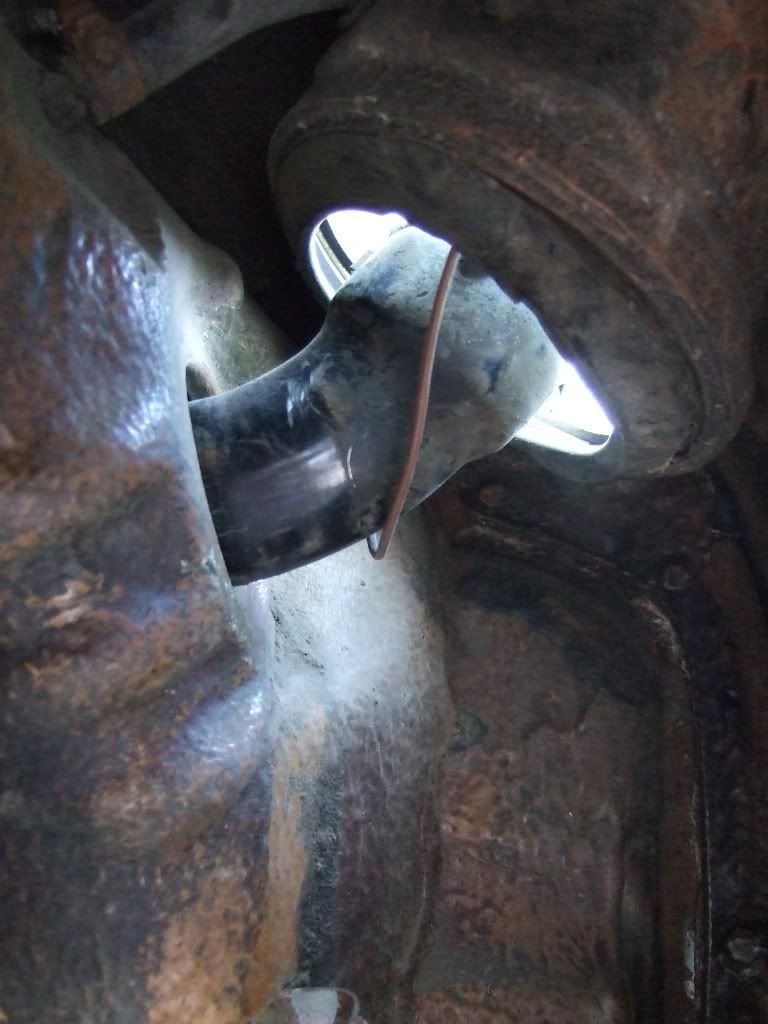
via this pile of road dirt and original factory underseal that had become brittle and easily chipped off.
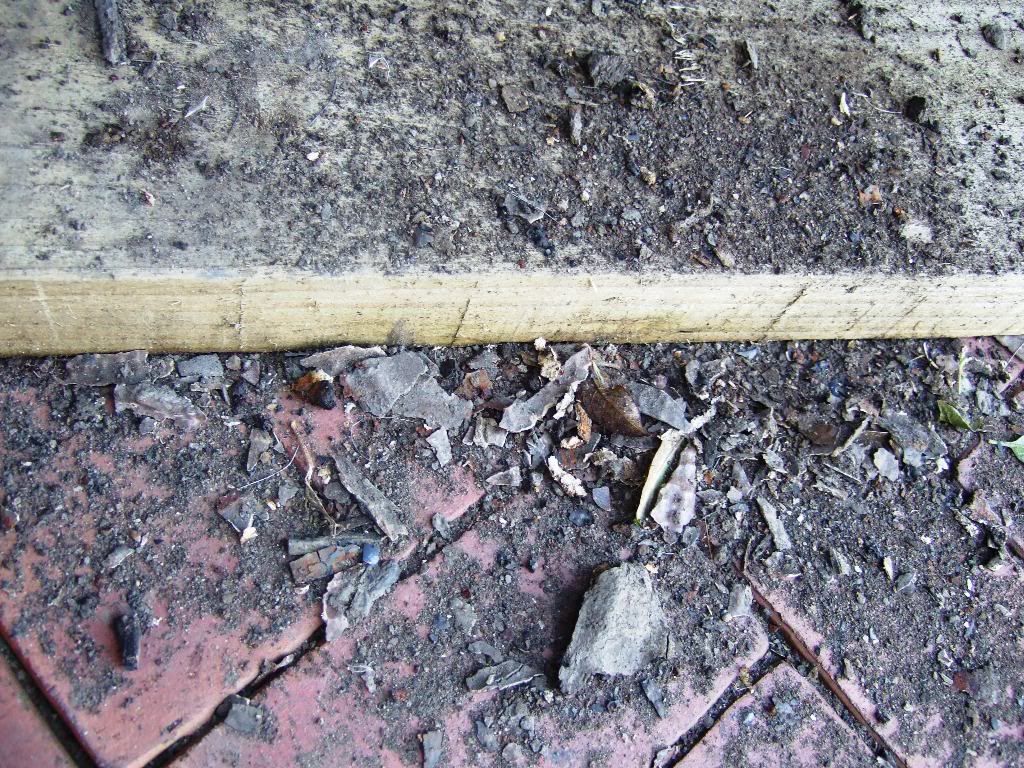
What is left is ready to be sprayed with Black Stone Chip and Tetrosyl for what I hope to be is a single flat black finish. But that is for another day.
Right now I have some questions on the fuel system and a charcoal filter.
Fuel Vapour and Charcoal Tank - Removal ?
Posted: Sun Jan 18, 2009 7:01 pm
by Highfield
I removed the plastic tank that has a pipe going in to it from the fuel system (a return from a small tank under the bulkhead by the dashboard) and from the charcoal filter.
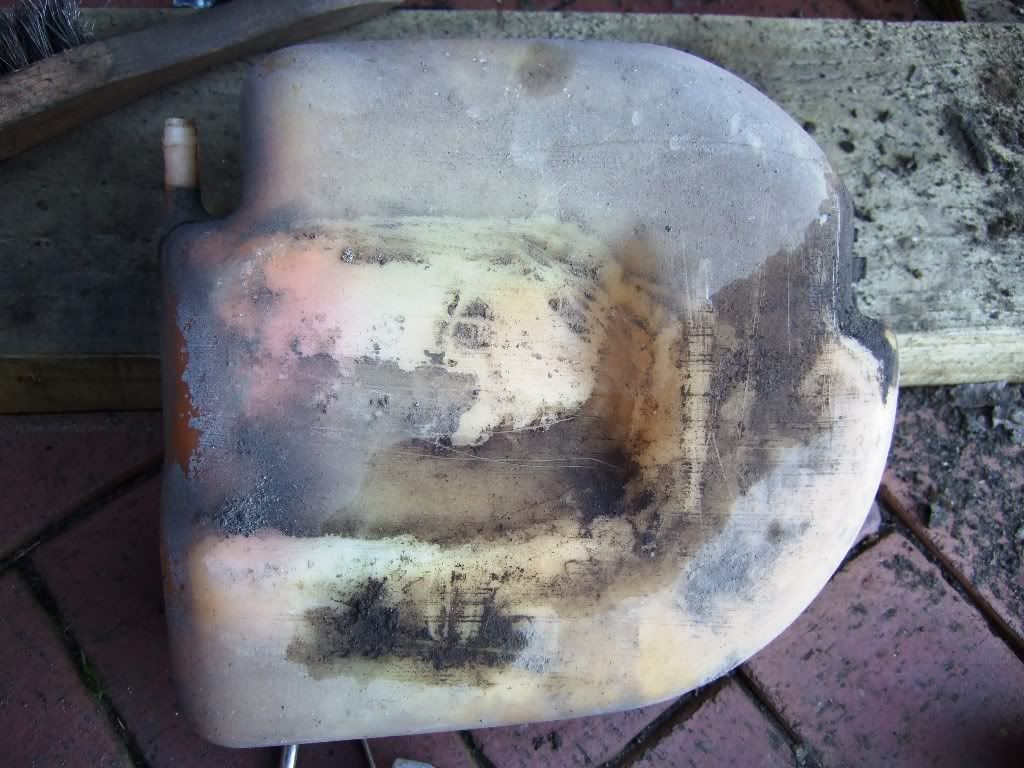
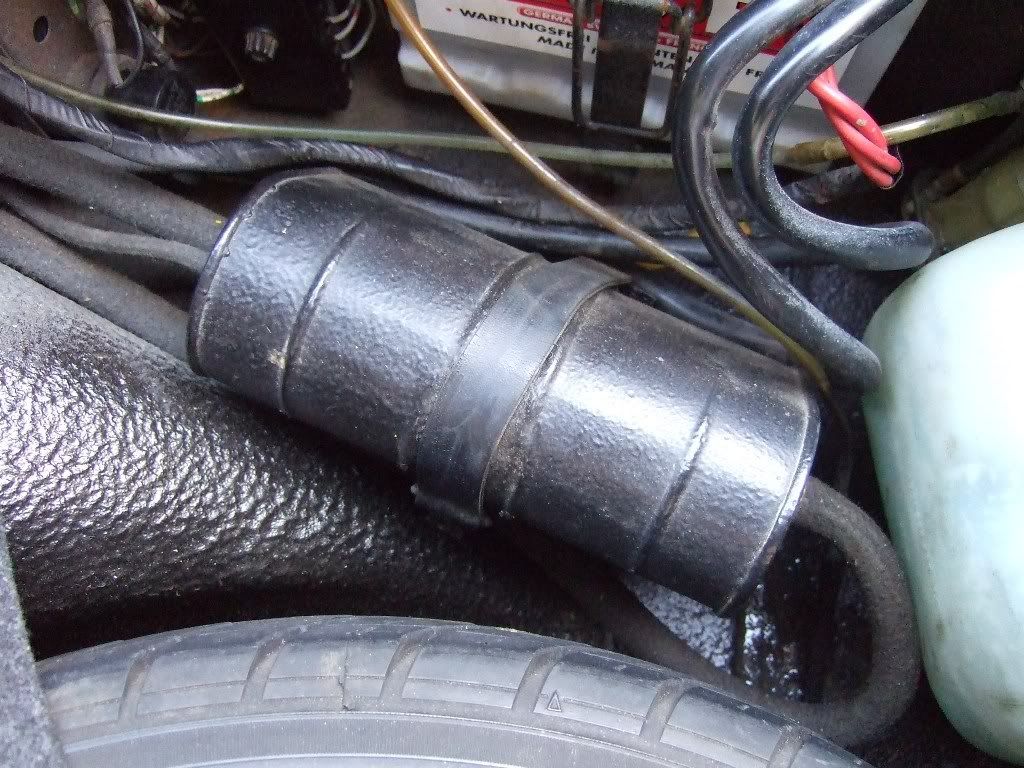
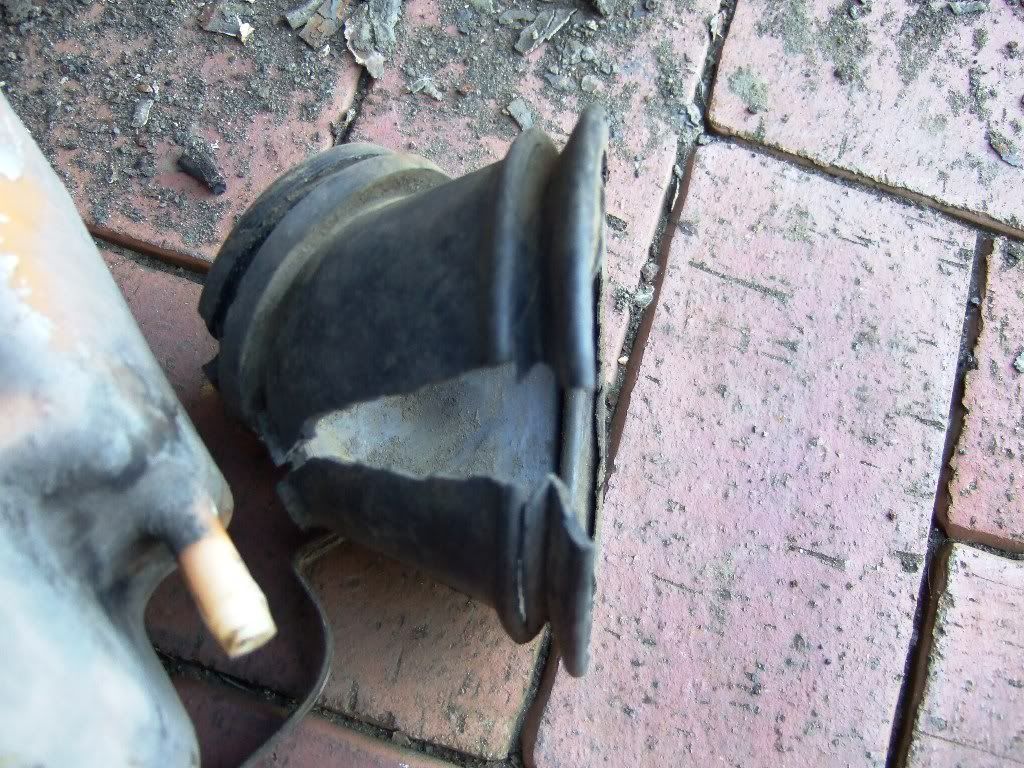
The pipe from the charcoal filter was frayed and broke, leaving a rubber seal piece in the plastic tank, and the metal end sticking out (this had pushed in to the flexible pipe from the charcoal filter).
I want to remove the charcoal filter and associated piping, as it is unsightly, and I understand was not on European cars.
Can I remove the charcoal filter, and if so, does anyone have good pictures of what is removed and blocked up etc. ? Where do those lines run to the rear of the car, as I cannot see them anywhere ?
I also found a picture on Pelican that showed the different fuel vapour systems between US and European. Cannot find it so does anyone have a link ?
Can I leave the plastic tank out, and what about the little tank under the bulkhead ?
Again, any pictures and information on how I can simplify what is under the wing and inside the trunk will really help.
Ian
Posted: Sun Jan 18, 2009 7:12 pm
by Highfield
I found this post from Andy :-
http://www.ddk-online.com/phpBB2/viewto ... t=charcoal
but I would really like some pictutes of what I am aiming to end up with.
Andy - how do I remove the expansion tank ?
I also have to fit a new fuel filler neck rubber, and that looks a nightmare as mine was all split and I cut it out - best place to get one and tips on how to fit ?
Ian
Posted: Sun Jan 18, 2009 8:21 pm
by Lightweight_911
Ian - as you guessed, fitting a new rubber 'bellows' around the underside of the filler neck can be a b*st*rd of a job - at least you'll be working in a nice clean area.
When I last did this job (a few years ago) I think I got a new one from Roger Bray (item no.43 here:
http://www.rogerbrayrestoration.com/rubber1.html).
When you say "how do I remove the expansion tank ?" - which part are you specifically referring to ?
Posted: Sun Jan 18, 2009 8:35 pm
by Highfield
Andy
Item 2 in your diagram as I read it that you removed all bar a pipe from tank up to filler neck.
Any pictures of your neater install?
Ian
Posted: Sun Jan 18, 2009 9:04 pm
by Lightweight_911
Ian - I'll see if I can find some pictures but I don't think they will be of much use since my silver car has a centre-fill tank.
Basically I removed all superfluous pipework/cannisters, etc & simply vented the tank via a small-bore fabric overbraided rubber pipe incorporating a non-return valve through the inner wing (up by the brake fluid reservoir) & vertically down inside the back corner of the inner wheel well (there are built-in clips there to hold the pipe).
The plastic box up under the back of the dash in held in by a simple metal bracket but, due to the lack of space, it's a real struggle to get it out.
Posted: Sun Feb 15, 2009 5:27 pm
by Highfield
Well I made good progress today, and as always ended up removing more than I had intended as the overlal refurb continues.
First to go was the petrol tank filler neck - I taped off the petrol tank filler - is this OK and safe ?
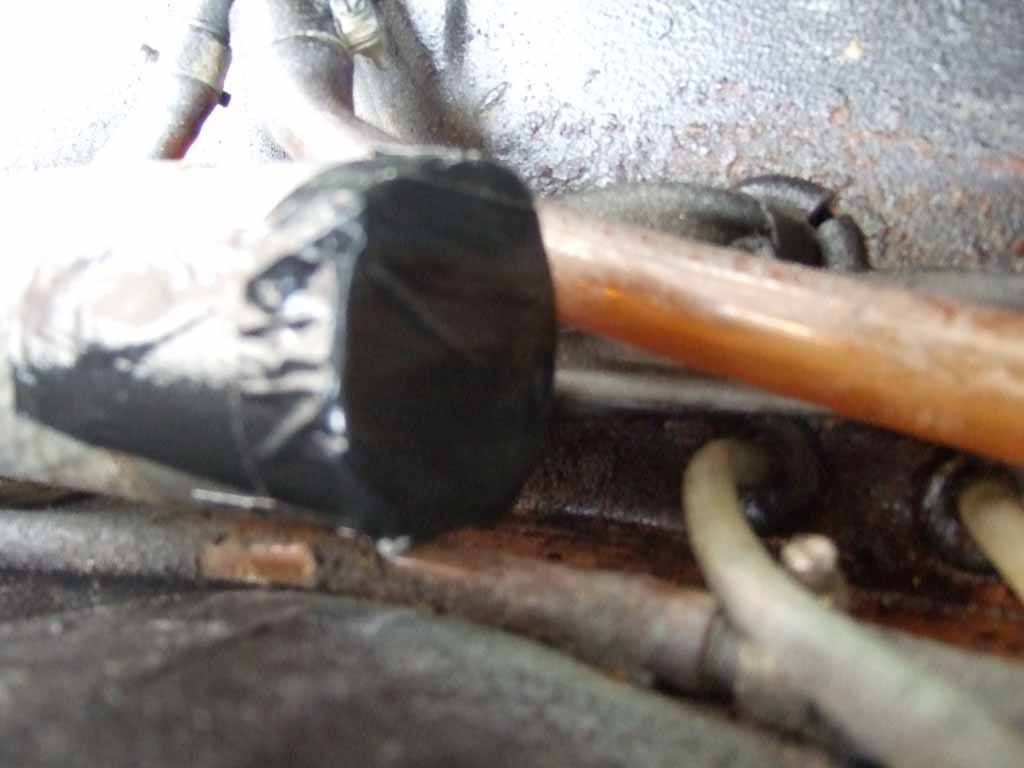
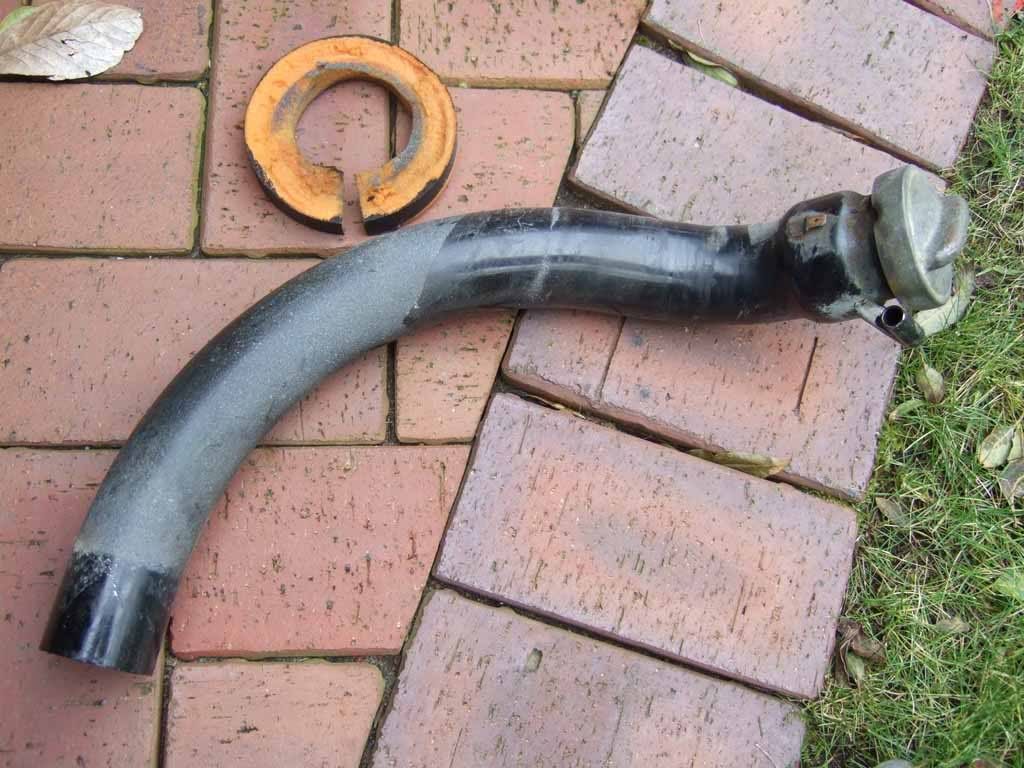
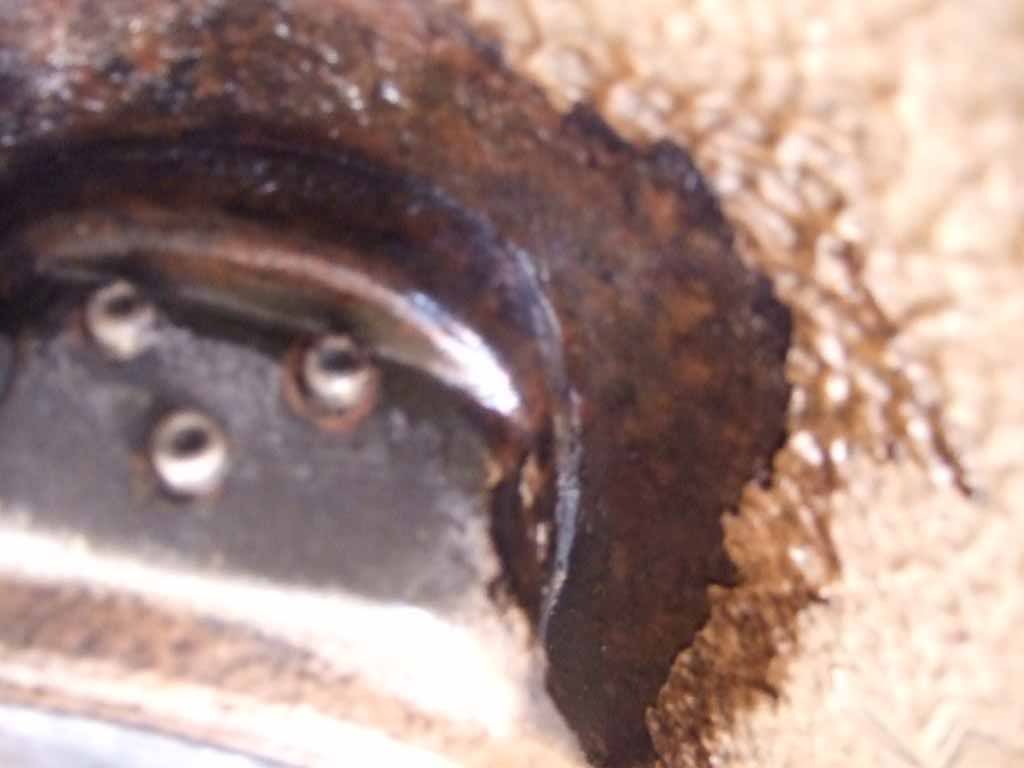
The inner wing area is super clean and still has the factory sepia colour.
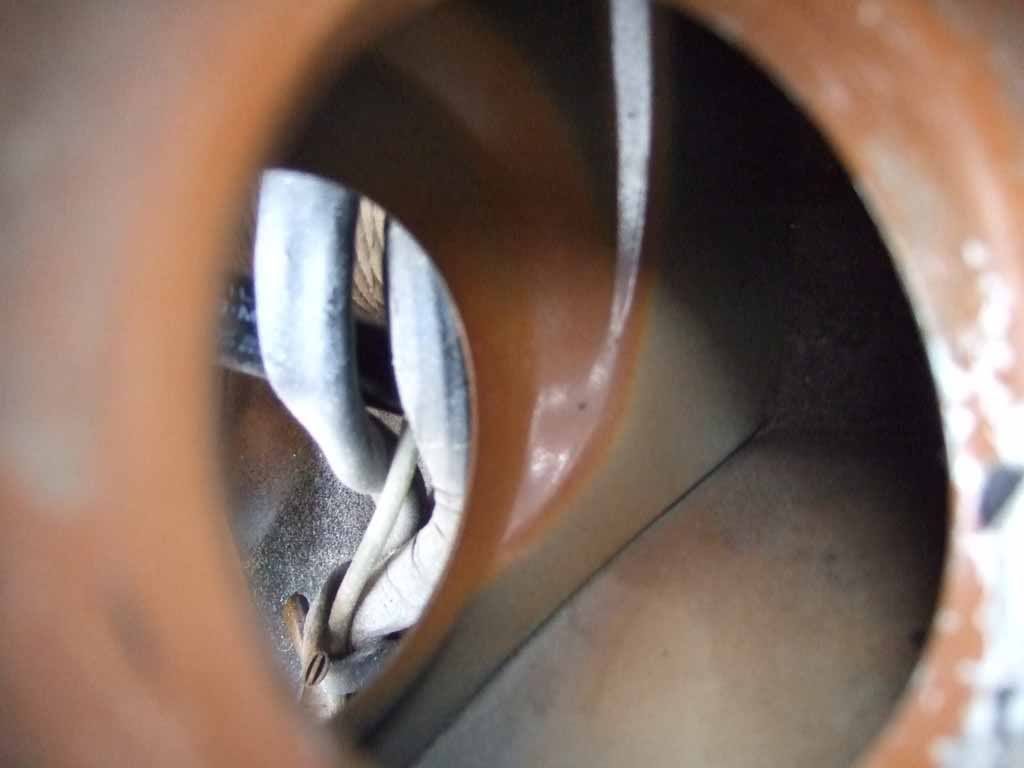
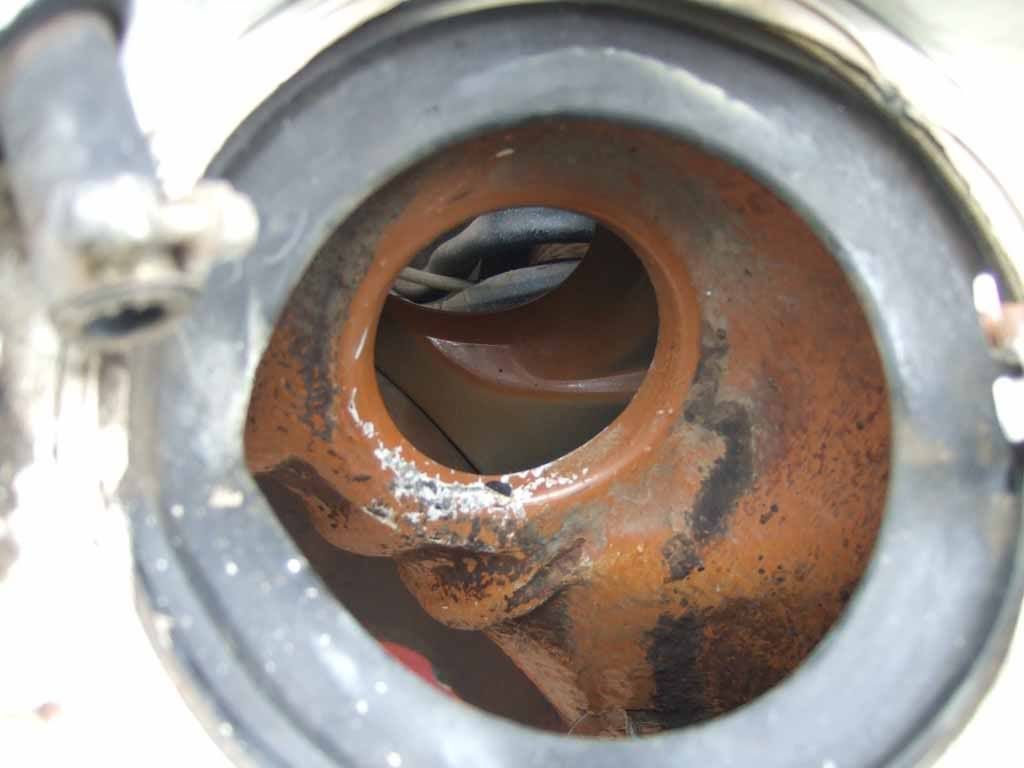
The exit points for the brake fluid pipes to the master cylinder had a little surface marking so I cleaned up and applied a rust inhibitor.
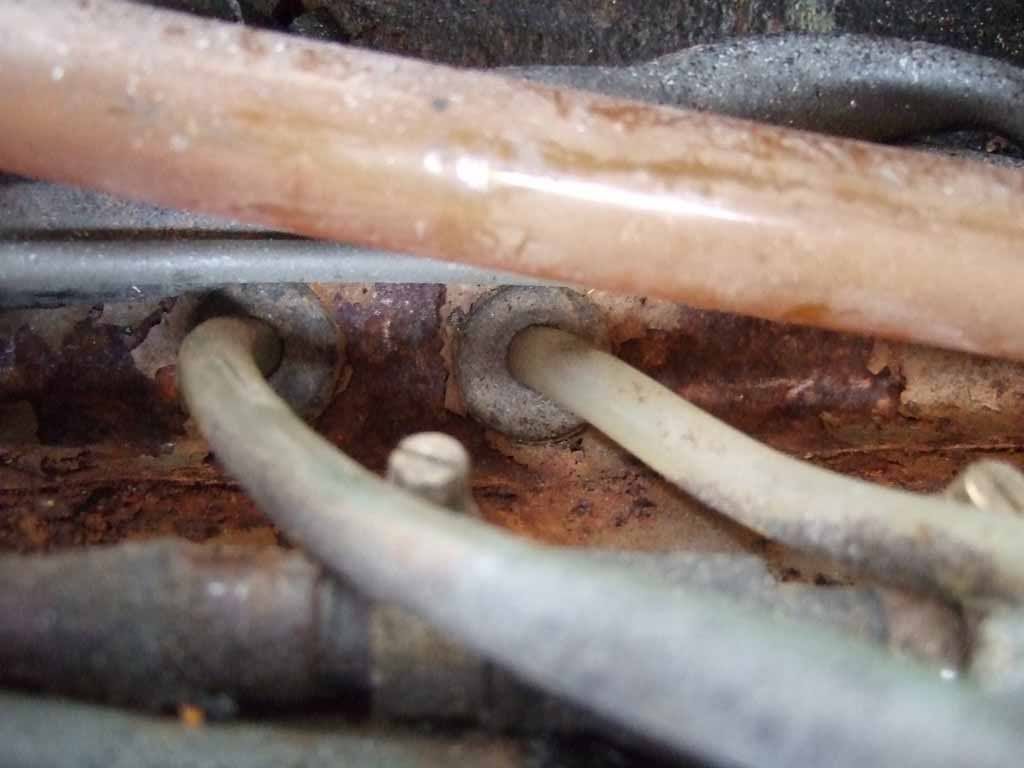
I then painted any bare surfaces from my previous cleaning exercise with the rust inbibitor.
Ian
Posted: Sun Feb 15, 2009 5:32 pm
by Highfield
Posted: Sun Feb 15, 2009 5:50 pm
by Highfield
Posted: Sun Feb 15, 2009 5:55 pm
by Highfield
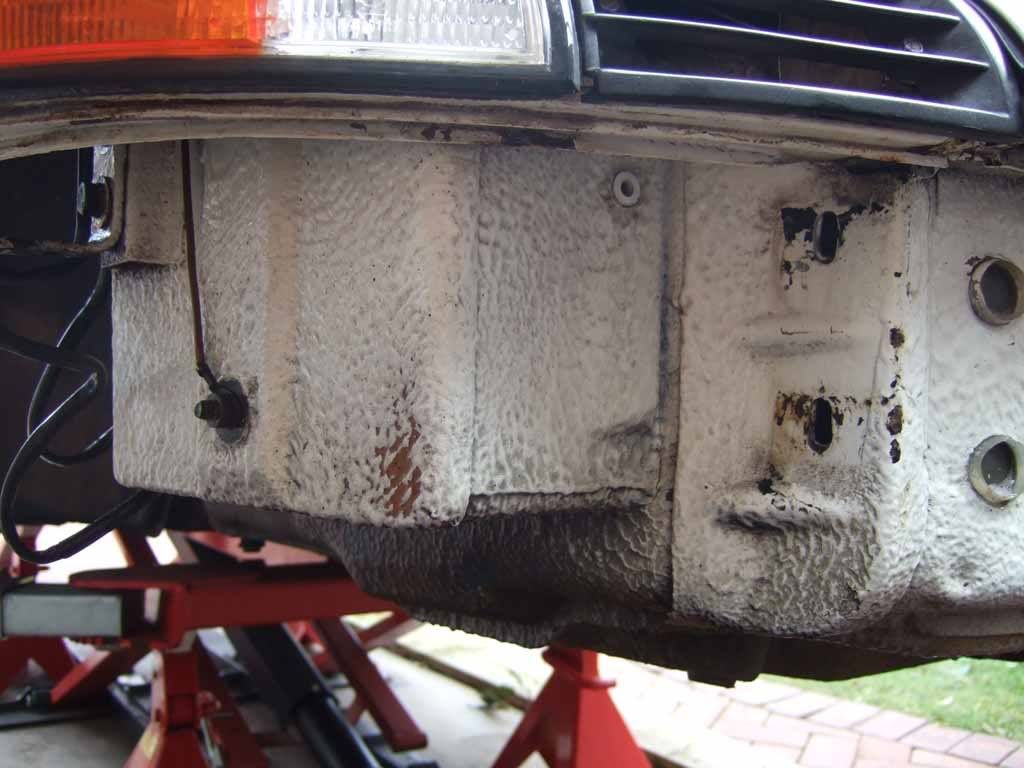
I was going to finish the underwing and front slam panel in black underseal / tectyl / stone chip but having seen the white paint on the slam panel. I think it would look good if I could get that finish over the whole area.
I could use white stone chip spray or a standard aerosol, but not sure how that would stand up to the rigours of the UK weather

Ian
Front Indicator Housings
Posted: Sat Feb 21, 2009 7:24 pm
by Highfield
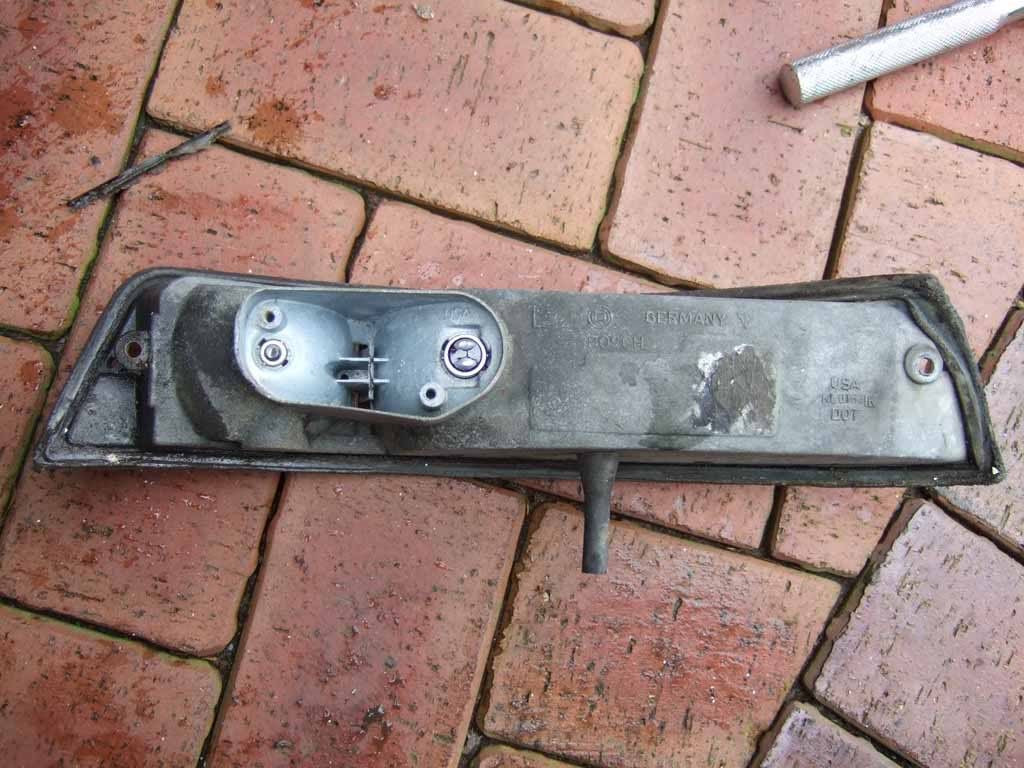
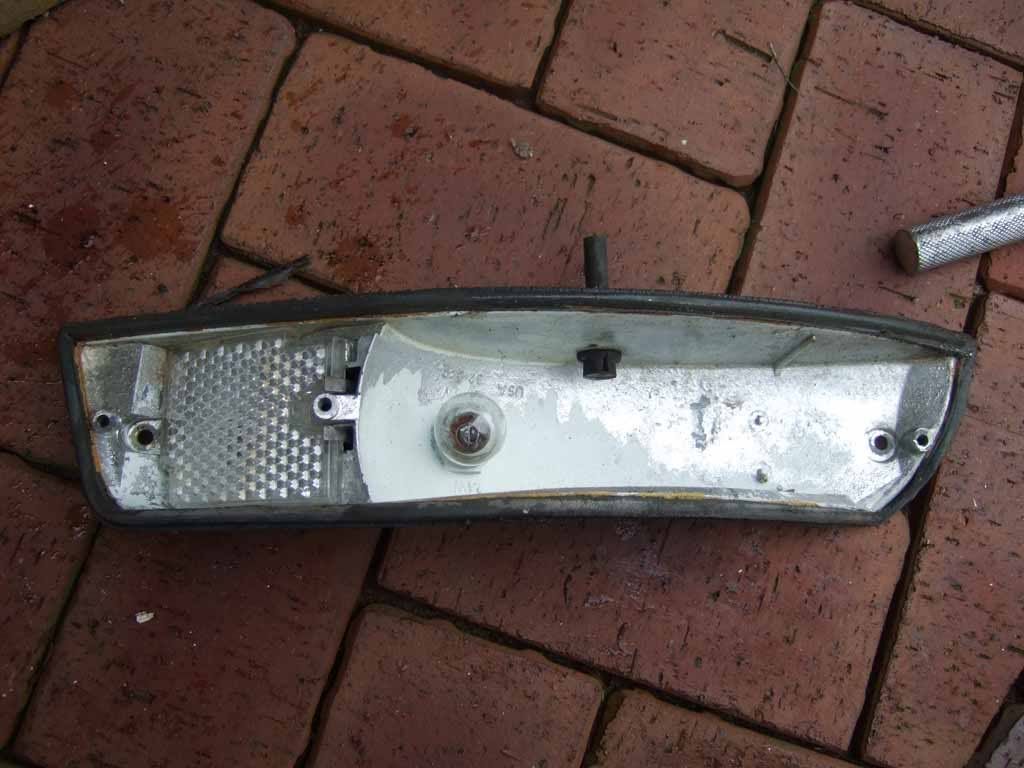
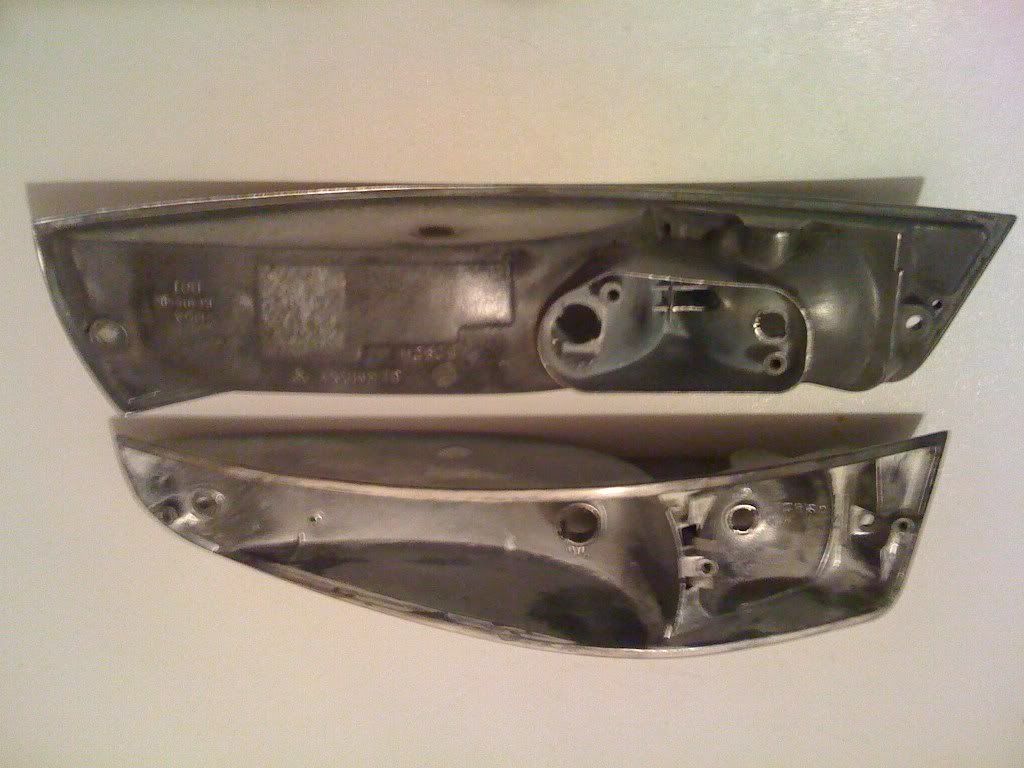
Today it was a short spell of work to thoroughly clean and repaint the front indicator housings. These have been removed from the front wings to give better access to the headlamp bowls and battery boxes when painting on the underbody seal and paint.
They go from this :-
to this :-
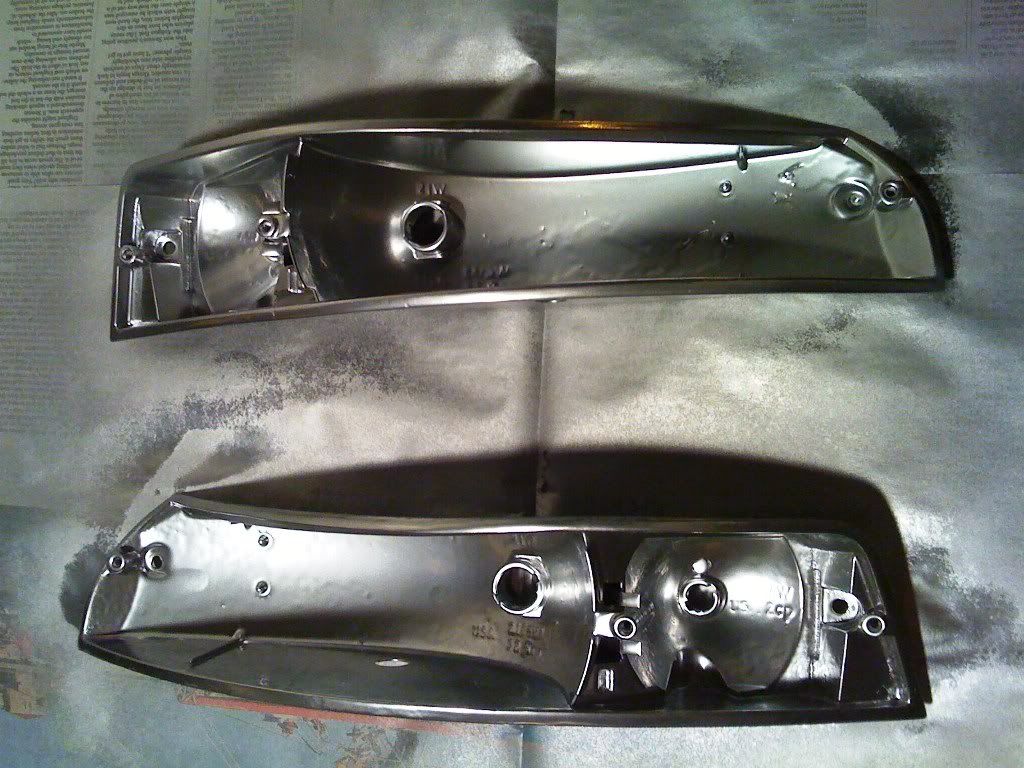
I simply washed and then rubbed clean with some wet 'n' dry to get rid of dirt and glue residue, helped along by the fine wire brush on the electric drill.
I primed the insides, and then used Plasti-Kote paint with a chrome finish to it - either way, they will put on a brighter light than before.
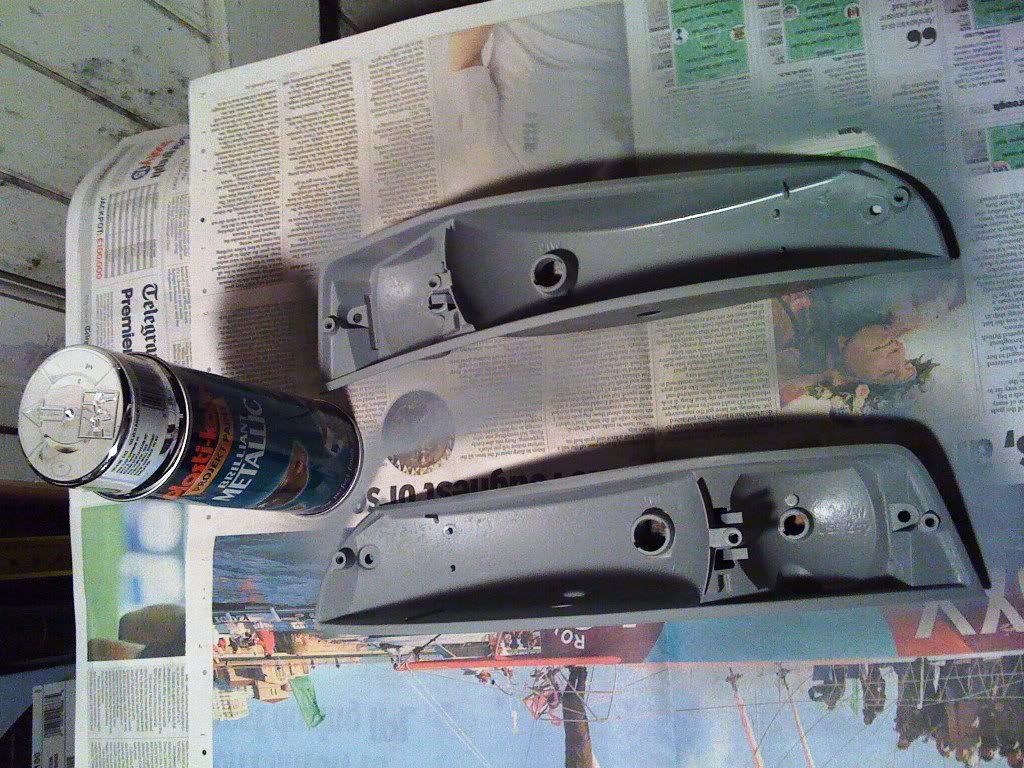
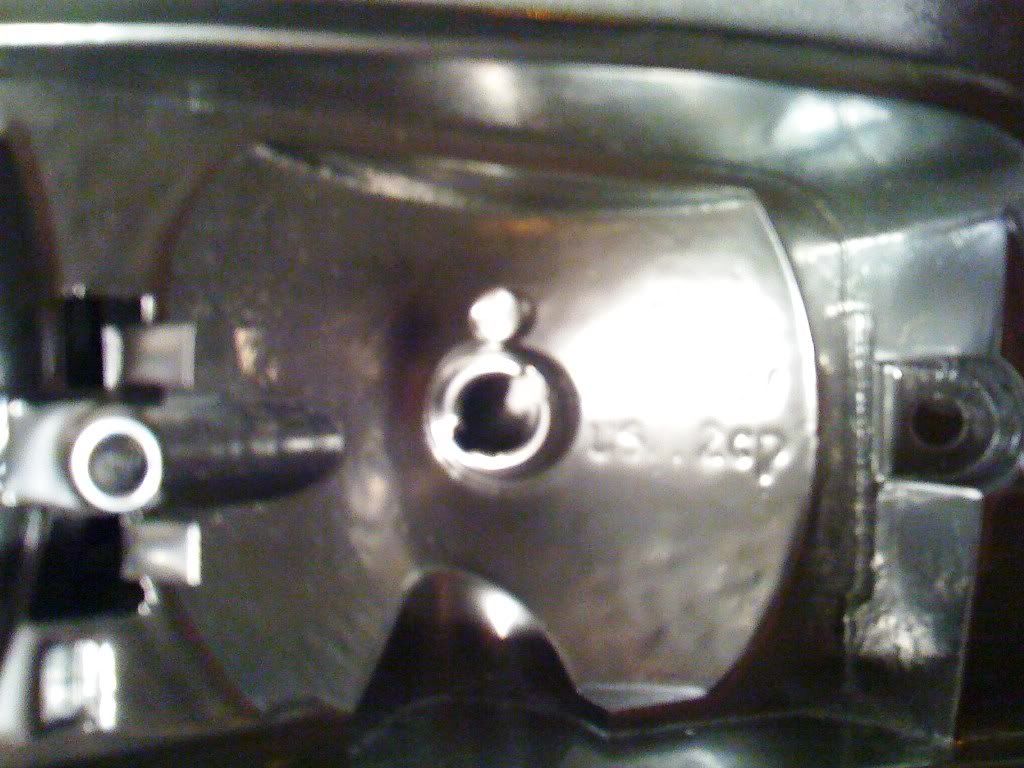
All I now need are new rubber gaskets and some LED bulbs (Orange).
Ian
Paiinting and Rust Care
Posted: Sun Feb 22, 2009 6:20 pm
by Highfield
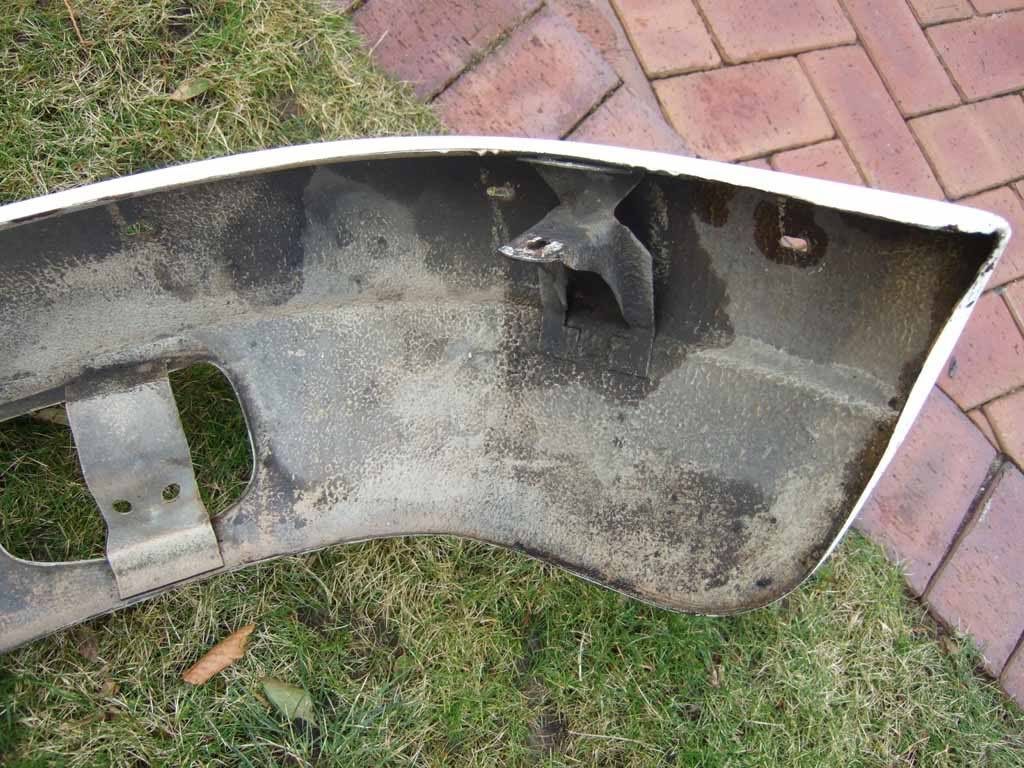
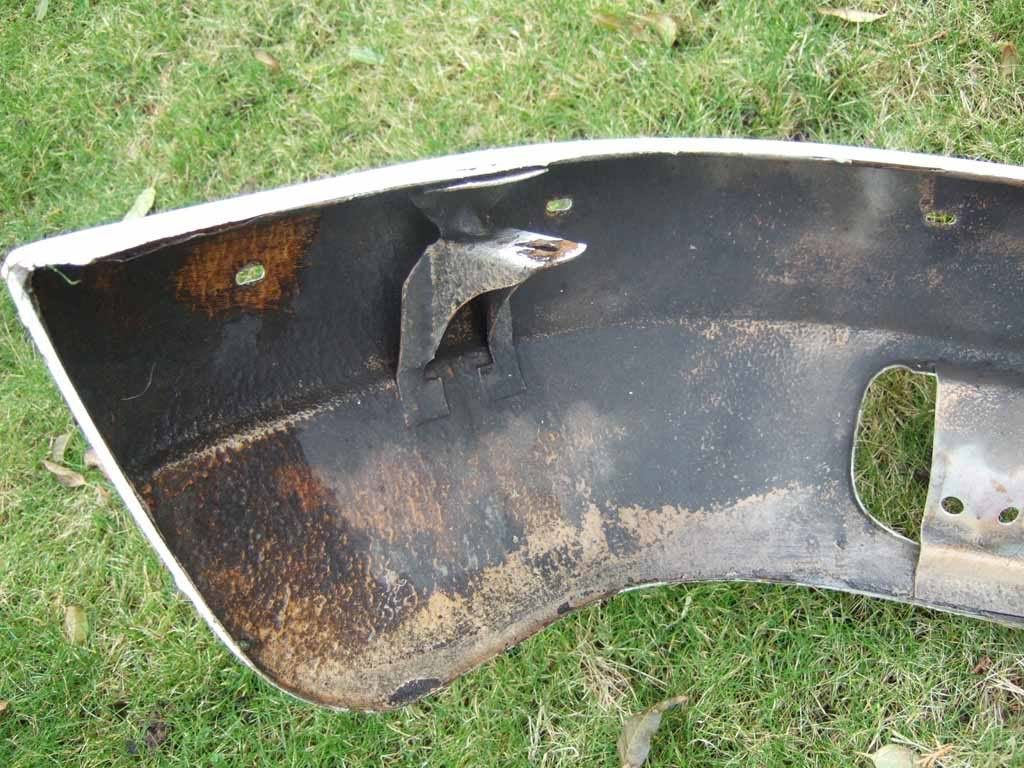
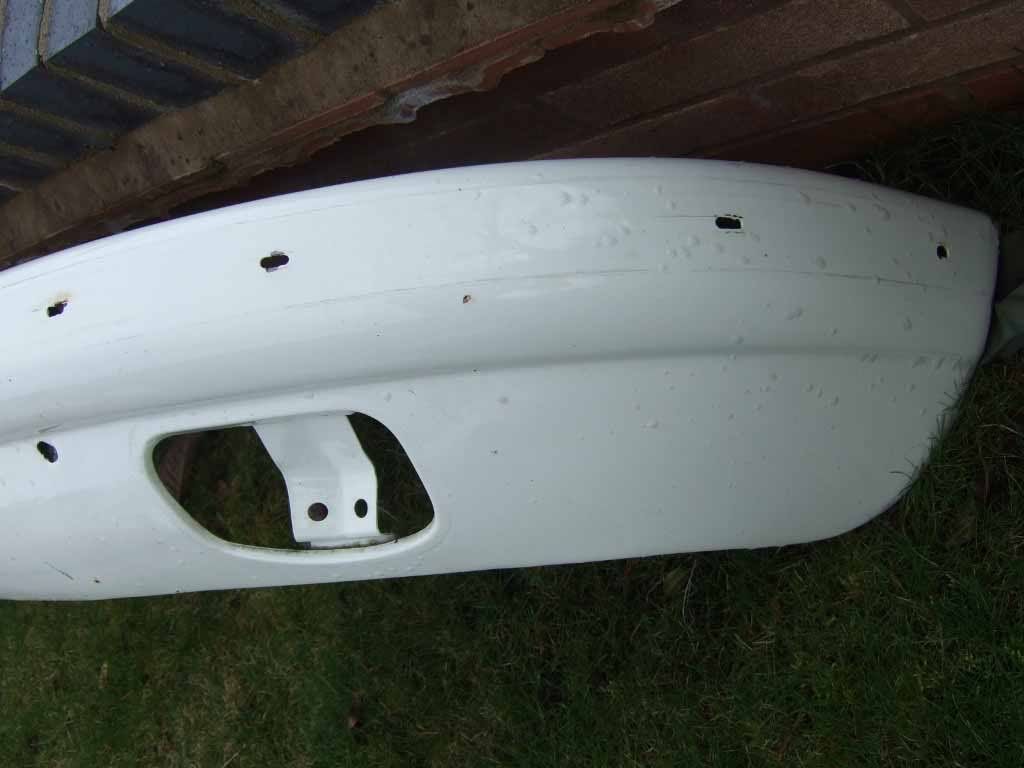
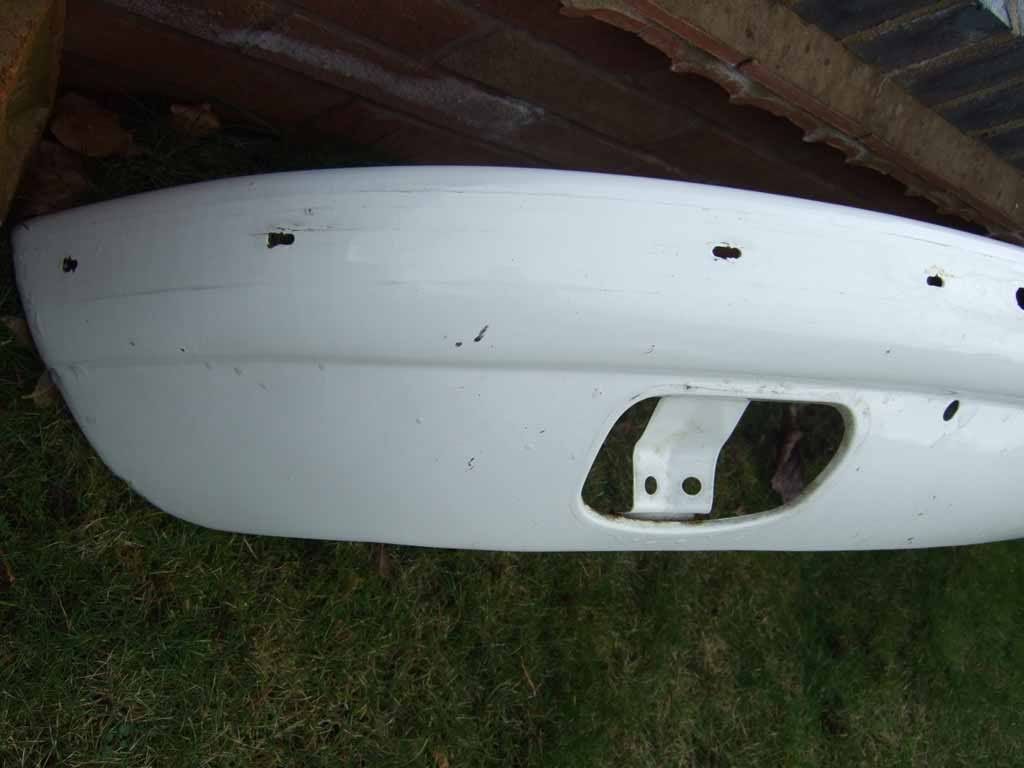
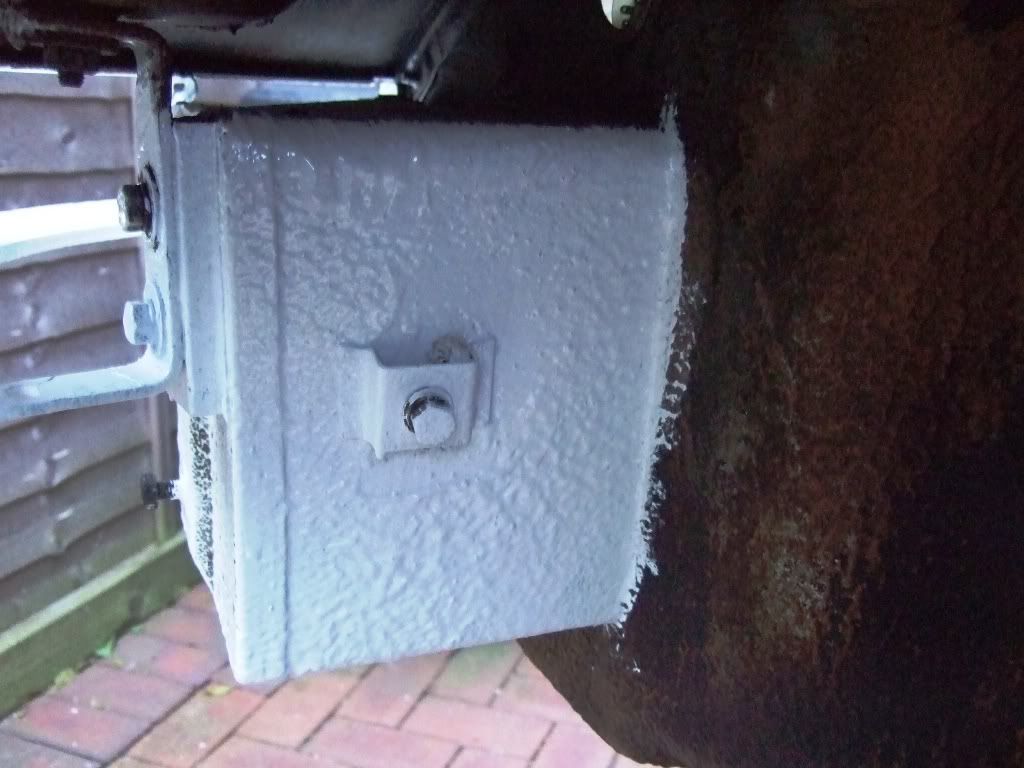
Having removed the bumper and indicator (turn) units, I set about removing a little flaky surface rust and paint.
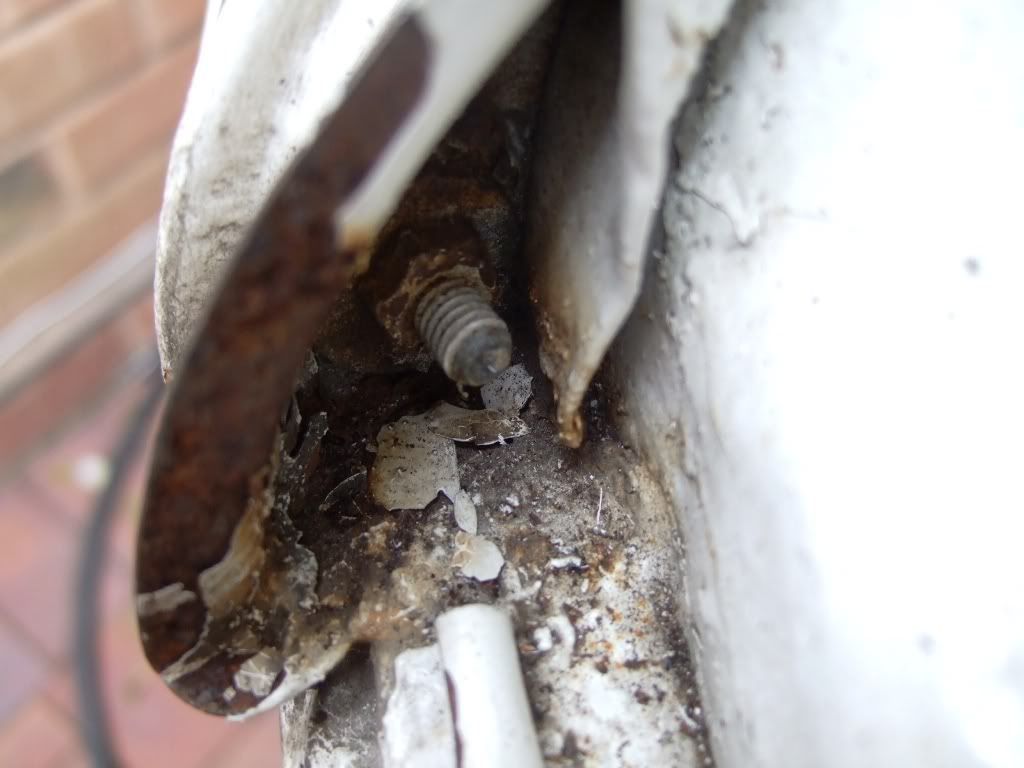
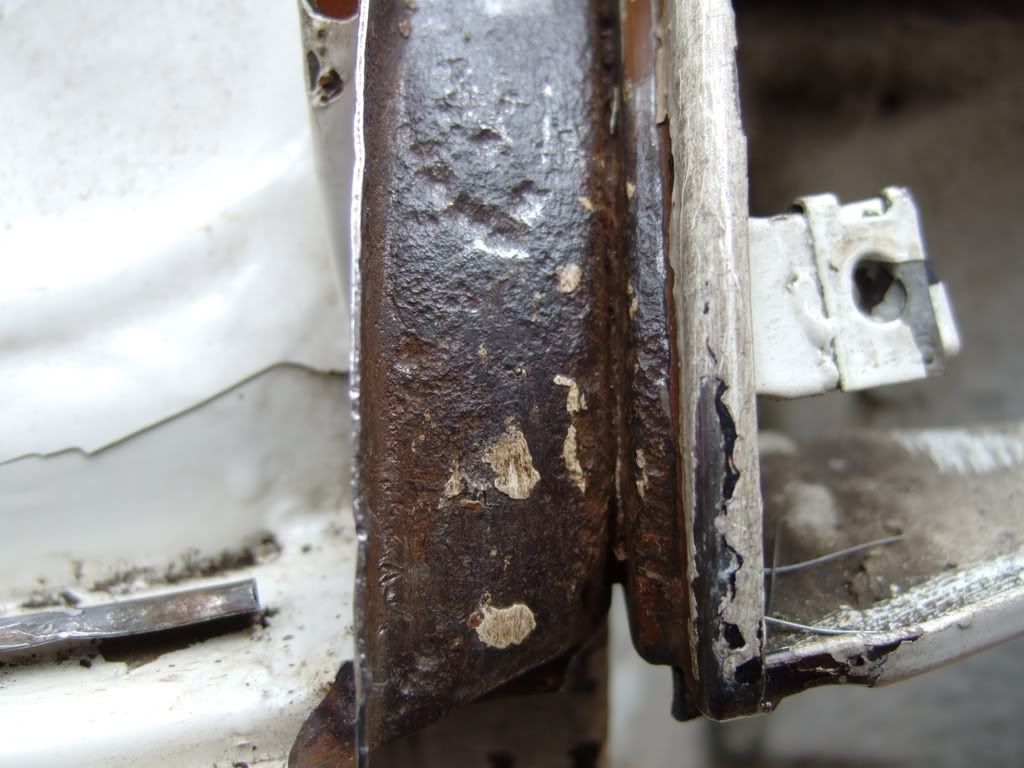
The wire brush was pressed in to action, and varous other scrapers to give me a surface to work with. I hadn't got any white POR15 so bought some Hammerite Smooth from Halfords - just as good in these none exposed areas.
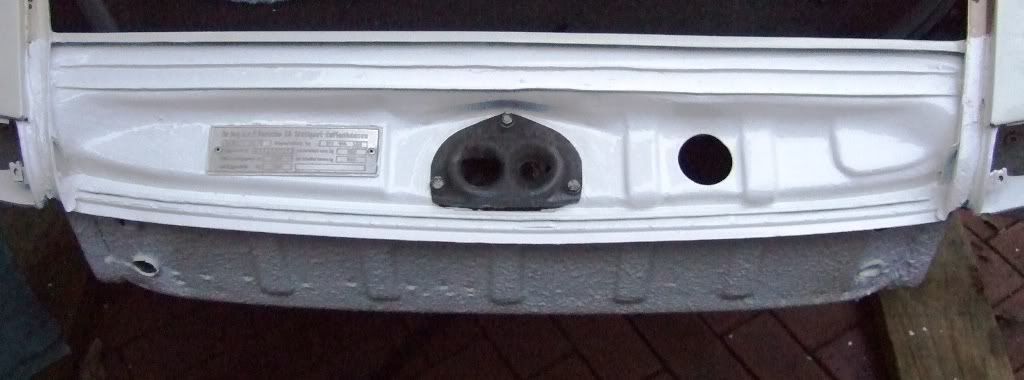
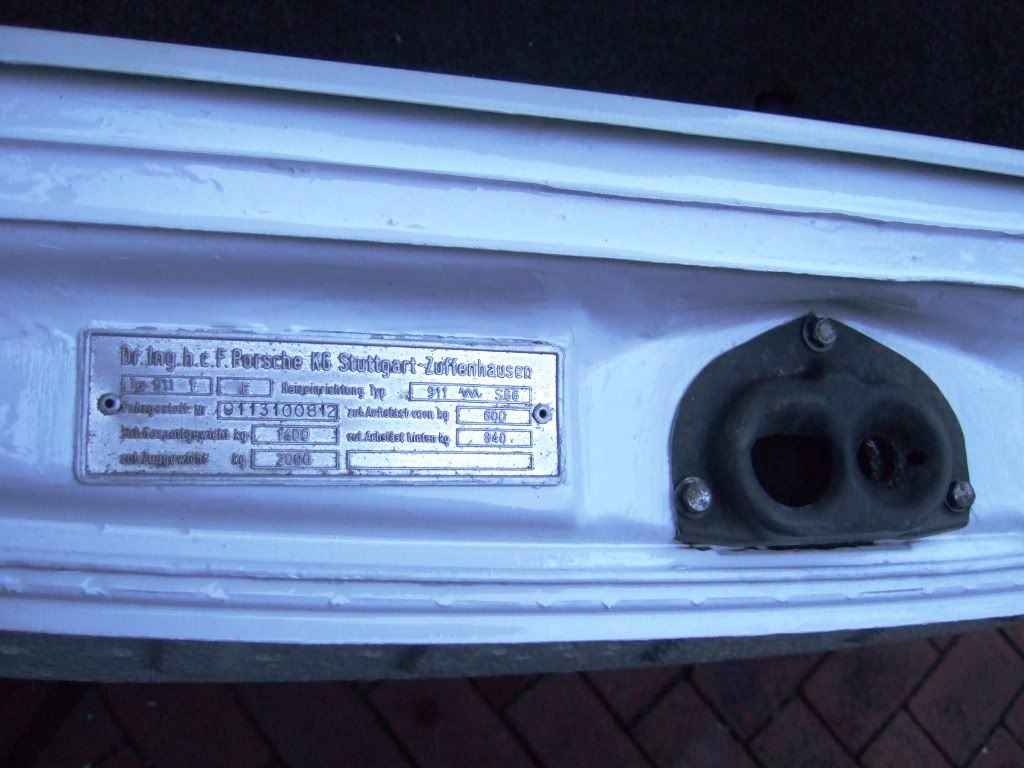
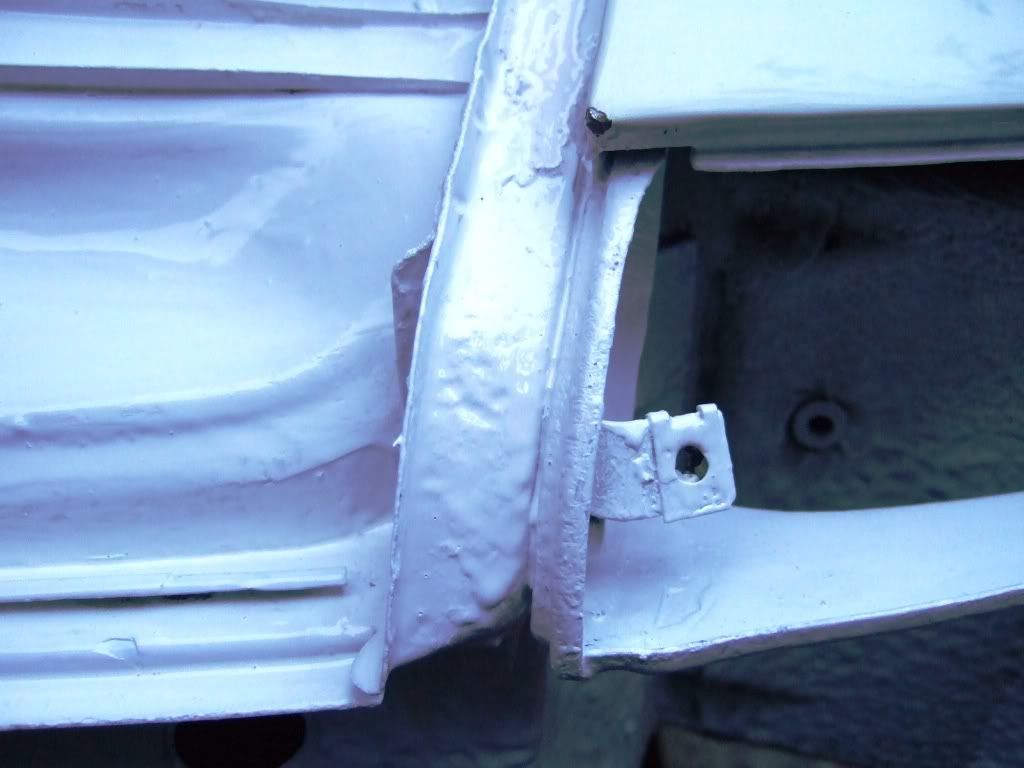
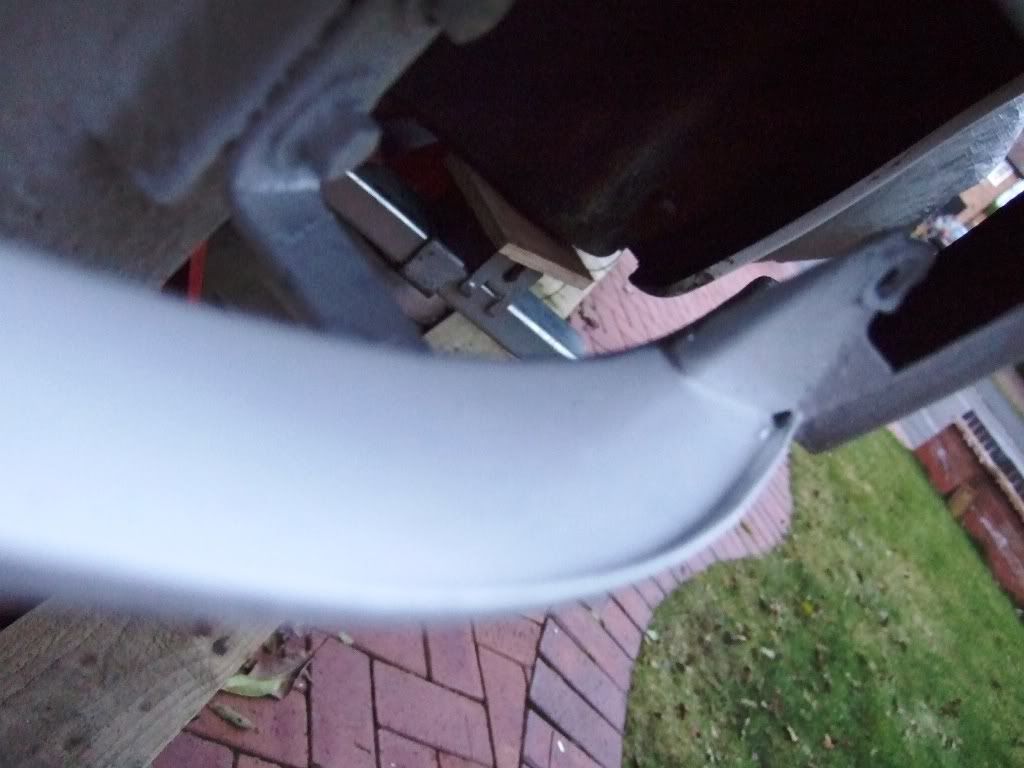
I used up a little on the battery box to see what a white under wing would look like - I like it, so now undecided if to go for black Tectyl or White Stone Chip or Paint.
More to come.....
Ian
Under Wind Stone Chip
Posted: Sun Mar 29, 2009 7:50 pm
by Highfield
With the sun shining, it was about time I got the inner wheel arch painted. Deliberated, but in the end went for black stone chip.
Warning - this stuff gets everywhere when sprayed, so mask up well - ask how I know
The pictures are poor, but it is really black - honest.


Next comes the rear bumper removal.....
Ian
Rear Lights / Bumper Removal
Posted: Sun Mar 29, 2009 8:02 pm
by Highfield
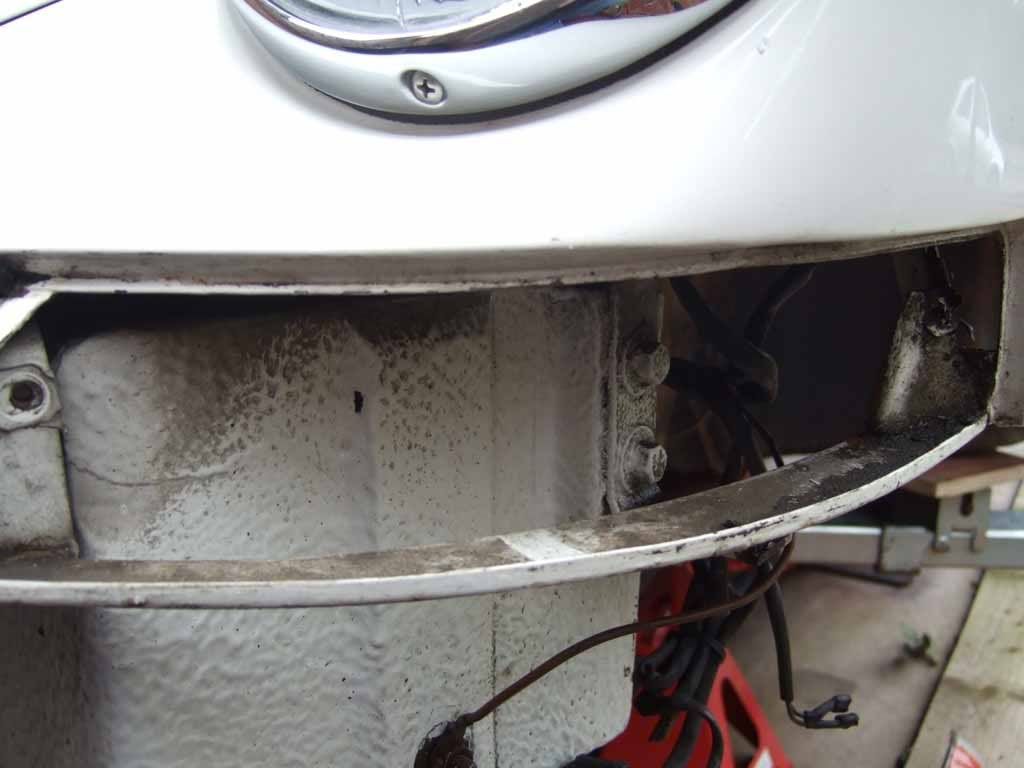
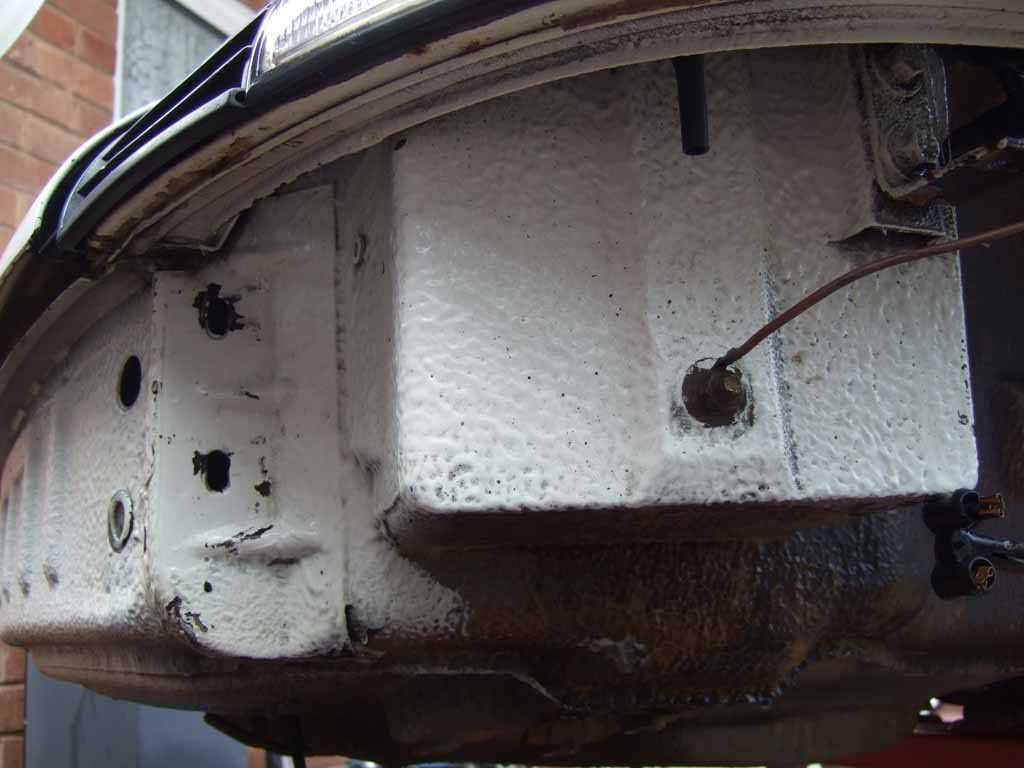
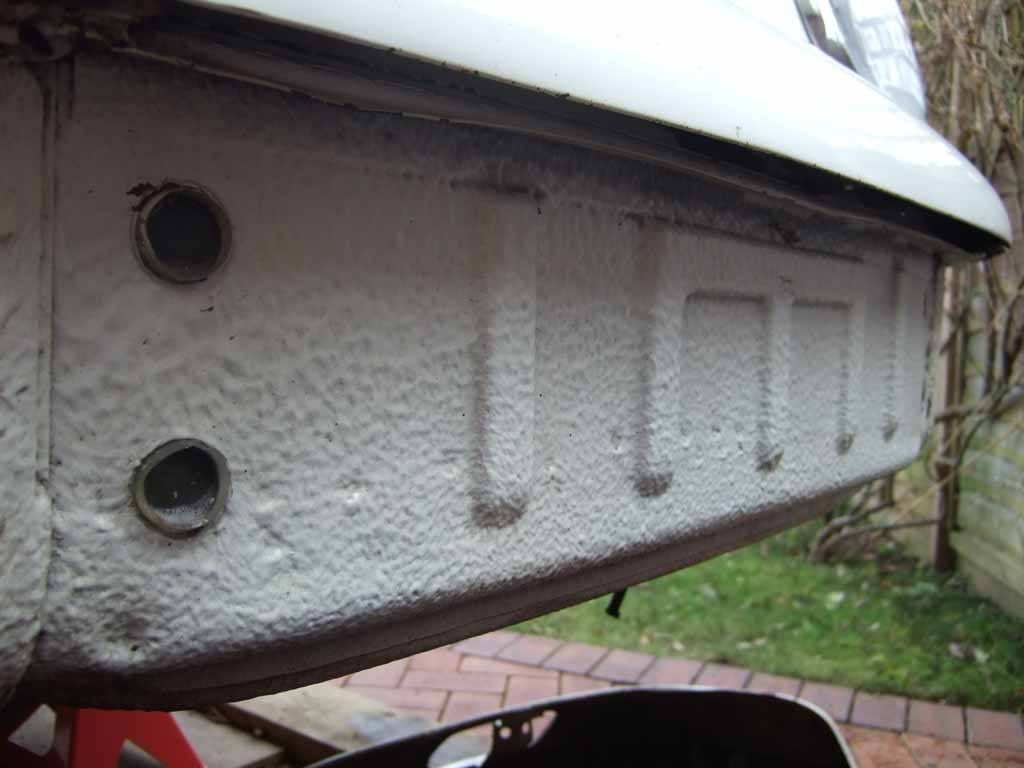
So that I can really get at as much of the under wind area as possible, I removed the light units and the rear quarters and licence plate in one go.


The previous owner really loved silicon, as it is used everwhere as a fixant and sealant.

I am removing the 'S' trim (which is for sale) and having the holes filled but will retain the reflector.

I am tempted by a one piece fibreglass rear unit though
Ian
Posted: Mon Mar 30, 2009 11:34 pm
by t6dpilot
That is a serious case of the "mayaswells". Since I am in there doing this, I might as well do that... I am seriously trying not to do that, but I always get pulled in that direction. I am just going to take this one hose off to refinish. Yeah, right.

So tell me, did you find a replacement for the foam gasket where the filler neck goes through the chassis (in the trunk)? I would like to replace that, but cannot find one. Thanks and good luck with the project.
Scott