MFI Pump - removal, rebuild & re-fit
Posted: Mon Nov 24, 2008 9:04 pm
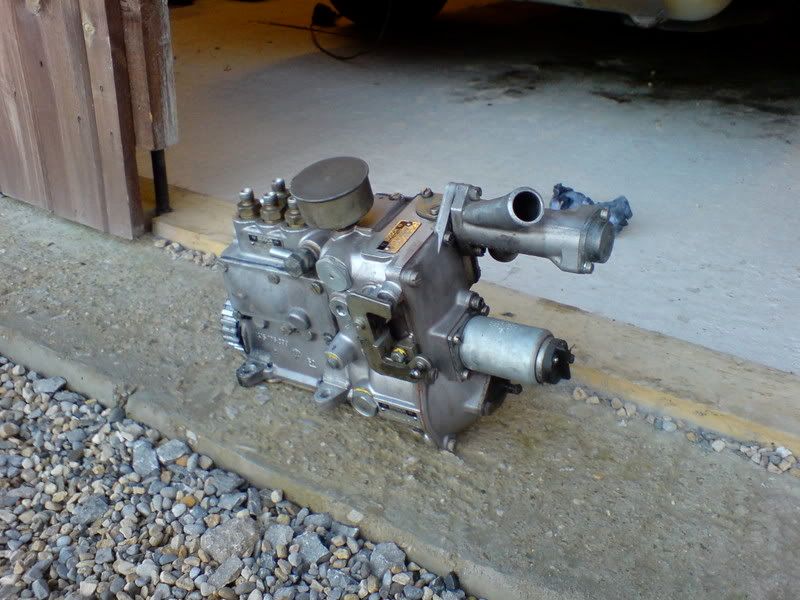
I'm going to be getting my MFI pump rebuilt this winter, so thought I'd document it for future DDK'ers reference 
I'm about to remove the pump using this guide found on Pelican :
Replacing a pump
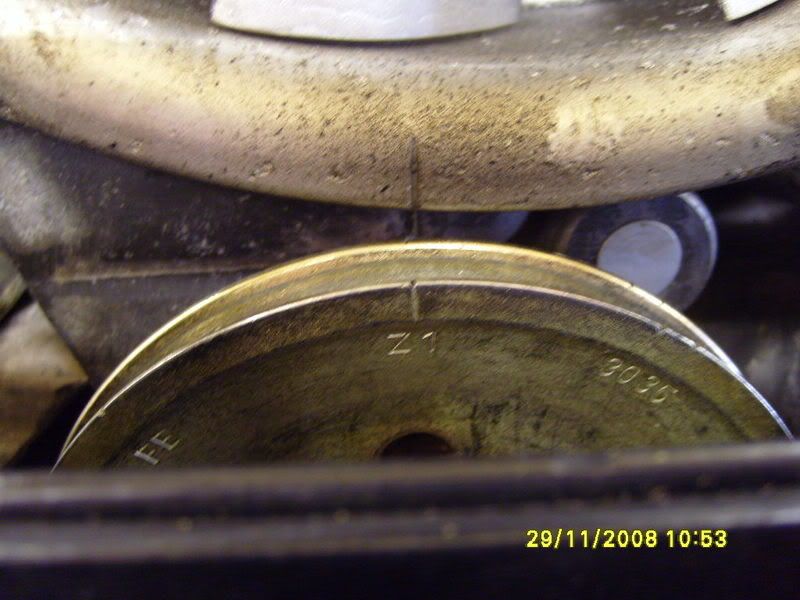
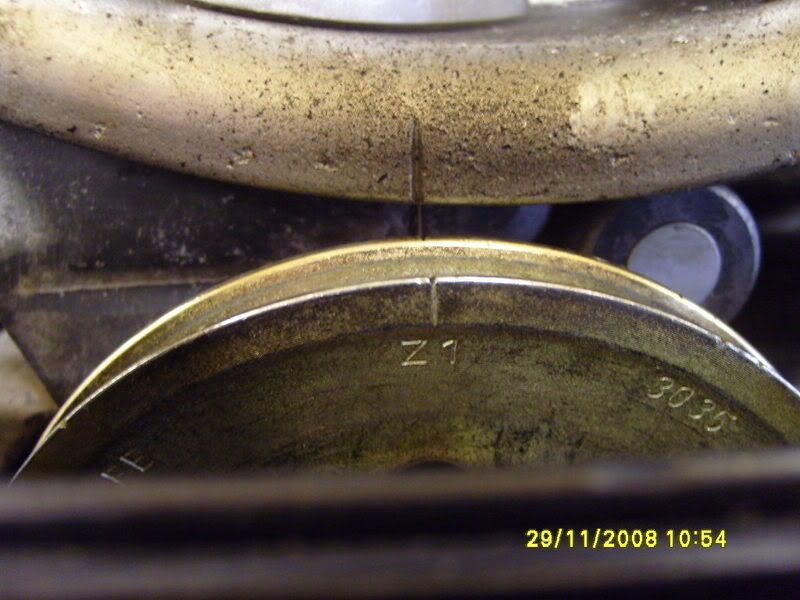
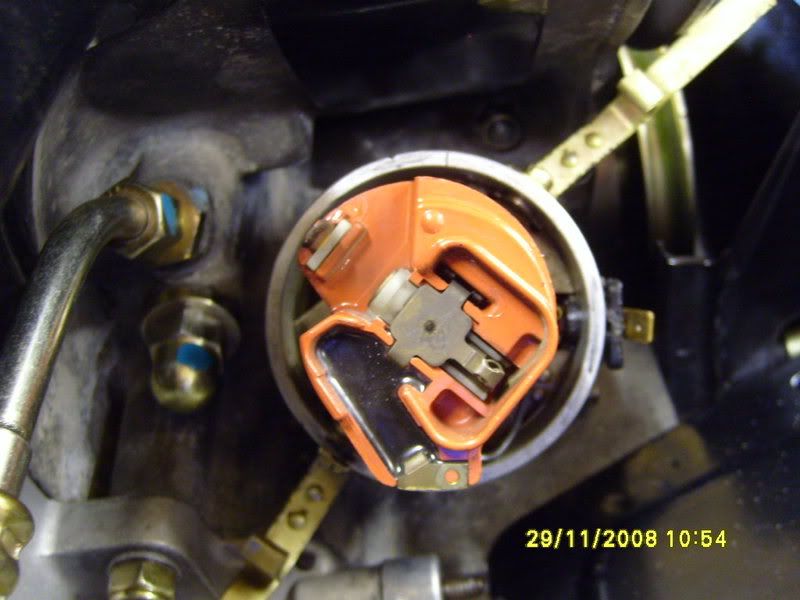
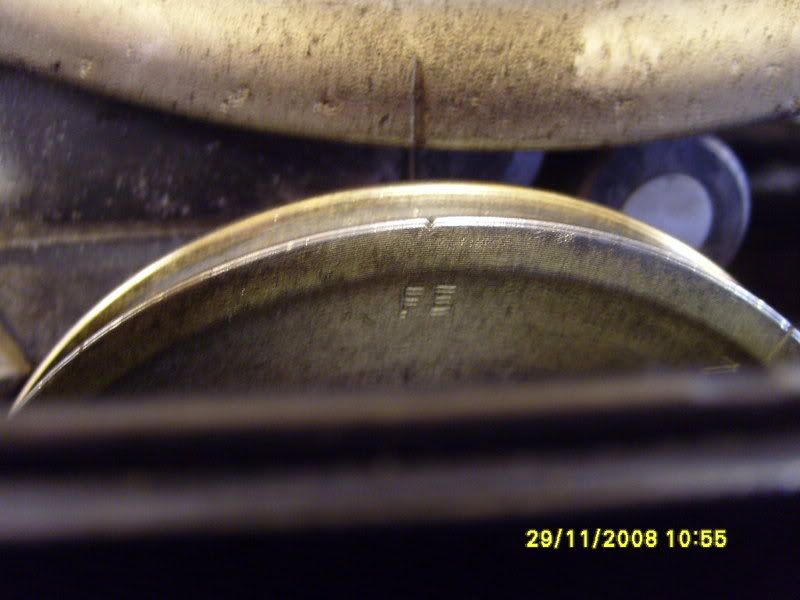
Very important, rotate the engine to TDC of #4 piston (I full rotation past TDC of #1 piston) then another 40 degrees (there should be a mark on the main pulley). Then use a mirror to check the MFI pump to ensure the small mark on the pulley is lined up with the mark on the pump body.
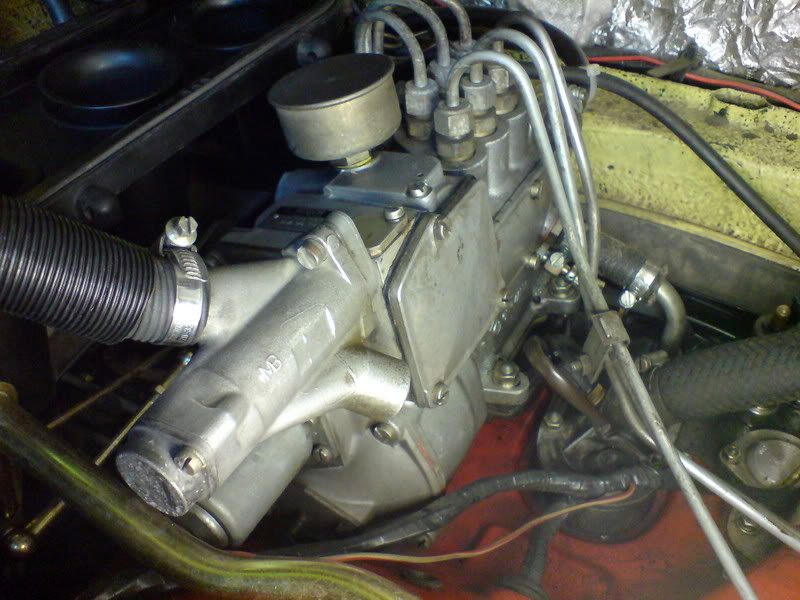
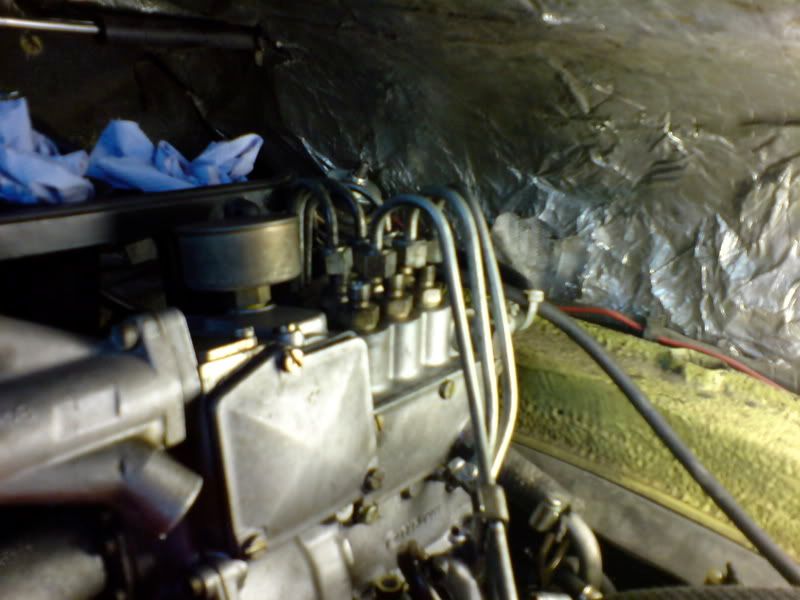
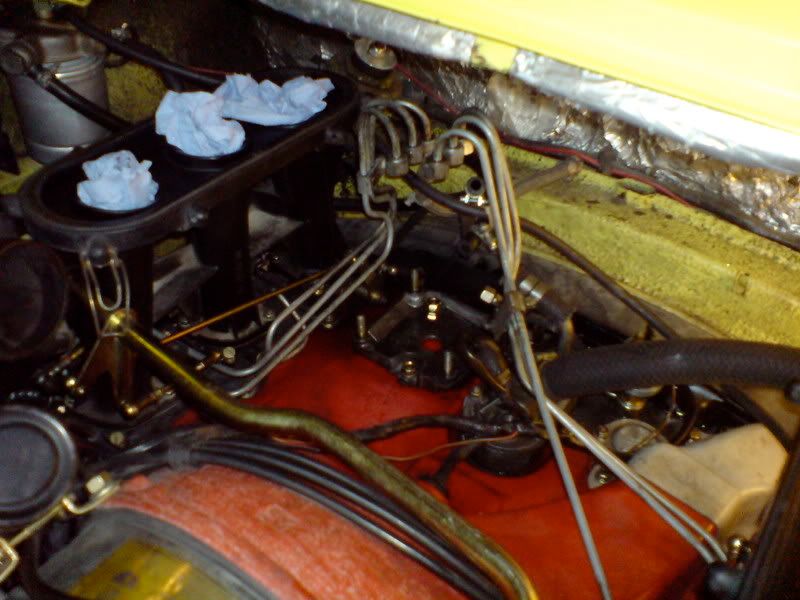
Removing the pump is the easy part, except for 1 bolt that mounts the pump to the engine. This "devil" bolt is on the left front side and is covered by injector lines. To make it more fun using a socket extension is difficult because it doesn't quite fit with the injector stacks. After 2 hours getting that bolt out the rest followed including the fuel lines and oil tubes in about 30 minutes. Pick up some 1/2" and 1/4" plastic caps from the hardware store to cap the unit (especially the oil in tube, otherwise a bunch of oil will leak as you tilt the unit to pull it out). Lift and pull out the unit. Be careful not to let the drive belt fall off the cam pulley. While unbolting the unit I actually lost a bolt and it fell under the belt down to the cam pulley. I was able to fish it out using a screwdriver from the outside left hand side of the car (don't leave it down there).
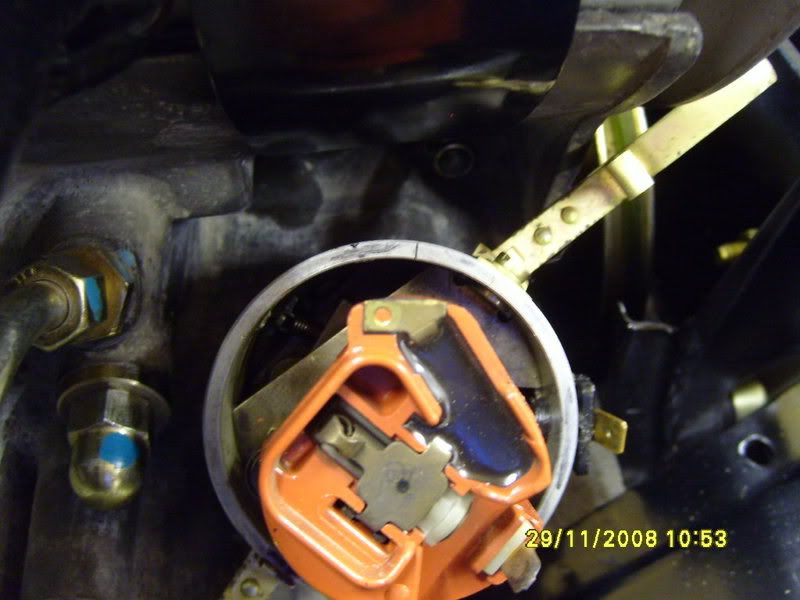
Installing the new unit is even more fun. Fill the new pump with 300cc of engine oil (and cap with one of those 1/2" caps until you are ready to attach the oil hose). Make sure the crank hasn't moved. Compare the two pumps and make sure the teeth are absolutely identical when the marks a lined up. If not loosen the gear and rotate. When sliding the unit in place it is easier to make sure the belt is on the lower part of the pump and pulling it over the top as you complete the installation. Make sure the pump pulley mark is still lined up with the mark on the pump. Also make sure the belt fits cleanly in the teeth of the pulley without rotating it from the marks. Screw everything back on in reverse of the install process. Good luck with the devil bolt... I have yet to put it back in mine. "
If anyone has any other hints & tips before I start the job please post them[/u]
I'm about to remove the pump using this guide found on Pelican :
Replacing a pump
Very important, rotate the engine to TDC of #4 piston (I full rotation past TDC of #1 piston) then another 40 degrees (there should be a mark on the main pulley). Then use a mirror to check the MFI pump to ensure the small mark on the pulley is lined up with the mark on the pump body.
Removing the pump is the easy part, except for 1 bolt that mounts the pump to the engine. This "devil" bolt is on the left front side and is covered by injector lines. To make it more fun using a socket extension is difficult because it doesn't quite fit with the injector stacks. After 2 hours getting that bolt out the rest followed including the fuel lines and oil tubes in about 30 minutes. Pick up some 1/2" and 1/4" plastic caps from the hardware store to cap the unit (especially the oil in tube, otherwise a bunch of oil will leak as you tilt the unit to pull it out). Lift and pull out the unit. Be careful not to let the drive belt fall off the cam pulley. While unbolting the unit I actually lost a bolt and it fell under the belt down to the cam pulley. I was able to fish it out using a screwdriver from the outside left hand side of the car (don't leave it down there).
Installing the new unit is even more fun. Fill the new pump with 300cc of engine oil (and cap with one of those 1/2" caps until you are ready to attach the oil hose). Make sure the crank hasn't moved. Compare the two pumps and make sure the teeth are absolutely identical when the marks a lined up. If not loosen the gear and rotate. When sliding the unit in place it is easier to make sure the belt is on the lower part of the pump and pulling it over the top as you complete the installation. Make sure the pump pulley mark is still lined up with the mark on the pump. Also make sure the belt fits cleanly in the teeth of the pulley without rotating it from the marks. Screw everything back on in reverse of the install process. Good luck with the devil bolt... I have yet to put it back in mine.
If anyone has any other hints & tips before I start the job please post them