A replacement air filter helped but when Mike Bainbridge cleaned out my carburetors he removed a load of grey silty sludge. You may have seen my post asking about multiple fuel filters but I decided to get to the root of the problem. Why fit four filters? much better to have clean fuel. Obvious really
The tank cleaning kit was from Frost.
http://www.frost.co.uk/item_Detail.asp? ... ostSubcat=
More of that in a moment. Other things I needed were:-
Foam tank seal 901 201 023 05 for the newly cleaned tank to sit on, your old one is not reusable.
Fuel tank cap 901 201 023 05 actually a filter/screen, screws into the tank and accepts the fuel line. the first line of defence! Use the old one to plug it`s hole whilst cleaning
Sealing ring N 013 827 3 for above.
Hose clamp 999 512 055 02 for the fuel line, the old one might be knackered (
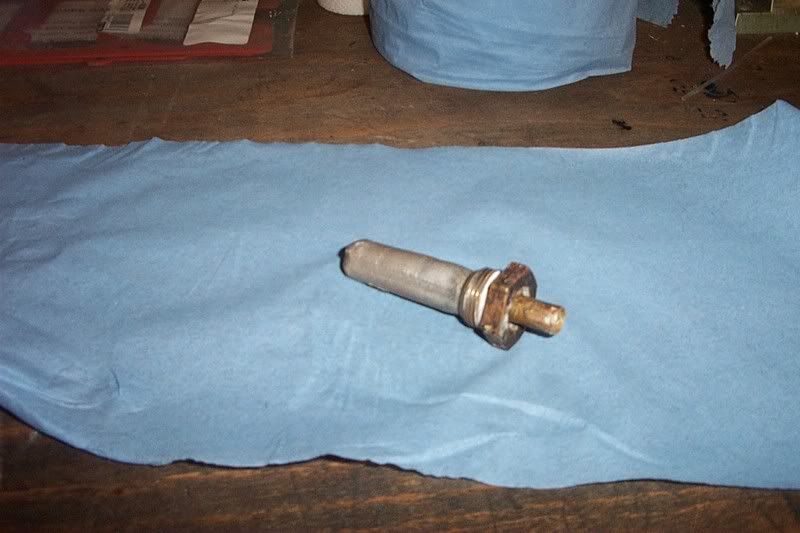
Cork gasket 914 201 891 00 This is the seal for the fuel level sensor, the old one was rotted.
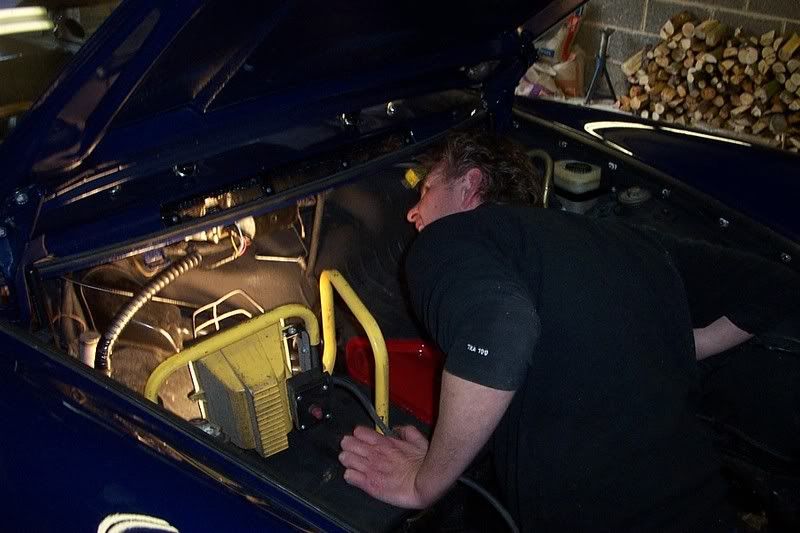
Disconnect the battery and remove from the car.
Removing the tank is straight forward, remove 3 hex bolts securing it to the chassis, filler hose, breather pipe and fuel level electrical connector.
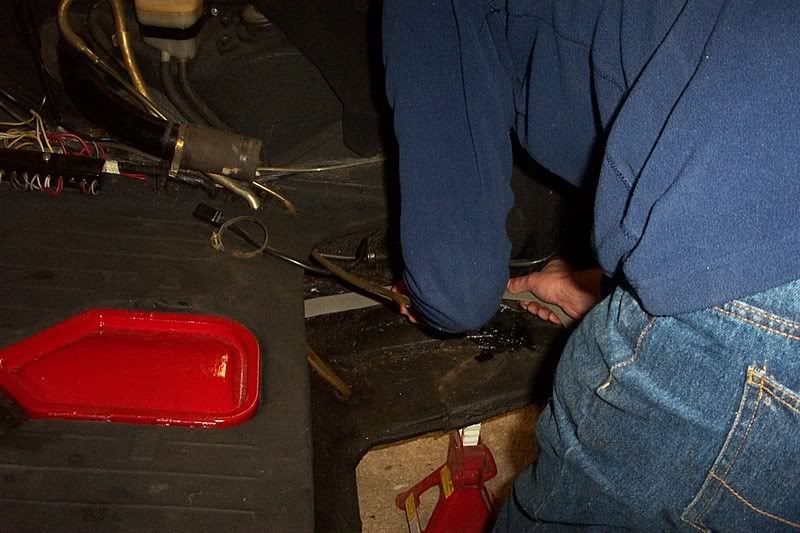
Next, have a fag and have your apprentice crawl under the car, undo the fuel line and drain the tank. Actually probably best you DO NOT SMOKE AT THIS POINT..... AT ANY POINT IN THIS PROCESS.
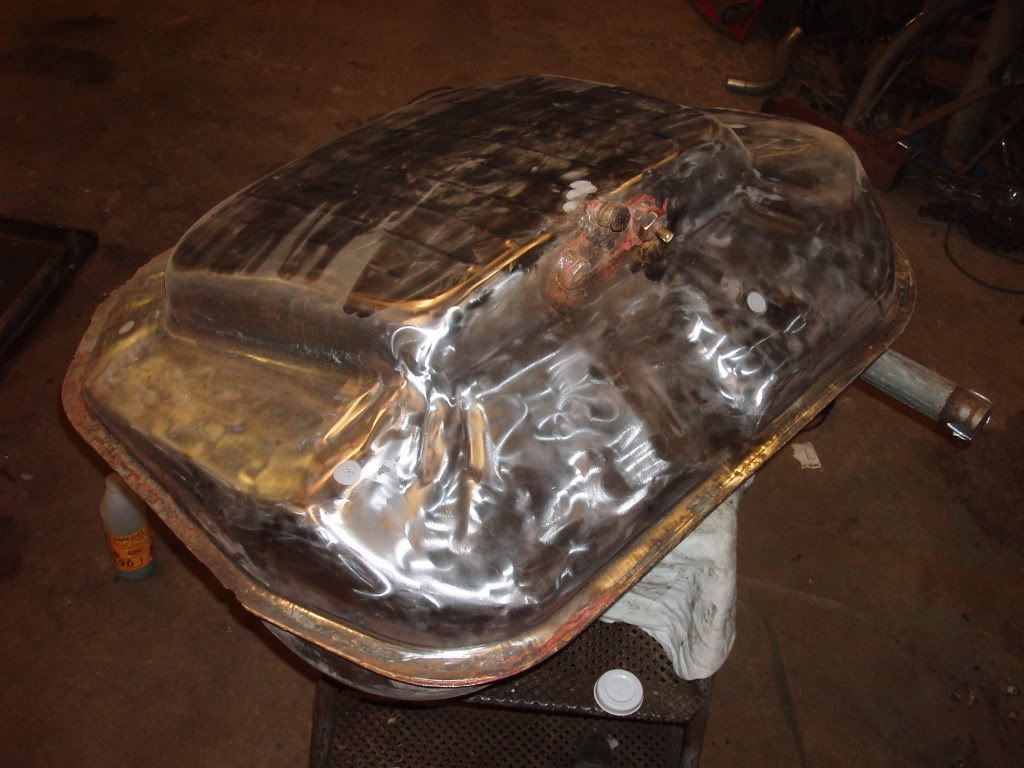
Lift the empty tank out of the car, unscrew the fuel level sender and peer into the tank. When I peered, all I saw was clean shiney metal, I was a bit dissapointed. I needn`t have worried.
Before you start, plan how you are going to plug up the tank, sticky tape isn`t up to the job, doesn`t matter how sticky it is.
I used an aerosol cap to seal over the filler neck and a big softwood dowel to plug the level sender hole. the small screw holes around this have captive nuts underneath and do not need plugging.
Next thing is to start the Frost tank cleaning process. the instuctions are in the frost link above, but briefly it takes about a week. I did the first two processes... the marine clean for 24 hours each. If I were to do it again I would do it for 36 hours each and agitate more often. The first washing revealed a lot of cornflake sized flakes of rust, the second, lots of grim grey sludge, the type that Mike found in my carburetors.
Definately leave the second liquid, the Metal Ready, in for 24 hours or more. The rust in the tank is on the ceiling, so to speak, keep this in mind when you agitate and leave to soak.
After the Metal Ready, wash out with water, I used a pressure washer and kept going and agitating till it ran clear. This agitating business is pretty aerobic
Drying the tank after all this washing, I did with a hair dryer but that was rubbish, so plan B was a hot air paint stripper, a bit drastic ( a bit hot if you don`t watch it), but effective. Make sure the tank is very dry before you move on... leave it warm overnight to make sure.
Finally the Petrol Tank Sealer. A silver one pack paint type liquid. Wear rubber gloves, it`s the devil to remove from flesh. Tank aerobics again, turning over and round to coat all internal surfaces and seal forever. I would be interested to see inside an early Porsche fuel tank, it seems it`s not just an empty box in there, it feels like there are baffles or structural divides. Pour the excess out(about half of what you started with) And leave to dry turned up so all the sealer can drain out of the filler neck.
Let the tank dry for 96 hours, I used the hair dryer every now and again to speed up the process..... Not the paint stripper this time.
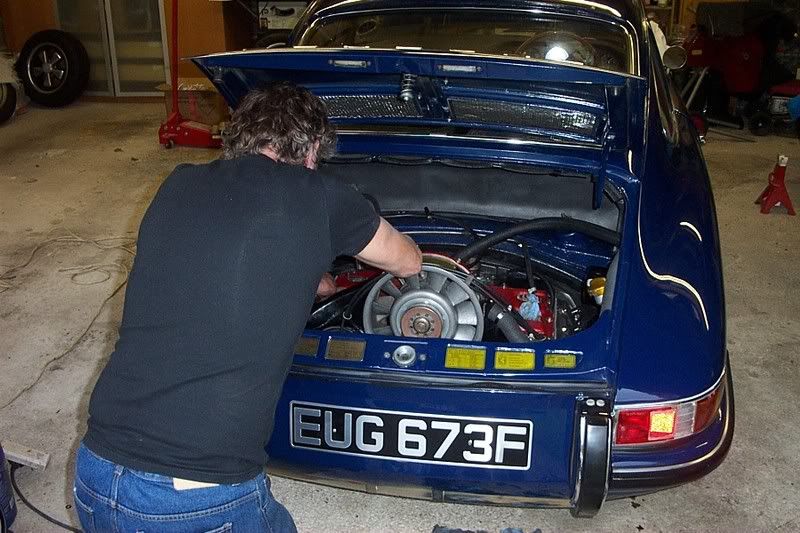
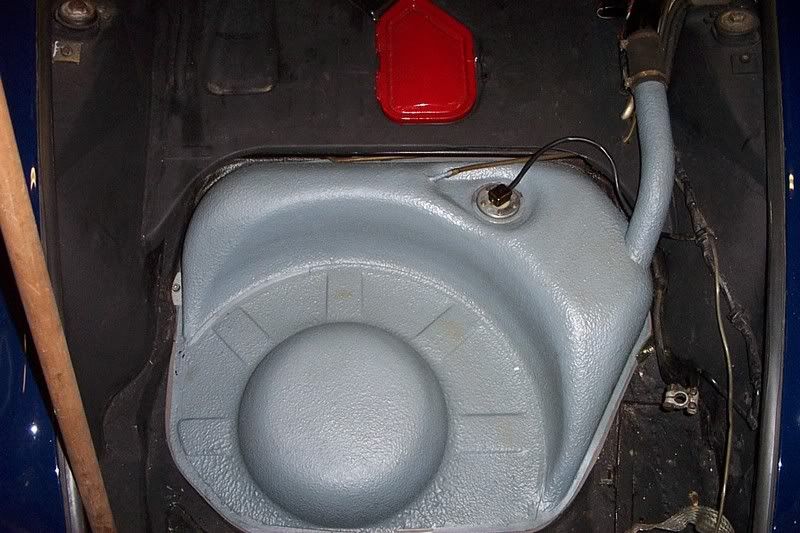
Every thing done, refit the tank, the foam strip seal is self adhesive, stick it to the car body. The only tricky bit is the reconnecting of the fuel line. It has to pass through the bodywork and onto the new tank filter/screen you have bought. It just requires a bit of jiggery pokery with the positioning of the tank. Have your apprentice do this bit.
Fit a new fuel filter in the engine bay... and there you have it, a clean fuel supply. For those of you, handy with spanners, this is a pretty straightforward job. Personally I`m handy with chisels, so enrolled the
help of James 58A-71E. Thankyou James, I couldn`t have done it without your help.
Sorry I have no pictures of this process.... but there are pictures. No doubt they will be added sometime.
Regards, Mike.