Page 35 of 106

Re: Back in beige

Posted: Sun Mar 01, 2015 9:06 am
by sladey
I picked up some Porsche stuff second hand - a bit like grey glazing putty on a roll - Id follow Jons suggestion

Re: Back in beige

Posted: Sun Mar 01, 2015 9:33 am
by Darren65
jamie wrote: When the wings are attached to the car for the last time, do you seam-seal the gap between the top of the wing and the inner wing (the bit where the rubber seal sits)?
....just the rubber seal here or it will push your wing out too much......as with every seam, this area will have been sealed previously.....

Image
jamie wrote: Also, do you seal the mating surface (just in front of the A-pillar) to the rear of the wing?

Also, how thick is the rubber bead that goes between the wing and the scuttle panel?
I've not seen the Teroson tape that Jon mentions although we do use Teroson products extensively (seam sealer, underseal, wax protection, sound pads etc) and they're all excellent quality products.

.....we use 3M Body Caulking which is the closest product we could find to original DumDum, it remains soft and flexible and doesn't shrink. It's perfect. We only use this between the top edges of the wings and not the closing panel....

Image

HTH

Re: Back in beige

Posted: Sun Mar 01, 2015 1:00 pm
by Nobsie
Jamie,

Its come a long way since I saw it at Enviro Strip (the day you collected it) - Barry has worked his magic again.

Keep up the good work.

(Still no further with mine - must make an effort this summer and get it stripped and dropped into Enviro Strip)

Re: Back in beige

Posted: Sun Mar 01, 2015 1:49 pm
by jamie
Thanks guys. OK... I should have been a bit clearer when I wrote "do you seam-seal the gap between the top of the wing and the inner wing (the bit where the rubber seal sits)" - what I really meant was...

Does one seam-seal the gap at the top edge of the wing where it joins all the way along the inner wing (ie. the edge that forms the channel where the trunk seal sits).

Image

I'll fit some tape up in there anyhow, after I've fitted the hood and checked the gaps will be OK.

spent a few hours this morning fitting and trying to align the passenger-side door. The 4mm gaps are still there, with 3.5mm at the top rear edge of the door. I spent about an hour on it, and it's still not quite there.

OK - next question:

Is it pikey to paint the car with the doors and wings attached?

I feel confident that there's adequate epoxy / stonechip overage in the front arches and insides of wings to protect the metal. Once the doors and wings have been fitted and aligned, I'd be happier leaving them in place for block-sanding and paint as I am not sure I'd be dexterous enough to re-fit them correctly without chipping or scratching them in the process.

I can't even fit one door without damaging myself.

Image

Re: Back in beige

Posted: Sun Mar 01, 2015 2:23 pm
by impmad2000
If you do seal the wings into place, make sure you allow for the bonnet seal when setting the wing to bonnet panel gaps.

Re: Back in beige

Posted: Sun Mar 01, 2015 2:35 pm
by jamie
That's an obvious thing I overlooked - thanks Tim.

Re: Back in beige

Posted: Thu Mar 05, 2015 11:29 pm
by jamie
Fitting panels and setting gaps.

To do this, you will need:

1x propelling pencil
8x time
151728907012460x patience

I have a propelling pencil.

I have no time. I should be doing work, but I've just spent two days photographing the same thing over and over at the Geneva motor show, and I needed a brain reset.

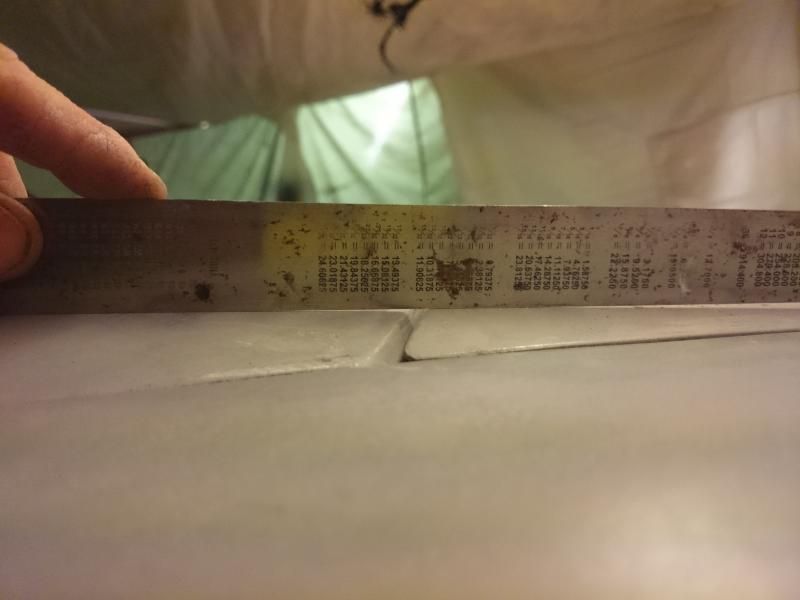
So far, I have one door, one wing, and both decklids on the car, with gaps aligned as best I'm ever going to get them. Barry set these at 4mm when he was working on the car. With the epoxy primer on, they're now somewhere nearer 3.5mm.

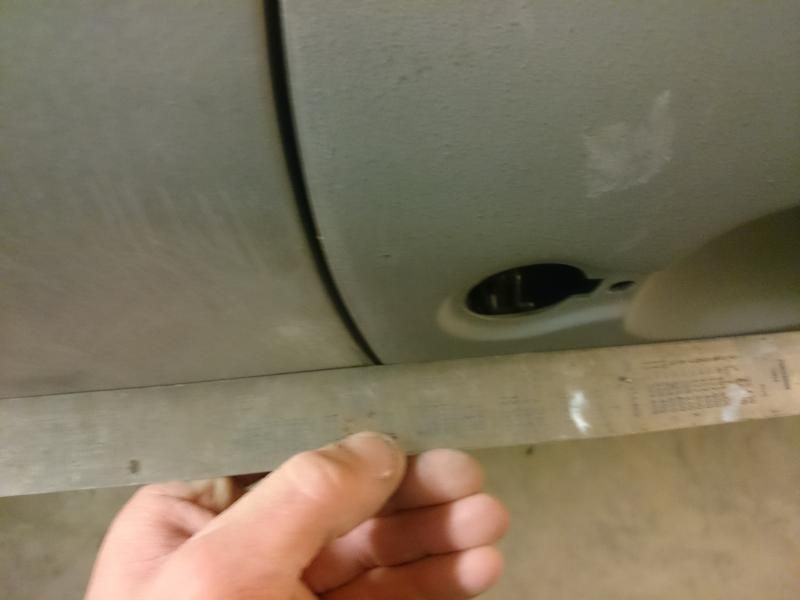
Starting with the door, I used a 3.5mm drill bit as a spacer, gently tightening the hinge bolts till they gripped the hinges but weren't locked down, then tapping the door in and out of the car a million times until the top and bottom edges were a fraction of a millimeter proud of the rear panel.

If this shot was sharp, you'd see a nice, even, 3.5mm gap all around the door.

Image

The bottom overhangs the cill by about a millimeter.

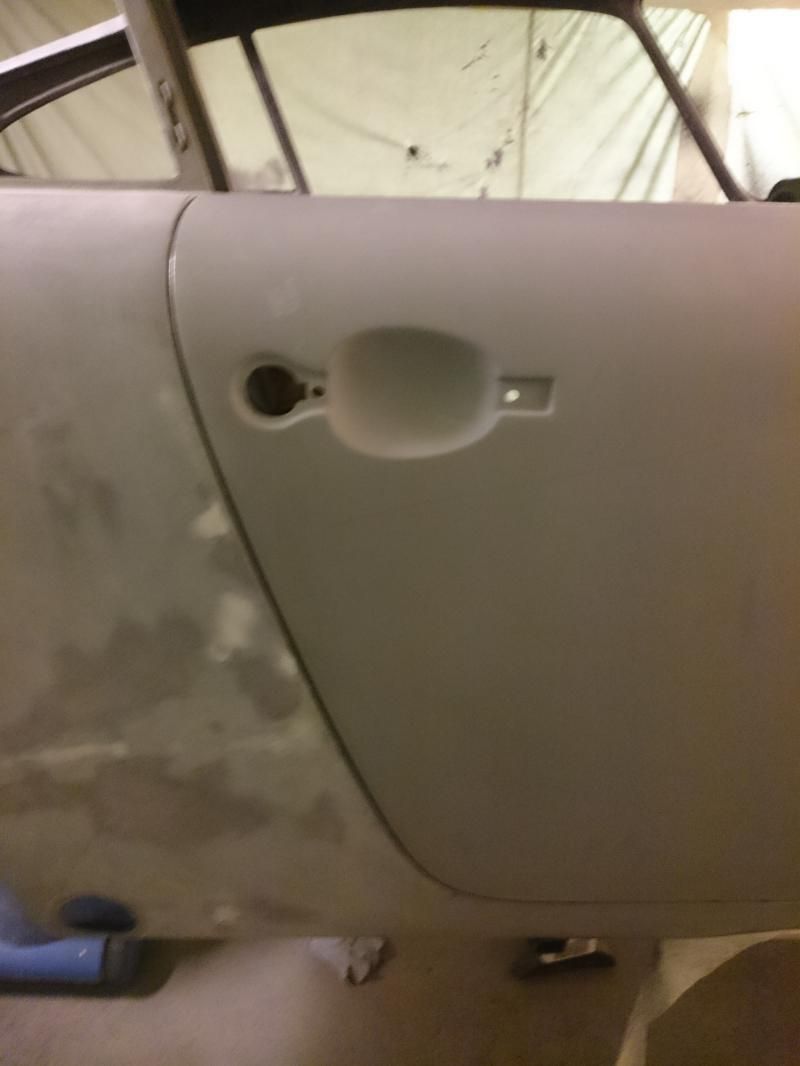
Then I fitted the door catch - same process. I found a nice way of setting the position - get the latch roughly in position, tighten the screws so they're just holding it to the car. Then gently close, position and open the door, then tighten down. Takes minutes as opposed to hours trying to guess, open, adjust, close, guess again, etc.

Image

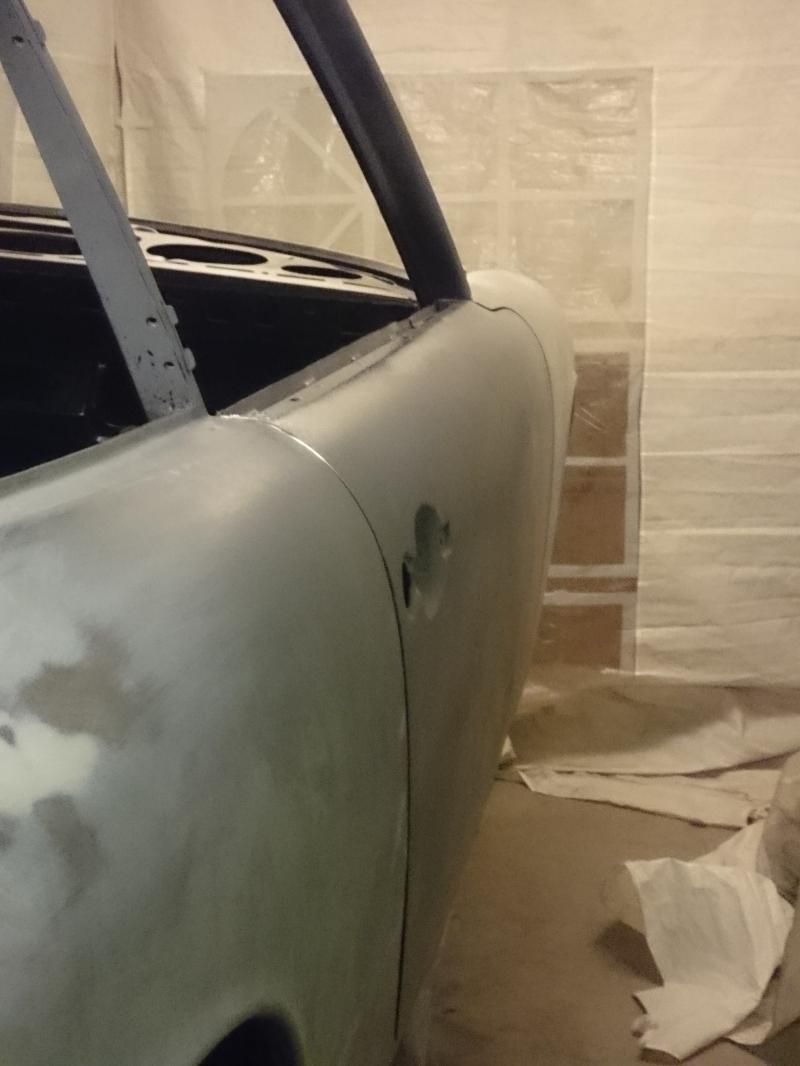
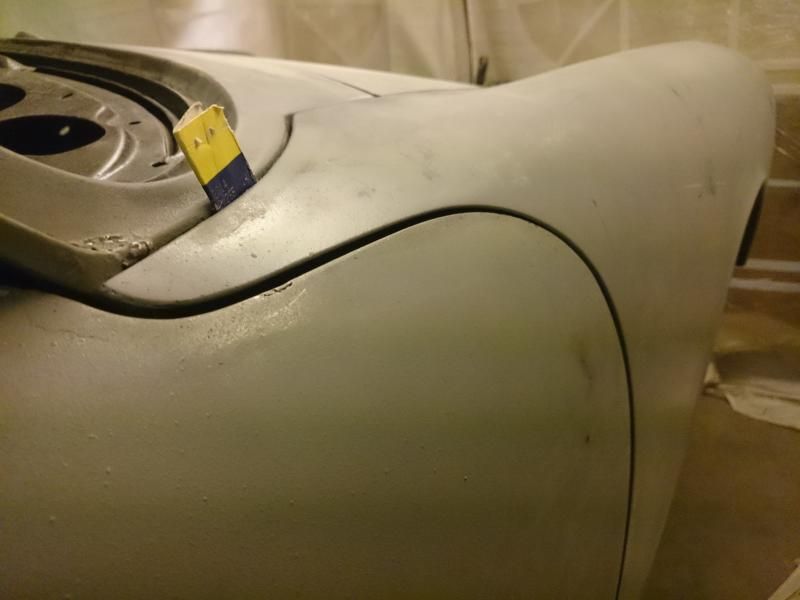
For fitting the front wing, I used a roll of Arboseal Butyl tape that has been in the garage since I installed some fancy aluminium guttering on the house. I wasn't sure why I was keeping it, but now I know. It was perfect for the job.

It took me four attempts to hang the wing right. In the end, I was happy with the way it looks, although it's not perfect - perhaps 3mm at the front edge, widening to 4mm at the swoosh below the A-pillar. Either way, it's as good as I can do it, and the rear corner lines-up nicely with the A-pillar.

Image

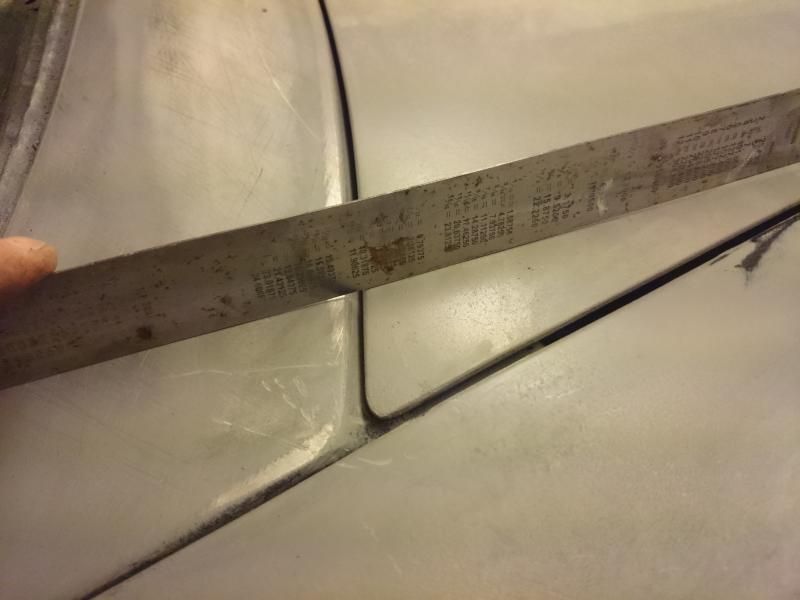
Then the bonnet. This fecker drove me crazy. I called Barry for emotional support. Then I went and read everything there was to read about hood hinges on Pelican. Eventually, I ended-up shimming the rear bolt where the hinge meets the underside of the bonnet - two washers on the passenger side, and one on the driver side. Like most things on this vehicle, I'm not sure that bonnet is original to it, and it has definitely been bashed-about during its 50 years on this earth.

Many hours later, the bonnet was aligned. I might re-visit it later on.

Image

Image

Tomorrow I have a new door pin arriving, which will allow me to hang the driver-side door. Such is the incredibly tight fit, I bent and cracked the original pin trying to remove it from the door hinge when I was getting the car ready for blasting. A new door pin was £15...

Image

Re: Back in beige

Posted: Fri Mar 06, 2015 8:00 am
by Sam
Image

Re: Back in beige

Posted: Fri Mar 06, 2015 8:50 am
by Ferry Man
Superb work Jamie. Panel fit is looking excellent.

So... ...you're a photographer who is undertaking an ambitious restoration and producing exemplary work and yet you can't shoot a sharp photo of the results. :wink:
You do need a brain reset.... :)

Re: Back in beige

Posted: Fri Mar 06, 2015 9:09 am
by KS
Did you put the camera on the 'P' setting – you know, 'P' for Professional?

All jests aside, what great work, Jamie! Big thumbs up from down west...

Re: Back in beige

Posted: Fri Mar 06, 2015 9:19 am
by AndrewSlater
Looking good Jamie.

You might want to consider that when you fit new door seals the pressure of the rubber will probably push the doors proud, so you will have to readjust the door strikers.
The same can happen with a new bonnet seal lifting the bonnet proud.

I was told the rubbers will settle over time but mine don't seem to have settled in a couple of years (my bonnet still sits a tad proud )

All the best
Andrew

Re: Back in beige

Posted: Fri Mar 06, 2015 11:21 am
by Mitch
Jamie, sadly I'm not one of the metalworking "us" but that makes your work all the more impressive to me, keep it going!

Mind you, I'm proud to say that I'm more skilled with autofocus than you are :wink:

Image

Re: Back in beige

Posted: Fri Mar 06, 2015 4:28 pm
by sladey
Nice work Jamie - on mine I couldn't believe how many times I was having to take the wings off and on again. I also had to tighten up the bolts in a certain order to get it to site just right.

Re: Back in beige

Posted: Fri Mar 06, 2015 6:26 pm
by 911hillclimber
You are doing great!

Be thankful the bonnet is not fibre glass, race weight and has no front bonnet latch.
The bonnet seal is strong enough to distort the bonnet rather than the other way round....

I had to shim the hinge bolts too and remove the gas struts as the glass bonnet could not flatten the hinges/
gas struts.

You have tried the fit with the bonnet struts in place?

Re: Back in beige

Posted: Fri Mar 06, 2015 8:22 pm
by jamie
Thanks guys, for your kind words of encouragement.

And sorry for the shitty photography.