Page 4 of 25
Re: Meet Ralph - 1970 ST project
Posted: Thu Apr 01, 2021 10:25 pm
by rhd racer
Bootsy wrote:You're not messing about!
This is going on in real time! Crikey, I need to pull my finger out...
Fantastic skills, love the panel making from scratch, thanks for sharing. Terrific project.
Wish I had seen the 1275GT come up for sale, an itch I still want to scratch!
Cheers
Wayne
Re: Meet Ralph - 1970 ST project
Posted: Wed Apr 07, 2021 6:16 pm
by rich73
Thanks for the comments.
Must admit that I would like another 1275GT but prices seem keep to rising. Think I'm more likely to buy one with a VTEC engine already installed, fit a Clubman front end and paint it orange.
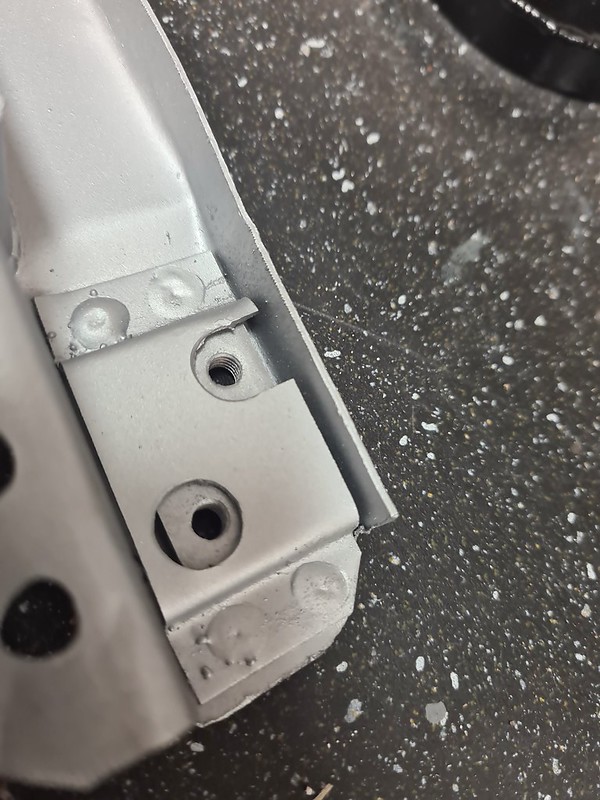
Had a few days off but back on it today. Inner seat rail support was looking a bit sorry for itself and price of a new one was £270.
Took a while but pleased with the result.
 2021-04-07_01-18-08
 by
richard cannings, on Flickr
 2021-04-07_01-18-20
 by
richard cannings, on Flickr
Just finished welding it in along with the jacking point and harness mount so hoping to get the inner sill fitted tomorrow.
Some shiny bits arrived today.
 2021-04-07_01-18-51
 by
richard cannings, on Flickr
Plan it to make my own ST type shelf mounts.
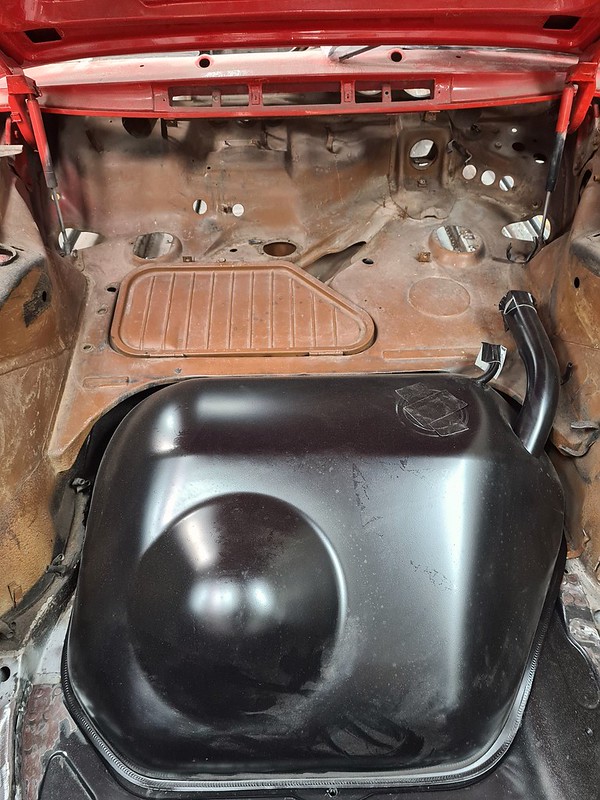
Correct tank arrived too, no problems with D911 exchanging it and it was less than £530 which is the best price I've seen them for.
 2021-04-07_05-57-27
 by
richard cannings, on Flickr
I managed to get an ST filler cap a while ago but still need the neck. Does anyone have a source for the neck without buying a kit? I can get the kit for £172 but was hoping that the neck is the same as a classic bus or something and can be had for £20 but haven't found one yet.
Rich
Re: Meet Ralph - 1970 ST project
Posted: Fri Apr 09, 2021 5:50 am
by sladey
Nice work
Re: Meet Ralph - 1970 ST project
Posted: Fri Apr 09, 2021 7:52 am
by Gary71
Nice work on that seat rail! Project is coming on great
Re: Meet Ralph - 1970 ST project
Posted: Fri Apr 09, 2021 9:10 am
by 911hillclimber
DIY is the Best!
Love those L-O-N-G mig welds, wish I could do that, must be my mig welder, not the operator....
Re: Meet Ralph - 1970 ST project
Posted: Sun Apr 11, 2021 10:53 am
by rich73
Thanks, was going to say its my 20 year old BOC/Cebora MIG that's still going strong but then realised that its 30 years old.
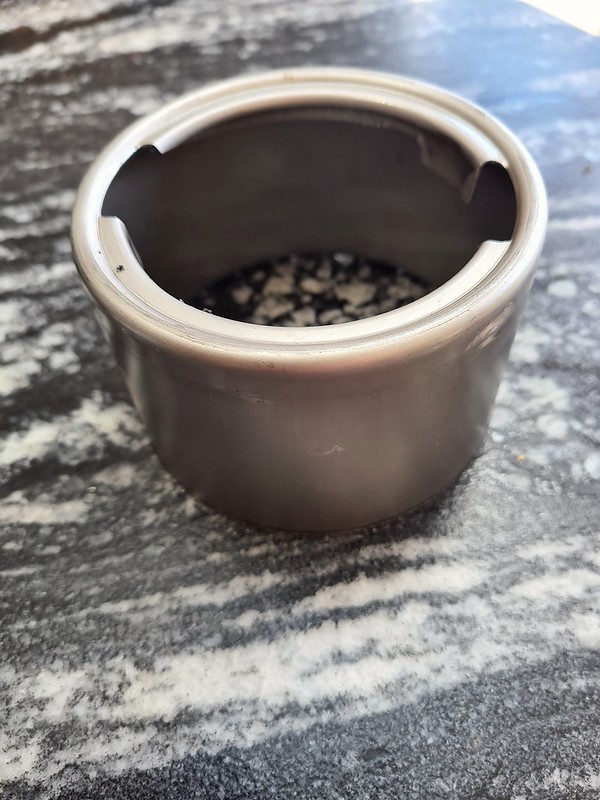
Success for the filler, 105mm OD stainless neck was only £18.99 from petrolcaps.co.uk and fits perfectly.
 2021-04-11_10-44-46
 by
richard cannings, on Flickr
 2021-04-11_10-45-07
 by
richard cannings, on Flickr
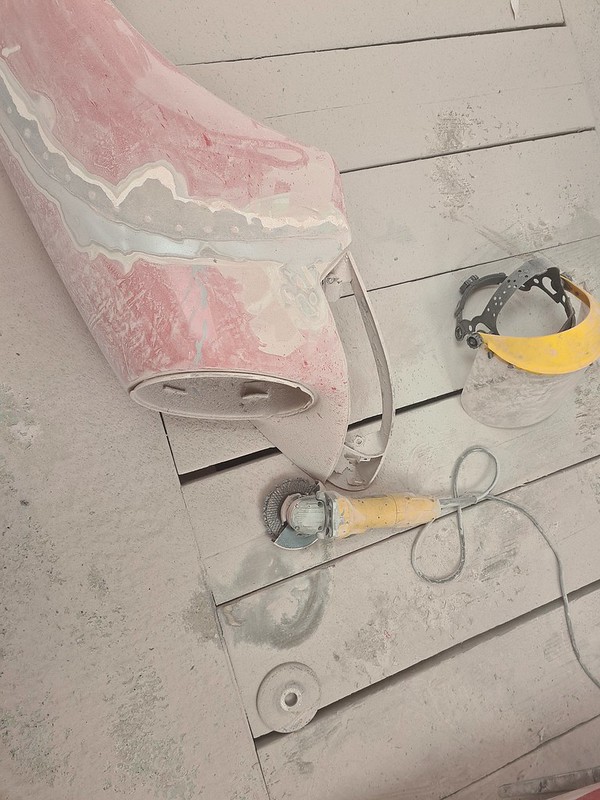
Front arches removed too, thought it was going to be a messy horrible job and it didn't disappoint.
 2021-04-09_09-55-57
 by
richard cannings, on Flickr
Going to see if I can sell them on ebay, perfect for the RSR builder on a budget.
Re: Meet Ralph - 1970 ST project
Posted: Sun Apr 11, 2021 10:18 pm
by rich73
Searching for some 105mm tube on ebay for the fuel filler....
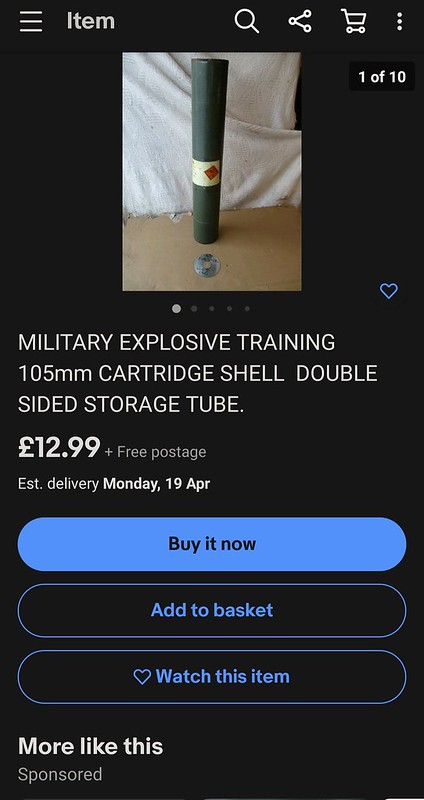 2021-04-11_09-57-09
 by
richard cannings, on Flickr
Re: Meet Ralph - 1970 ST project
Posted: Mon Apr 12, 2021 9:27 pm
by rich73
Just had the afternoon working but pleased with progress.
 2021-04-12_07-51-21
 by
richard cannings, on Flickr
 2021-04-12_07-51-38
 by
richard cannings, on Flickr
 2021-04-12_07-51-55
 by
richard cannings, on Flickr
Managed to get both sides done.
Re: Meet Ralph - 1970 ST project
Posted: Mon Apr 12, 2021 11:01 pm
by hot66
You’re cracking on well with this resto

Re: Meet Ralph - 1970 ST project
Posted: Tue Apr 13, 2021 2:24 pm
by sladey
Nice work
Re: Meet Ralph - 1970 ST project
Posted: Fri Apr 16, 2021 9:36 am
by rich73
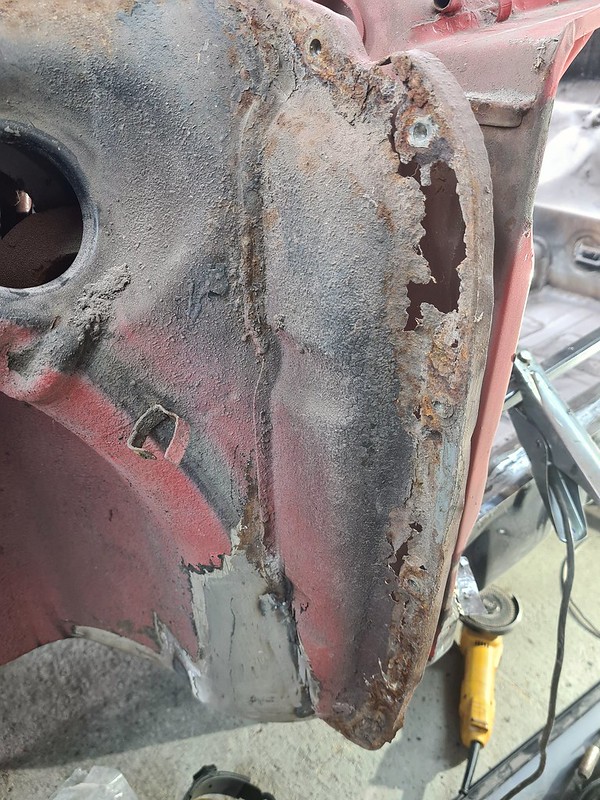
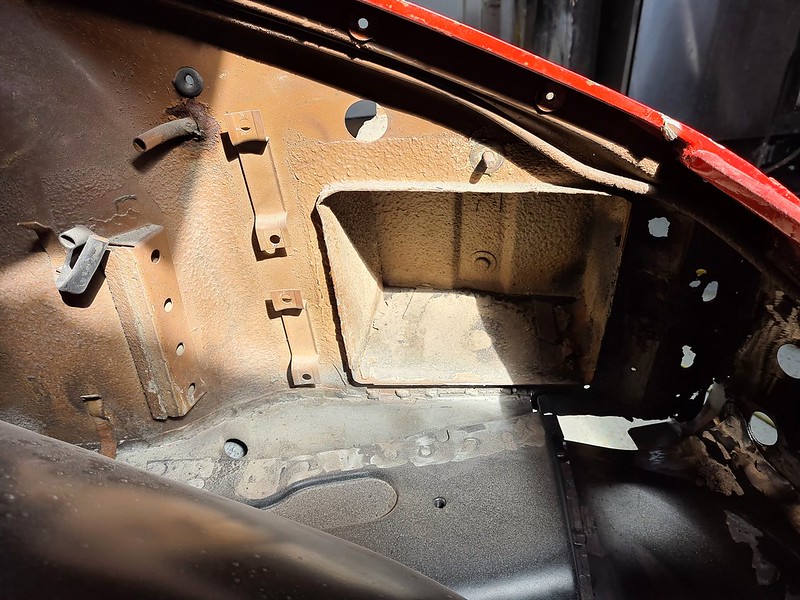
Thanks for the comments, not spent as much time on the car over the past couple few days but finally decided on a way forward on the RH inner wing repair. I took Deans advice and decided not to try and make a panel. I took a gamble and bought a SWB one instead which was much cheaper and had didn't have a battery box hole. I'd been advised that it wouldn't fit a LWB car but thought that even if I had work to do it would be a better starting point that a flat piece of steel. Holding it to the car its the top edge where the outer wing attaches that's significantly different with holes in different places. Luckily the top of inner wing was in good shape so left that in place and cut down the SWB panel.
 2021-04-13_09-33-41
 by
richard cannings, on Flickr
 2021-04-13_09-34-03
 by
richard cannings, on Flickr
Only real pain was having to extend the tank support piece out to meet the SWB inner wing where it flares out.
 2021-04-13_09-35-09
 by
richard cannings, on Flickr
 2021-04-13_09-35-21
 by
richard cannings, on Flickr
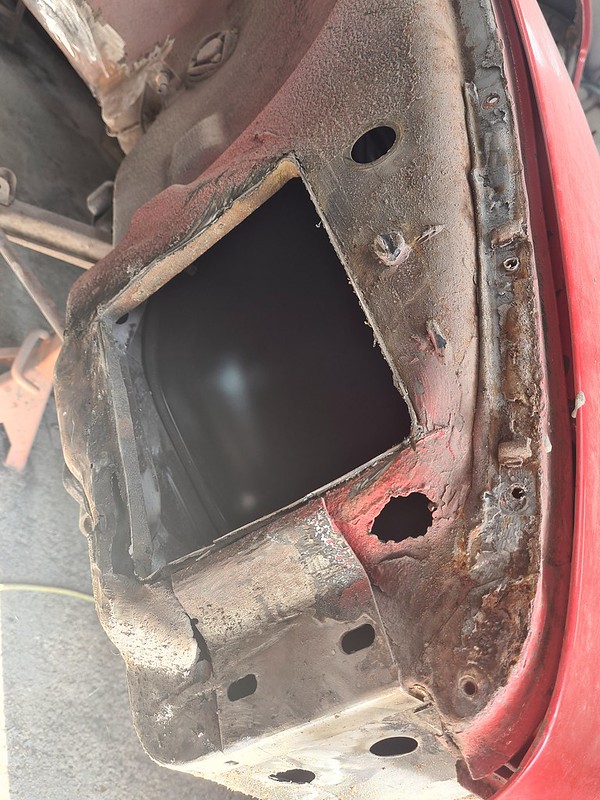
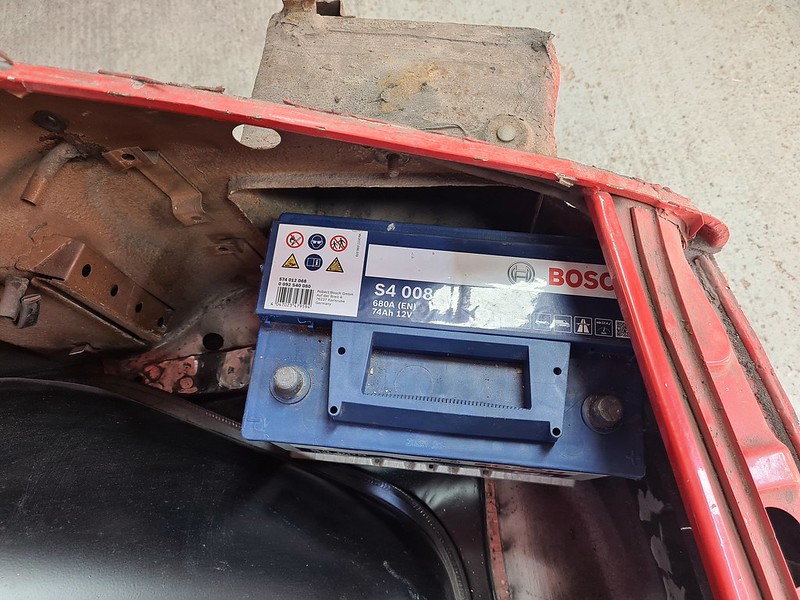
Really pleased with how clean the shell looks without the battery box, I'll have a measure against the 3.2 but hoping the oil cooler should still fit even with the flare.
I've was just about to start some repairs on the LH battery box but luckily the night before I was reading up on the electric A/C install and realised that ideally the condenser would go under the LH wing. I've ordered the SWB repair panel for the LH side and in planning doing the same on this side. Took a day to do one side but great to get all the repairs and battery box delete done together.
Still seems to be plenty of space for a full size battery.
 2021-04-16_09-30-14
 by
richard cannings, on Flickr
Rich
Re: Meet Ralph - 1970 ST project
Posted: Fri Apr 16, 2021 10:55 am
by 911hillclimber
This is a great thread.
Love the reference rod for theflitch plate by the A post, so simple and so effective in its accuracy.
Wonder why the swb parts are cheaper?
Still, it all looks great and you are not choked by HAVING to be original everywhere.
More pictures please!
Re: Meet Ralph - 1970 ST project
Posted: Sat Apr 17, 2021 9:46 pm
by rich73
Yes, I've decided that as I'm not trying to recreate a particular ST I can embrace the fact that no two were alike and just enjoy doing what I like that looks right to me.
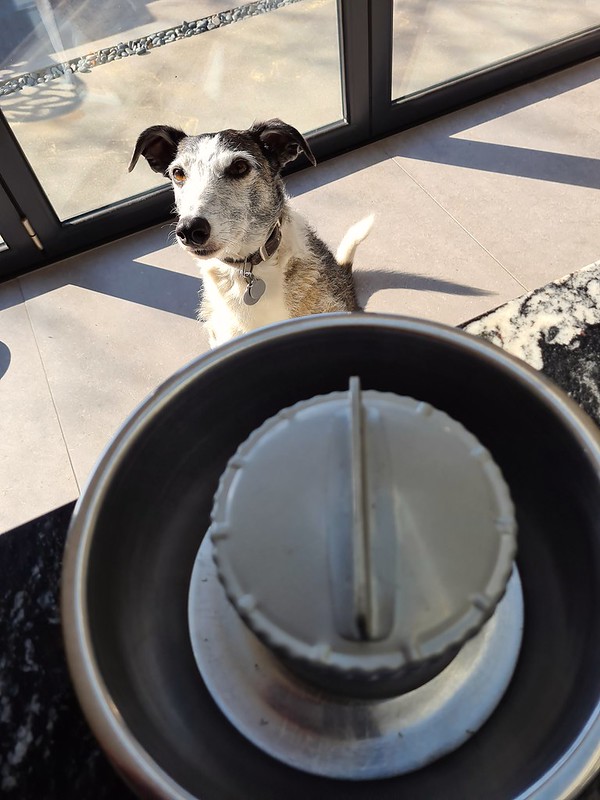
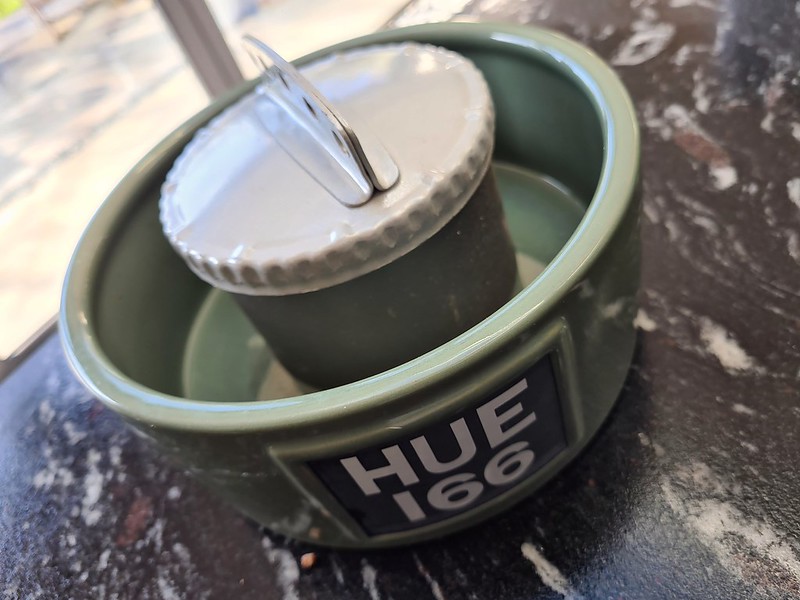
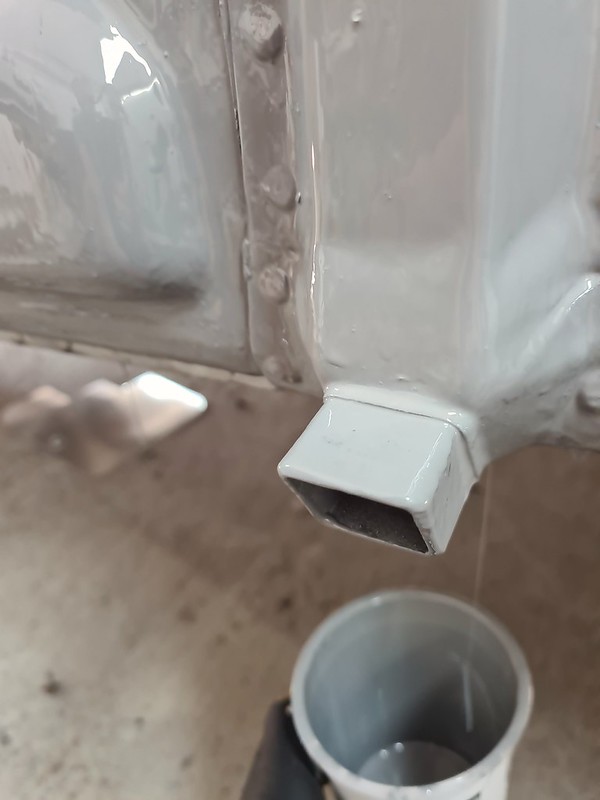
Started to look at a fuel fill catch solution.
 2021-04-17_09-41-49
 by
richard cannings, on Flickr
Stanley was concerned, but luckily for him too big....
It least its not your favourite bowl Stanley!
 2021-04-17_09-42-01
 by
richard cannings, on Flickr
Re: Meet Ralph - 1970 ST project
Posted: Mon Apr 19, 2021 9:44 pm
by rich73
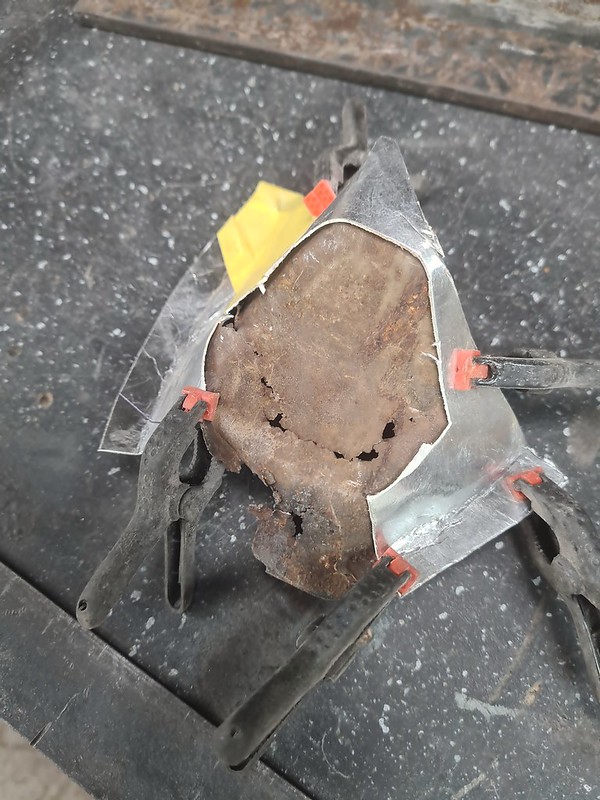
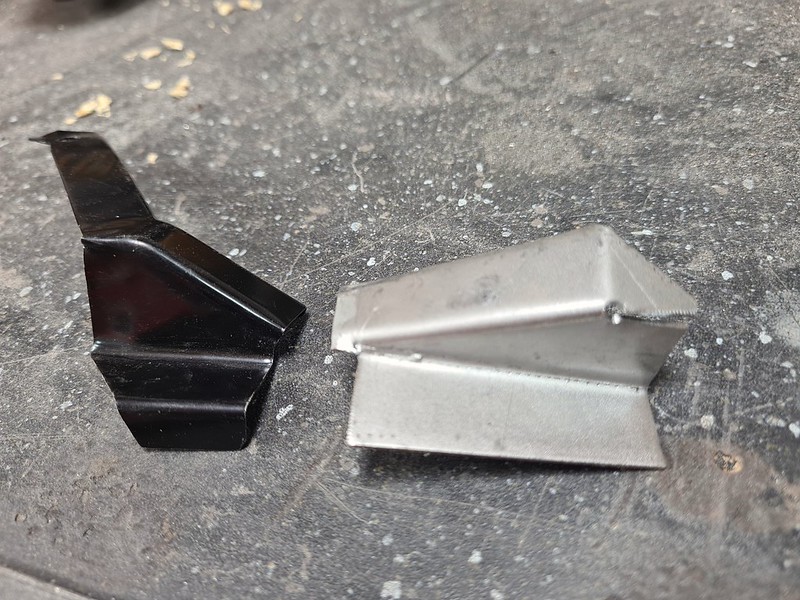
Hinge pillar repair piece sorted, made with cardboard first.
 2021-04-19_09-08-00
 by
richard cannings, on Flickr
Managed to make it from 2 pieces, wasn't in the mood for TIG so just MIG welded in both sides and cleaned up with a flap disk.
 2021-04-19_09-07-45
 by
richard cannings, on Flickr
Just seen some a twin ATE Brake Fluid Reservoir Set that looks nice on eBay, would be grateful anyone could advice if these would be suitable for my car with standard master cylinder or are these for a twin cylinder? Same seller had an amber engine shroud but it was removed from sale which was a shame.
LH battery box removal in progress, box seems in good condition so may try find a new home for it.
 2021-04-19_09-43-21
 by
richard cannings, on Flickr
Rich
Re: Meet Ralph - 1970 ST project
Posted: Tue Apr 27, 2021 10:30 am
by rich73
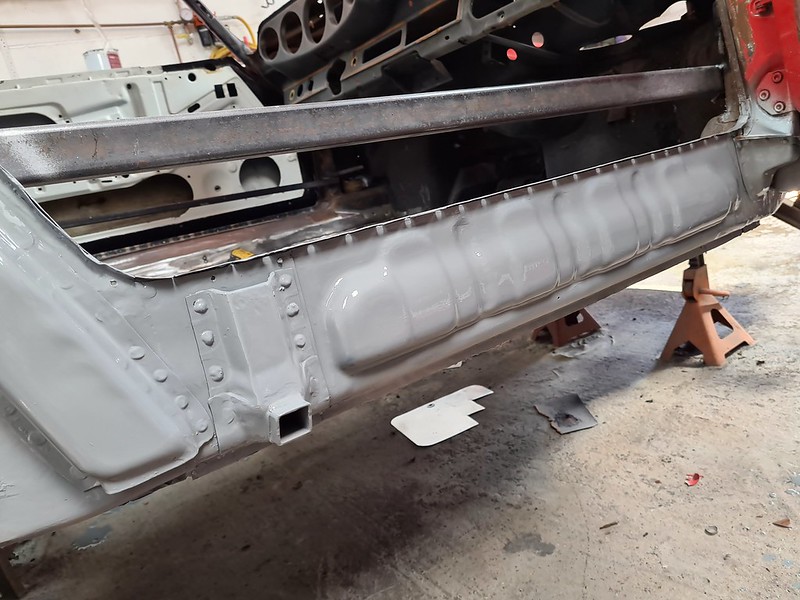
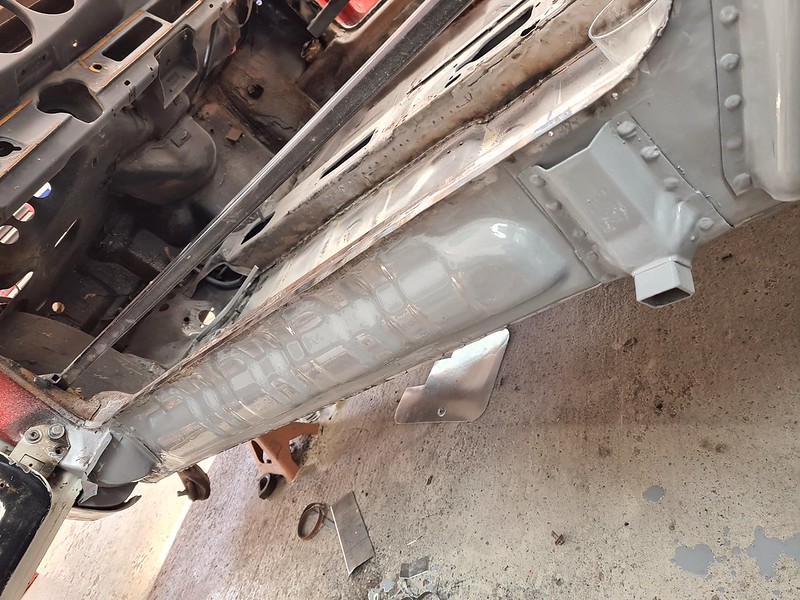
I'm starting think there may be an end to the rust repair stage and things are starting to feel more solid. Both inner sill repairs and hinge post now repaired and painted.
 2021-04-26_07-08-13
 by
richard cannings, on Flickr
Dansk filler piece that I bought wasn't great so ended up making fillers. Think its the only panel so far that I wouldn't buy again.
 2021-04-23_02-04-57
 by
richard cannings, on Flickr
 2021-04-26_07-07-55
 by
richard cannings, on Flickr
 2021-04-26_07-08-29
 by
richard cannings, on Flickr
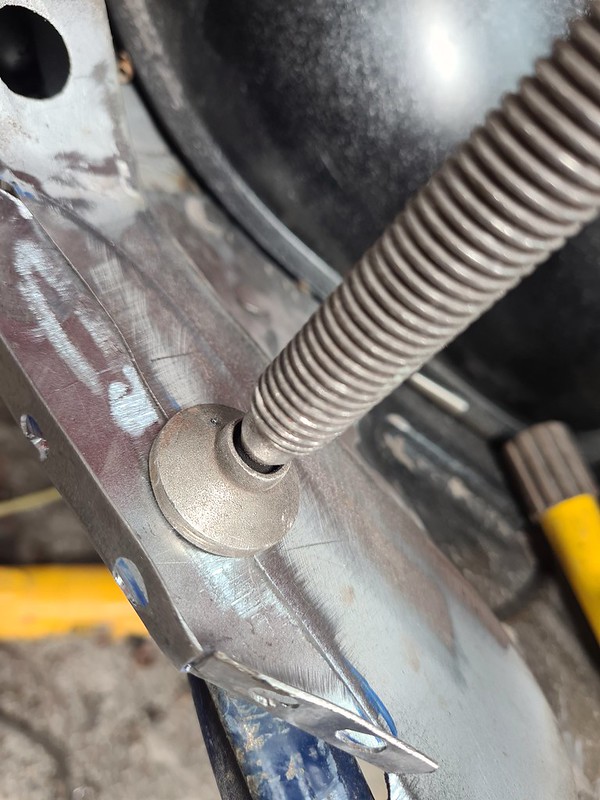
Decided that pouring epoxy into the jack reinforcement point and letting it pour out of the bottom was the best way to be sure I got it fully painted.
 2021-04-26_07-16-41
 by
richard cannings, on Flickr
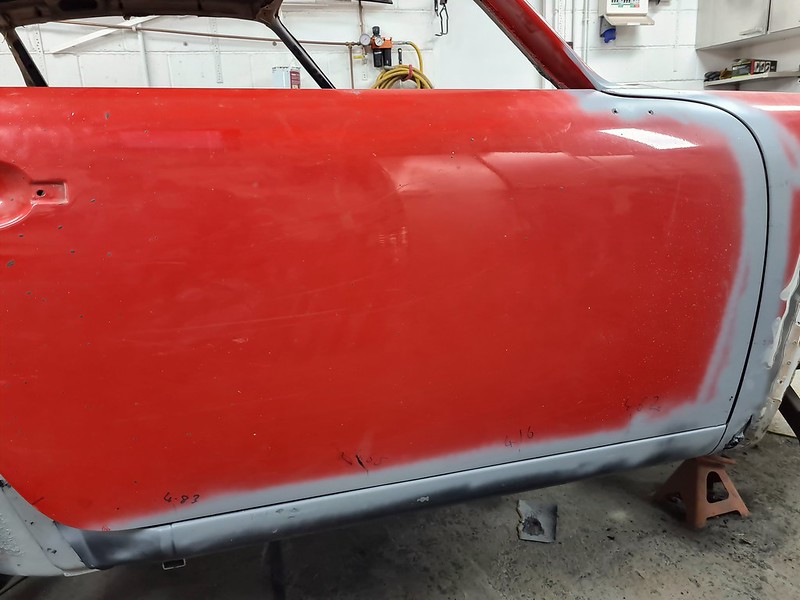
I came to the conclusion that for me an iterative approach was probably the best way forward for getting the door gaps correct. Wings and door fitted and things looked better than expected, Started measuring and tweaking...
 2021-04-26_07-09-18
 by
richard cannings, on Flickr
In the end just sprayed some grey primer on to make it look uniform and went by eye.
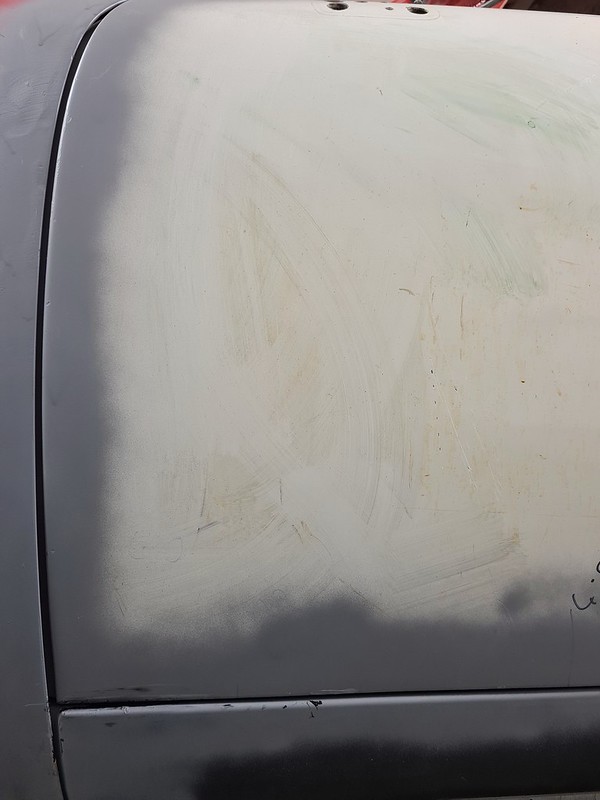 2021-04-26_07-09-36
 by
richard cannings, on Flickr
 2021-04-26_07-09-54
 by
richard cannings, on Flickr
I know its not perfect but I'm happy with the gaps for the moment. Outer sills attached yesterday and the car feels really solid now.
Rich