afternoon chaps...about time this was brought further up to date....in fact I decided to compile everything else I order to bring the thread up to real time....so its a bit of a long one......
When spring turned into the warmer weather of summer 2014, apart from the pilgrimage to what was turned out to be a rather wet CLM, most of the year was spent doing things other than the car….. work on the house had become more of a priority, and accordingly I had let my original slot with Barry lapse, agreeing a new date of Autumn 2016
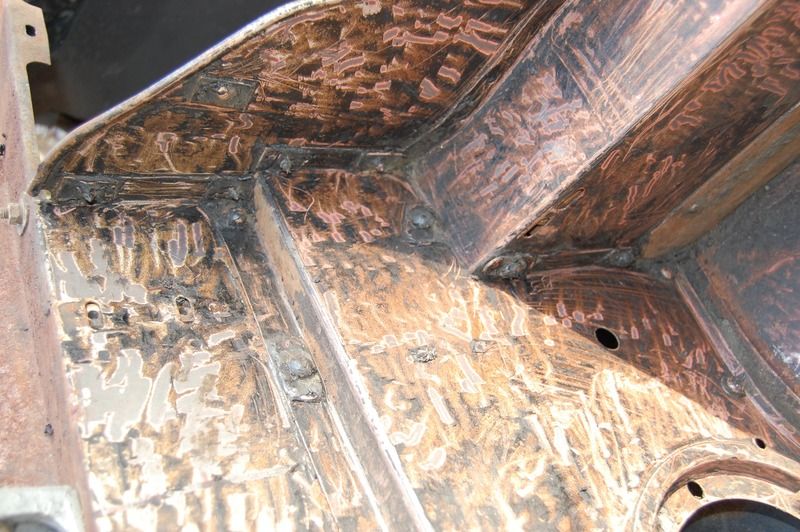
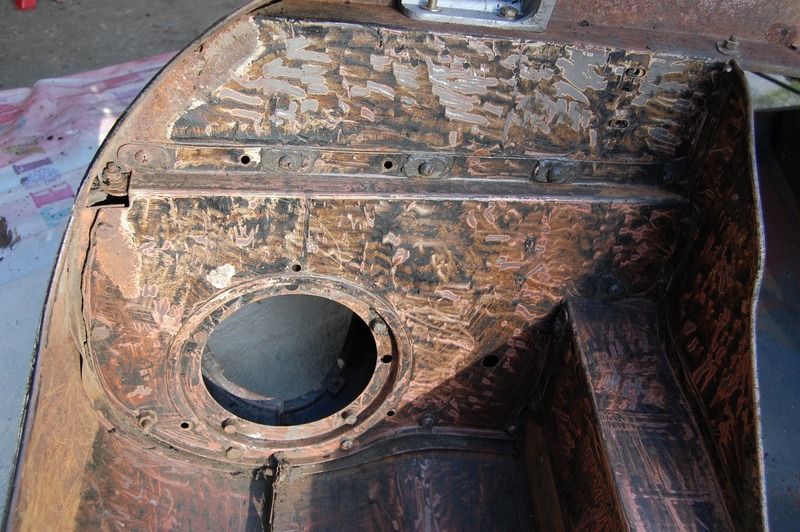
I did do some investigation into the inner structure of the car by cutting out access points….which are all standard practice for an E Type such that the blasting process can get in to as many of the concealed cavities
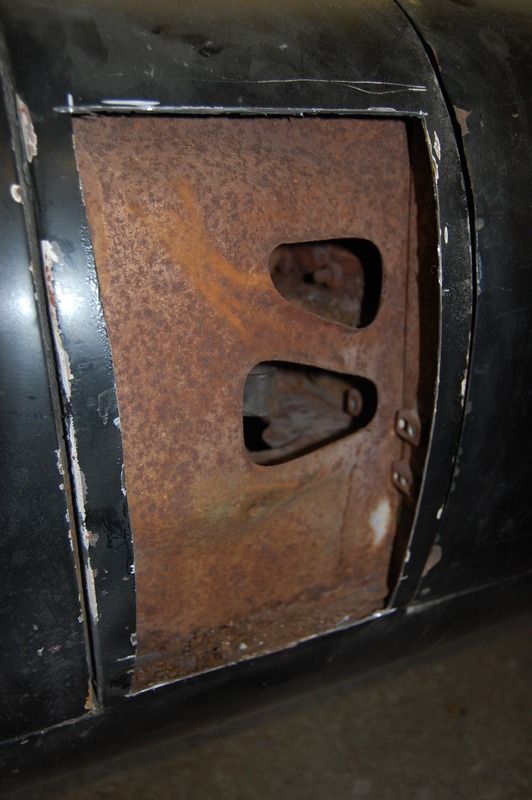
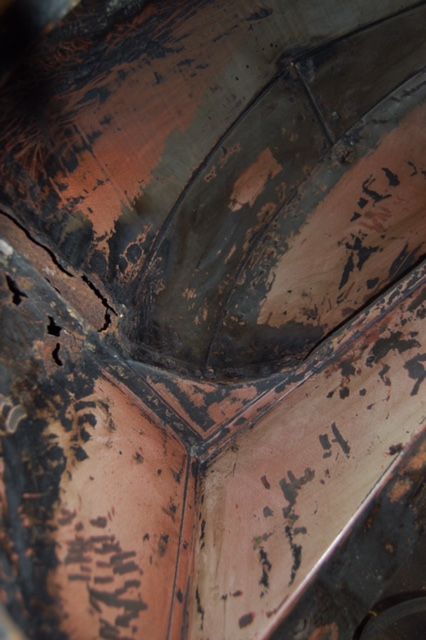
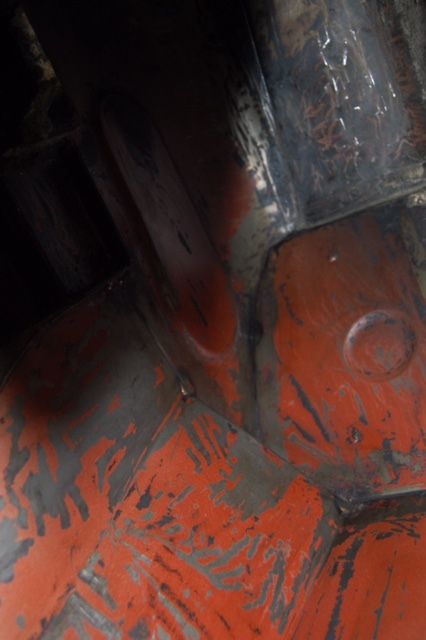
note the total absence of any primer whatsoever....the steel panels are definitely thicker than the Porsche, so perhaps someone thought it a saving as they would take decades to rust....so what was the point....I also once heard a story that jaguar used thicker steel for their cars as it was cheaper than thinner gauge....the logic being that to get thinner steel you need to roll thicker steel more....ergo...save money by saving a process....
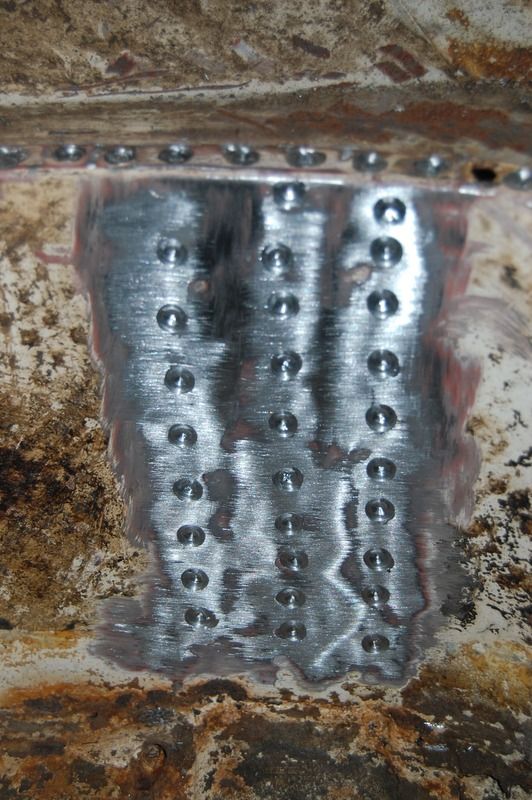
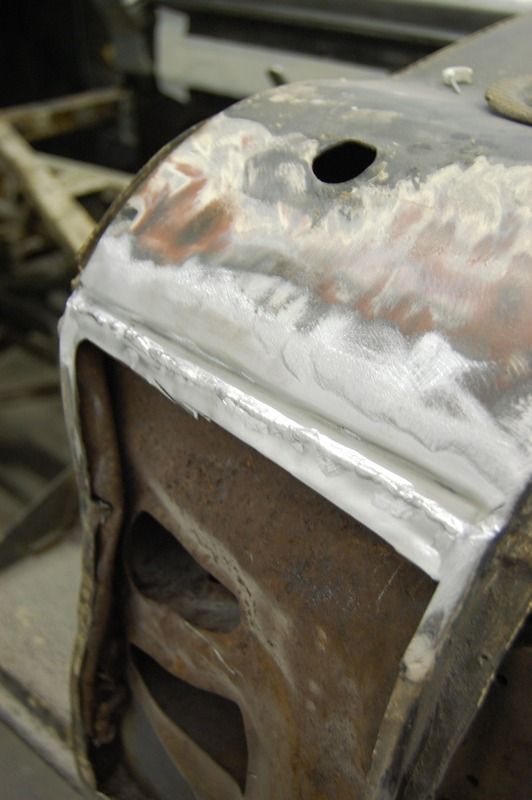
But that was about it
Having spent the colder winter months of 2005/2006 lying on the concrete floor of my garage stripping the underside of the 911 I elected to wait until at least spring of 2015 to clean off the old underseal to begin the slow preparation of the body for the blast cleaners…and also to examine the car more thoroughly and asses the scope of repair panels
Chuck Hadley runs a superb metal work outfit and restoration shop out in Philadelphia…
http://www.monocoque-metalworks.com/main/
and although the metalwork will be done by Barry, Chuck is to E Types what Barry is to 911’s, so it make sense to take advantage of Chucks abilities to produce perfect repair panels economically for certain parts of the car….such as the rear wing repair sections
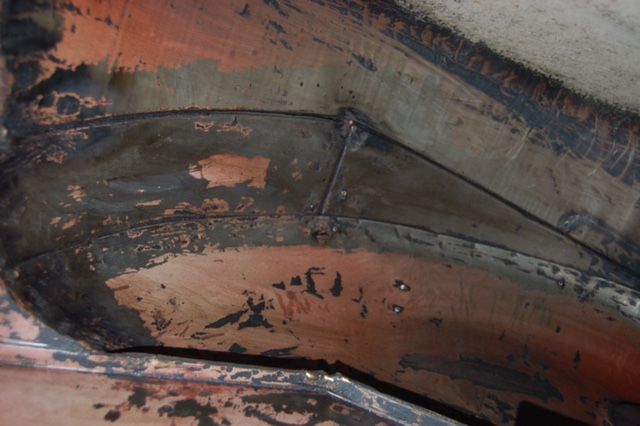
Starting at the rear, a heat gun, and rags soaked in petrol cleaned the rear arches nicely….revealing the original sole coating of red lead primer….together with a thick coat of bitumen…it had largely kept this area protected for 50 years…..not entirely, there certainly are a few rust patches needing attention….rear closer panels to the cills and the upper and trailing edges of the rear arches where inner and outer wing panels abut….
Having a bonnet that accounts for probably 30% of the cars panel work brings its share of complications, but it also provides wonderful access to the engine bay….especially when it is removed….
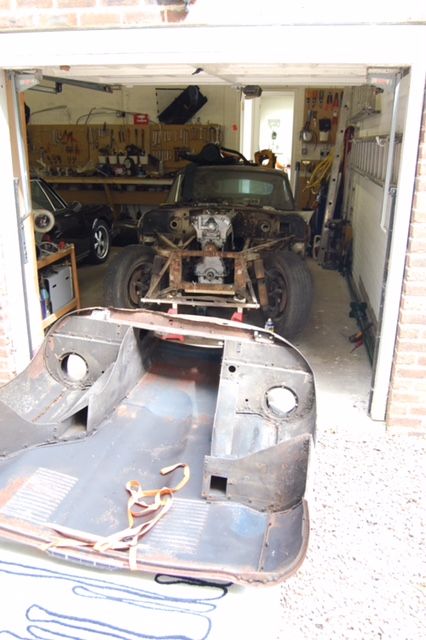
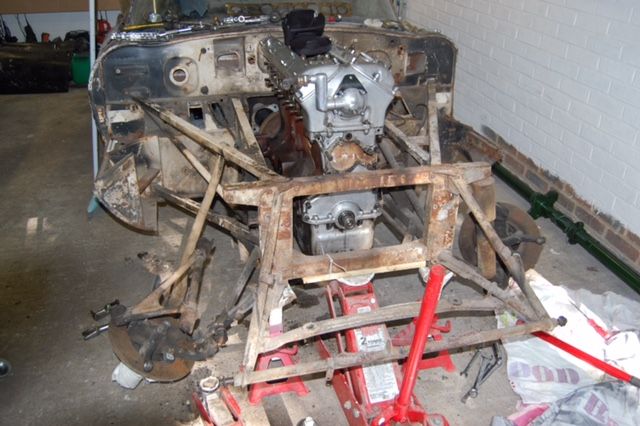
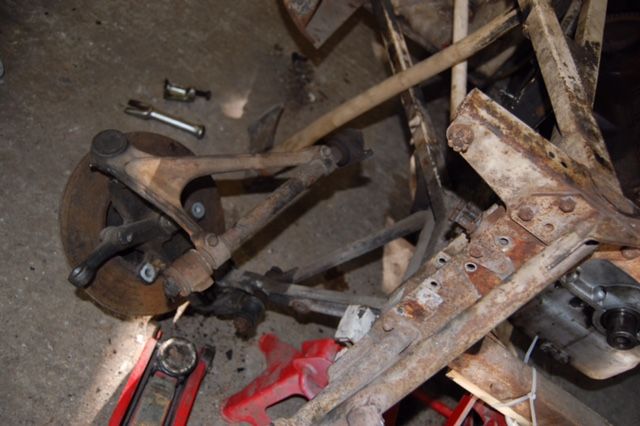
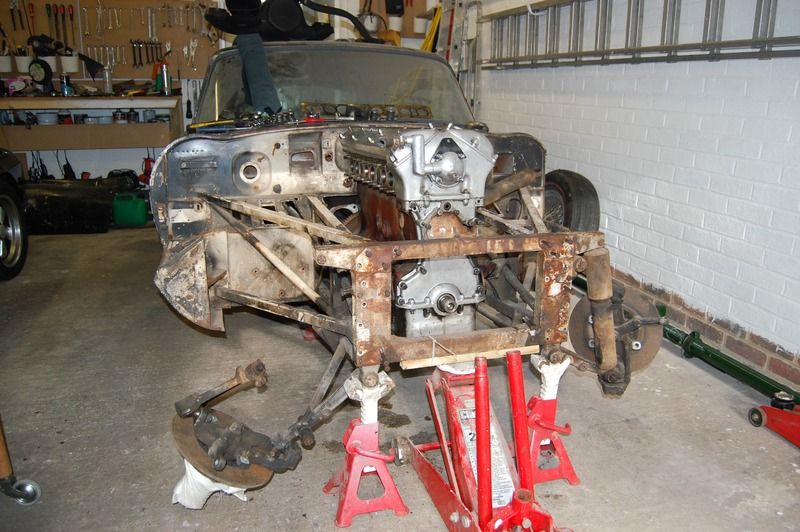
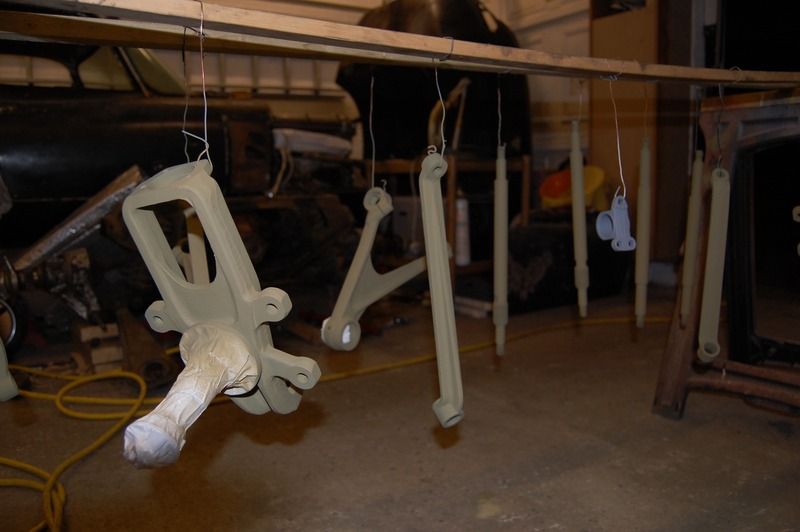
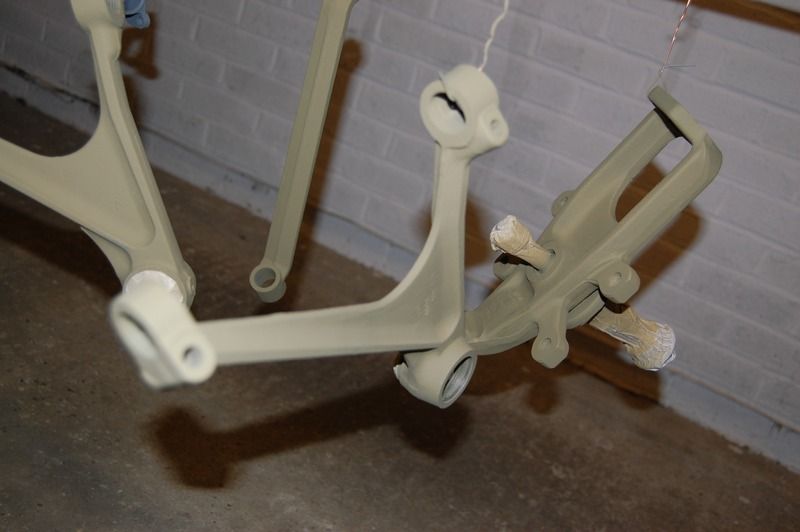
The front suspension of double wishbones and dampers is thereby revealed and easy….just time consuming to remove…..made up of a number of elegantly cast steel elements which although beautifully delicate in appearance (but most certainly not in weight) again needed final finishing of their rough cast edges prior to coating.
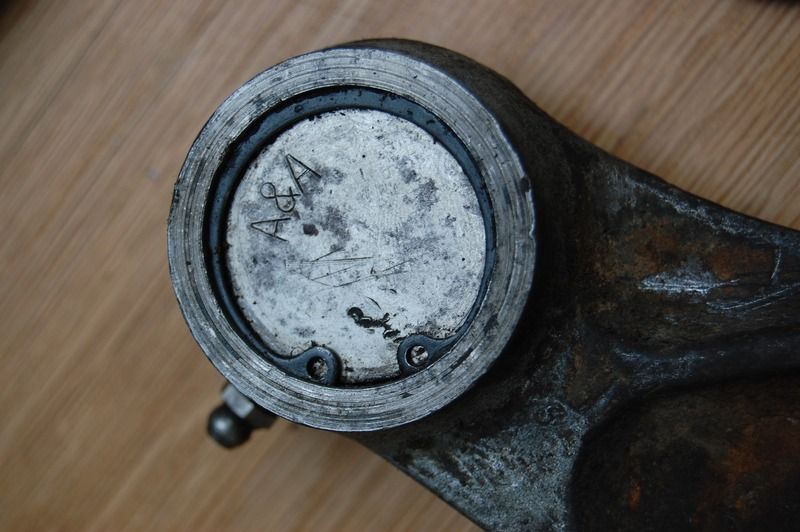
original cover plates to the top ball joints which will be saved and re-used...
one side of the front upper and lower wishbone assembly
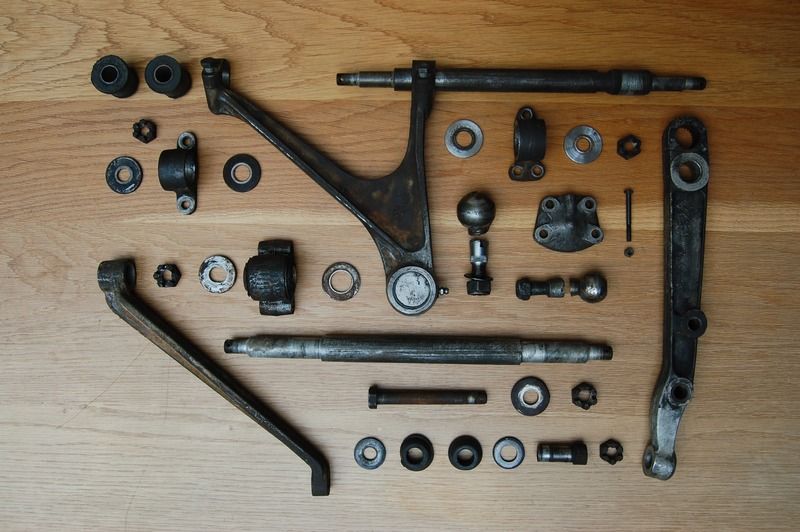
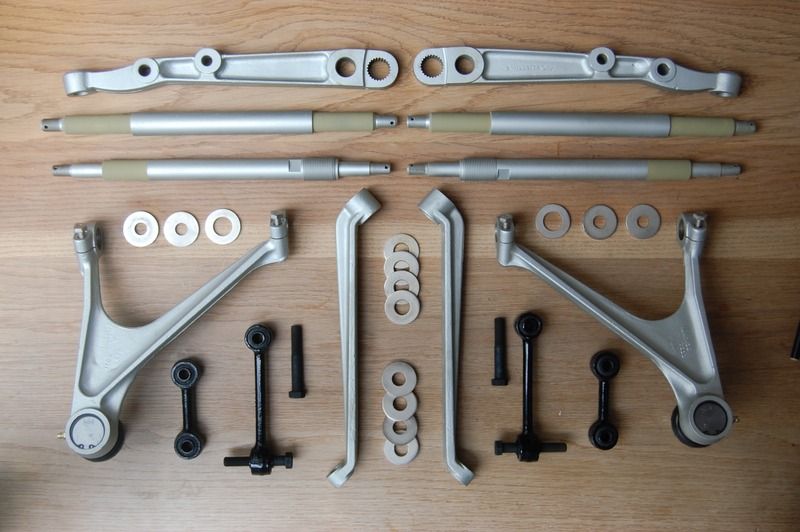
I debated what finish for quite some time, as nickel plating would be consistent with the rest of the car, but I felt too shiny, and also potentially too thick….as a number of components have a tight interference or threaded fit, so the coating thickness could prove a problem…..bright zinc was visually too cold and modern in finish, so in the end I researched a number of silver wet paint finished that would closely match the original CAD plating finish
So after stripping with a combination of hydrochloric acid and grit blasting they were all etch primed, 2 coats of 1K silver, plus a further generous coat of matt finish clear 2K lacquer
Individual bolts were blasted and then finished with a chemical blacking process which doesn’t change physical sizes of components, with nuts and washers blasted and then nickel plated
Having removed and cleaned the front hubs, it was reassuring to see that the original Timken bearings were in good condition, so they were dutifully soaked with petrol, sprayed with carb cleaner and WD-40 to clean them thoroughly, masked, primed and top coated black then repacked with grease, which I smeared over all the bare metal surfaces for further protection
I haven’t deceided what the upgrades to discs, callipers and pads will be yet, so apart from cleaning and plating the hub/disc bolts, they now sit amidst hundreds of other parts in boxes in the study …
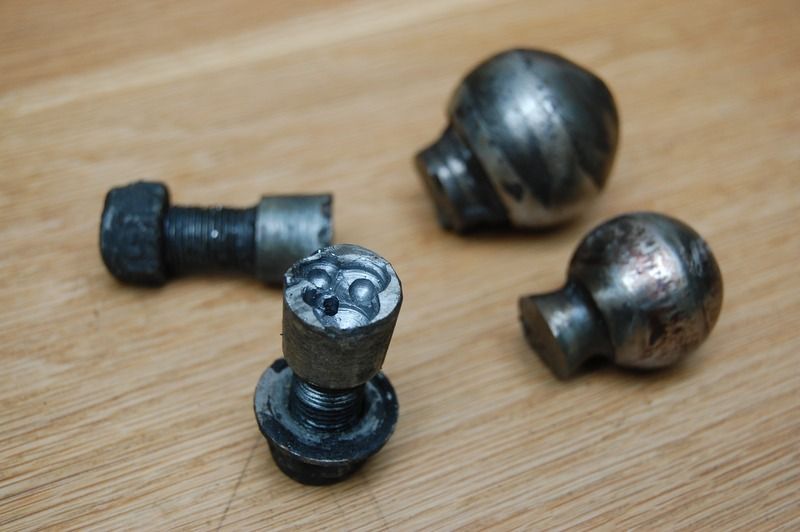
The disassembly of upper and lower ball-joints on each side was not as straightforward…using paired hammers, heat, simple fork type and pivoting type ball joint splitters made no impact on them….so I cut them with the angle grinder and resorted to drilling them out….numerous holes made close to one another and then beating the outer edges inwards gradually allowed me to loosen them all off
I finished off the year by stripping underseal from the bonnet, which as I had long suspected from earlier examinations would need repairs around the headlight bulkhead and in various places along the wing to centre panel longitudinal joint, together with the front under bonnet panel, which is heavily pitted with rust and deformed….these are available as a complete panel and although I would prefer to retain as much metal as possible I will buy both the new outer skin and the inner sub-frame as both are so rusty it doesn’t sadly make sense for an economical and clean repair
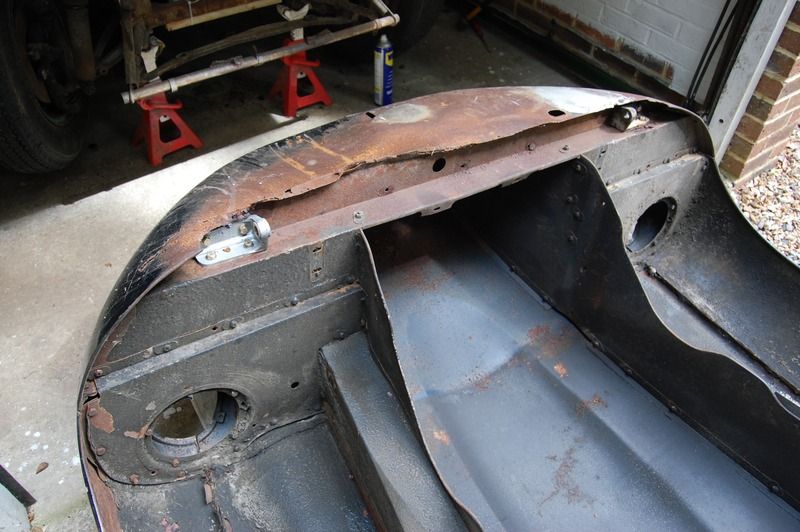
Bringing me finally into this year and by contrast, the rear suspension which was simpler to remove….but astoundingly heavy…..being contained within a fabricated pressed and welded steel cage..it is also only held in place with 4 Melastic mounts and restrained by a pair of pressed steel longitudinal trailing arms
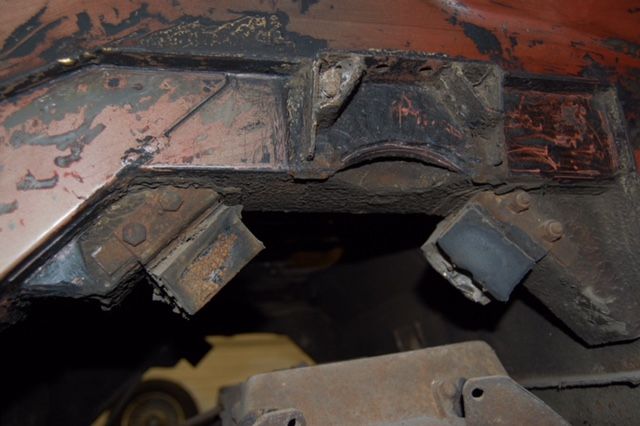
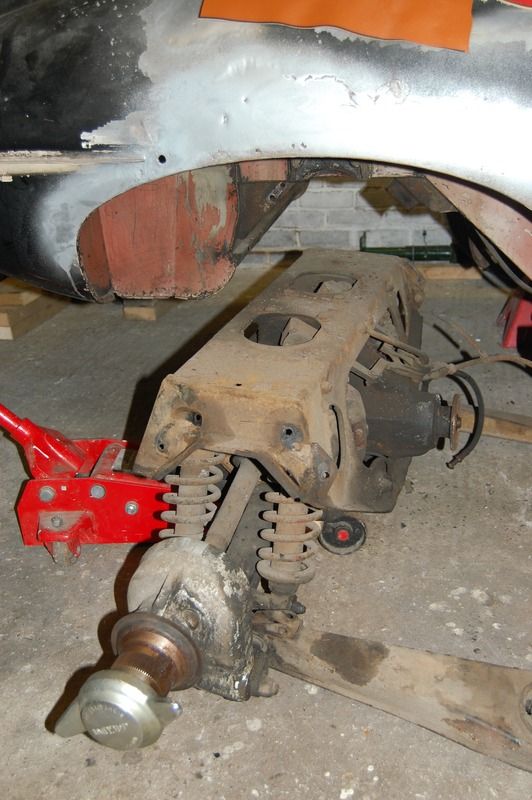
It actually fell off……!.....after dutifully jacking up the car and lowering onto axle stands, I dropped the jack….. half turned to move from under the car to get a better position to relocate the jack and both felt and heard a solid thump and the bugger was on the ground…slightly pushing against the axle stands…….
Note to self….don’t so that again….and never let anyone just jack the car up and leave the cage dangling….the mounts had clearly dried and sheared…but who knows how strong new ones are
In fact the assembly is so heavy that, although I could lever it up onto the trolley jack, it was fairly unstable and took my son and I to jointly balance it on the jack and drag it out from under the car, whereupon I had to remove whatever I could piece by piece before being able to turn it over and continue….ultimately freeing enough components to be able to lift the cage out of the way and leave the monster of a rear differential resting on some timber blocks….that differential alone must weigh more than 50 or 60kg….at this stage, I know it turns freely with no excess play….so apart from a thorough clean and removing the rear access cover to make a simple visual inspection, I intend to flush it out with something like paraffin, re-paint and make it ready for reinstallation
With the suspension free from the car I could then remove all remaining underseal from the rear, which was pleasingly sound apart from just a few areas of surface rust around the sub-frame mounts needing no more the blasting and some perforations in the lower boot floor panel which shall be repaired locally
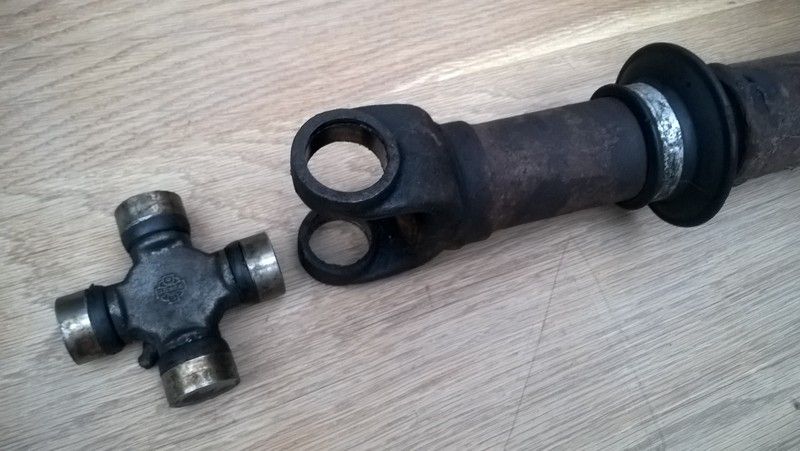
Similar difficulties were encountered with the prop shaft and drive shaft Universal joints….the use of sockets to drive out the UJ cups ended up pretty brutal for the first few cases…perhaps I simply became more confident in heavier sharper blows….but the nett result was an assorted pile of dismembered components….which I am fairly sure were the original parts, judging by the part reference numbers and the fact that they all said MADE IN ENGLAND, on a car that had spent its entire working life in the US
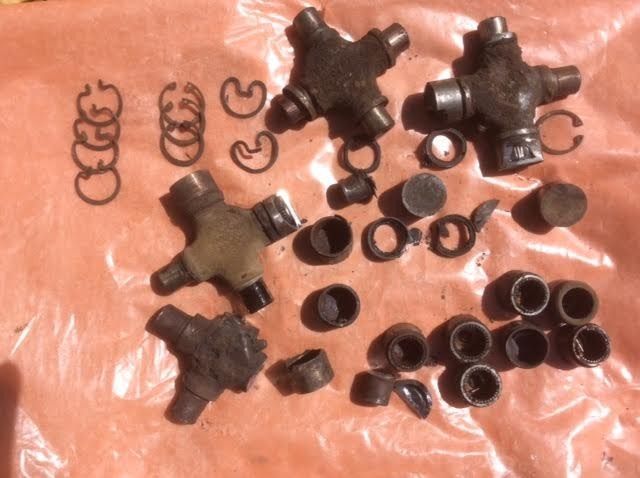
Whilst the drive shaft joints are shot and will be replaced, roller bearings for the propshaft joints were in good shape and I only need to source new rubber dust seals to allow me to rebuild the joints up for re-use
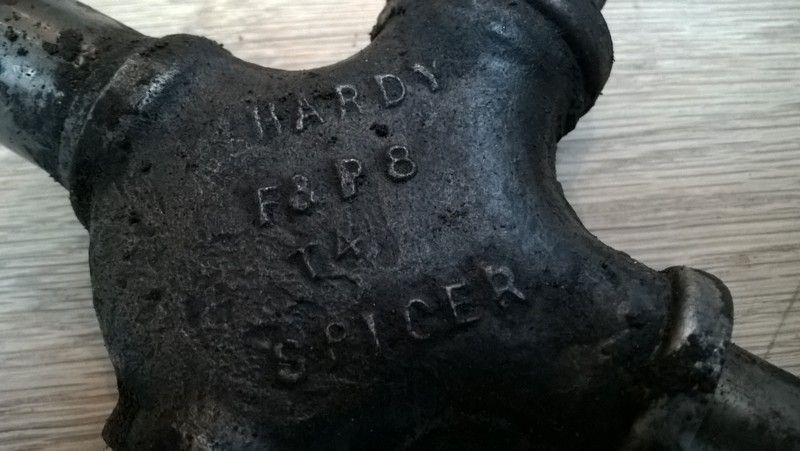
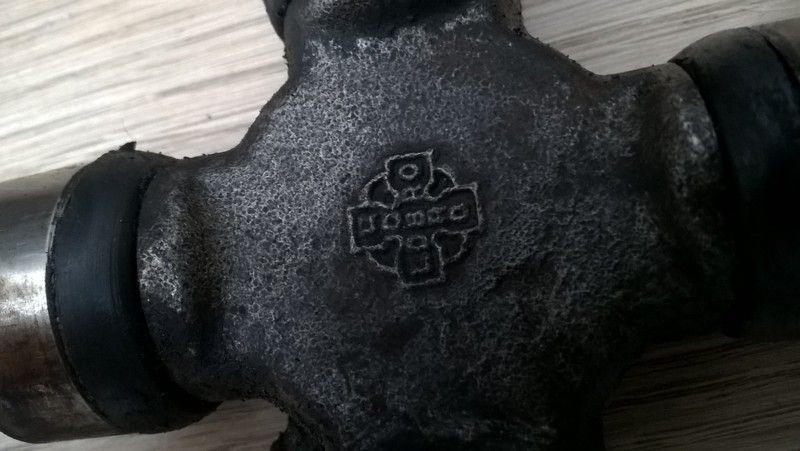
With all of the suspension components removed I was finally able to contemplate removal of the engine
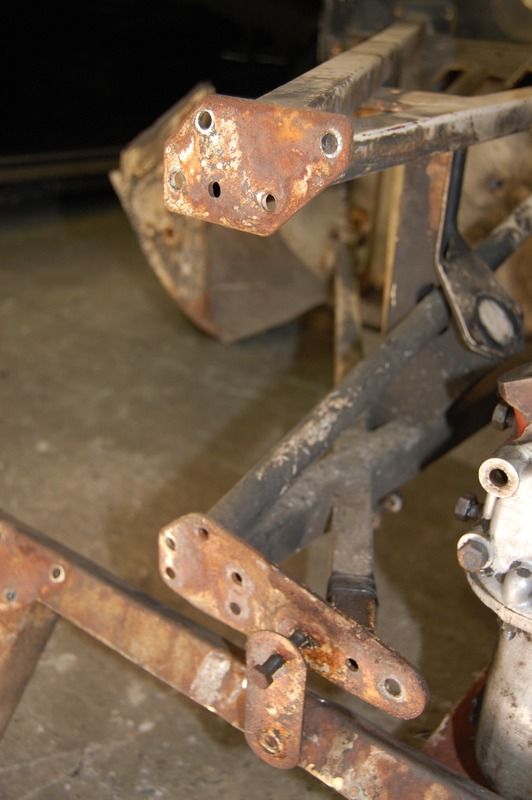
Traditional methods of removal usually lift the engine out from above…..sometimes the car can be raised and engine installed from beneath….I however with the luxury of time and choice…but not interested in purchasing an engine lift for this single operation deceided to remove the engine frames from around it and slide out from the front….I needed to know what condition the engine frames are in as much as anything else…..being fabricated from a combination of regular mild steel sheet plus circular and square section Reynolds tubing the tubes are very slim walled (usually 0.9mm) and with no internal protection usually rust….indeed once unbolted I could clearly hear the tinkling sound of rust particles when I up ended them……..so they shall be replaced….
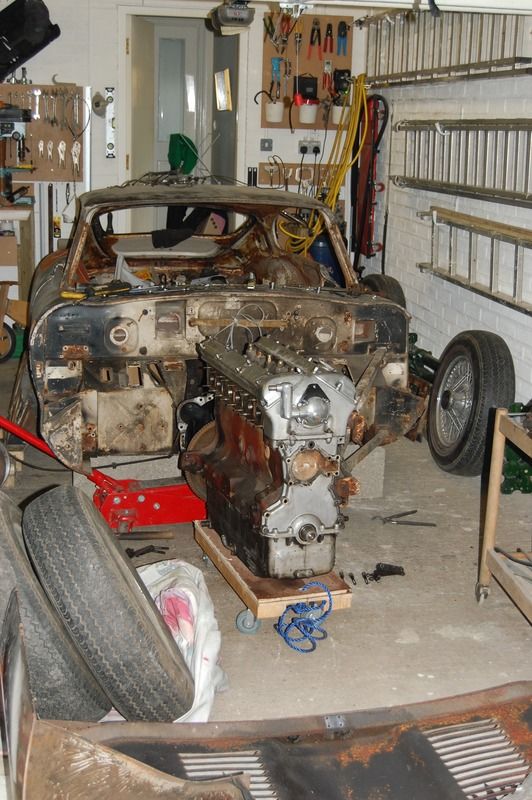
The engine takes the concept of heavy to a new level….with the gearbox in place it was resting on a purpose made timber trolley…but getting it to move was another matter….which standing at around a metre tall, it felt unstable and I was very nervous it might slip or tilt over….which would be a serious problem…no chance to stop it if it fell….so as soon as I could free the assembly from the frames I separated the clutch/gearbox, which seemed to reduce the weight sufficient to allow a slightly easy manoeuvring to take place….
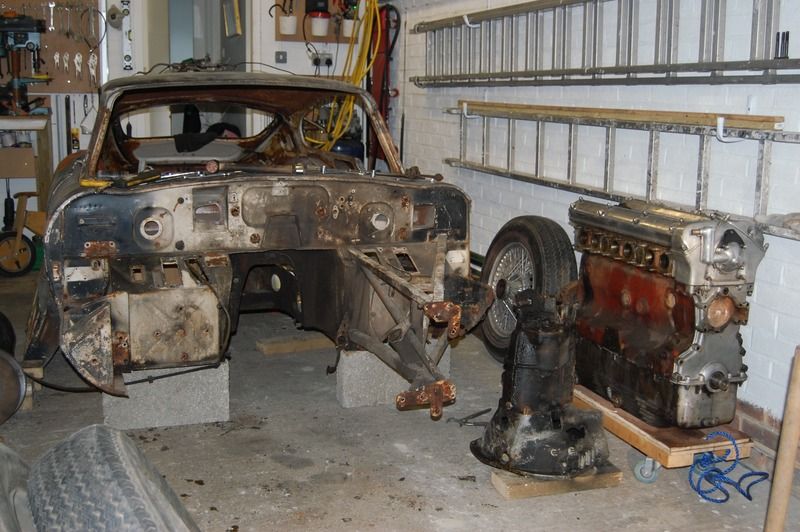
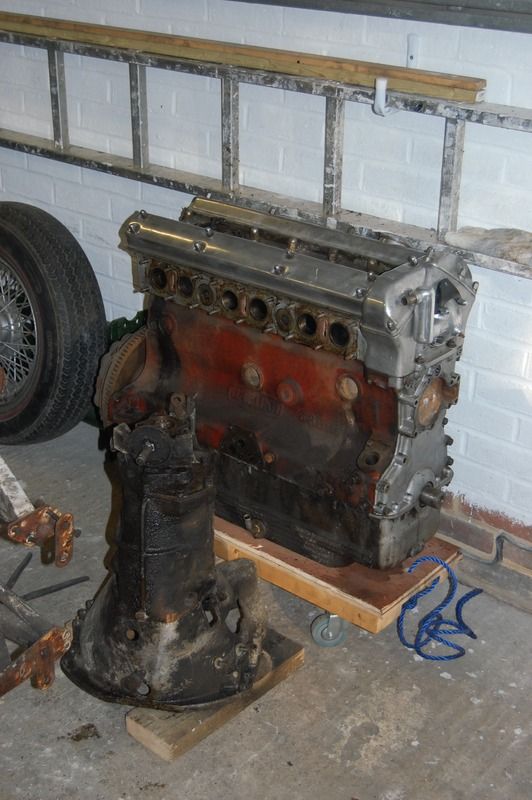
As with the rear differential, the Moss gearbox felt like it rotated freely, so we cleaned up the outside, primed and painted and will then remove the top cover for a visual inspection, also flush it out with paraffin and fil with some oil for preservation until re-assembly
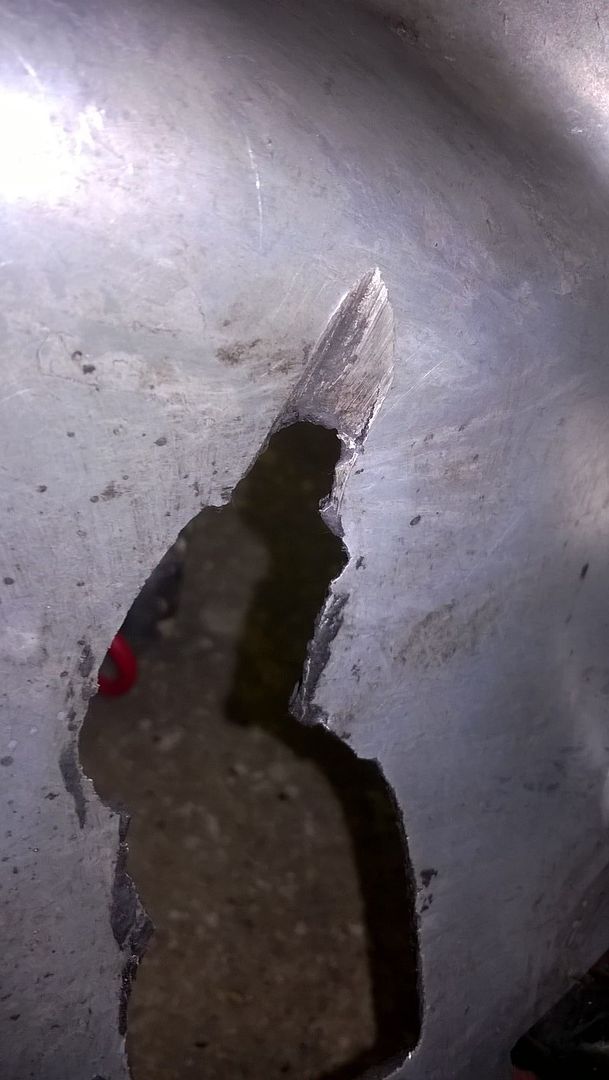
In separating the gearbox I had to inspect the bellhousing and clutch…..
Not sure what happened there….looks like something internal made a bid for freedom….so I will investigate a welded aluminium repair..and change the clutch for a later Series 1but 4.2 litre type
As I write this the heavier rear suspension components , including the cage was blasted last week, and given a coat of epoxy primer on Saturday
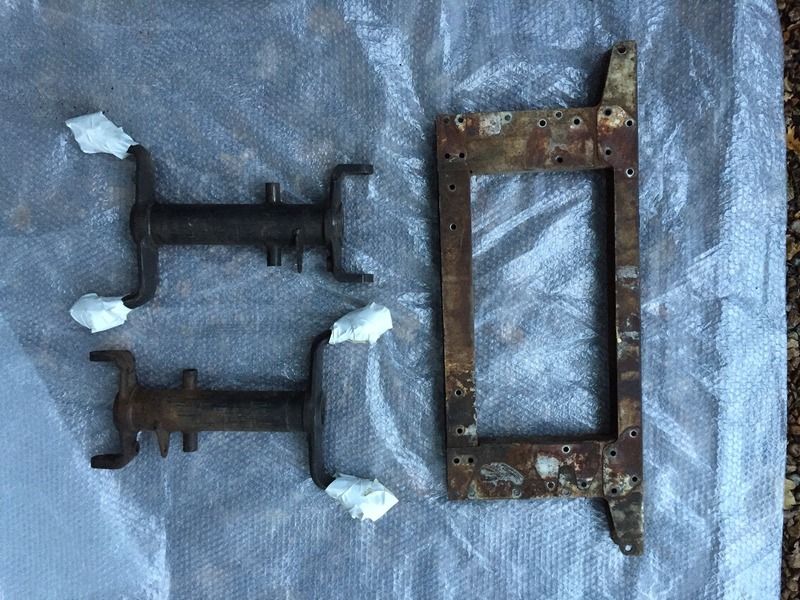
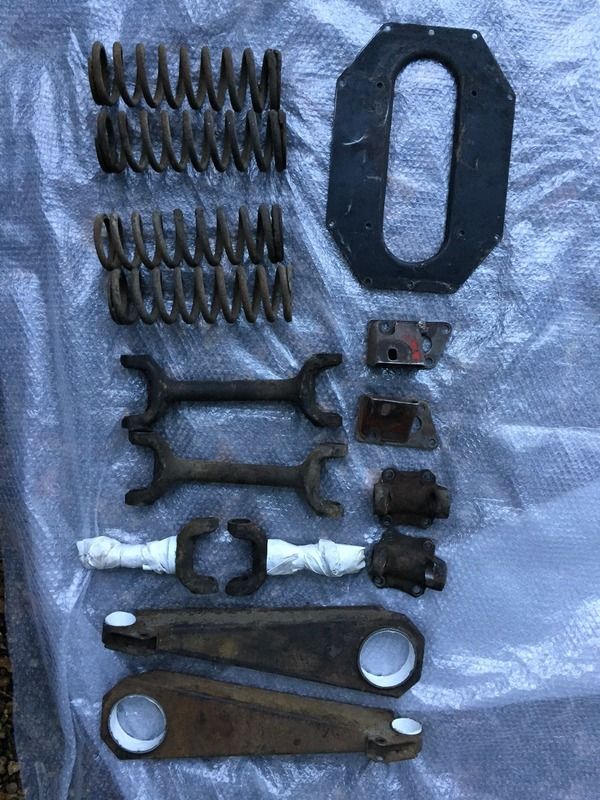
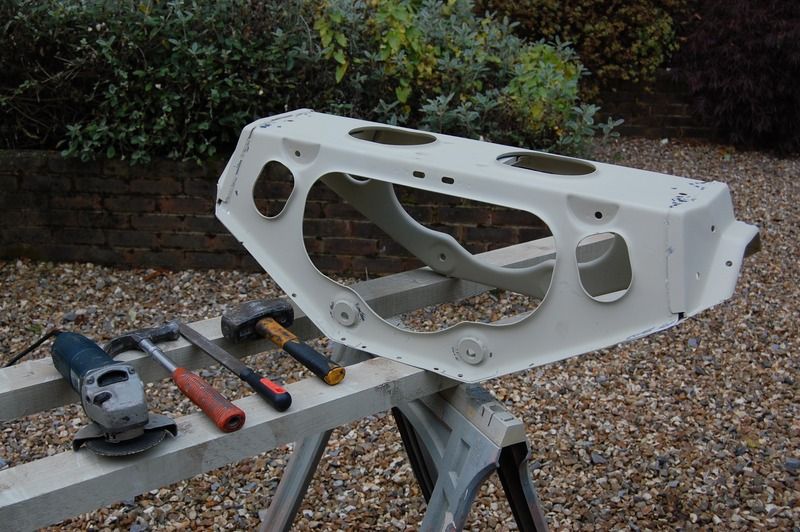
and with my usual attention to detail I had to then straighten odd bent edges and dress all the welds and remove old weld splatter...it took me about 45 minutes with te hammers and grinding discs, which I suppose to the original jaguar workers who were on piece work was a big deal....
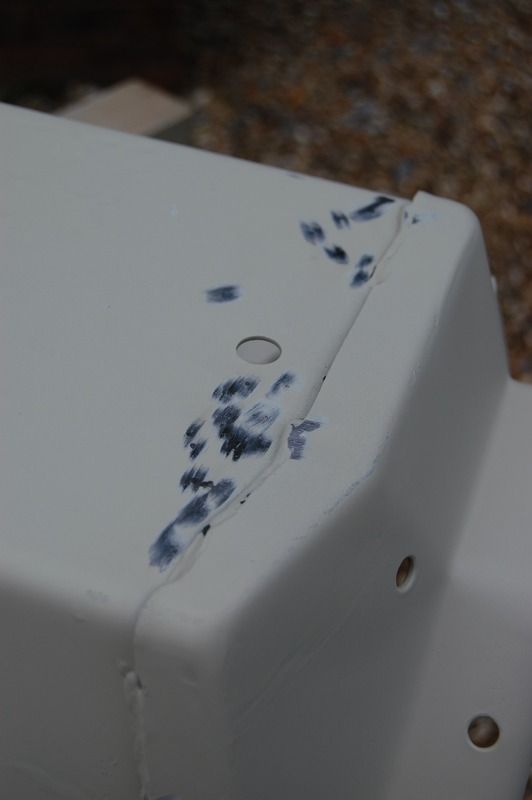
Which actually brings me up to real time…. as the partial house restoration has almost reached its intended milestone in time for xmas ....so I am now returning to fun with the car....
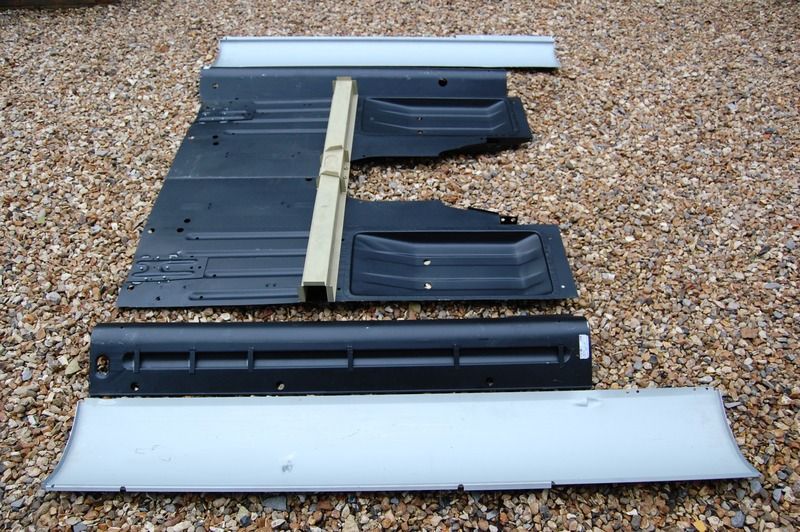
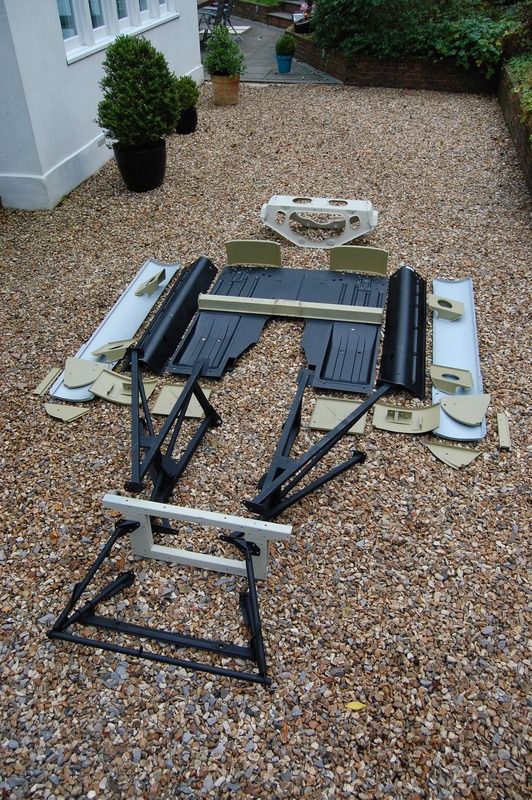
these are the main replacement body panels that I collected at the Jaguar spares day up at Stoneleigh 2 weeks ago, which included a set of the engine frames, minus the front picture frame that has the original chassis number stamped into it. It is slightly damaged as they all are from years of incorrect jacking of the car, so will be repaired by Barry
first are the principle new panels, floors, cross member plus inner and outer cills....
and now with miscellaneous end closer panels to the cills, plus inner stiffeners, rear bulkhead panels behind the seats, toe boards......and the new engine frames (in black)
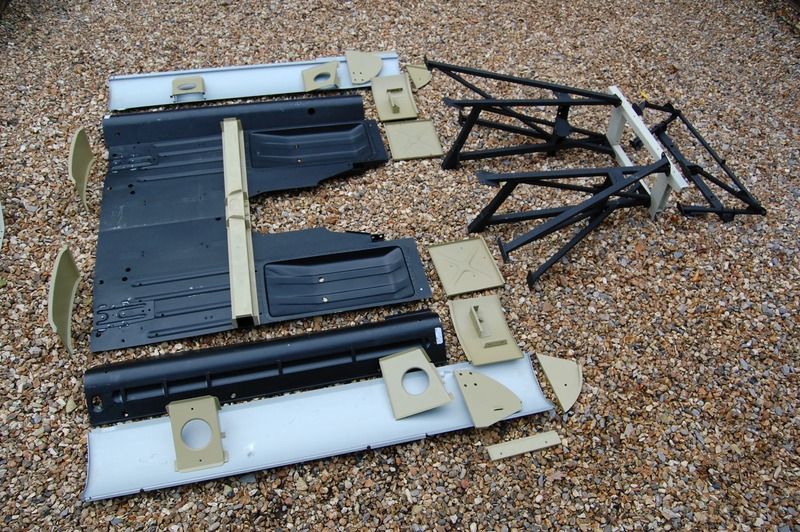
and now with the disassembled bonnet (minus chin panel)
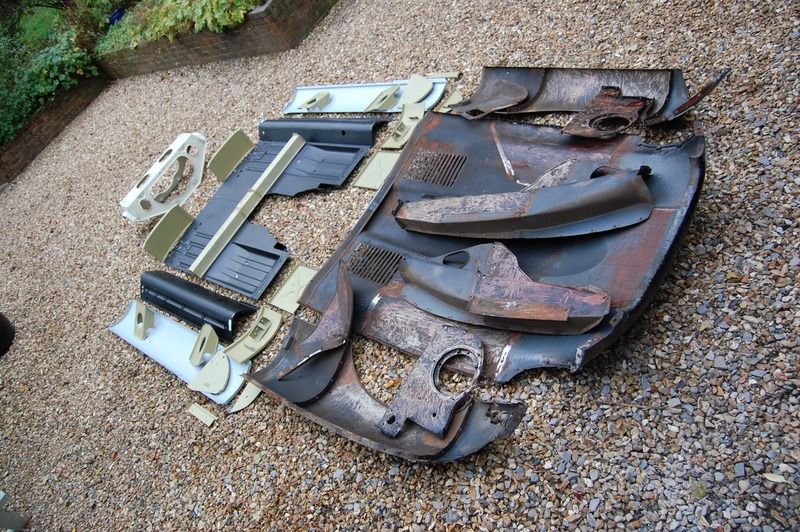
There will be a purchase made from Chuck in the US later in the year, but what you see there totalled around £5,000....the panels being under £2,000 and the engine frames a hefty £3,300....they are one of two versions on the market...the other is cheaper and from a well know supplier...but these are the best....by widespread reputation..and they are beautifully brazed and welded.....they also have to hold the engine, suspension and a third of the body...so they are somewhat important....
In early November I shall take the car up to Envirostrip for it to be stripped ......up until a few months ago I was opting for the blasting route...but with another story of damaged panels after blasting I have elected to go for a fuller removal of all rust, paint and filler. So November 11th it goes up to the Midlands and I pop over to the NEC Classic Car show....and by the end of November I shall collect it and take it to its new home for the next few months in deepest East Sussex, where the maestro of metal magic will learn all about the art of mid-20th Century English steelwork
So if anyone else has a steering wheel they need recovering….send them forth as the proper expenditure has just started….
thanks for reading
Jonathan
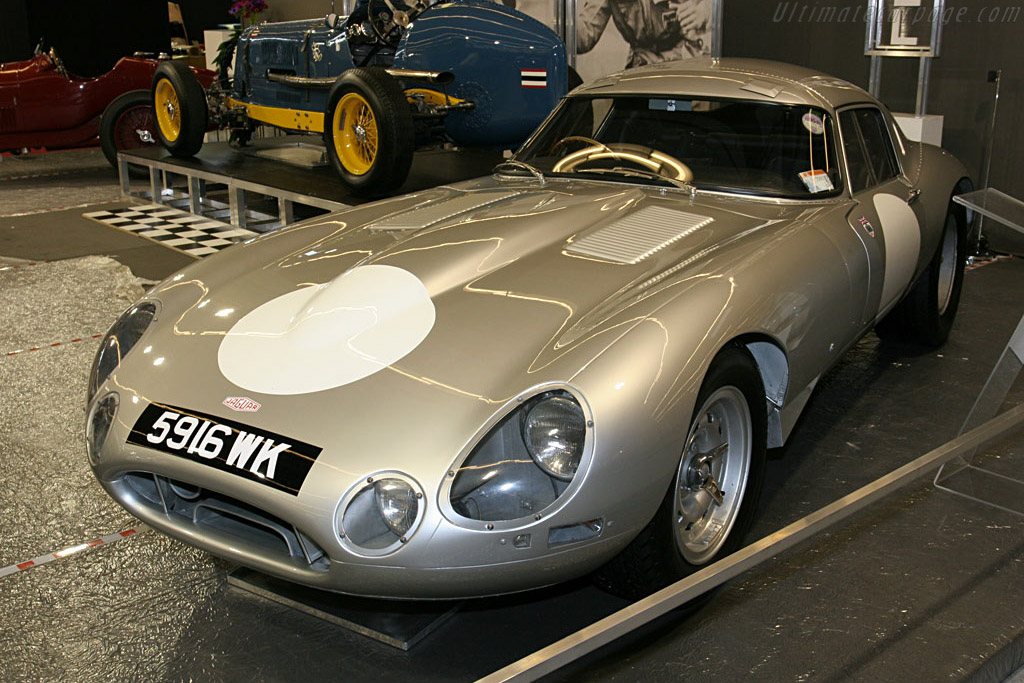
 ...always looking....and somedays even tempted....not so much the low drag but a slightly modified body...a gentleman's racer if you like.....
 They do look epic. Shame they're not based on the coupe ....


