OK back to metalwork......
In my last metalwork post I showed the support piece I'd made to go down the inside of the wing. It had some cuts in it that needed welding up. Whilst I'm pleased with my progress on the panel beating stuff, I still apparently can't weld for sh1t!
I welded up the slits I had made and apart from a bit of drizzle-art it went OK(ish). When I ground the welds back there were a couple of bits of daylight peaking through so I thought I'd weld them up. Here is the result:-

Not good.
The problem was partly down to me not looking after the wire in the welder - it had become a bit cacked up and at lower speeds the wire feed was slipping. I had my birthday last week

and my present arrives this coming Monday - a portamig welder. I understand a bad workman always blames his tools - I'm not blaming them but I do like having good tools to work with. Hence I've held off from doing any more welding until the new welder arrives.
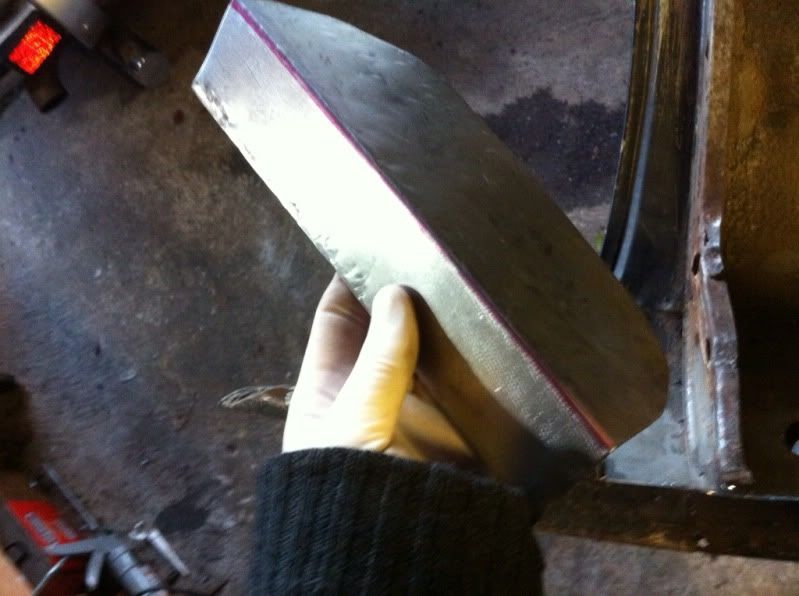
In the meantime I've made a piece that will replace by drizzle-art crap.


I'm really enjoying learning from my mistakes. With this little piece I started out with a completely straight piece of steel. After I'd spent ages beating it into shape it occurred to me that it would have been much easier to start with a hockey-stick shaped piece and fold a curved flange onto it. As I didn't need too much curve in the piece it worked out OK though
Another piece I've been working on is on the top of the wing.
I made this piece the other week

It wasn't easy as the top has a few curves in different directions which was hard to achieve. Once I'd finished it although I was pleased with the overall shape, there were too many hammer blows in the metal - if I ever managed to planish them out the stell would get too thin.
So I decided to scrap that piece and start again

This time I also wanted to put in a ridge that runs along the inside top of the wing (along the bit that the bolt holes go through) - I hadn't got round to this in version 1

Here it with the ridge in place but I haven't done the main fold yet

Lots of shaping, twisting and beating later I ended up with this

I'm pleased with teh panel fit

Compared to Mark 1 (which is on the right - you can see the hammer marks)

I trimmed the edges straight to make it easier to cut the metal out when fitting it in

I've got some more work to do around the front sidelight units - that involves pieces joined together - should be interesting....


 I love a car that is actually used as a car whilst also being repaired / improved as time & the miles go by
  If only it was LHD it would be perfect


