Big post alert

Hannah and I have come back from a lovely 6 week holiday, based mainly in Oxford, UK. Mainly cycling and catching up with Hannahs family. We actually got some really good hot, sunny weather too!
While there I contacted a local to Oxford classic Porsche workshop. I took a train 10 miles north to Bicester and walked from there. What was meant to be a short walk turned into a 20km walk in the sun on a 34 degree day thanks to me following out of date Google maps. Lessons learned that day. But I got there in the end and had a tour around the place. Very friendly staff, very tidy. Some fantastic 911s inc I think at least 3 genuine Carrera RS 2.7s. I took many photos...
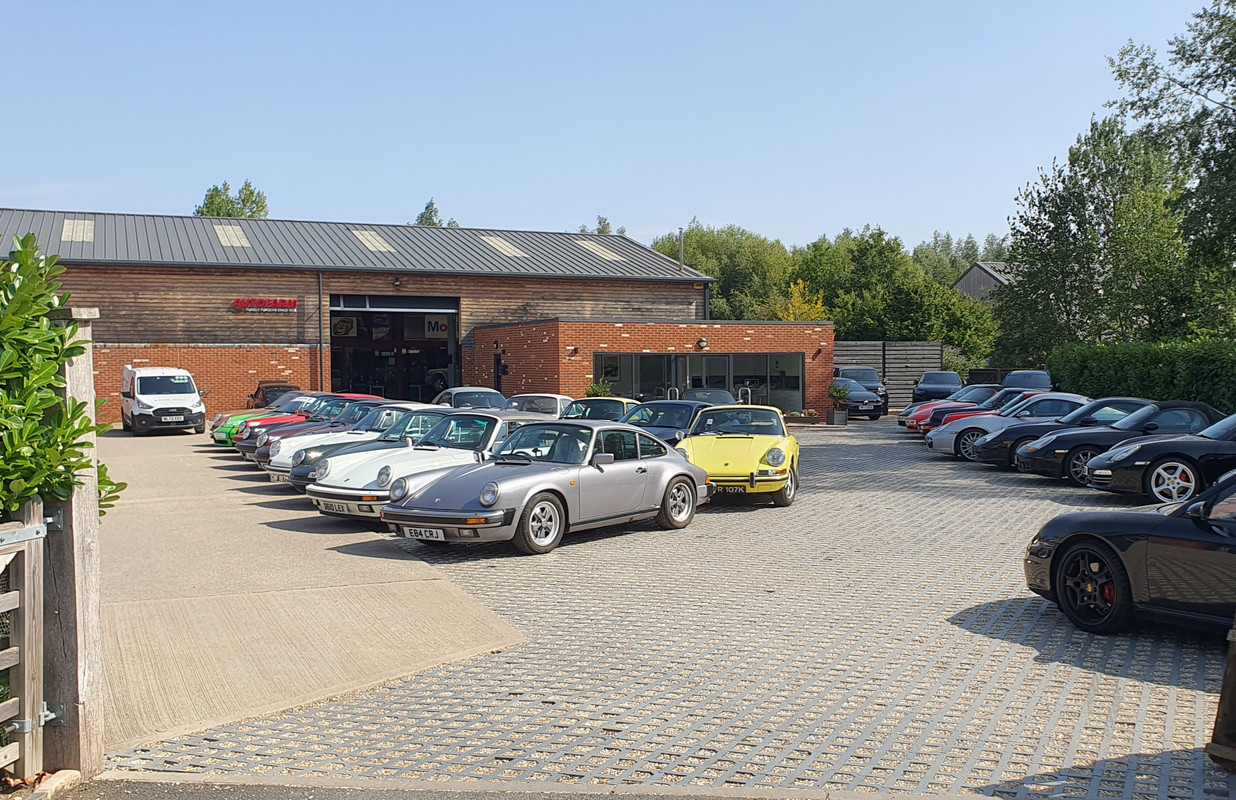
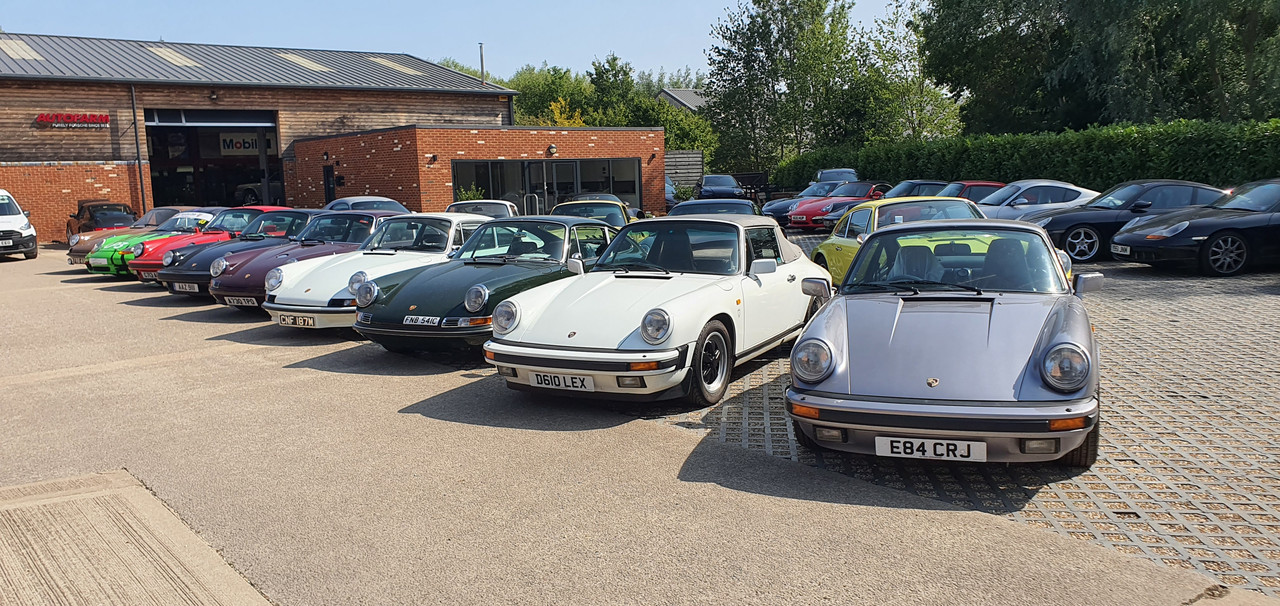
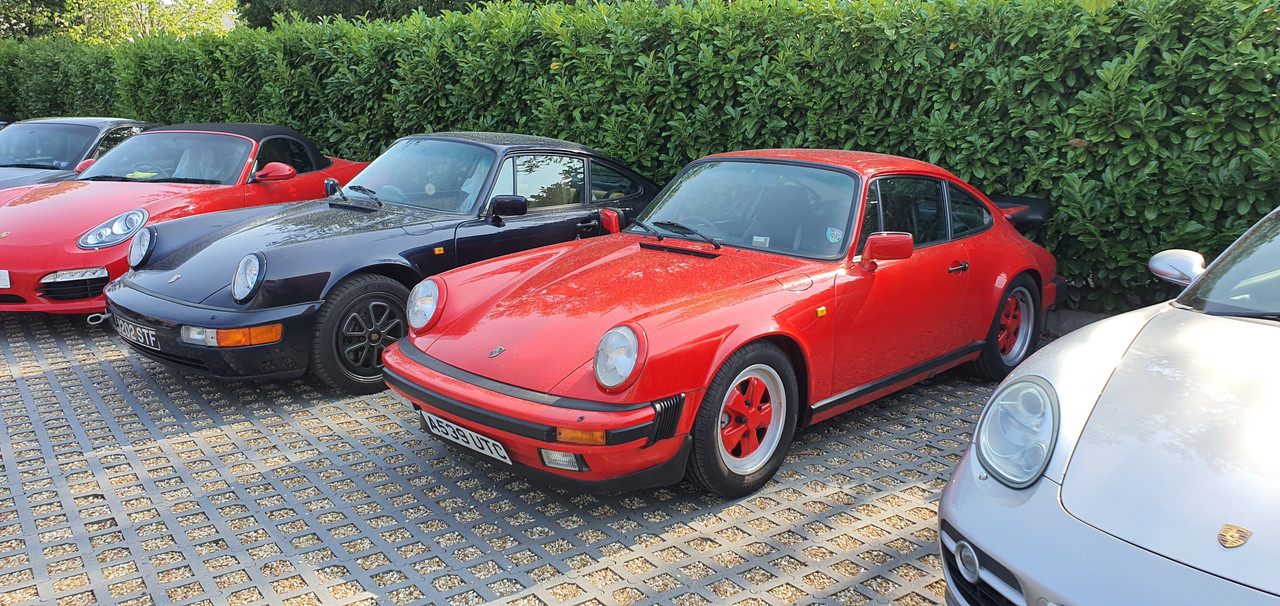
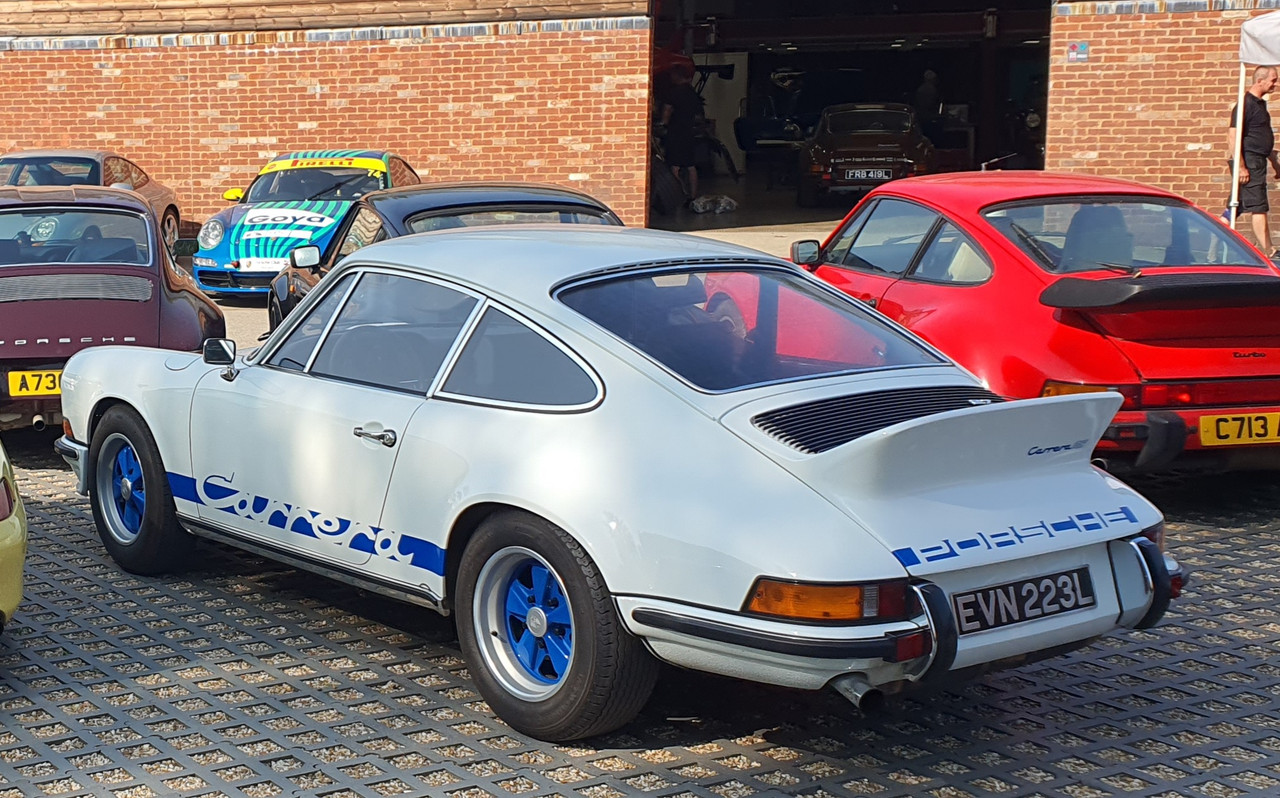
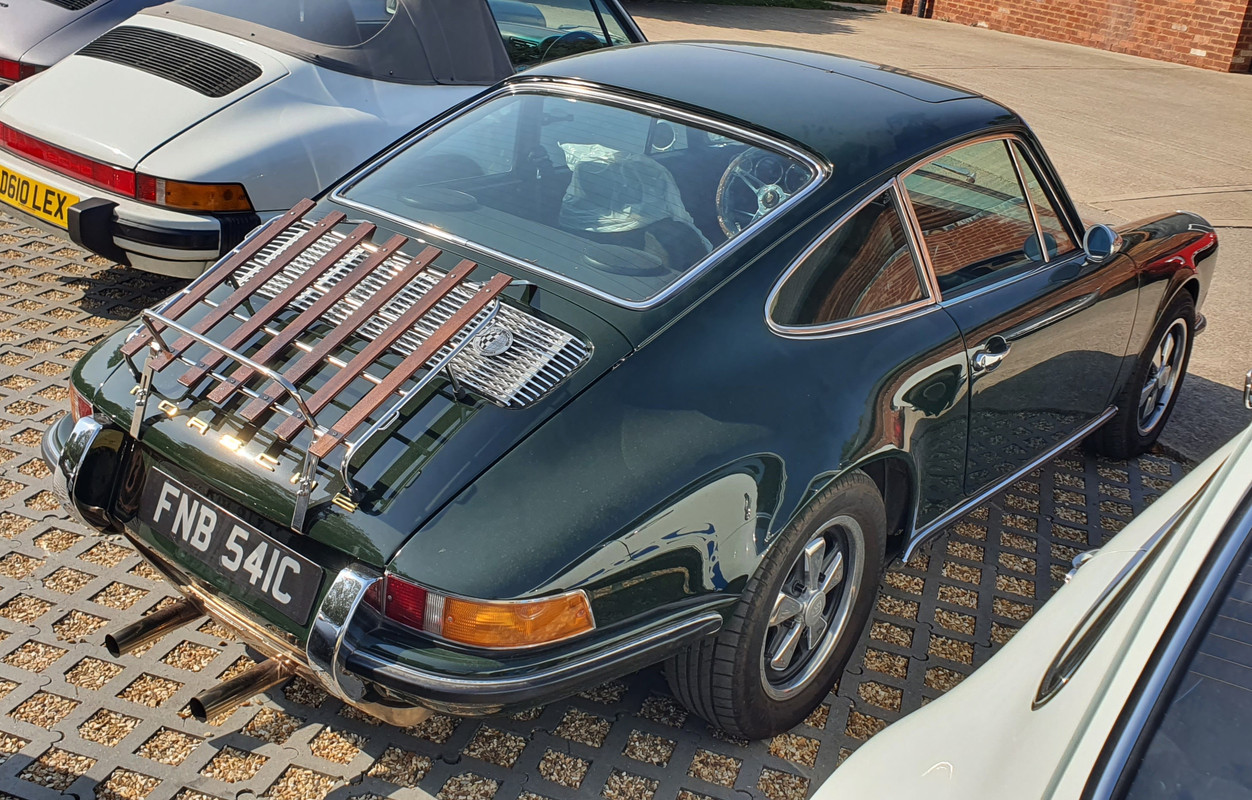

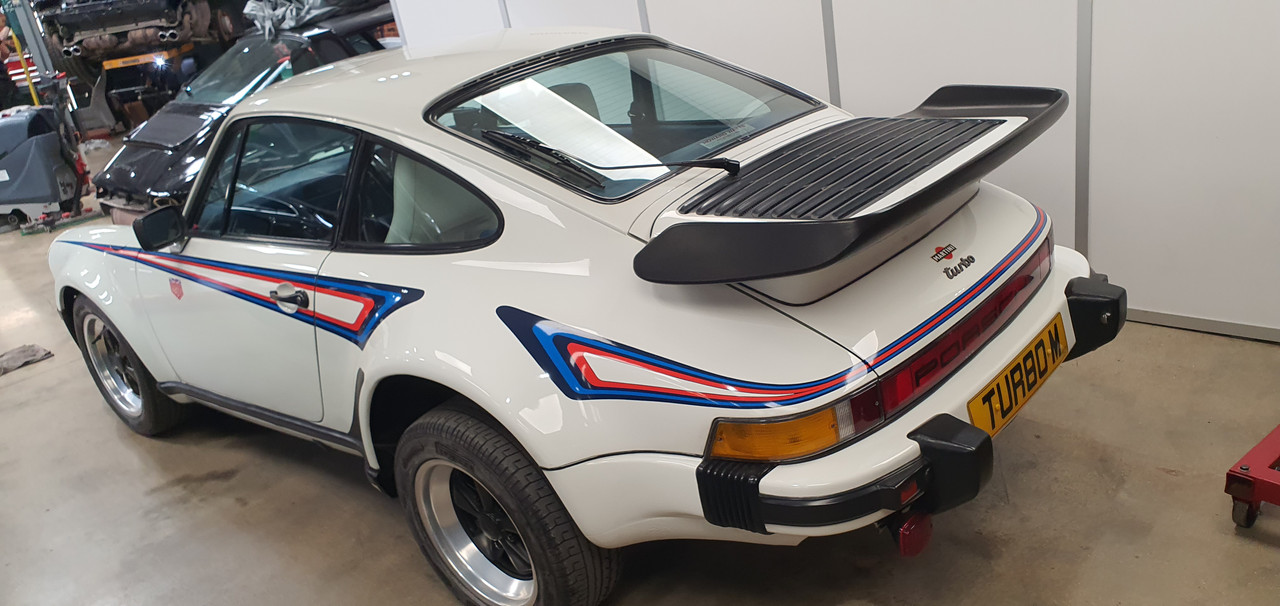
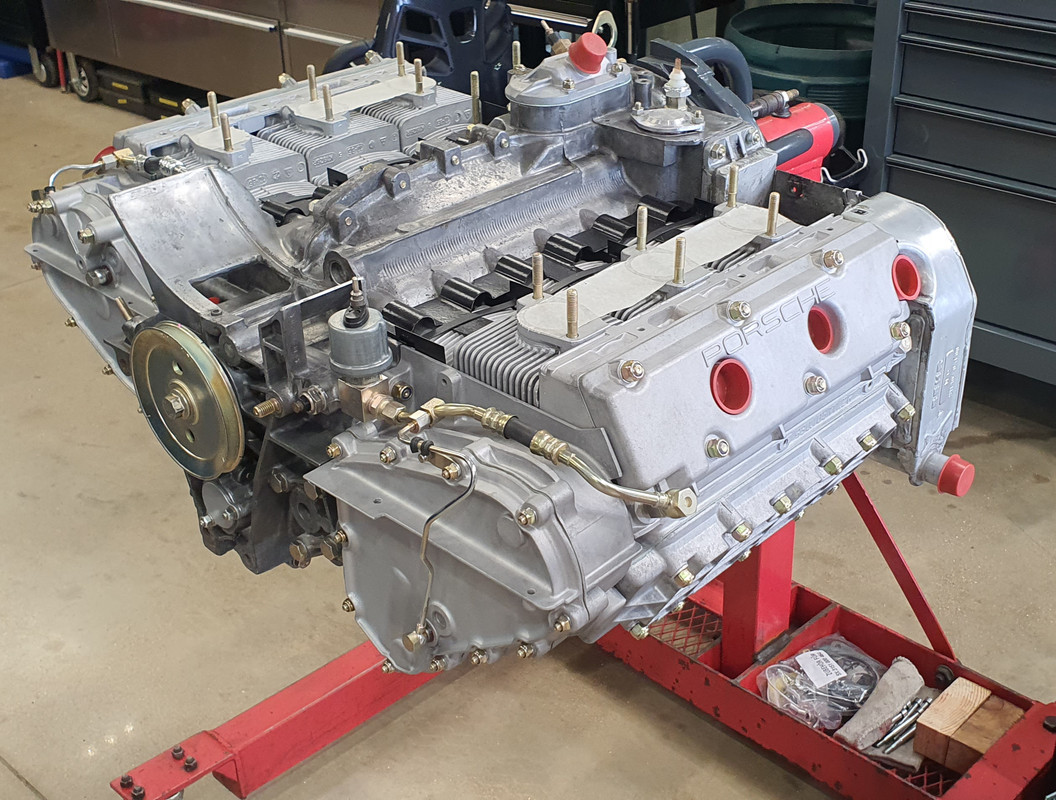
So that was nice.
They are looking for some staff including a metal worker/engineer for the restoration side. If I was still living in Oxford I probably be there in a flash for the experience.
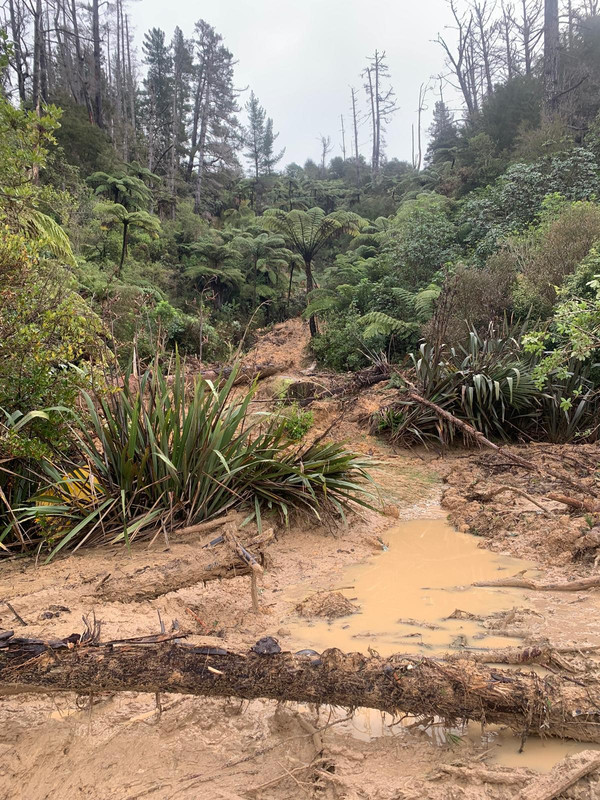
But back to NZ and we were welcomed with a whole load of slip clearing to do. Our place was one of the many local properties to get completely battered by a massive rain event that happened while Hannah and I were on our flight to the UK. Absolute carnage. I'll do a more detailed update on our bushblock thread.
This is one of our driveway entrances..
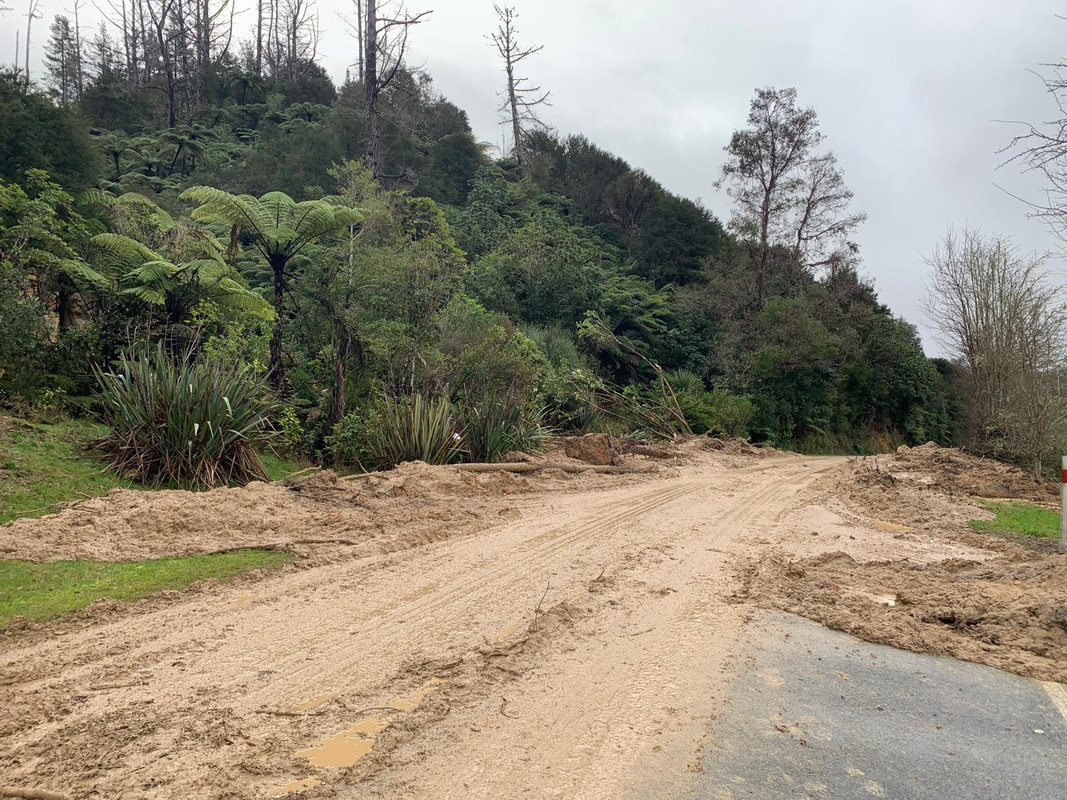
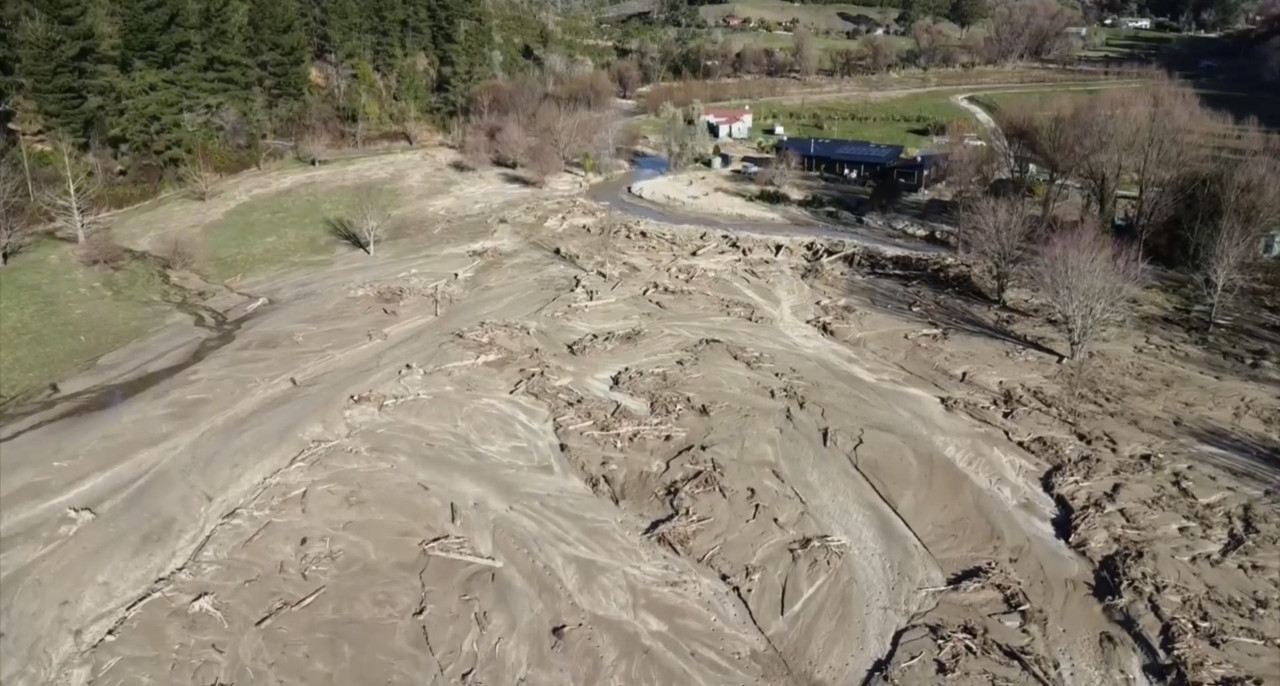
The neighbours place got silt through their house..
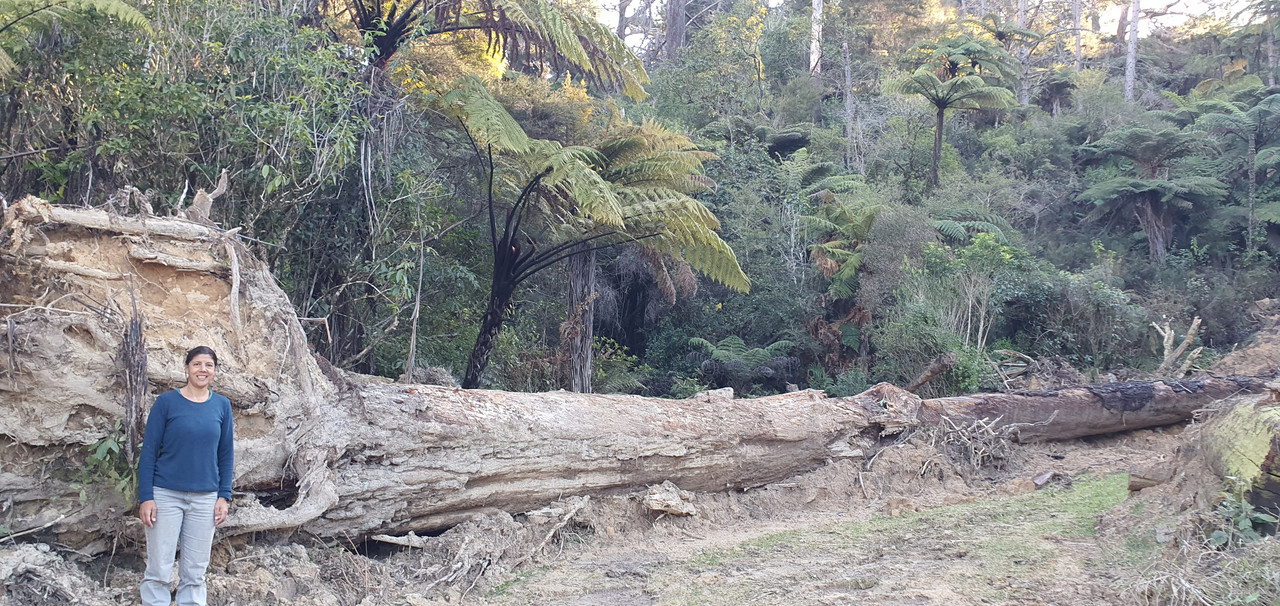
Fun times. We've got a lot of clearing to do yet including dealing with this huge tree which floated down on a wave of mud and stopped 3 metres shy of our mailbox..
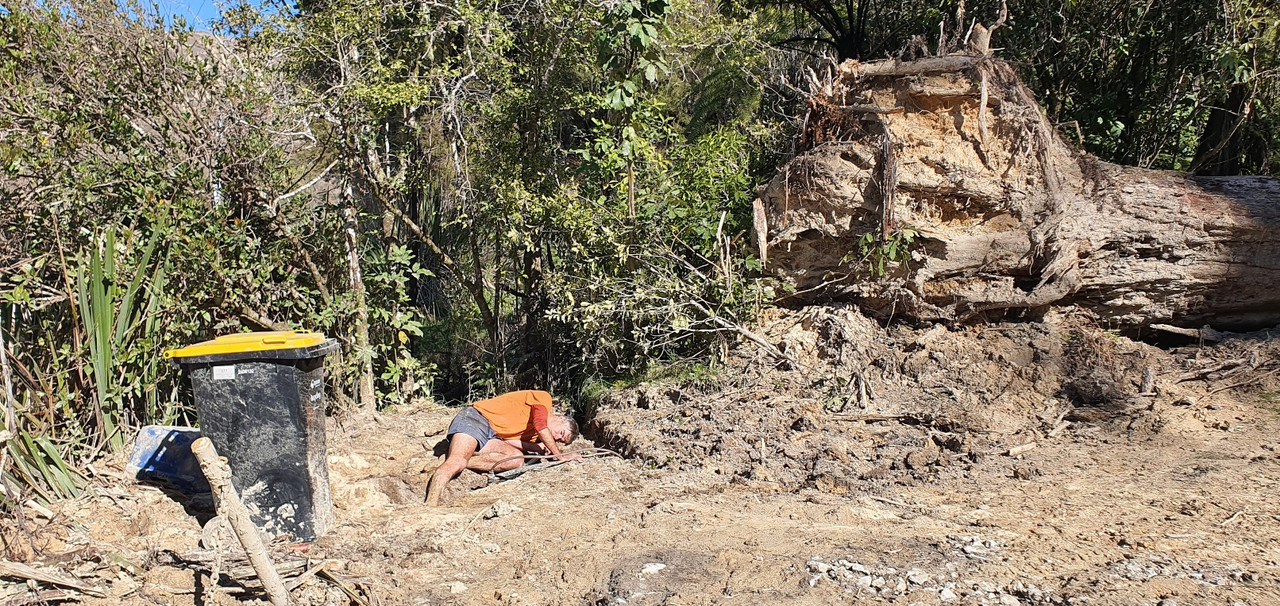
We spent the first week back home fixing our water system which was damaged..
Anyway - that's that. It could have been much worse. Others local to us have lost their houses. Luckily our workshop was fine.
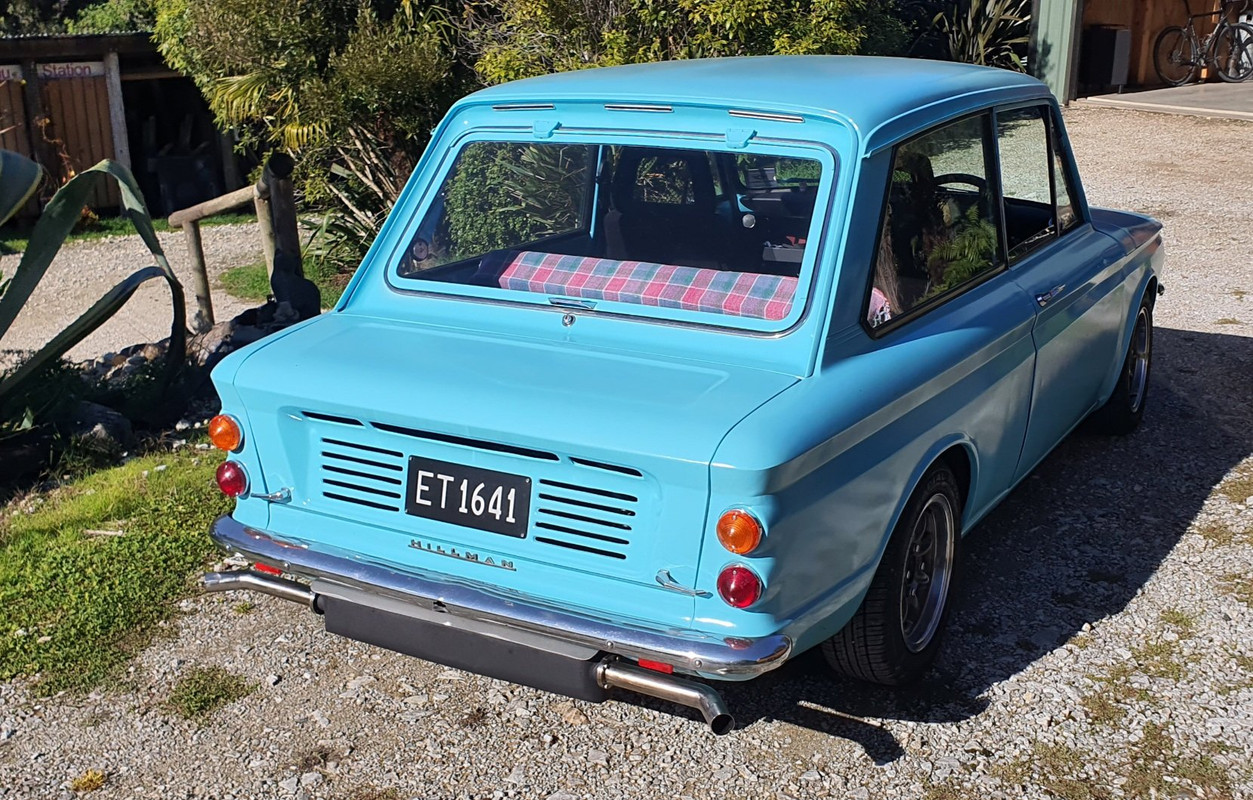
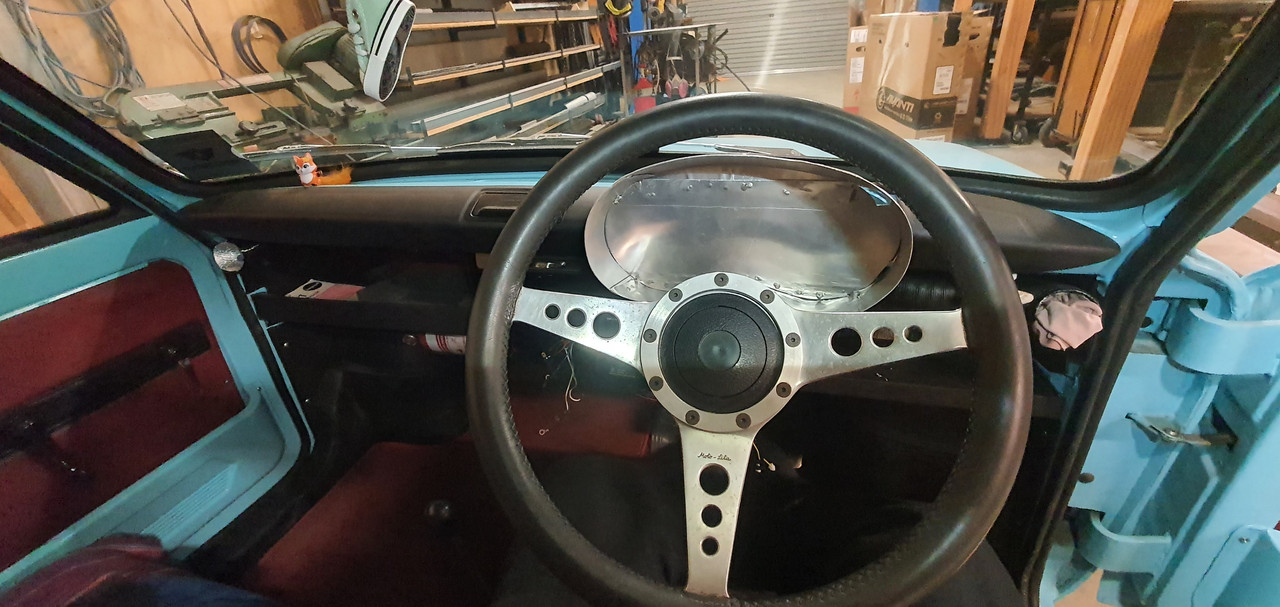
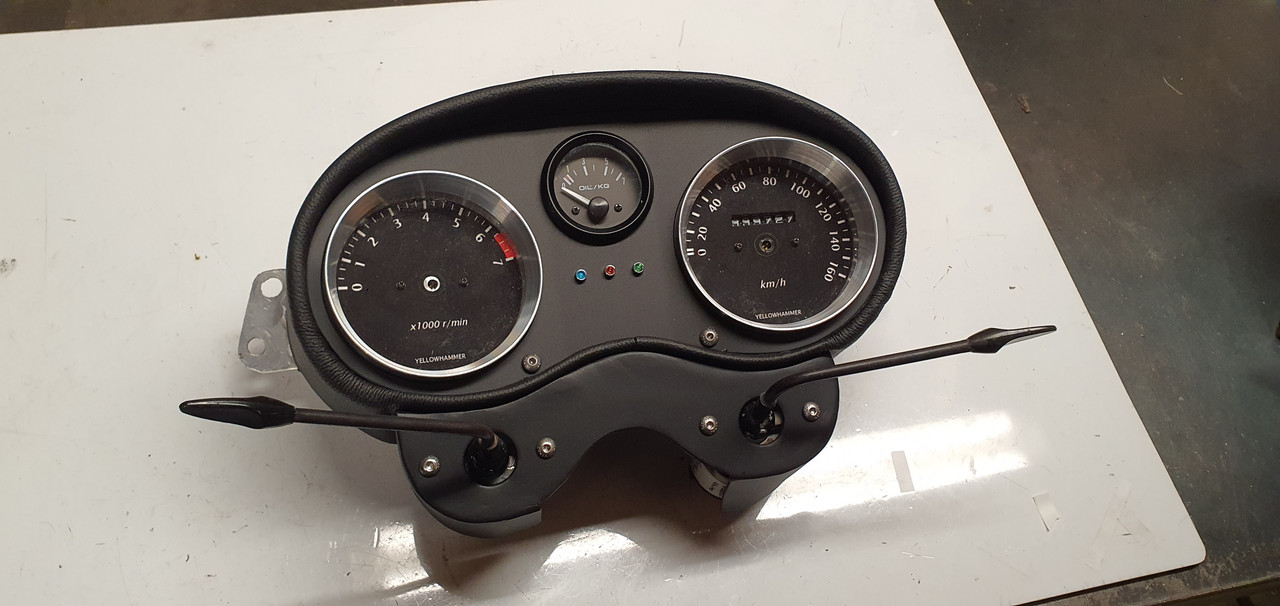
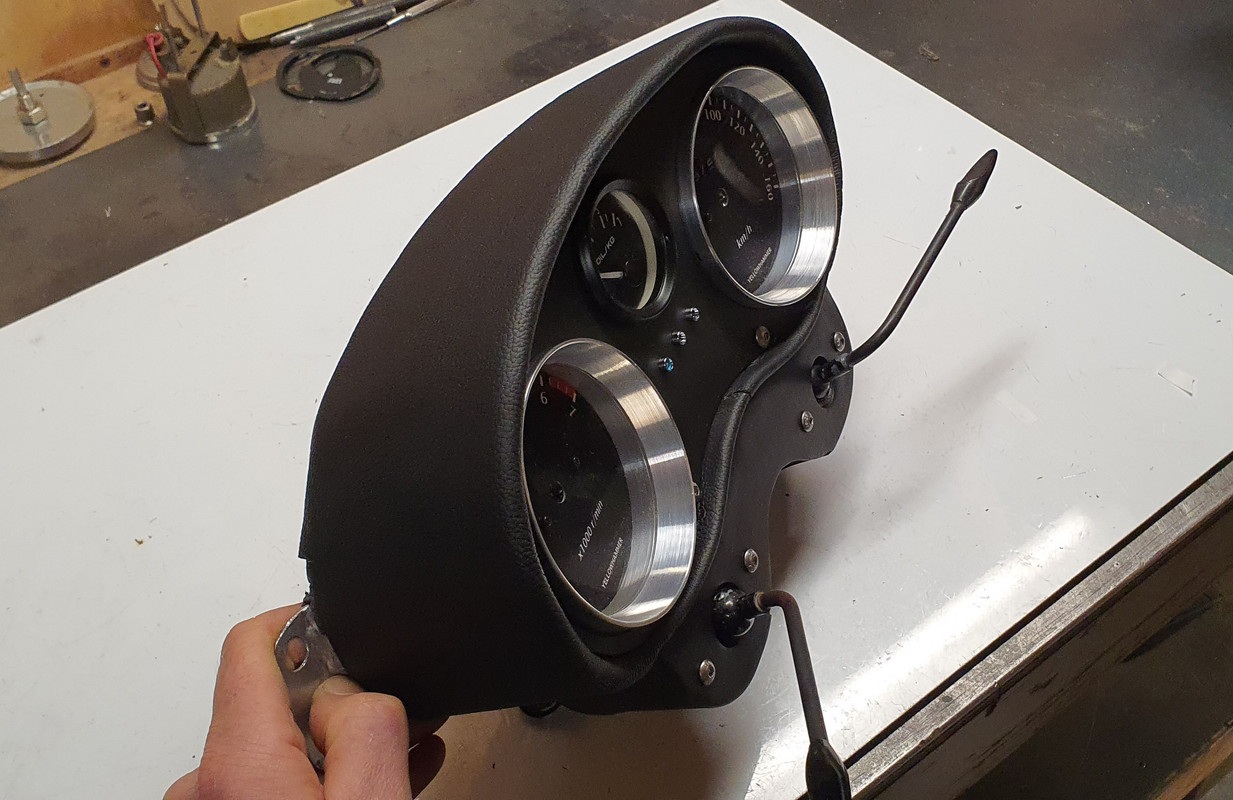
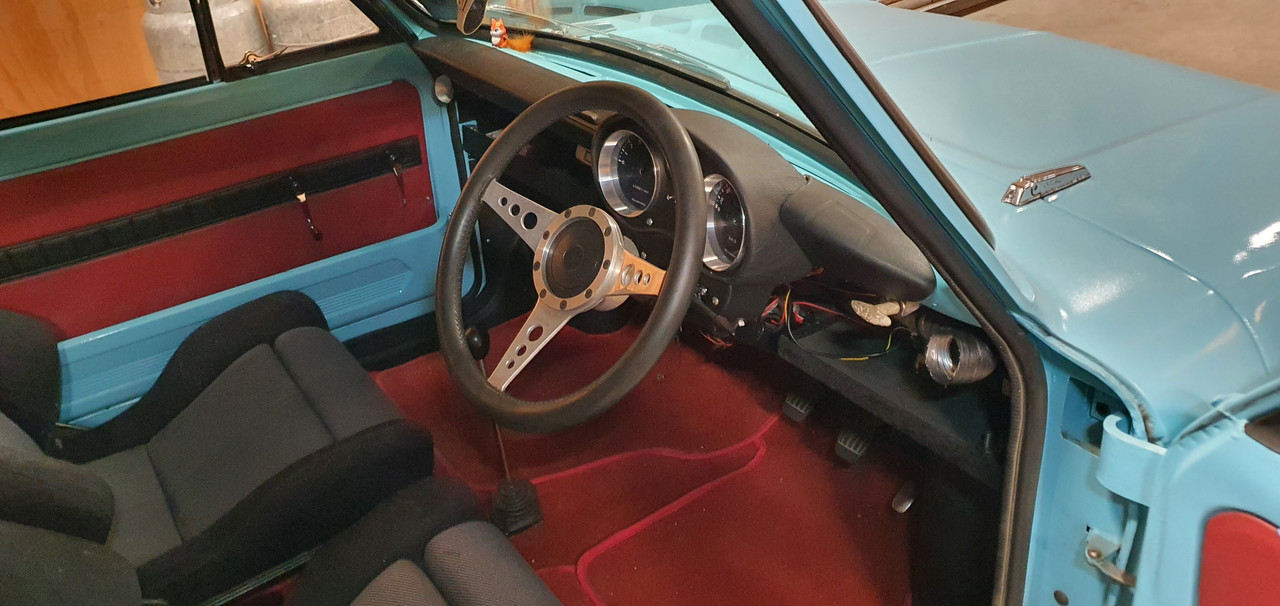
Back to the Imp. My last post was the speedo and rev counter instrument pod build. Next on the list was a new dash which was to include revised switch gear, the other gauges, a pair of Triumph 2500 eyeball vents and an actual glove box rather than this shelf layout as on the passenger side...
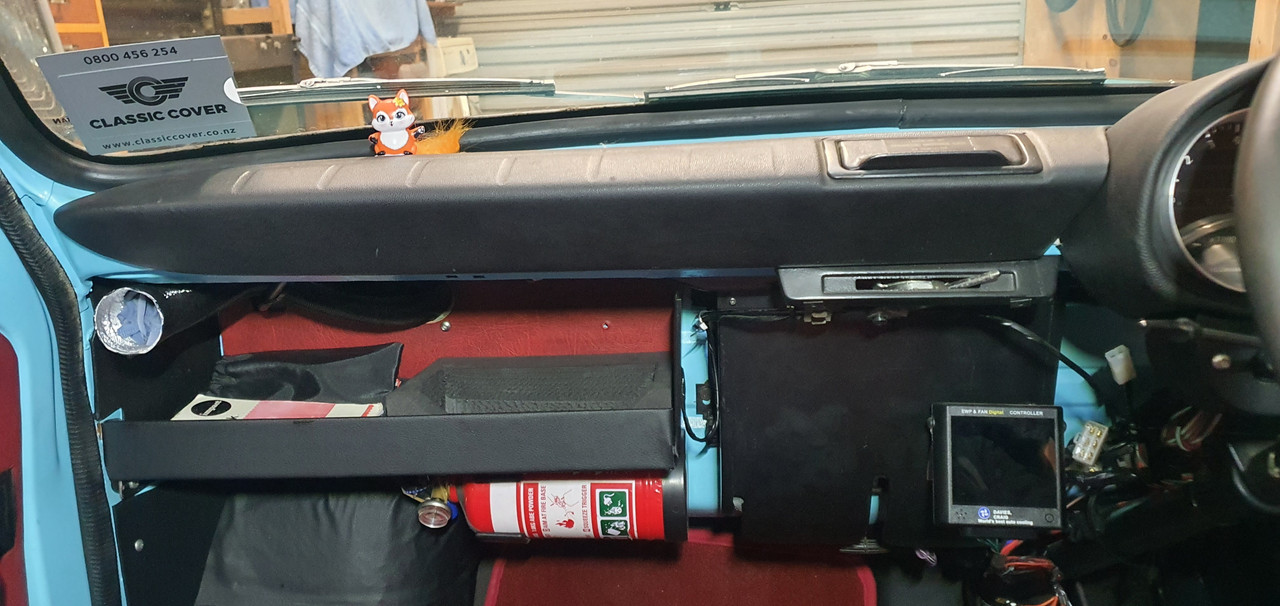
and drivers side..
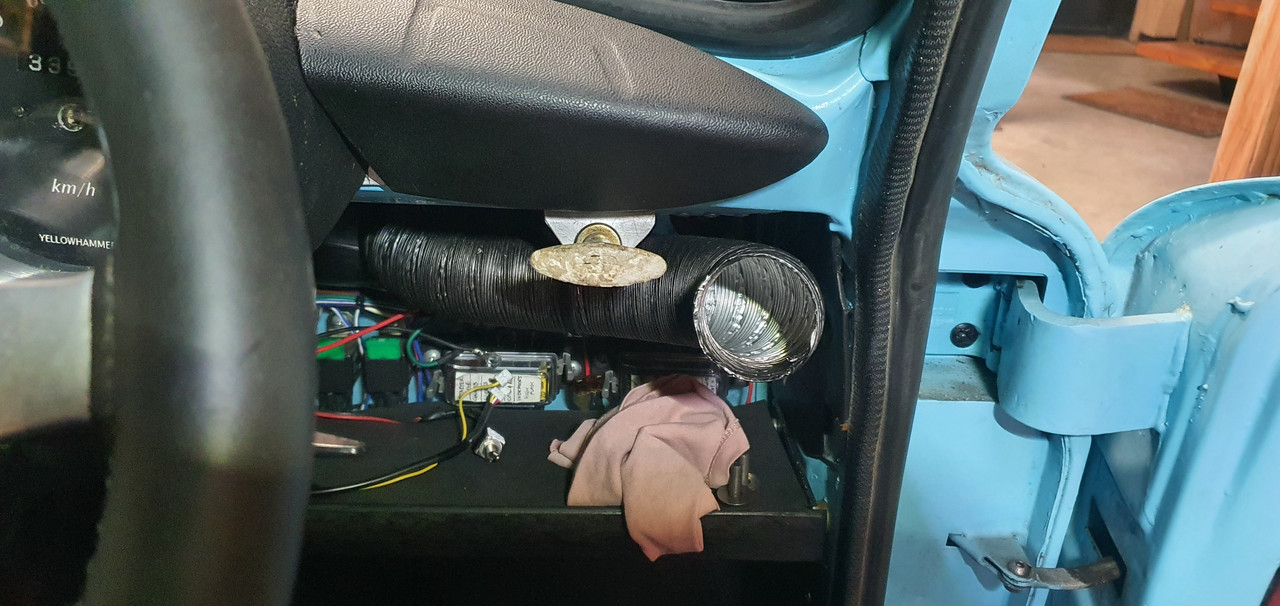
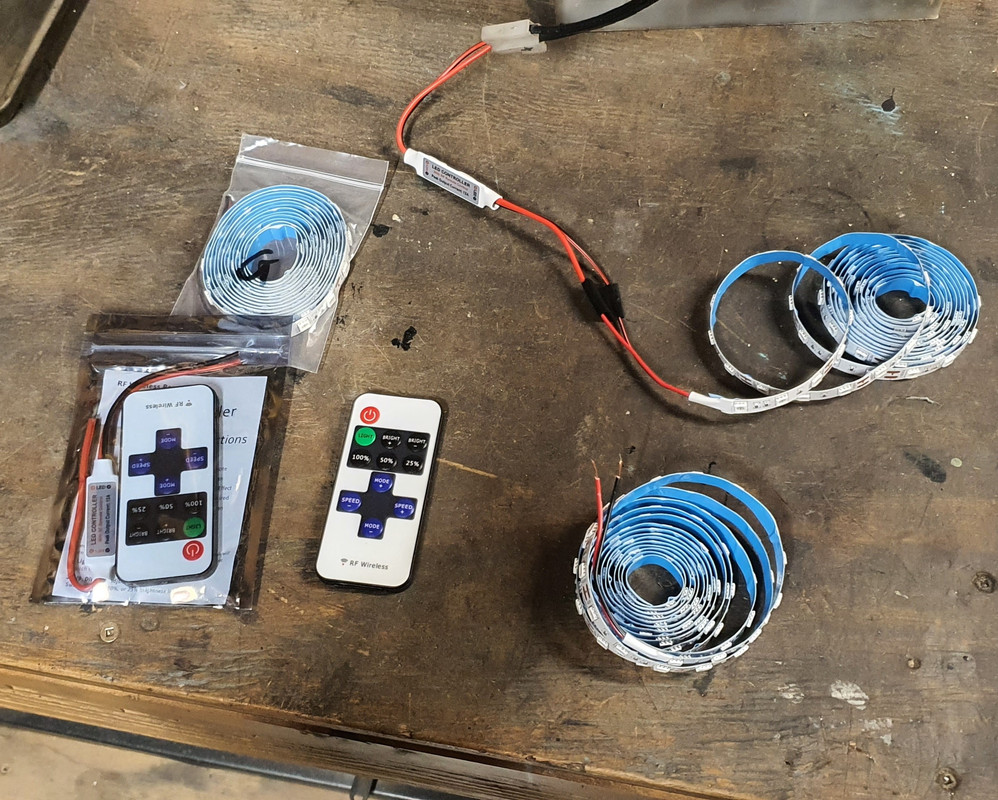
But before making a dash top I needed to sort out lights on my new instruments. I had some rolls of ali express multi coloured led strips.
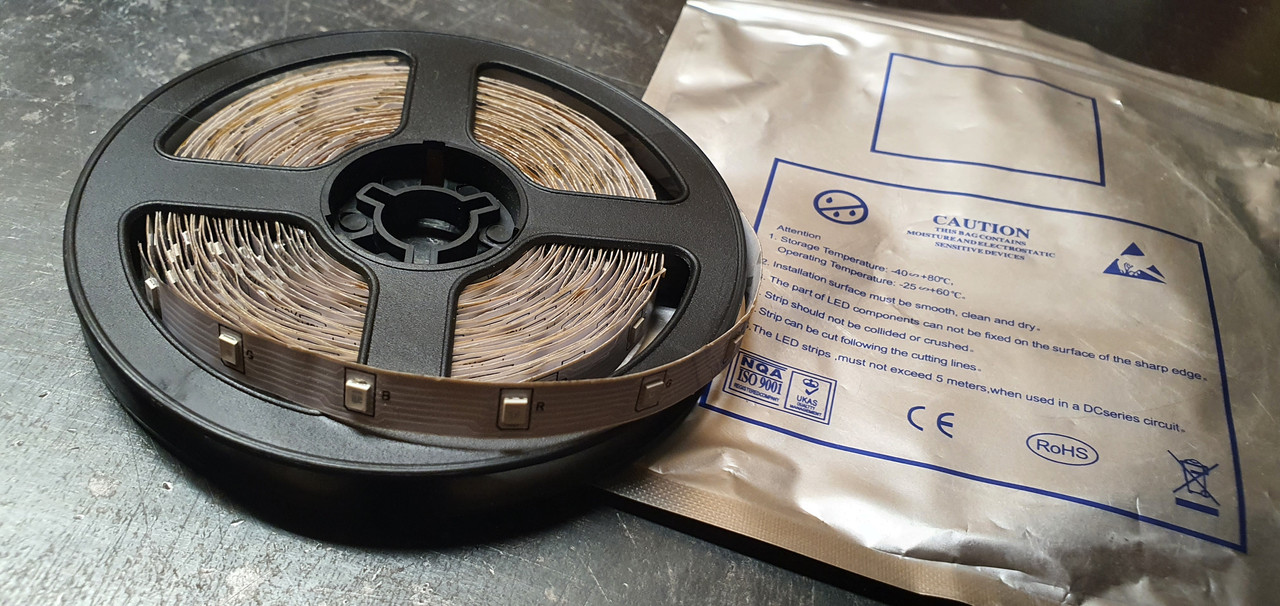
Stuck them on the bench and had a play..
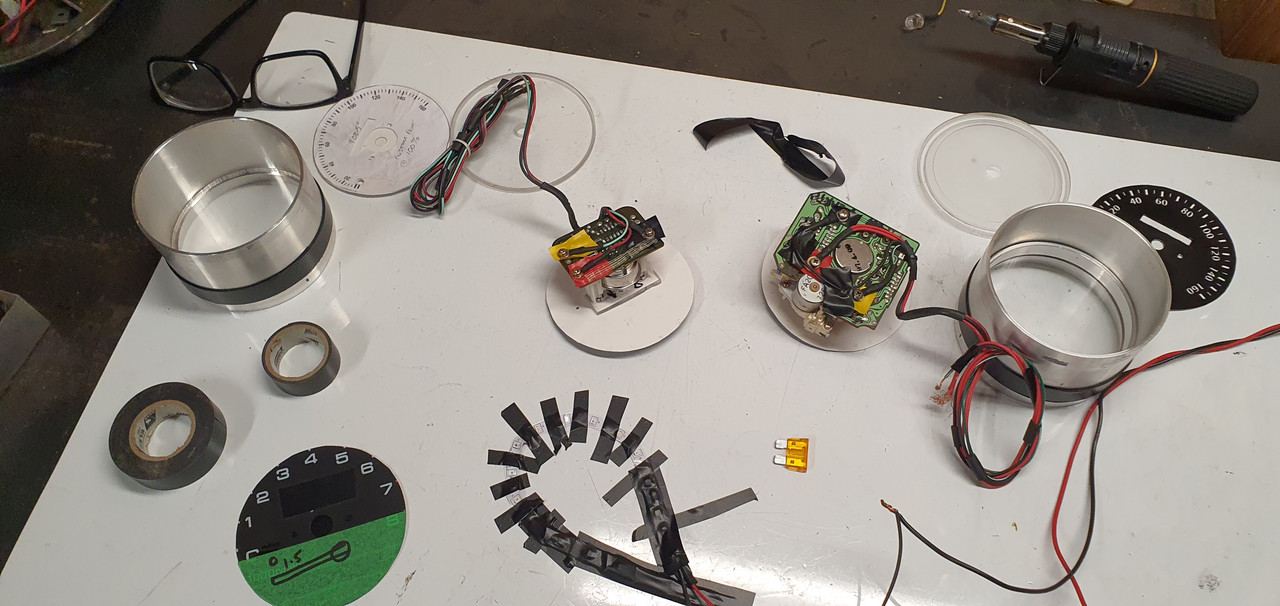
Cool..
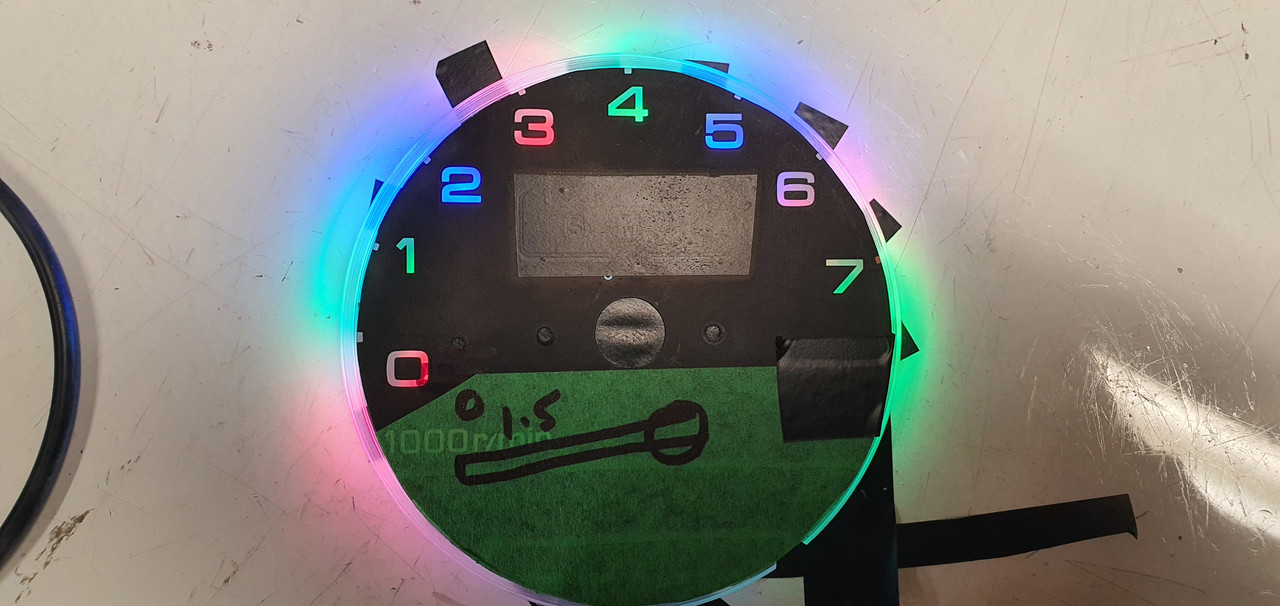
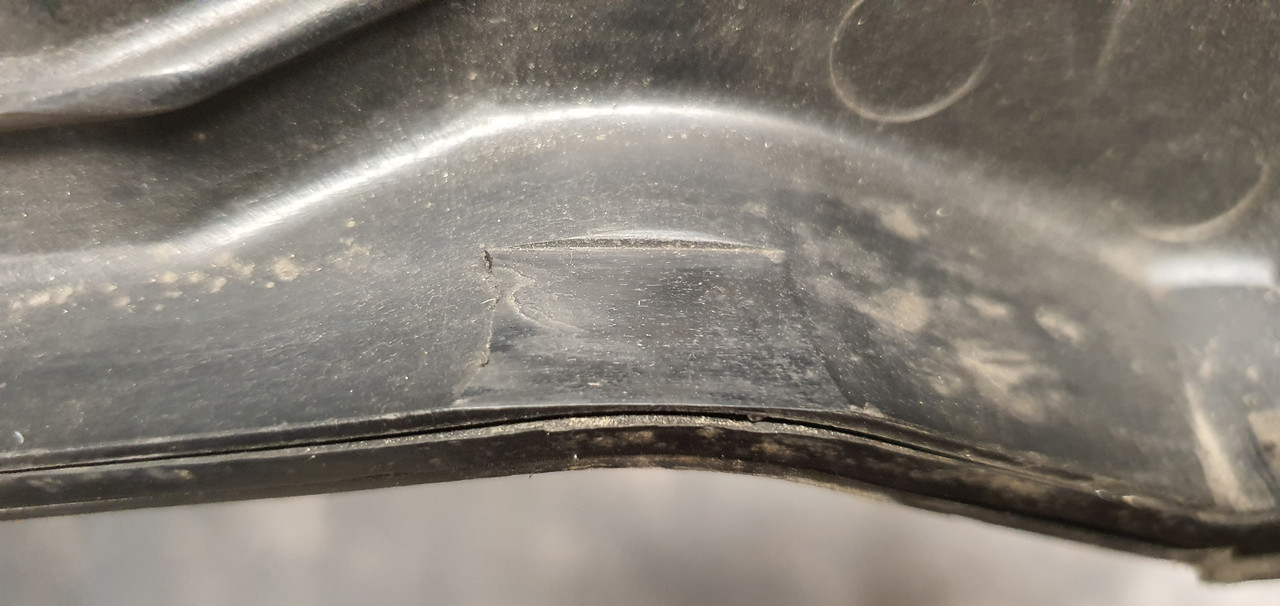
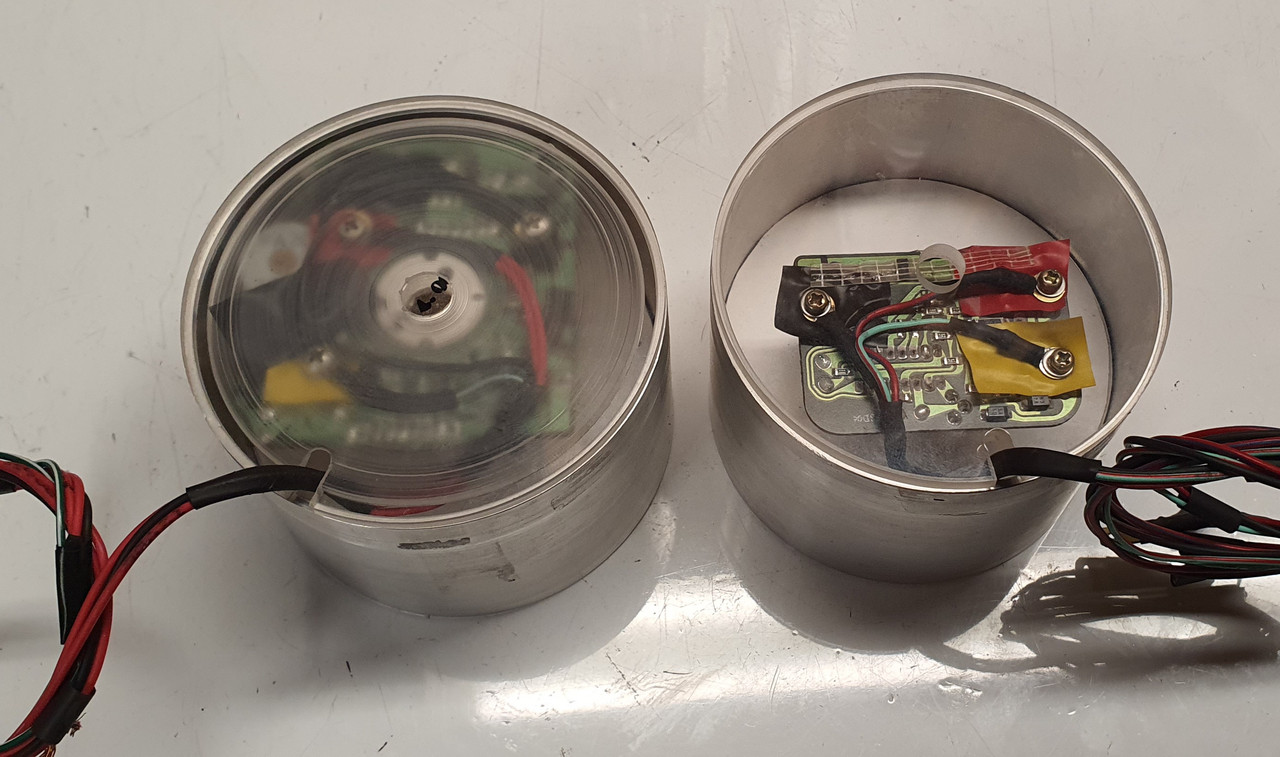
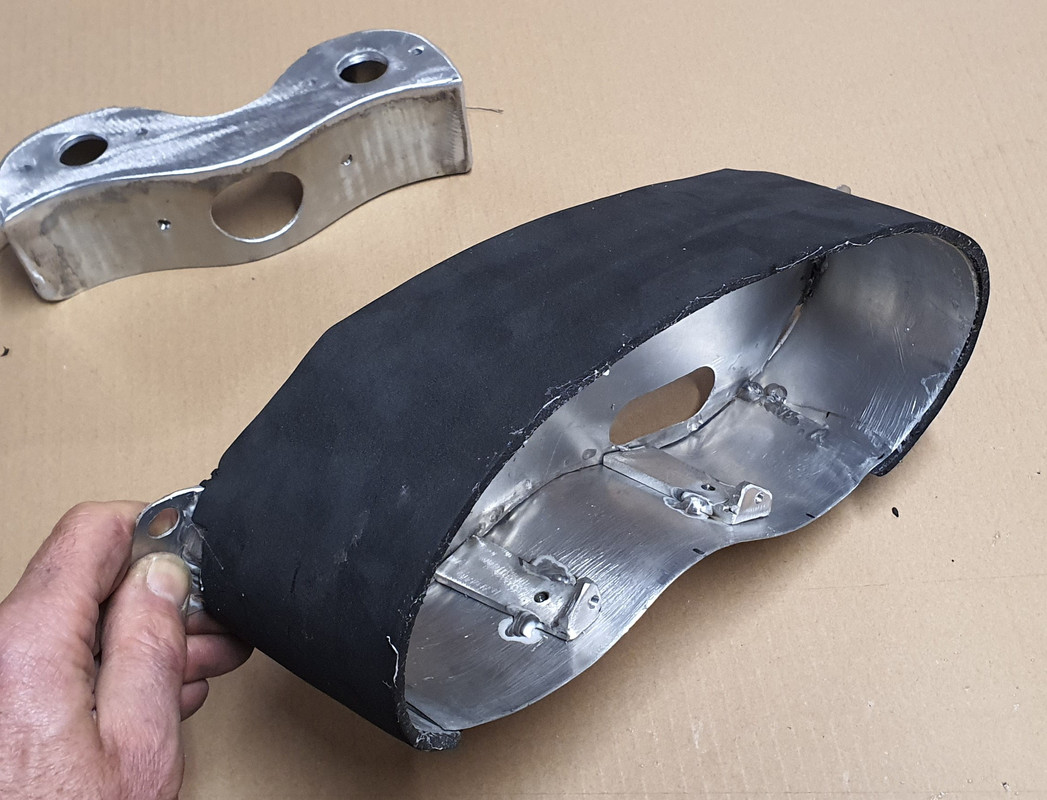
I had to work out how to hold them in position and disperse the light. You can see here the thin bit of molded clear plastic backing from behind the gauge faces had been cut down when I built them.
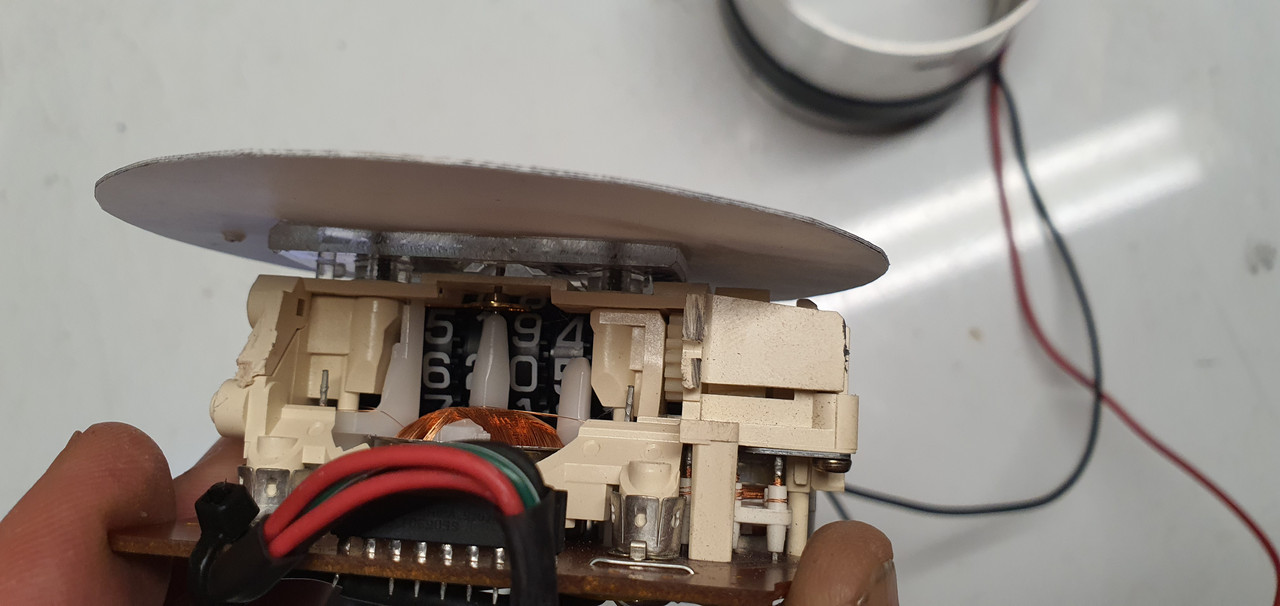
I cut some more acrylic discs..
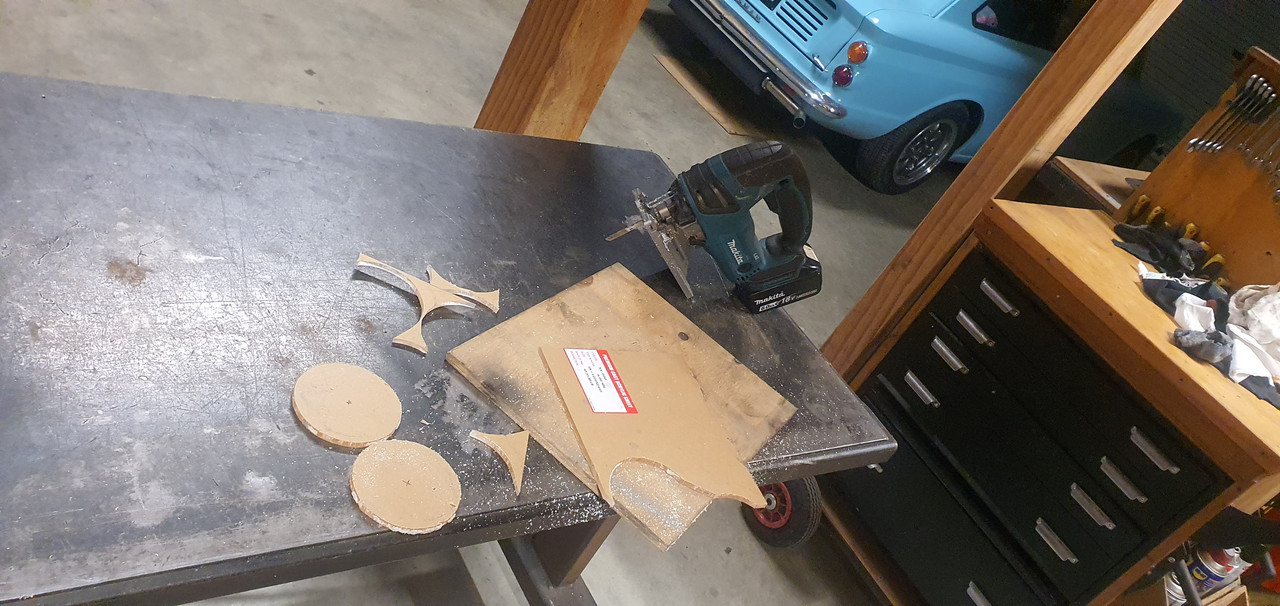
Made lots of mess in the lathe and mill..
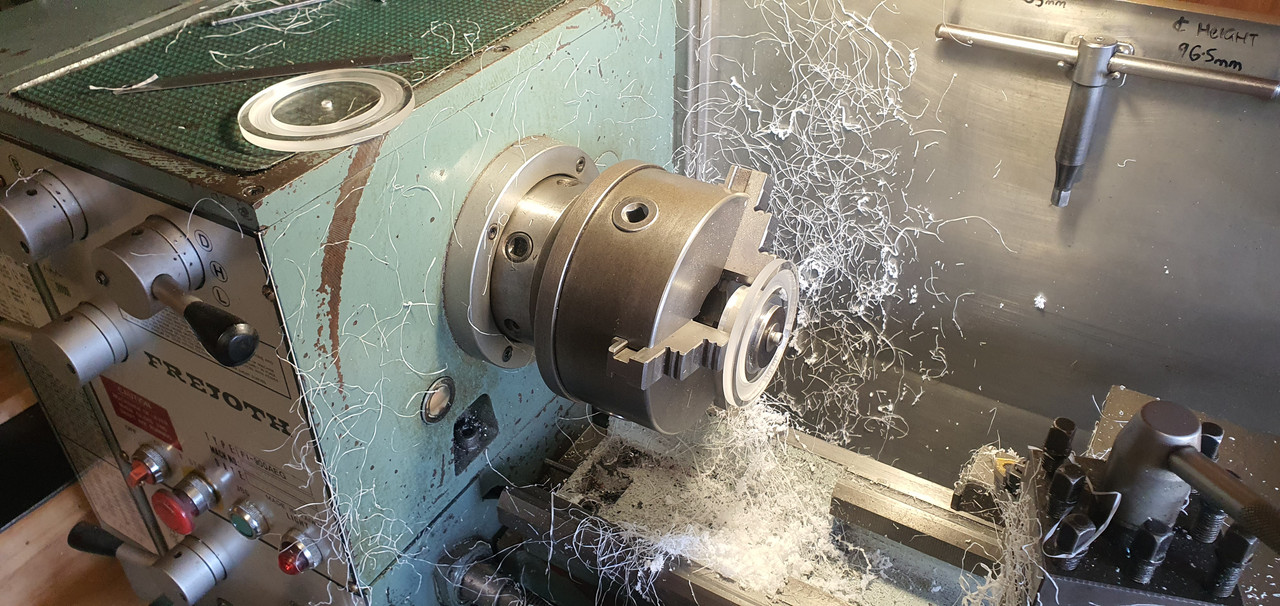
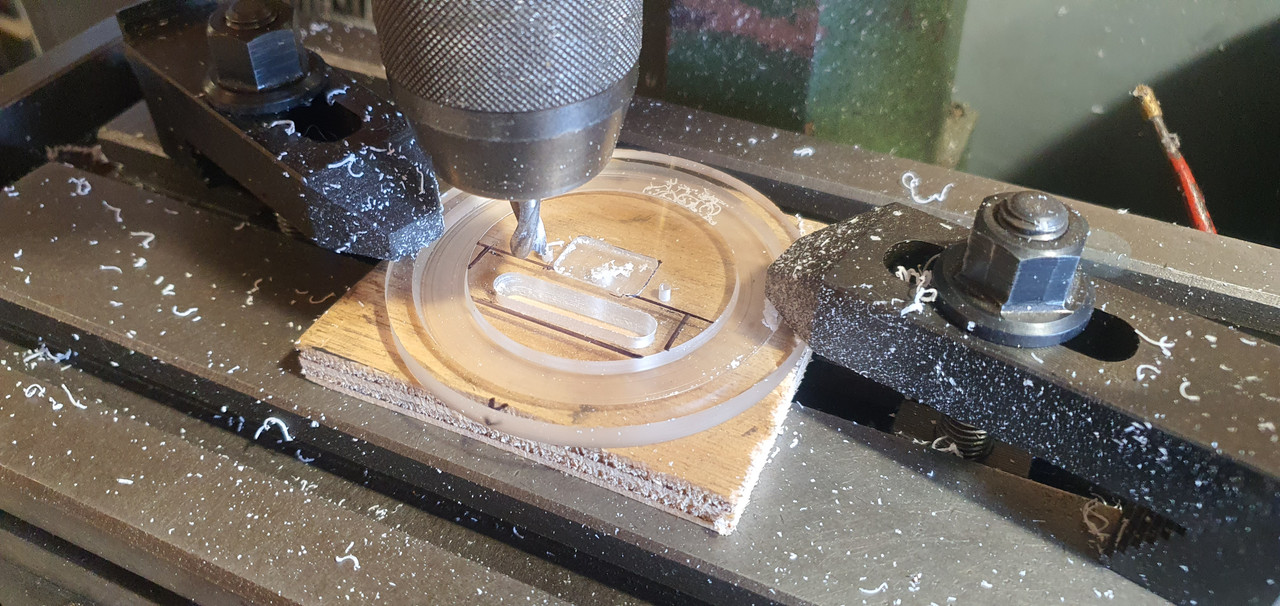
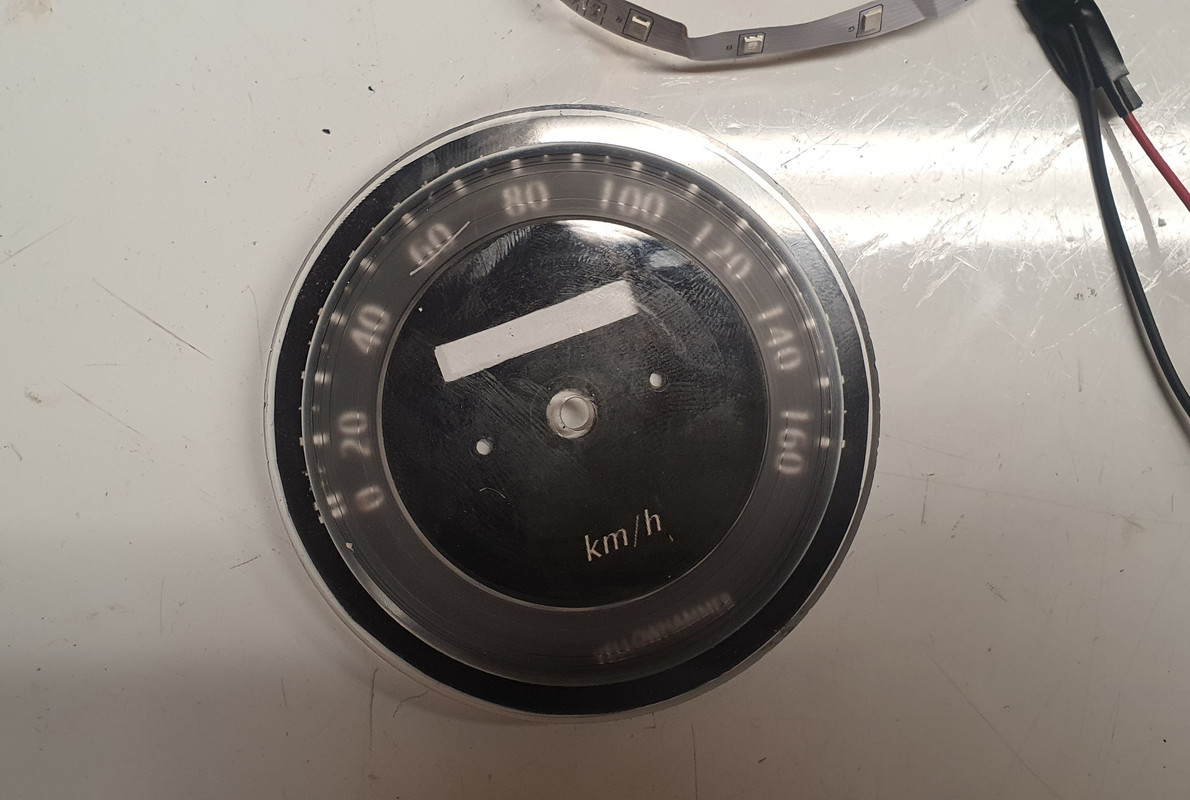
Leds sit in the groove..
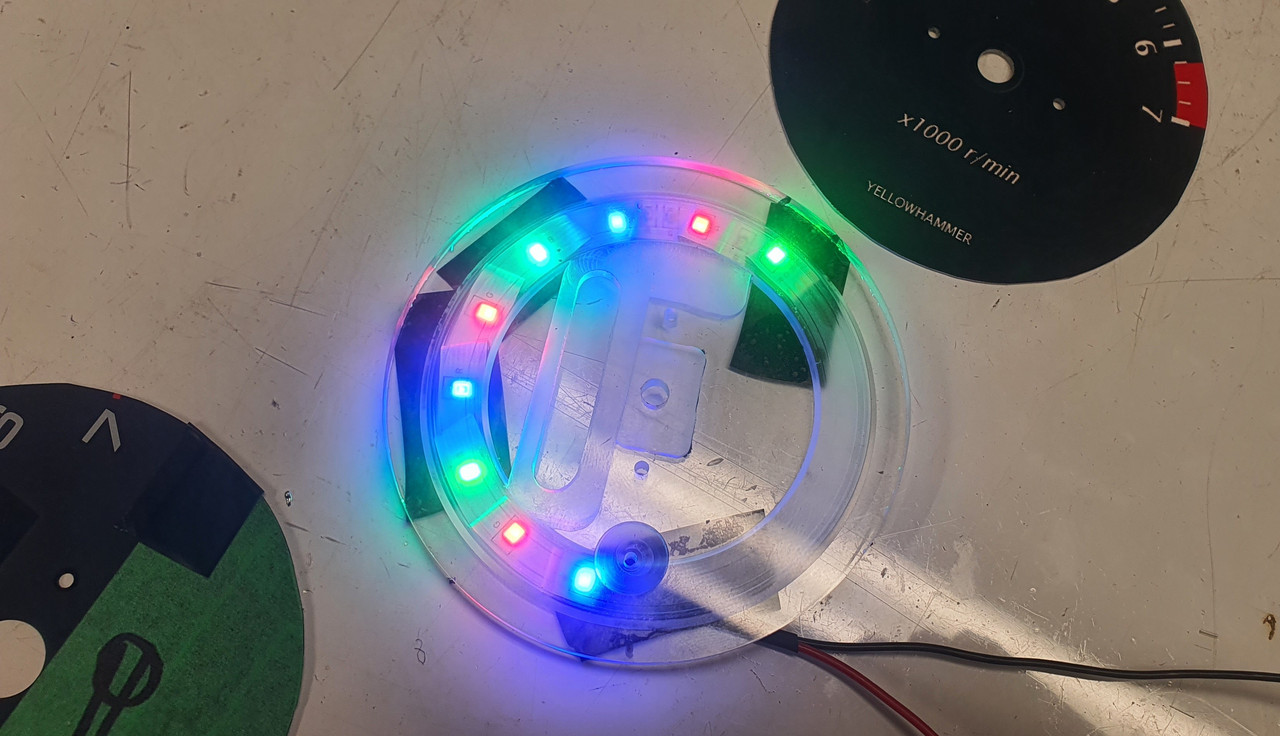
Softens and spreads the light and diverts some light to the pickups on the needle centres.
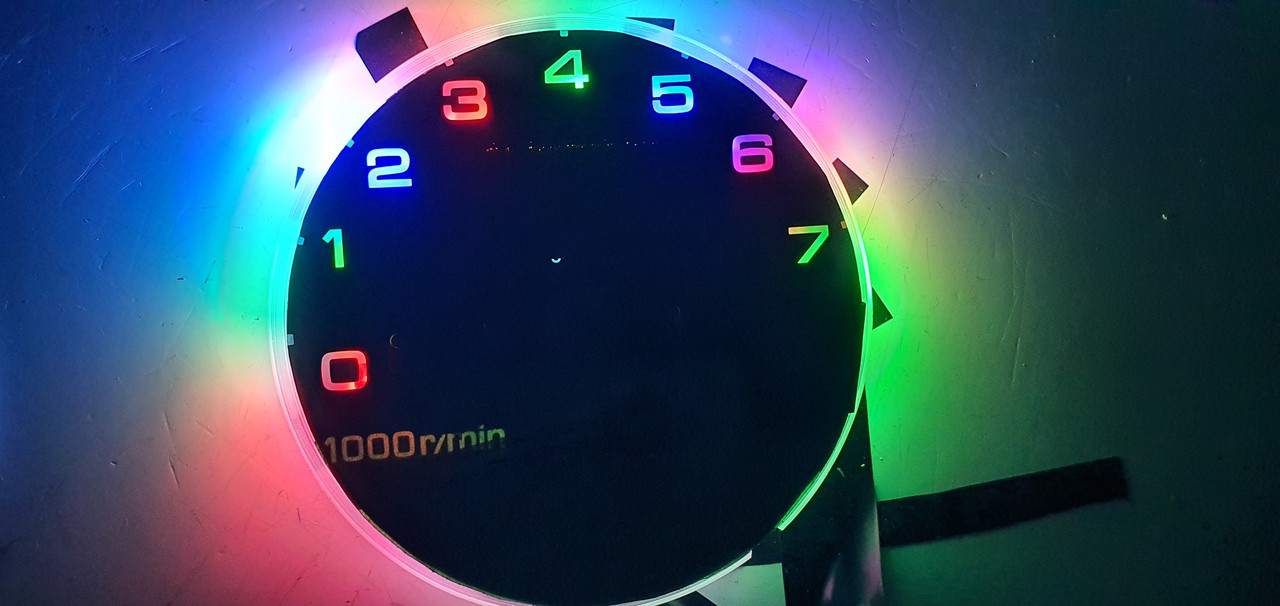
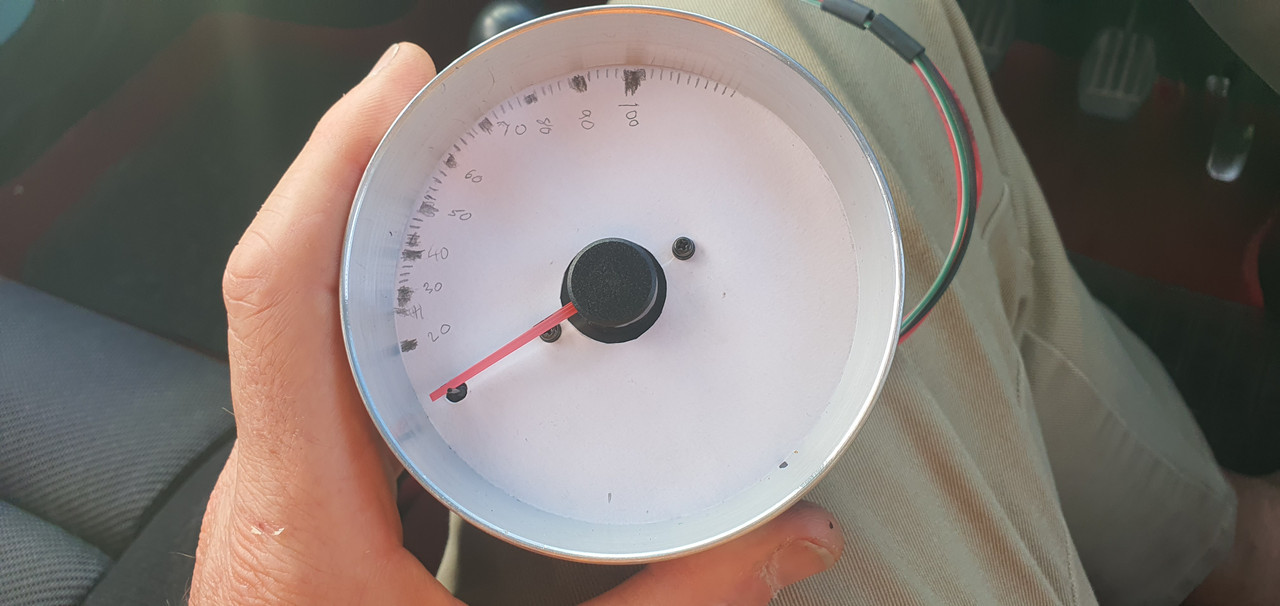
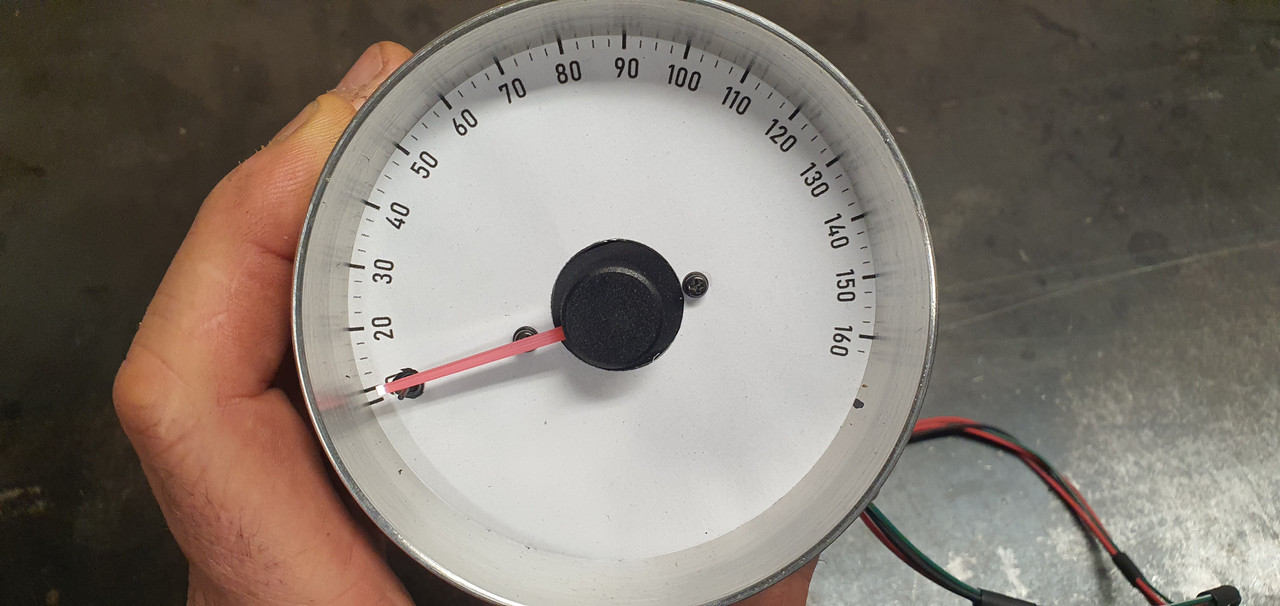
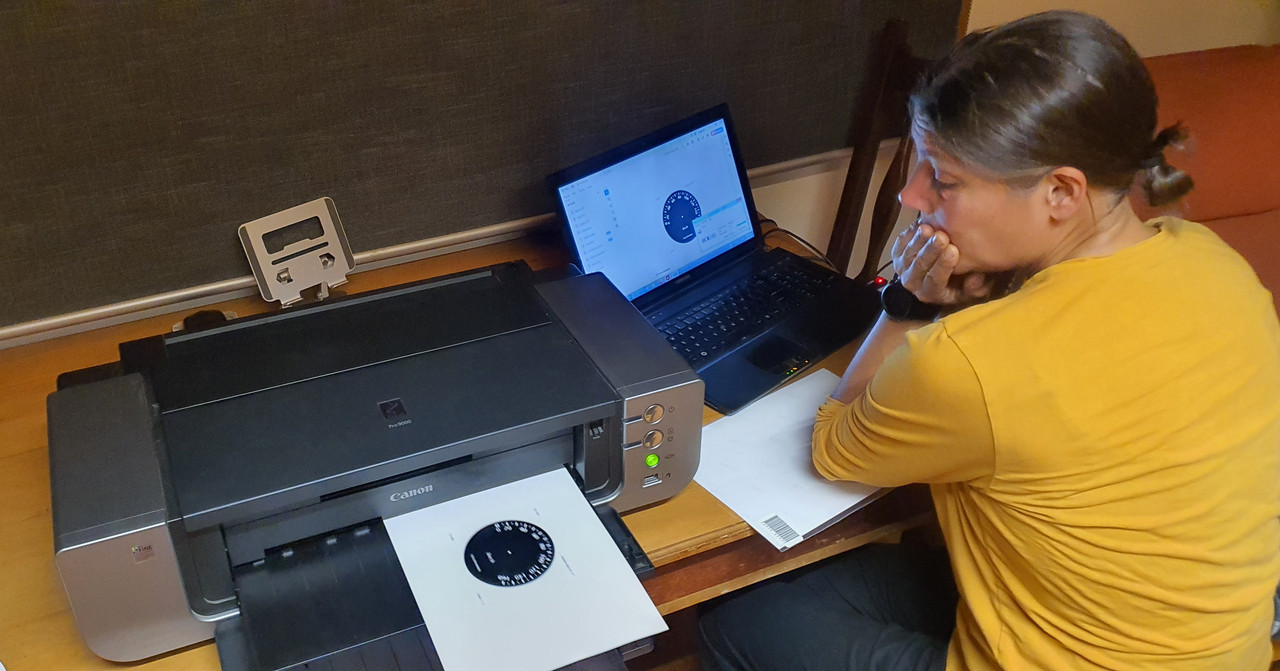
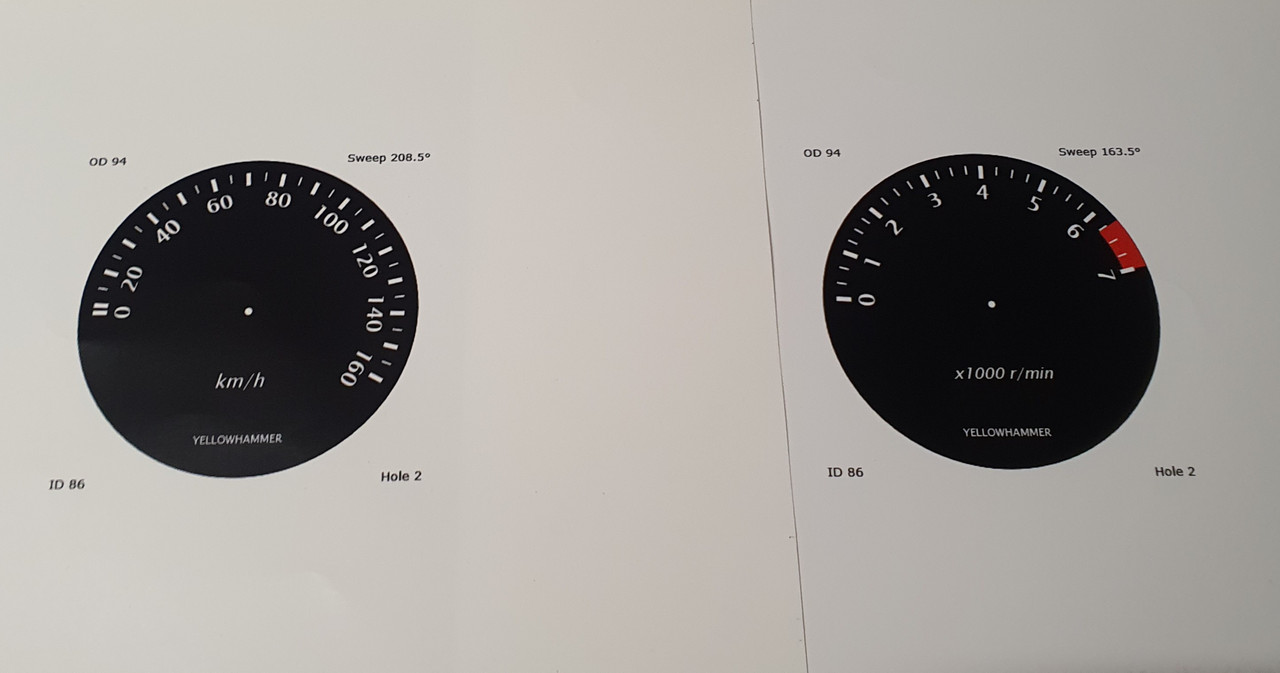
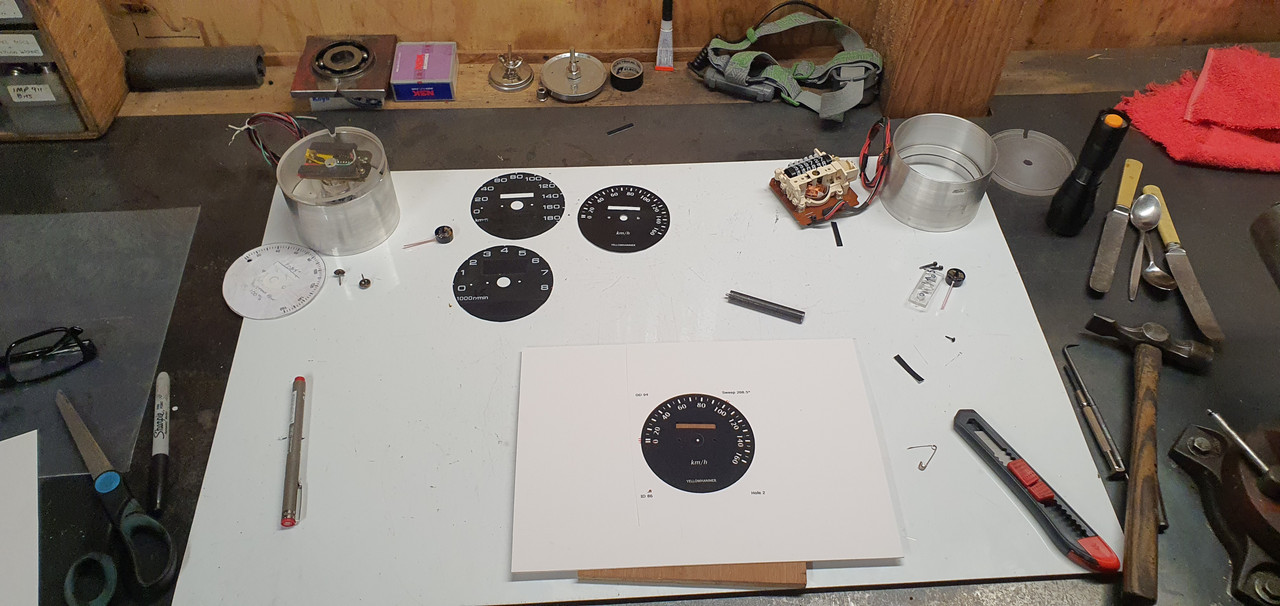
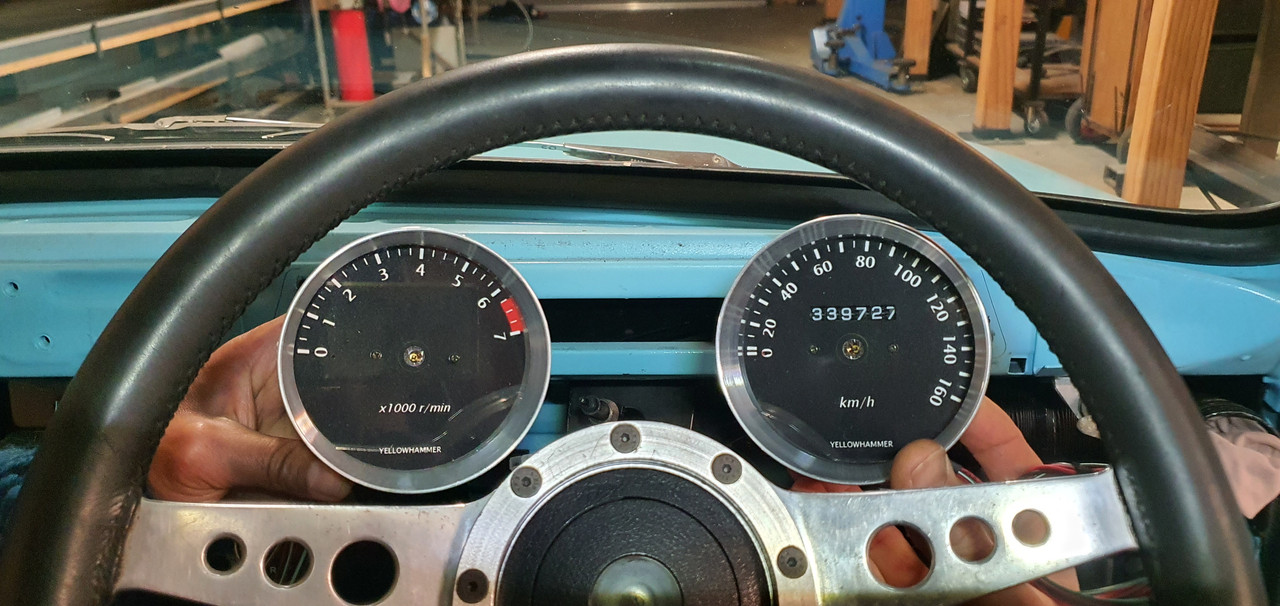
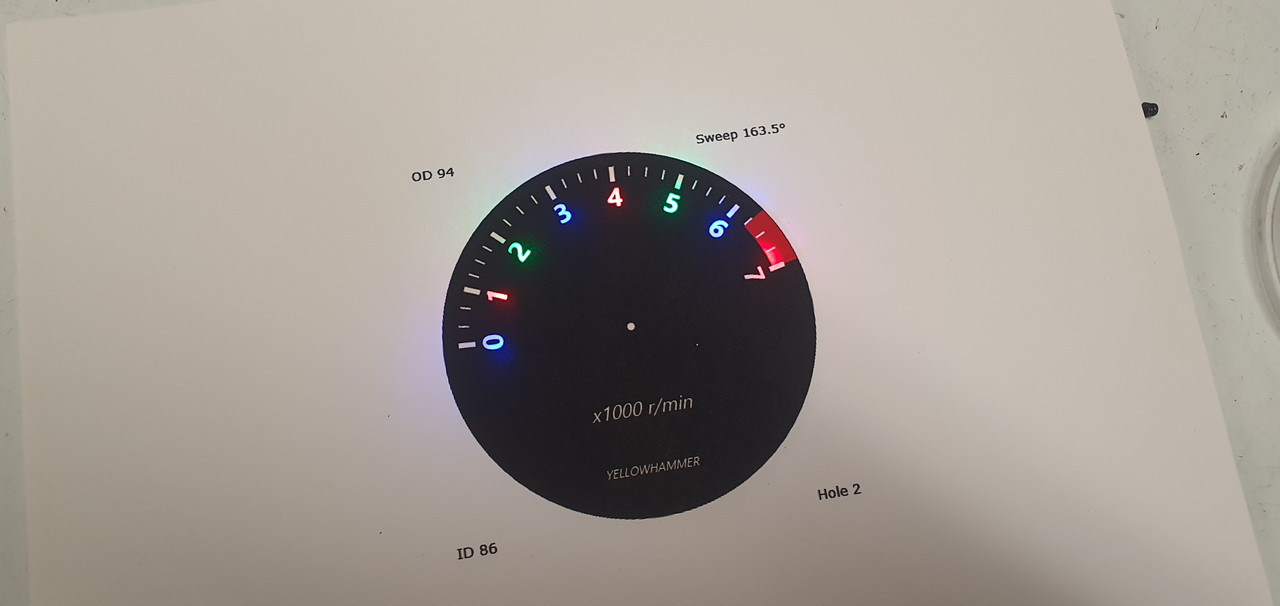
I then printed new faces with a revised, slightly larger, clearer font. I still might change it again in time. Easy and fun to do. Here's the light through the card..
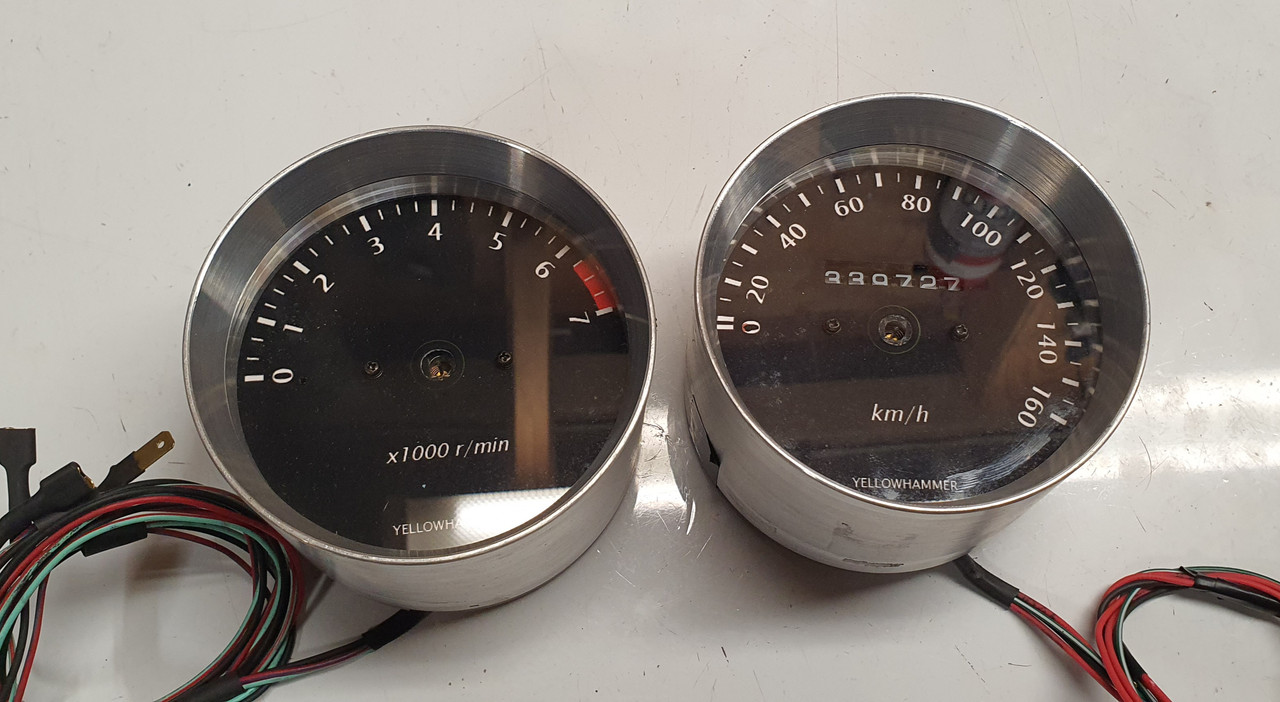
Fitted into the casings..
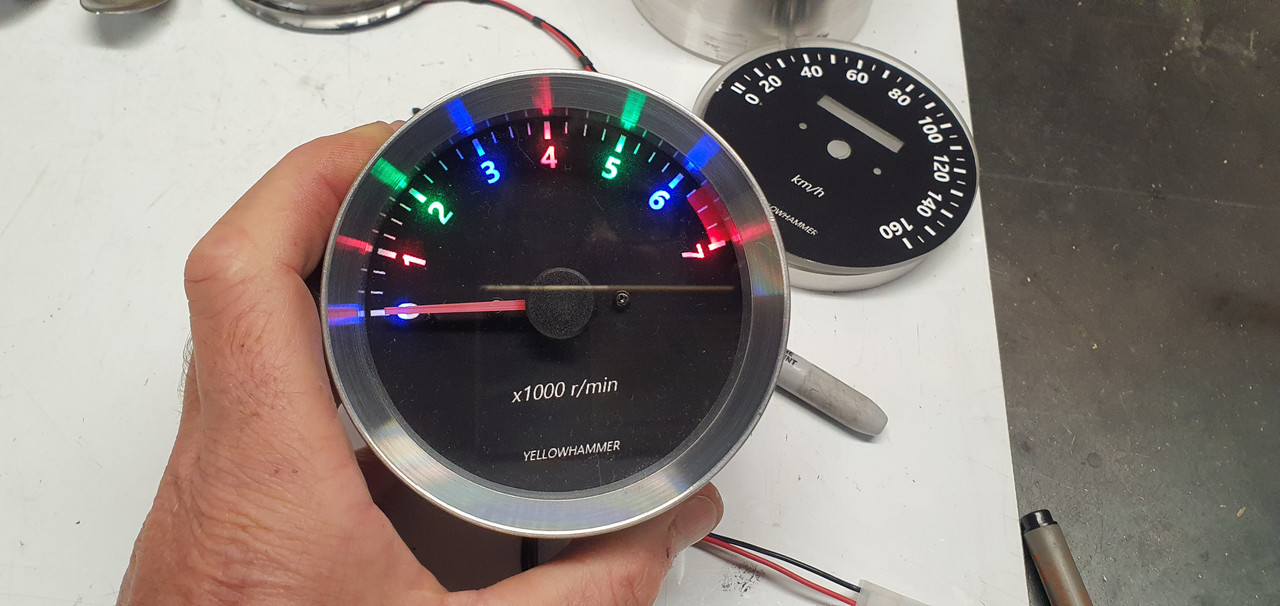
Really happy with that.
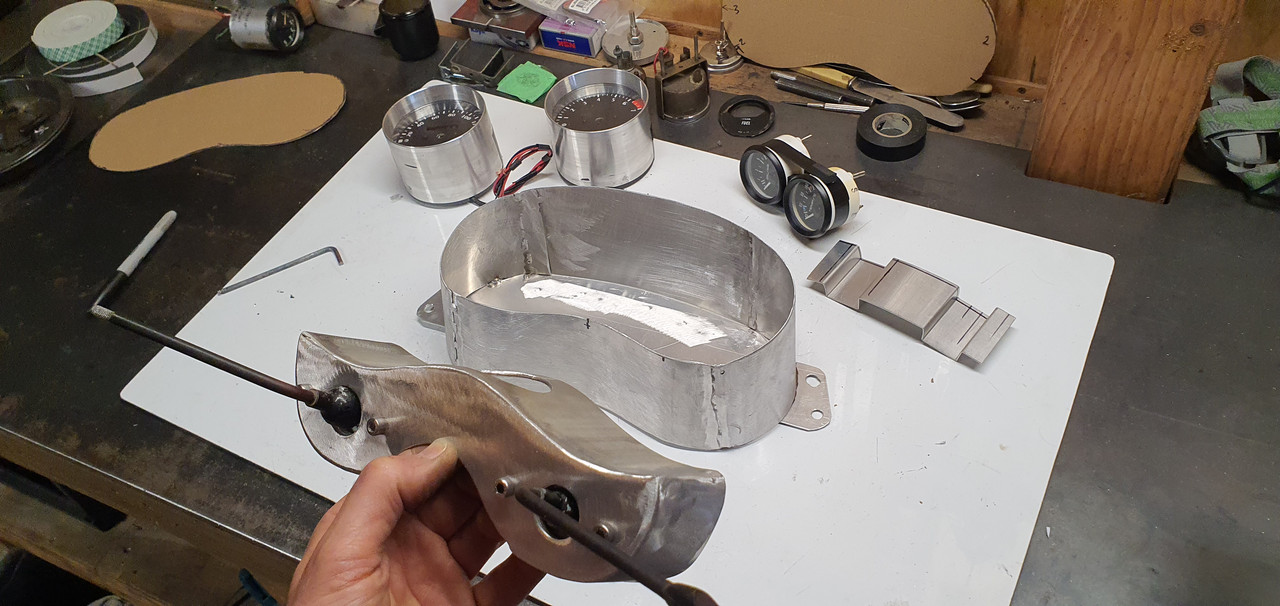
Now onto the dash build. I got the long folder out and some thin alloy sheet.
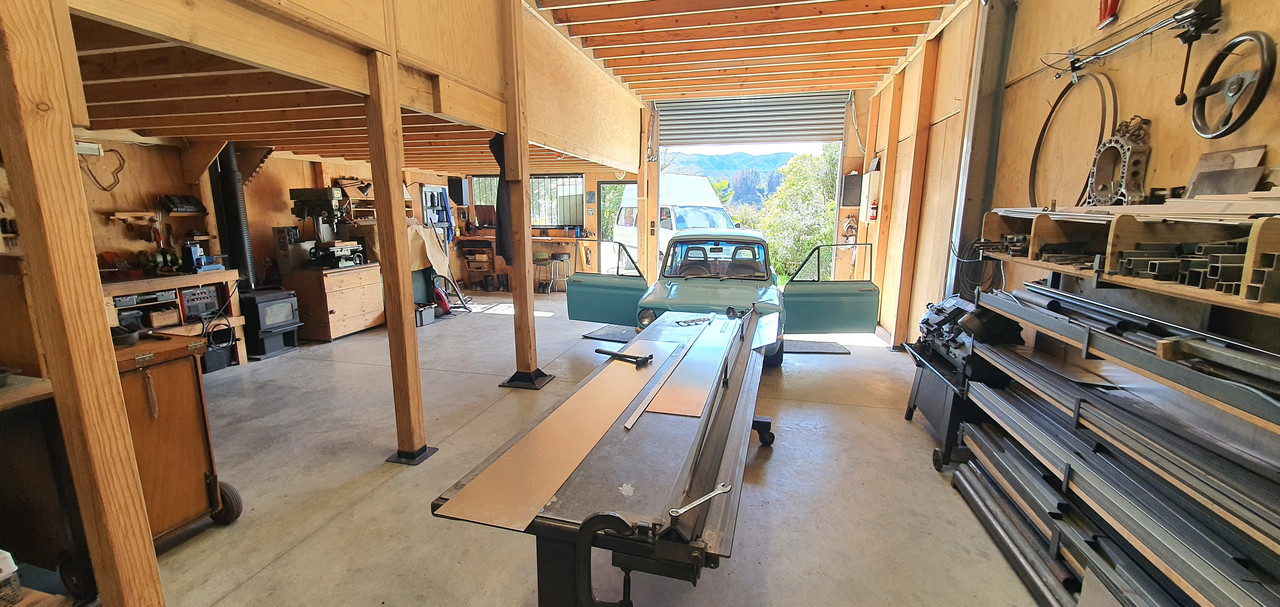
Folded up a basic shape..
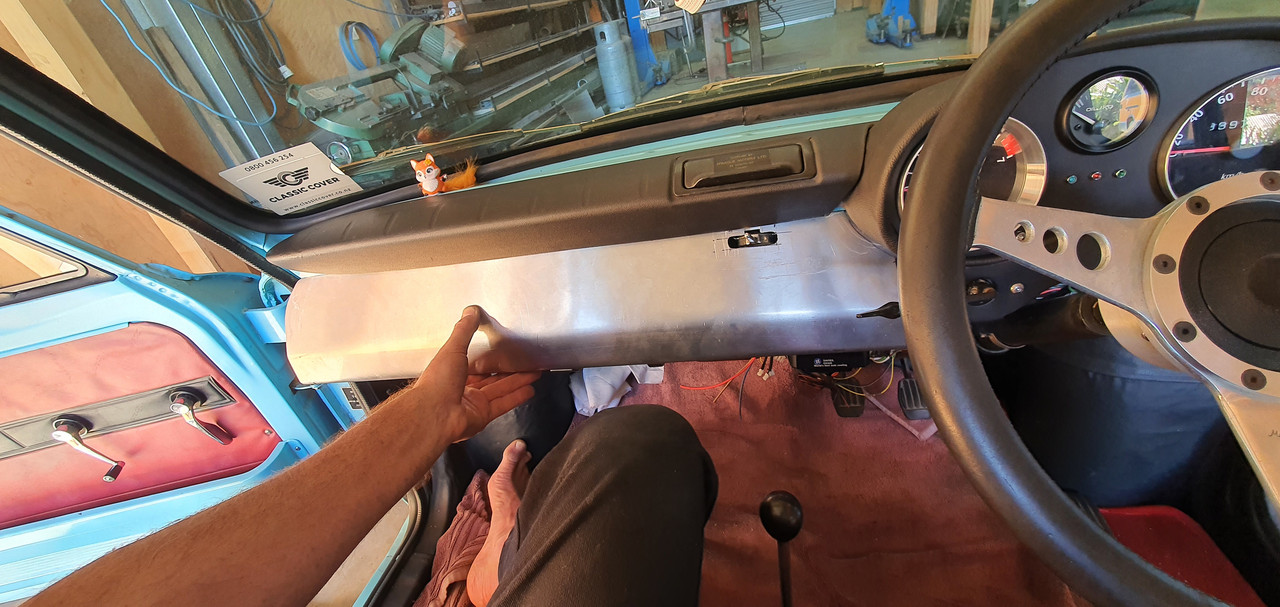
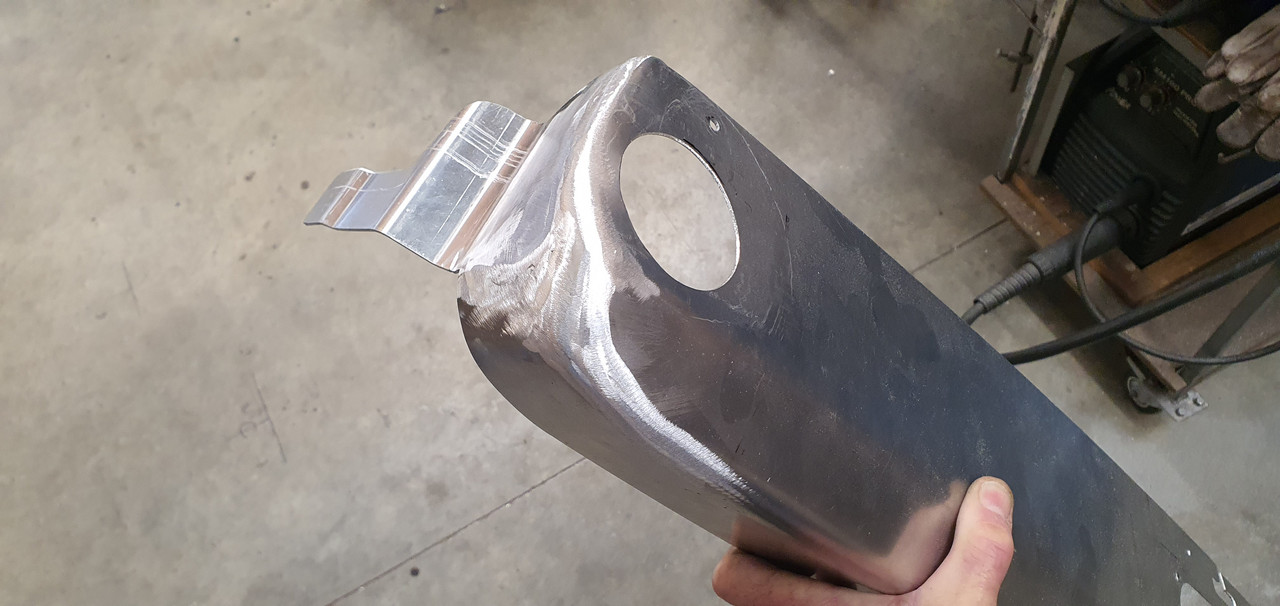
Cut, bent, hammered, welded it to a shape I fancied..
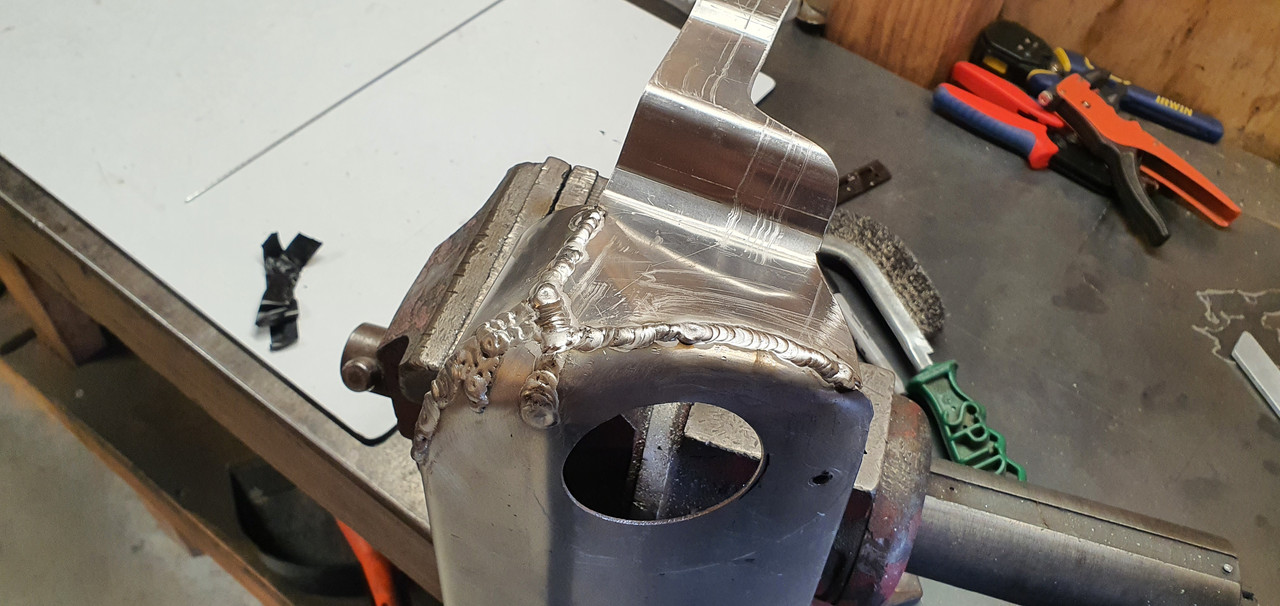
Flap disc and its now smooth..
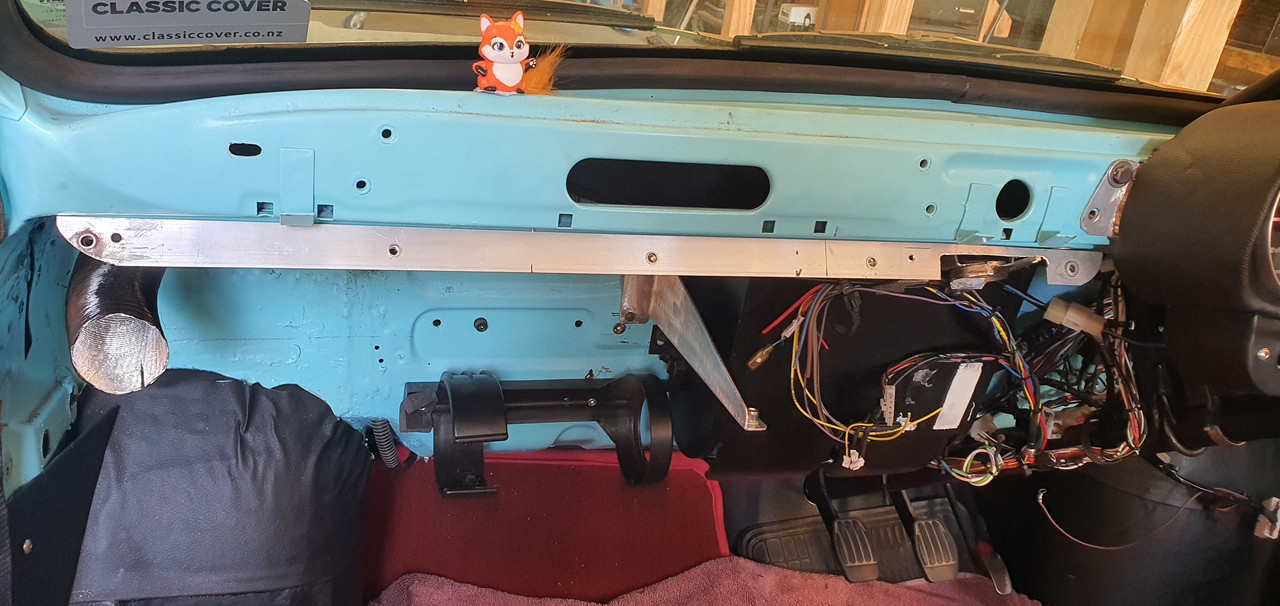
Screwed some alloy angle to the lip on the bottom of the dash panel..
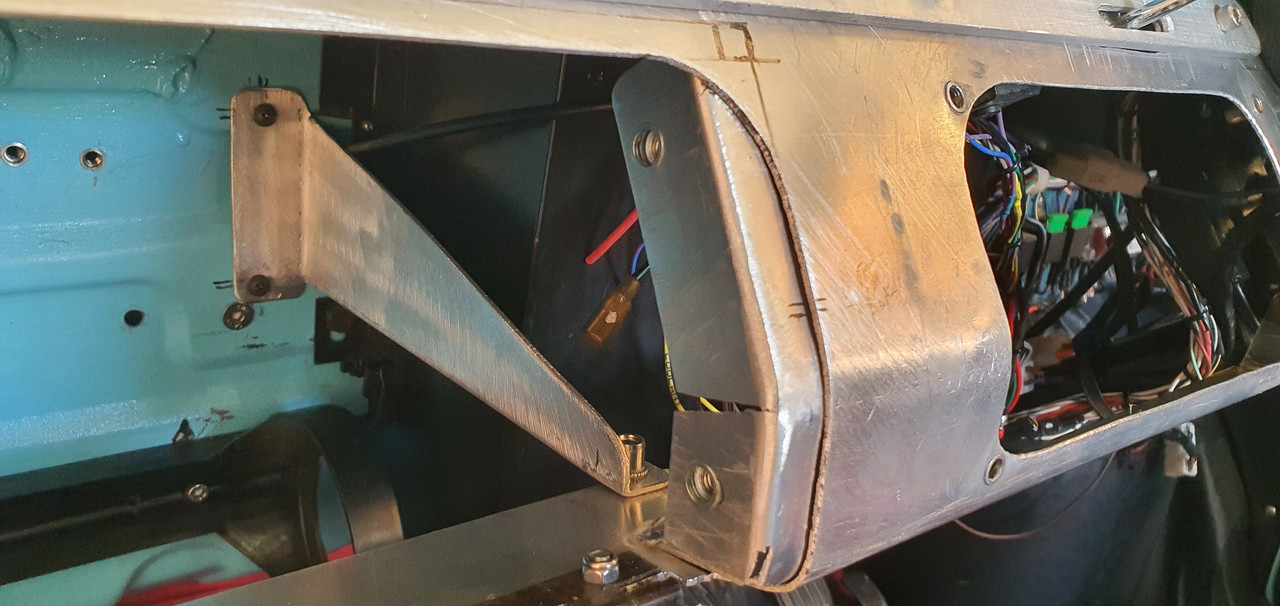
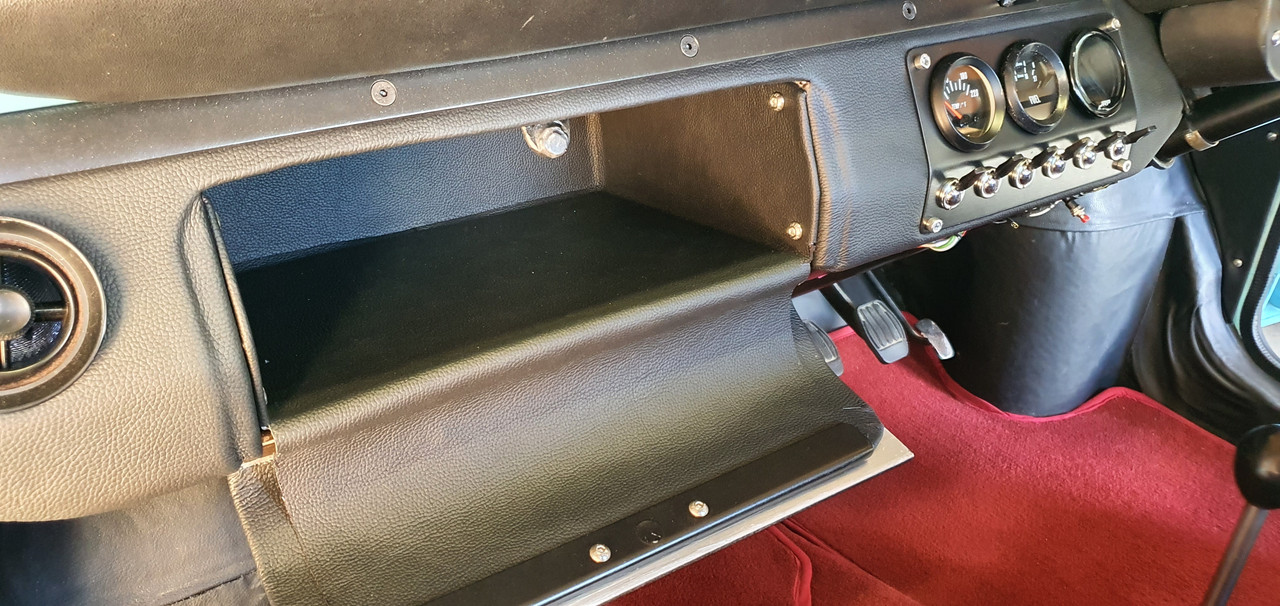
Built in bracing and mounts for a bolt in glove box..
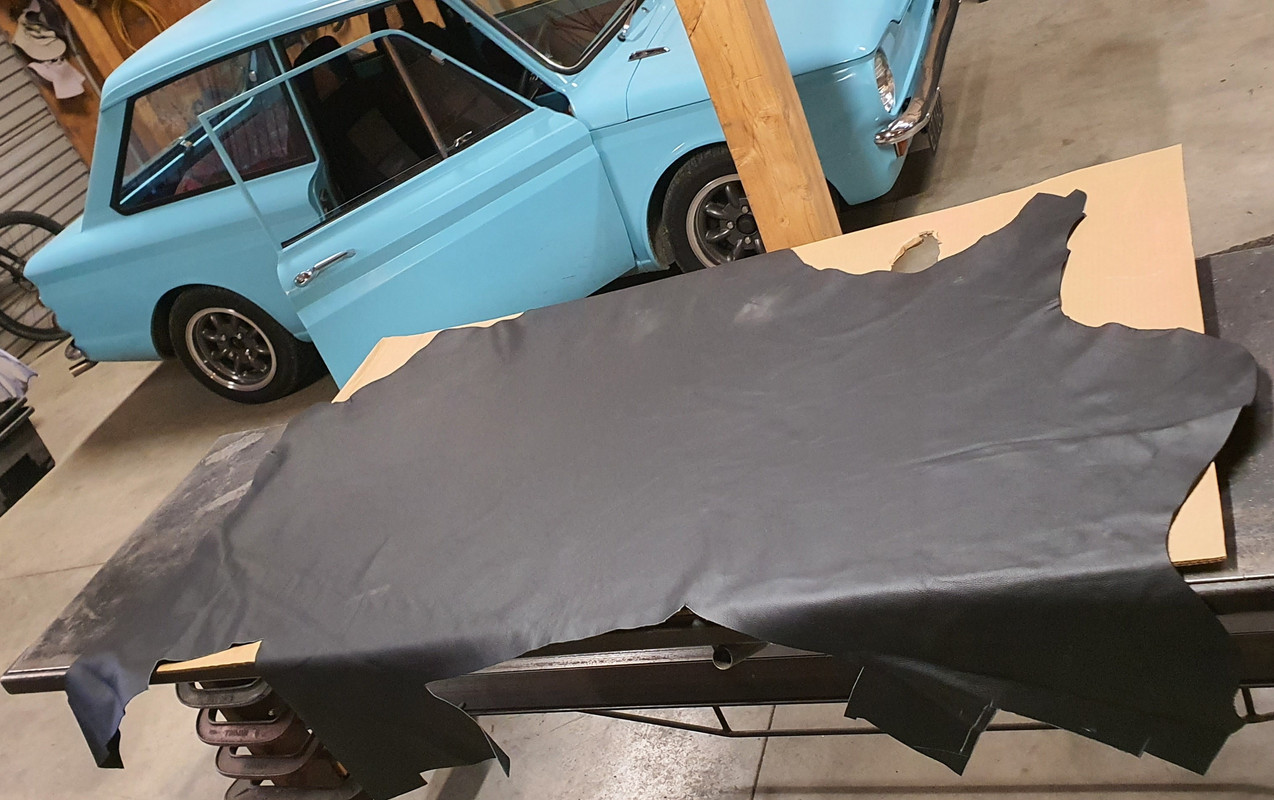
Once I was happy with the alloy structure I rolled out the leather. Lucky I'd bought plenty. I glued on one layer first, carefully cut to provide a stepped relief where needed. Then a second layer followed.
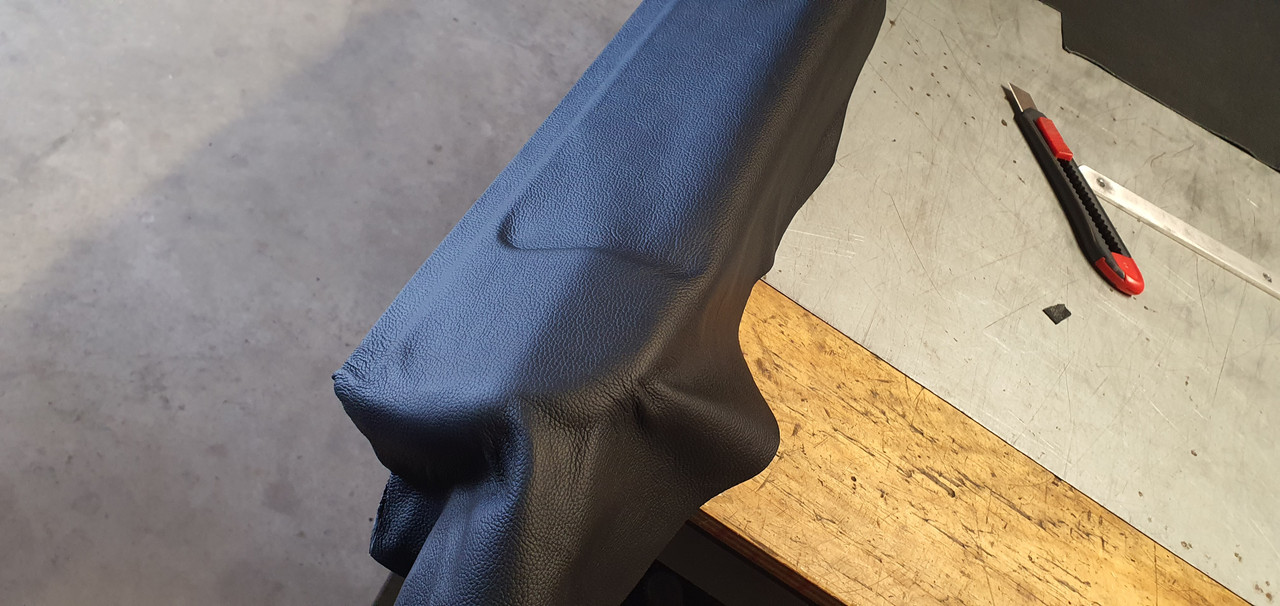
The hardest bit was the lower compound corner. Took some time and needed a cut.
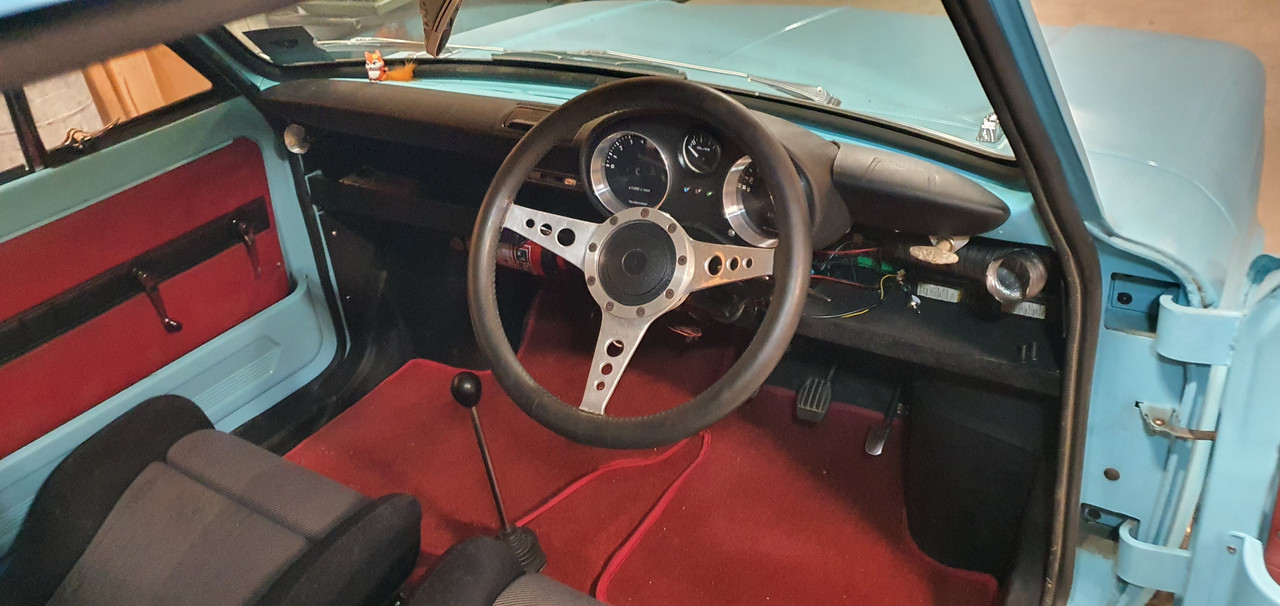
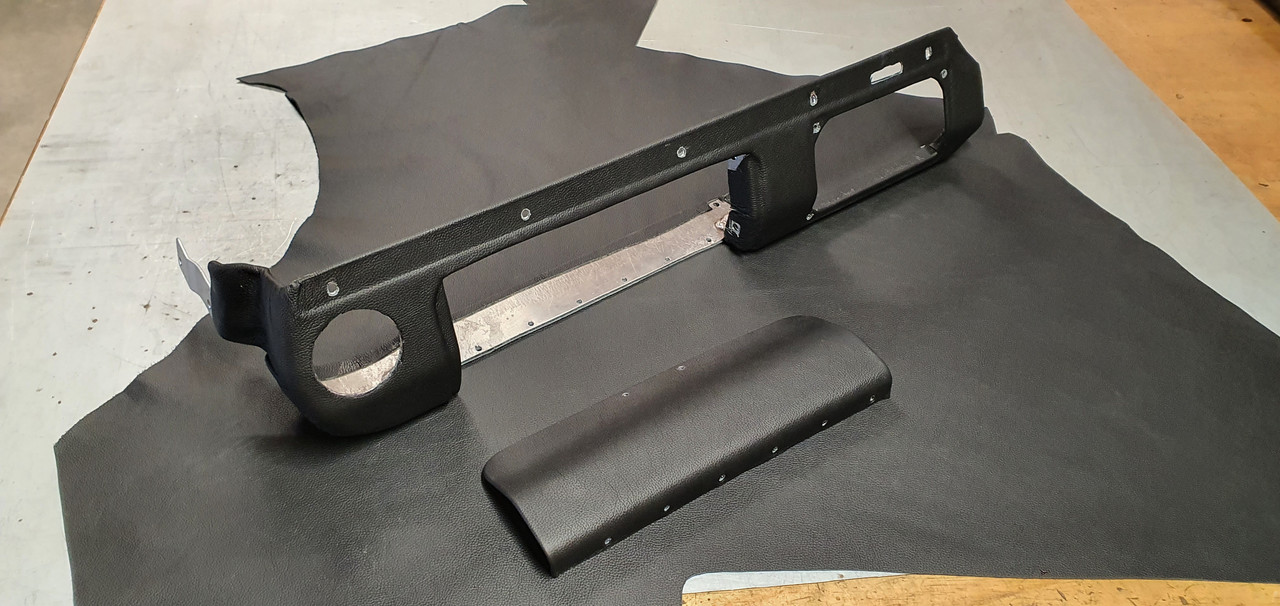
Very happy with the finished dash. Looks neat.
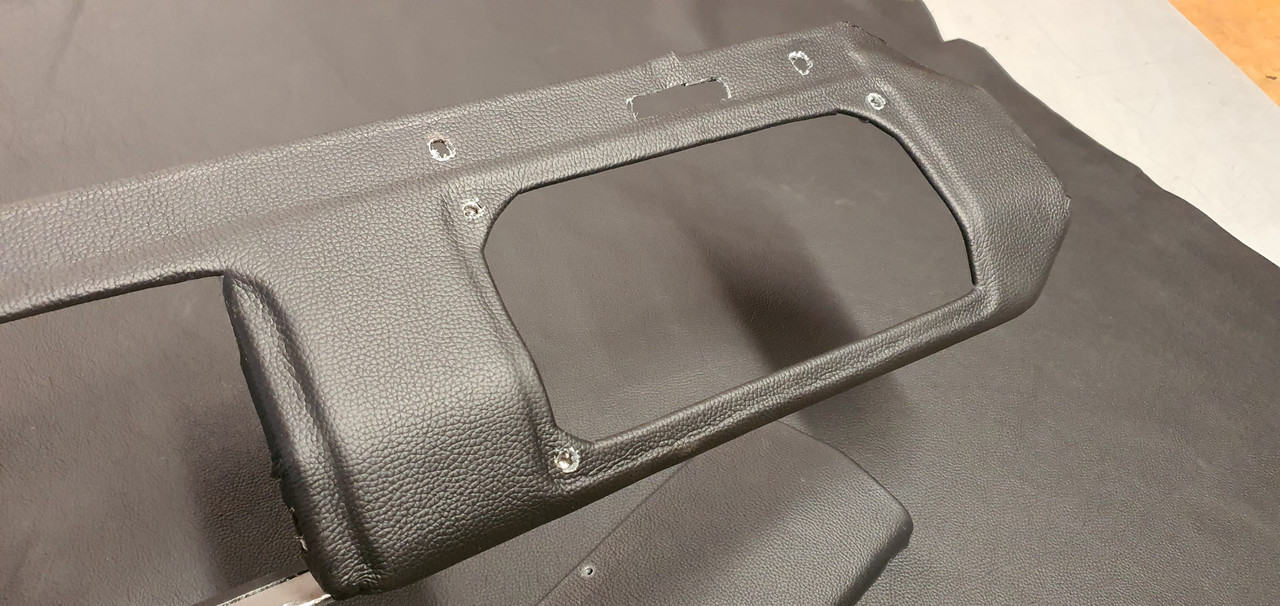
The reliefs are visible
Next up was the glove box edge and handle. I machined up this little handle..
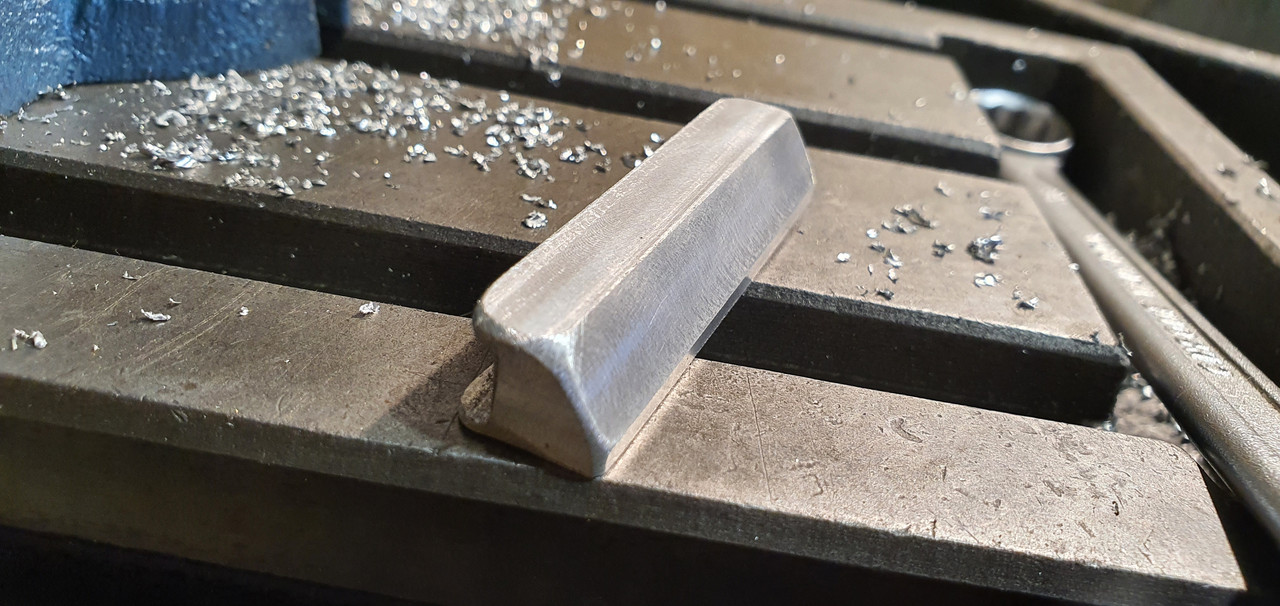
Fits like this..
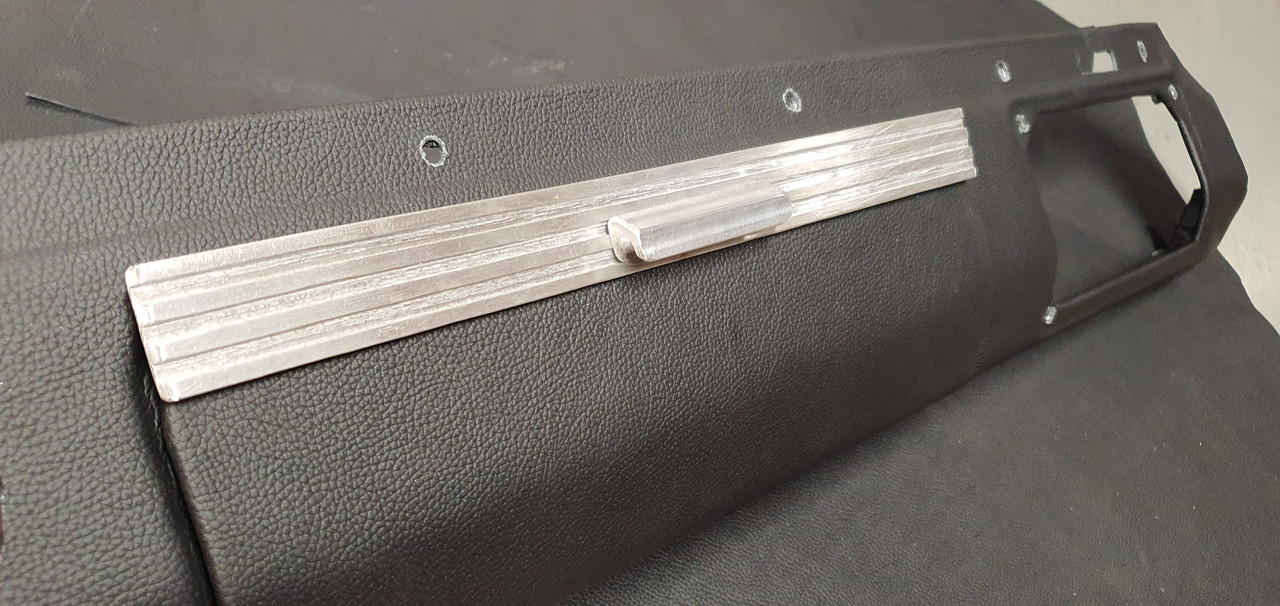
There's a magnet hidden in another alloy strip on the back which clicks against another on a bracket off the dash.
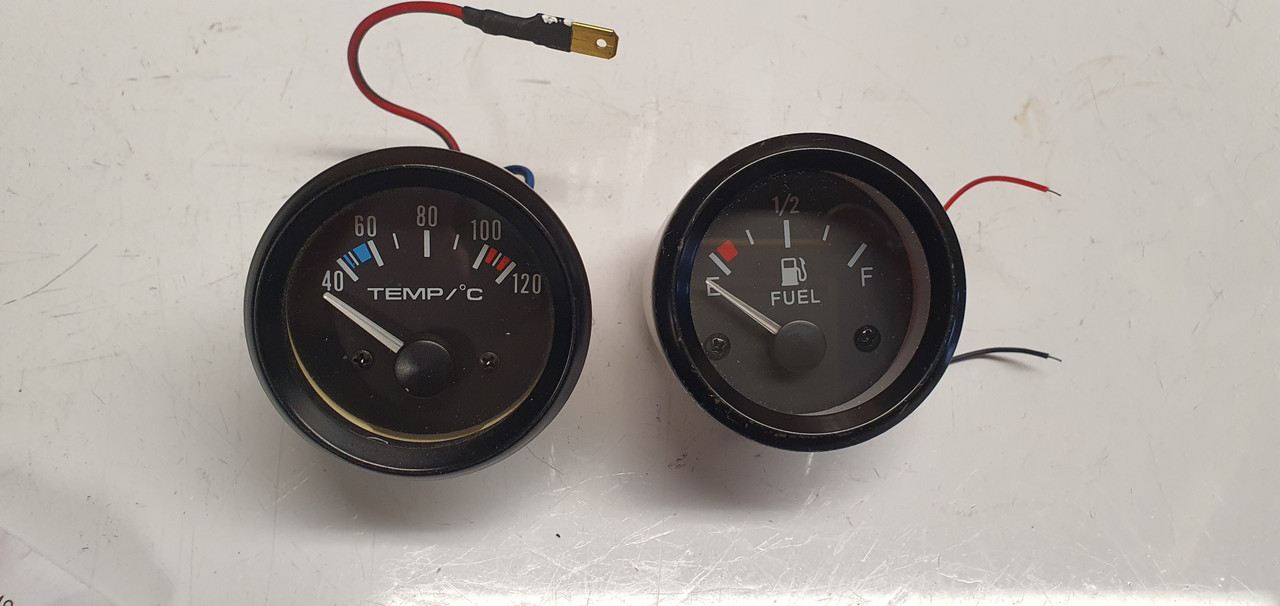
A fellow Imp nutter from Hamilton kindly sent a load of extra Imp switches and a temp gauge down to me and wouldn't even accept money for the postage! Thanks so much John!!
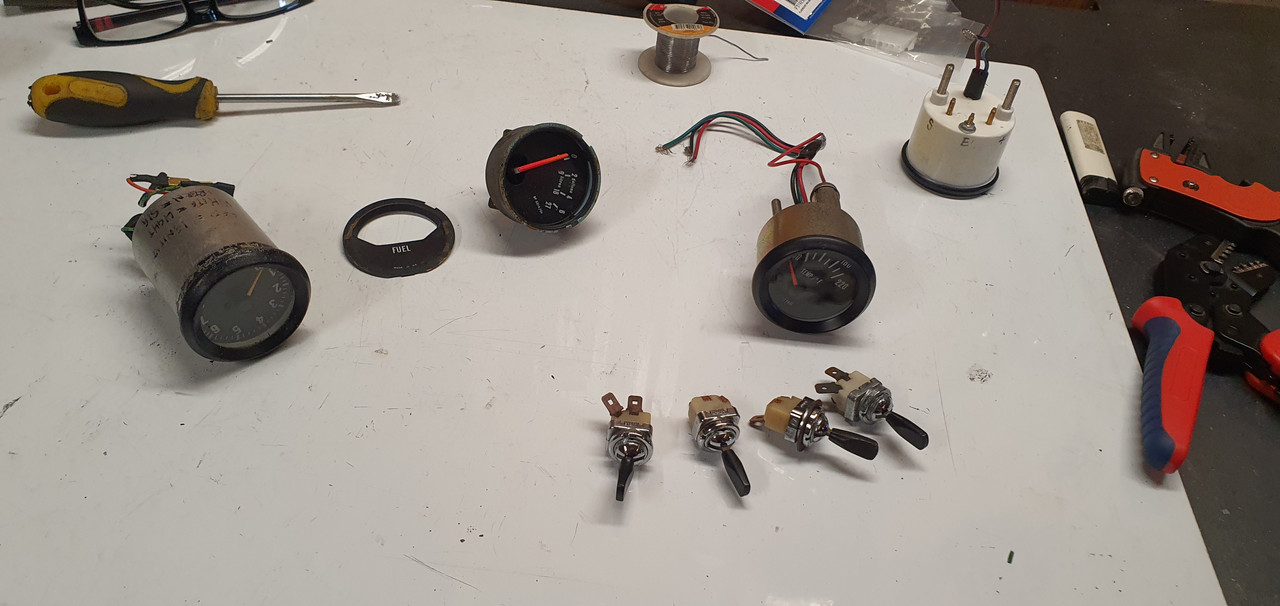
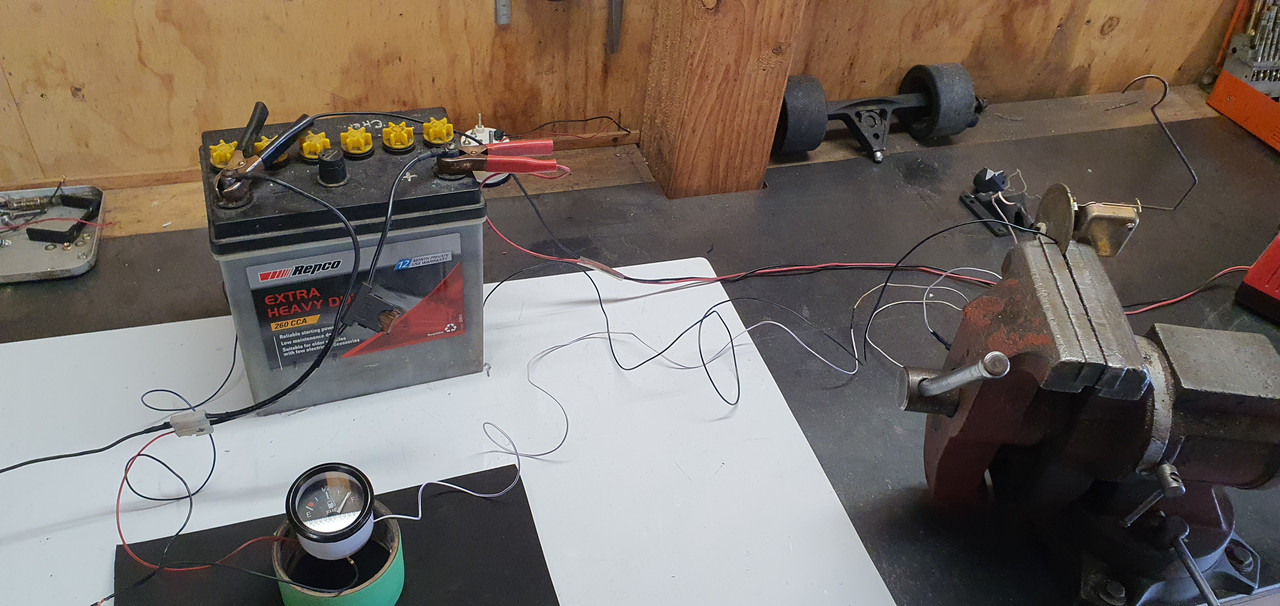
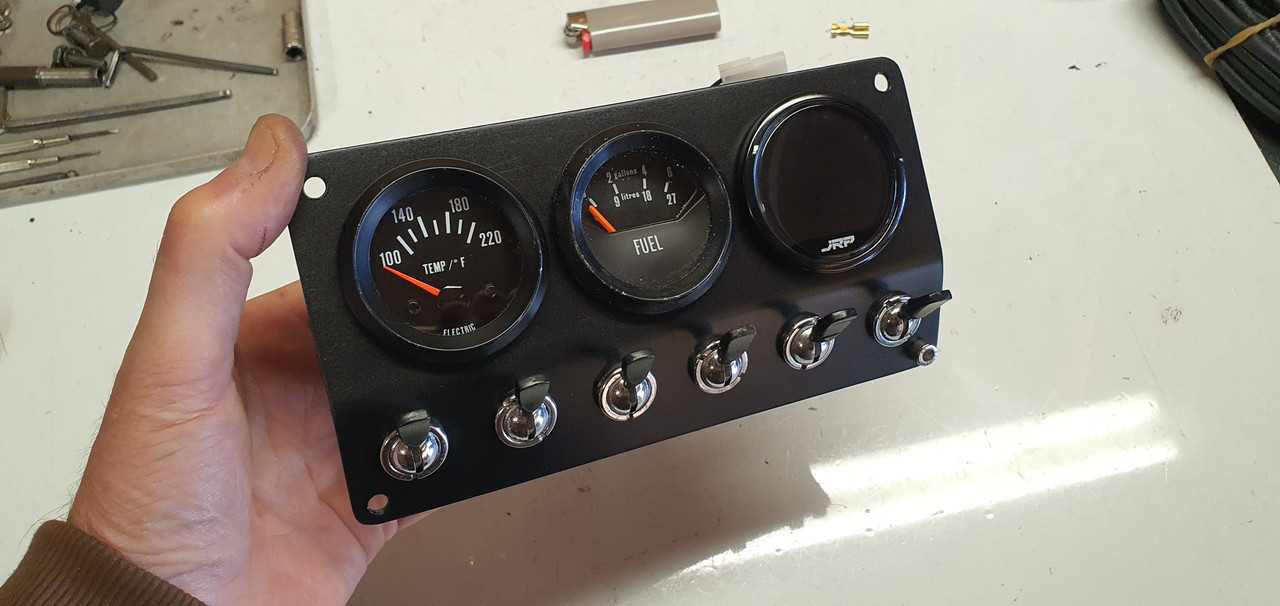
The gauge matches the spare imp fuel gauge but neither of them quite have the look I want so I have ordered another Trisco style fuel gauge to suit my Trisco water temp and oil pressure gauges. Hopefully I'll be able to get the new fuel gauge to work suitably with my Imp fuel level sender - which runs off a 5 volt regulator.
But for now I use what I have. All in place with my switches...
With the left hand side sorted I moved onto the drivers side. Same method. Manipulating some thin alloy, welding (tricky) and flap disc it smooth.
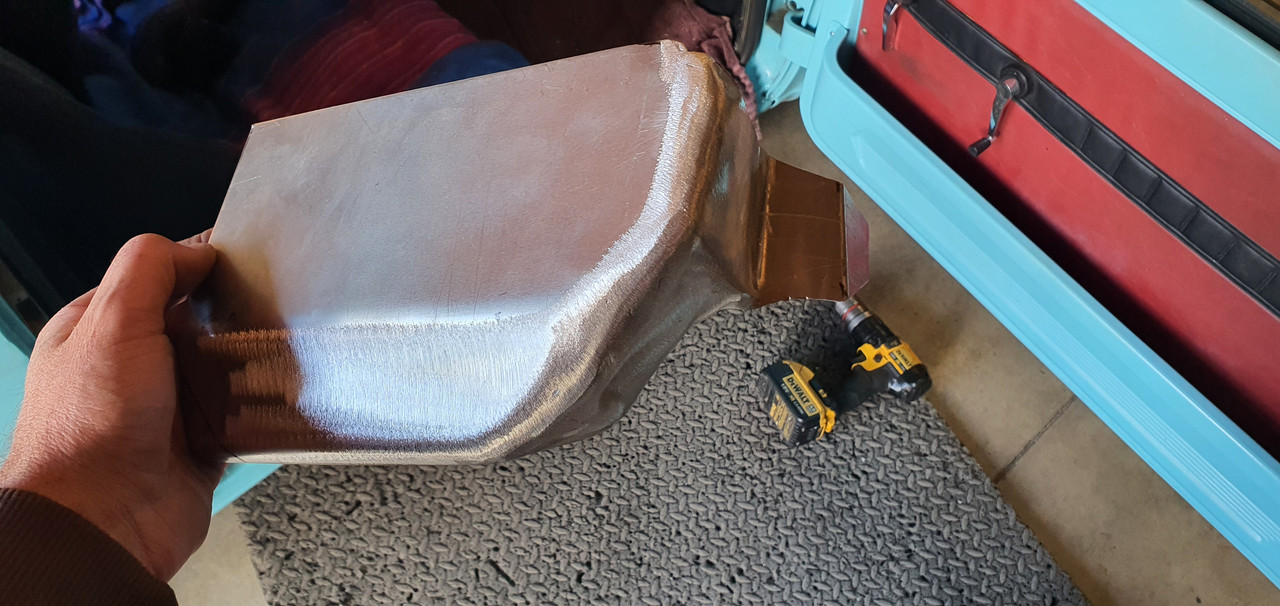
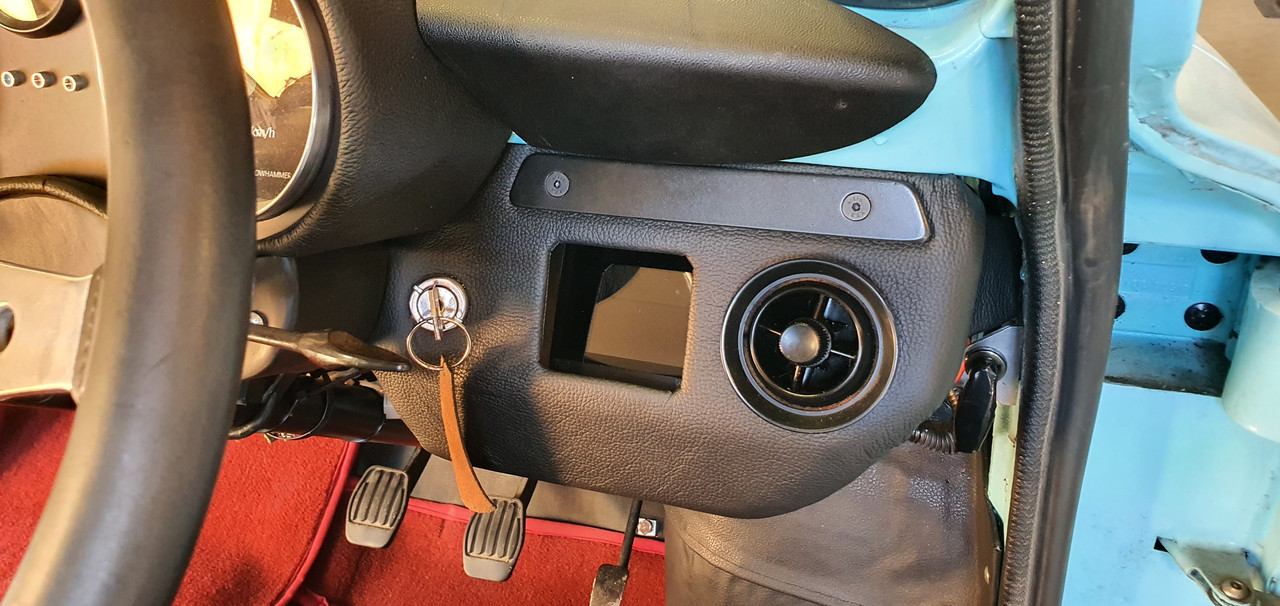
I have to allow for the ugly water pump controller. It has plenty of useful information so I dont want it hidden from view when driving. But it is ugly and not in keeping with the style I want.
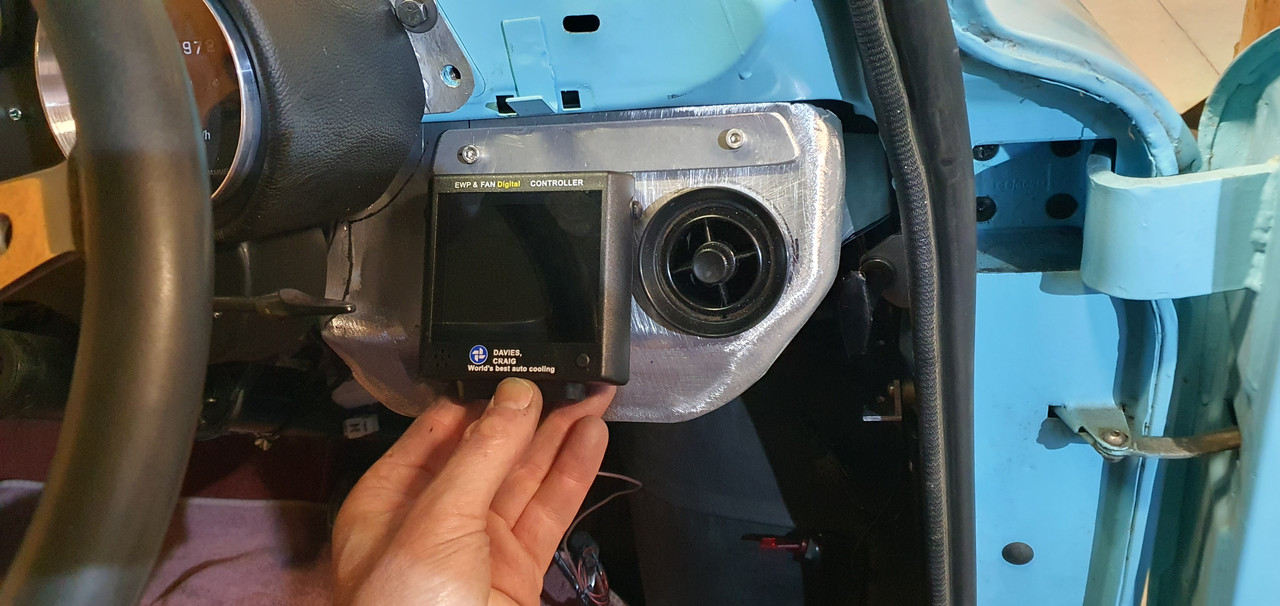
So I cut a hole, added a bolt in bracket to hold it at a suitable angle behind the hole. I will make some sort of slide down cover at a later date to hide the screen when not needed.
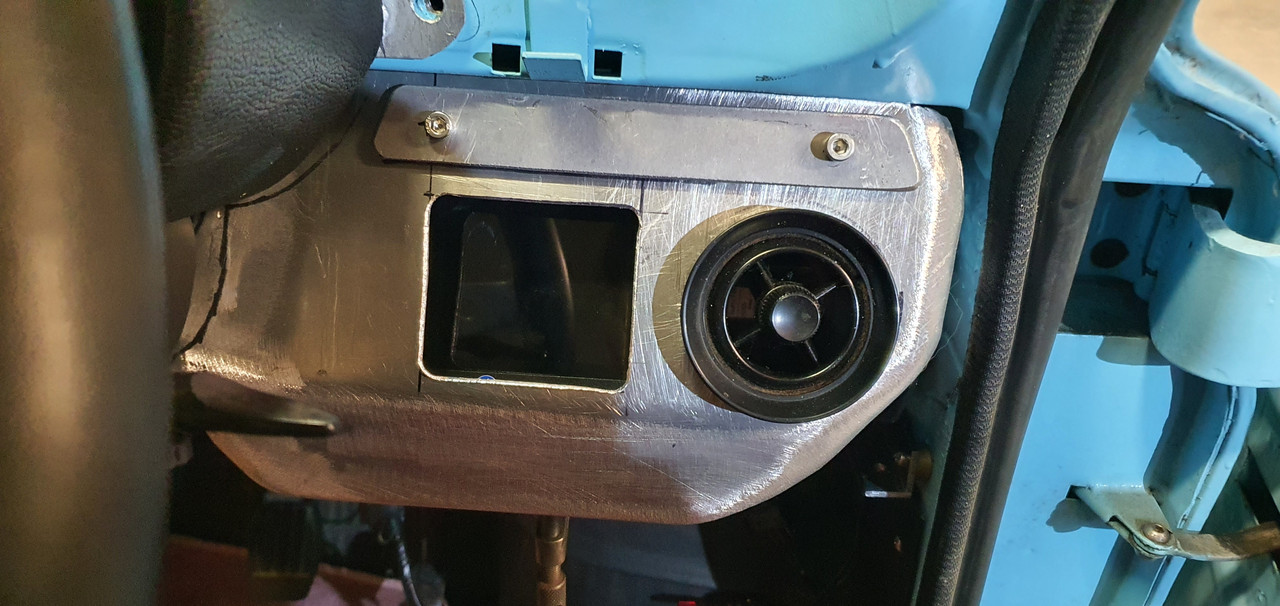
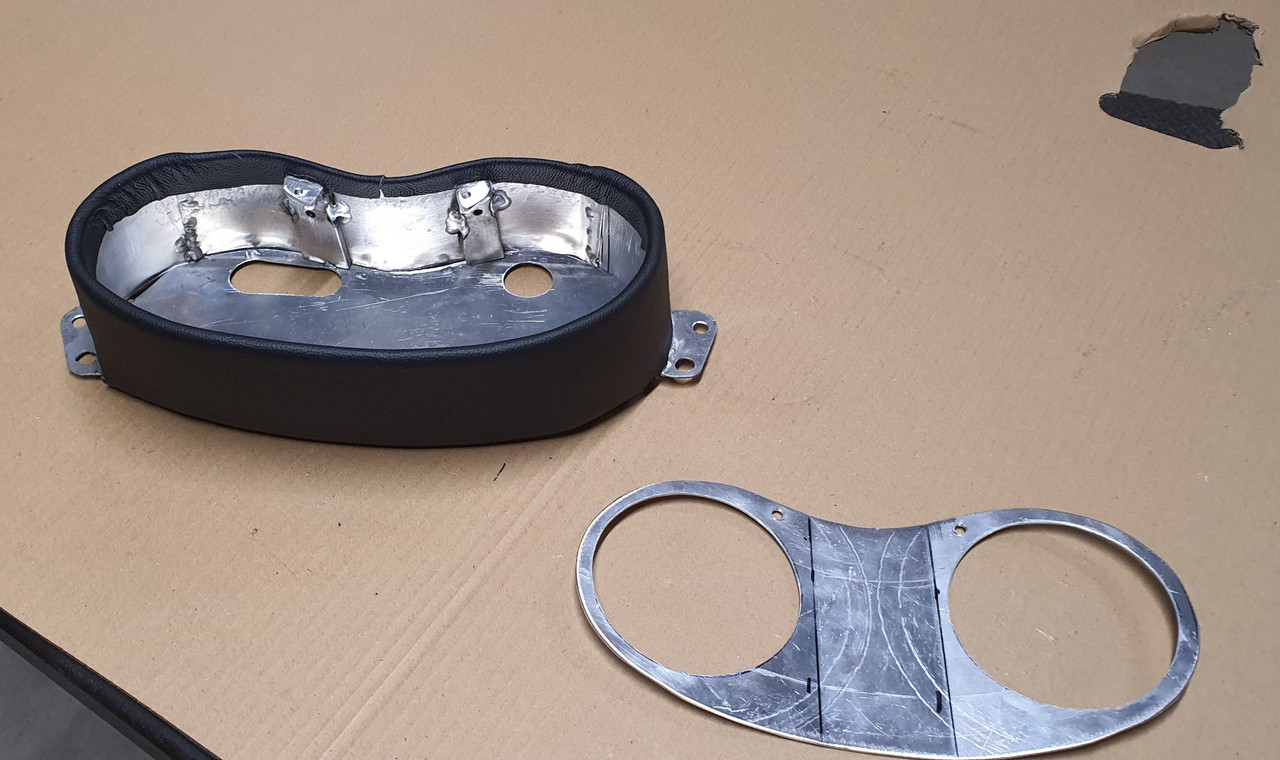
Added an angled face, drilled to suit the ignition key in a suitable usable position. Then covered it all in leather as per the other side. Here are all the bits together, alloy parts painted satin black.
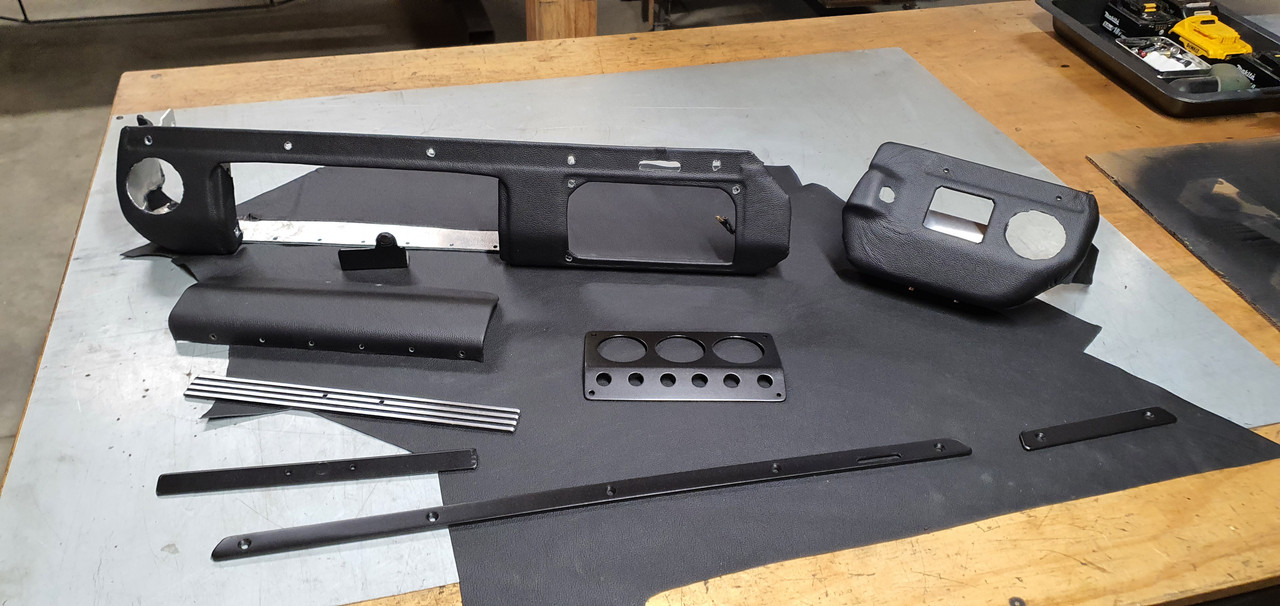
I carefully lined the glove box with leather too because why not..
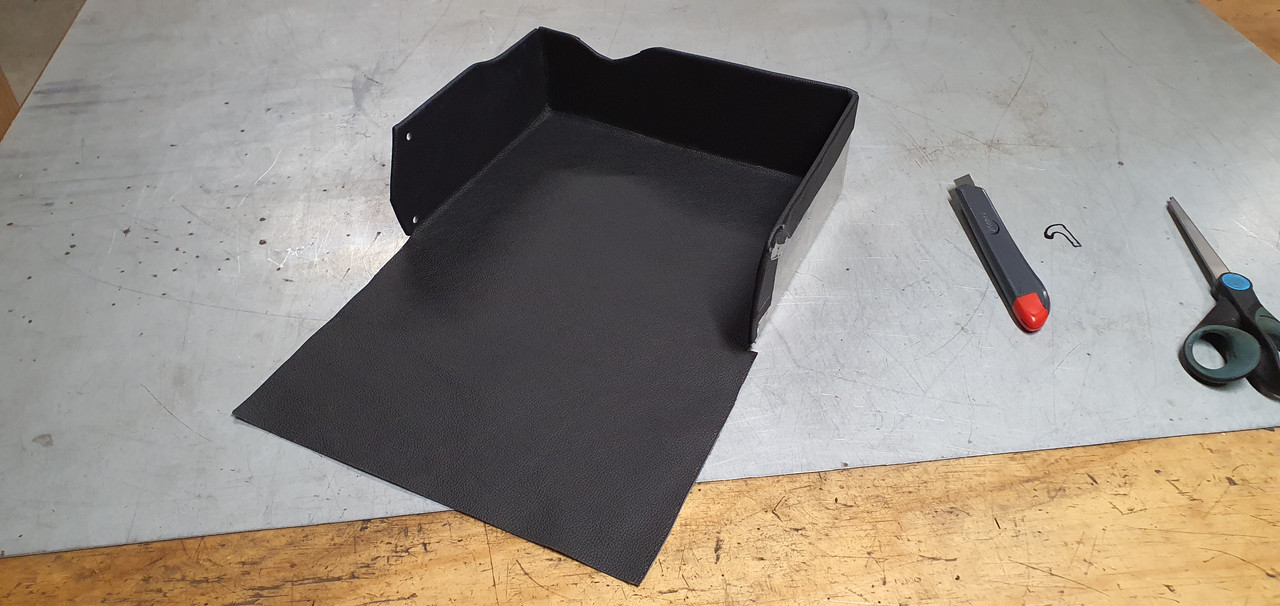
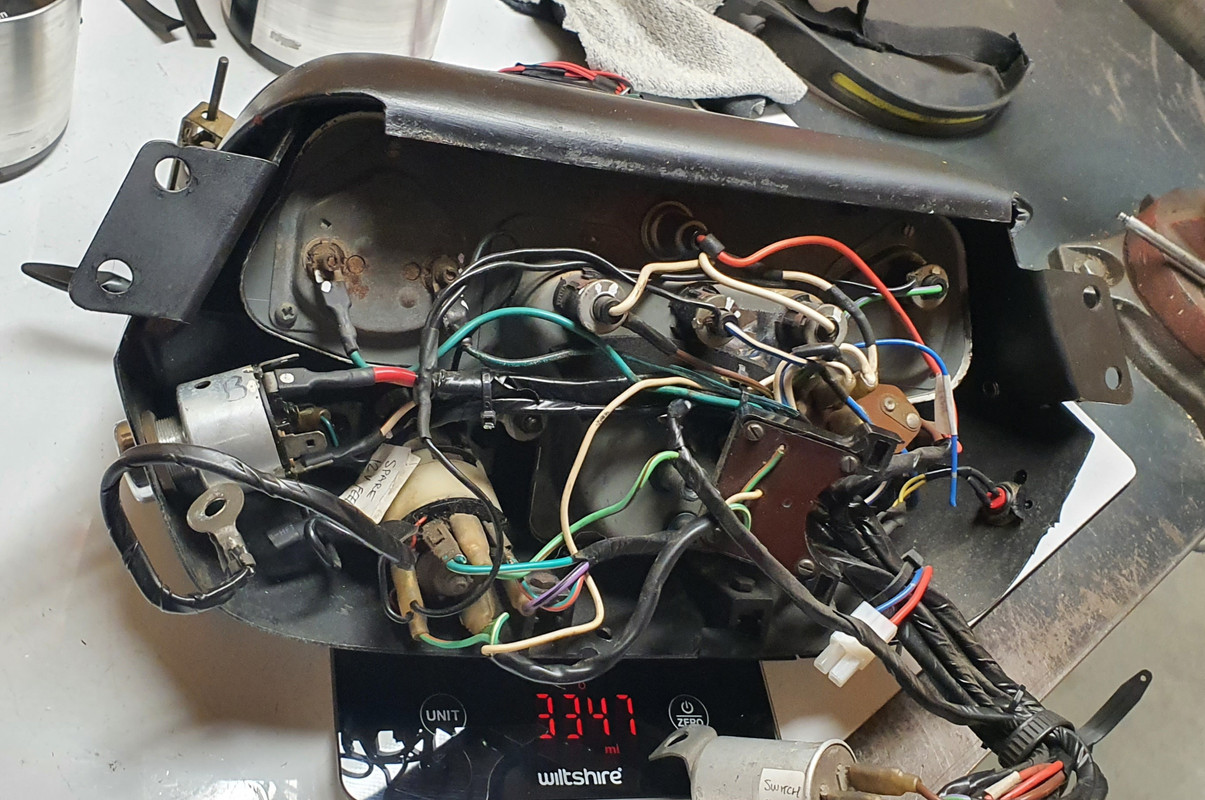
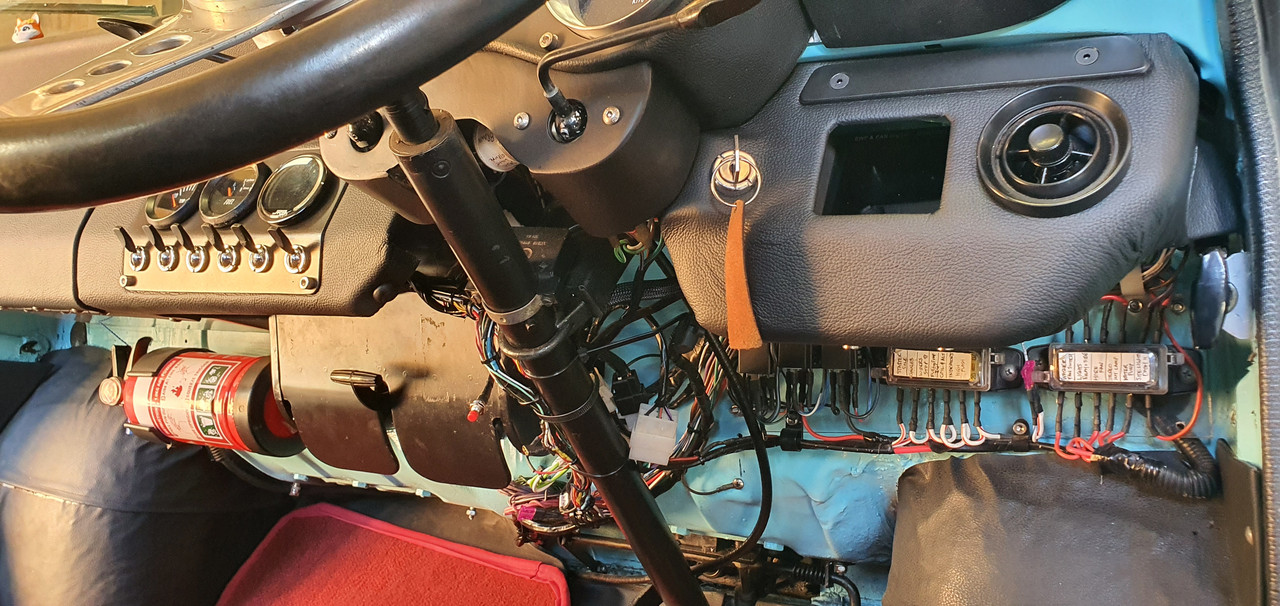
With it all fitted and bolted into place I was able to finish the wiring. I have added extra mini Molex plugs for all the gauges and switches, carefully designing the loom to allow easy simple removal of the units. There are two switches currently wired up but unused - one might be for extra lighting and the other for a suitable under seat bluetooth amp and active subwoofer. I'll be adding some tiny tweeters under the dash out of immediate view.
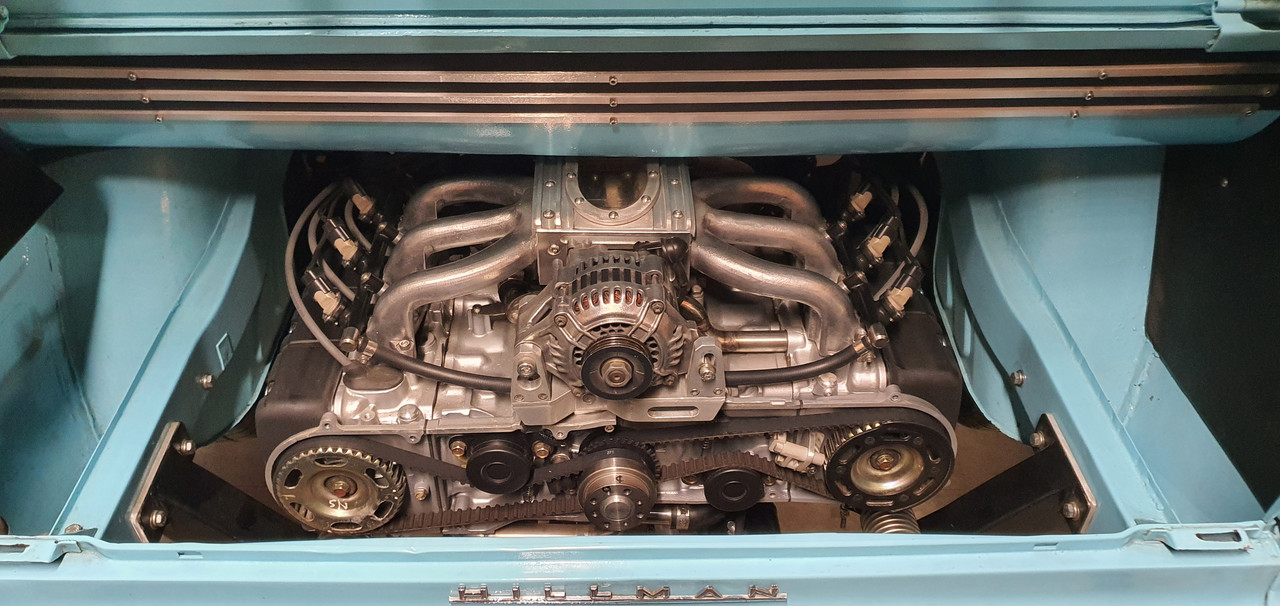
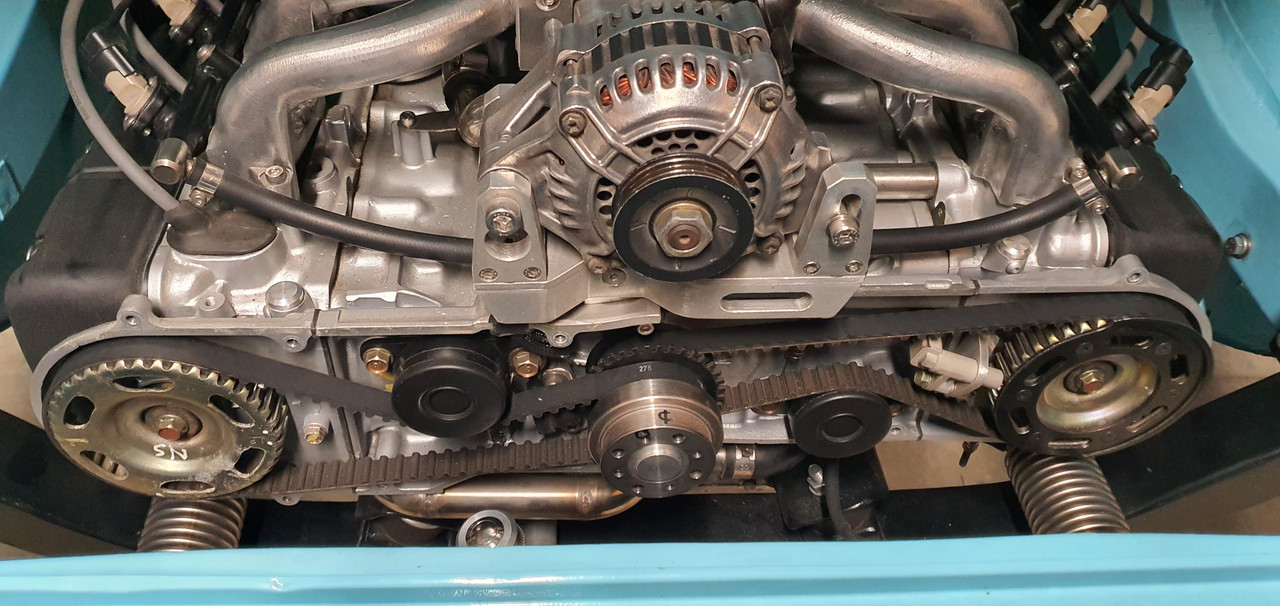
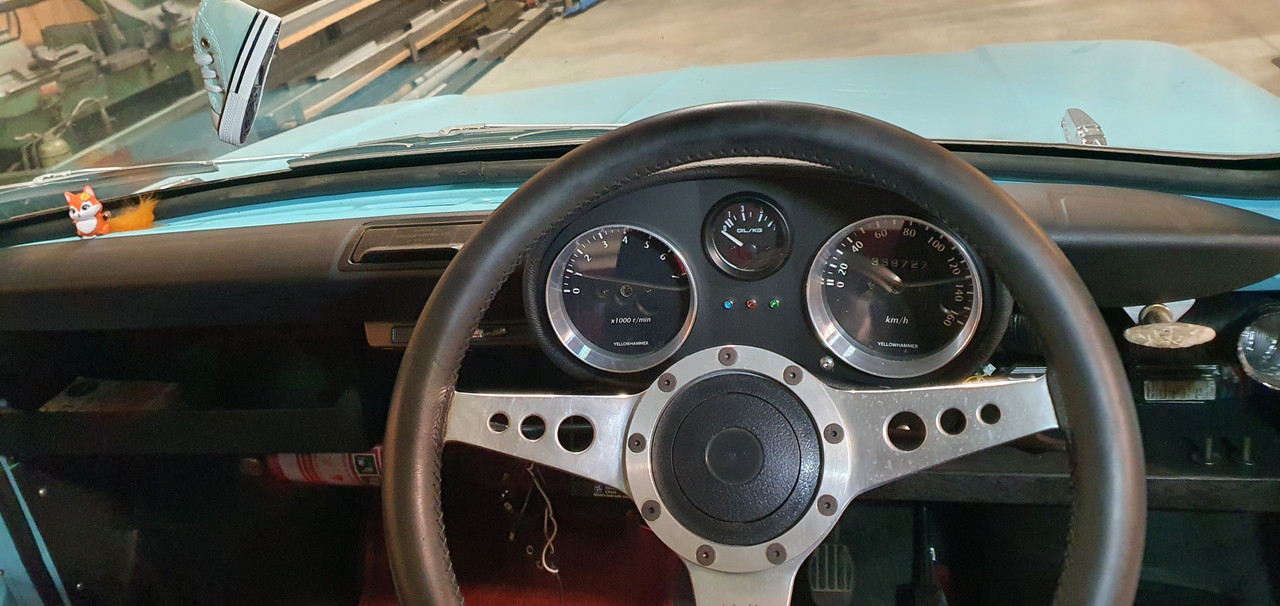
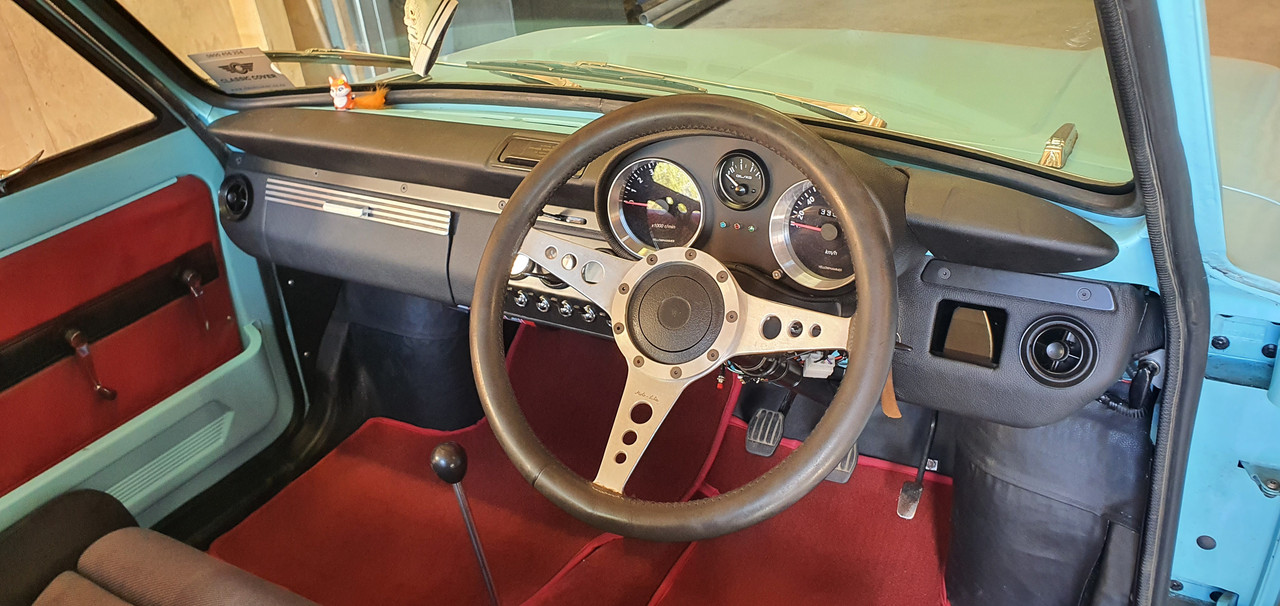
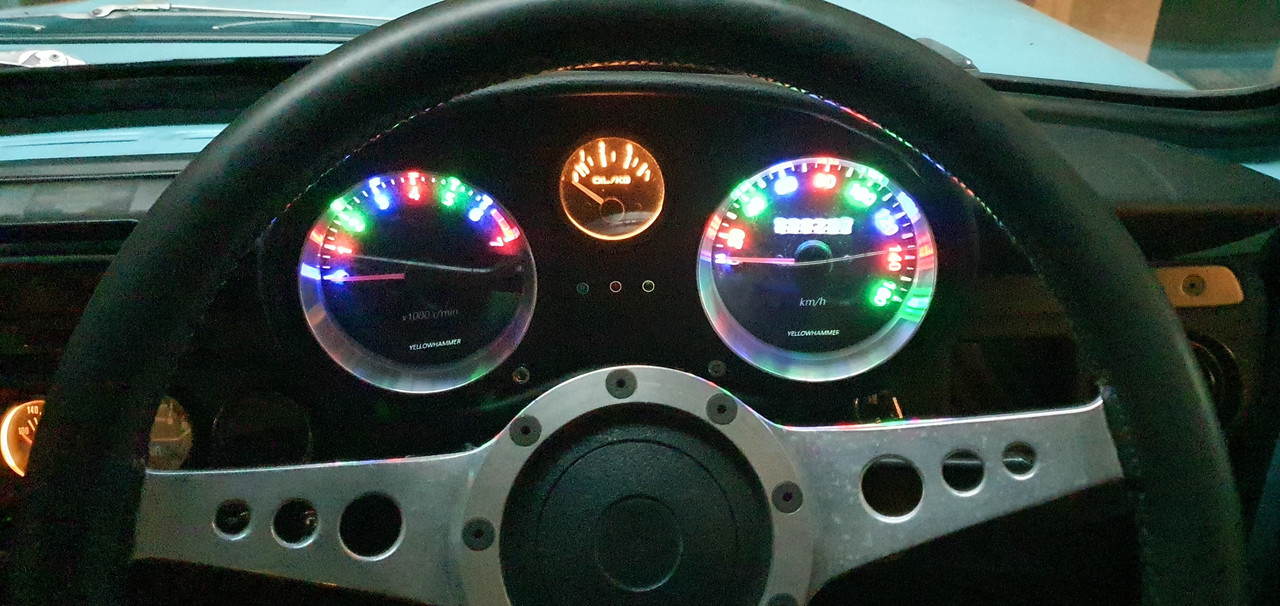
Wiring finished I started the engine. First start in a few months and it fired up beautifully. Rev counter works bang on and reads accurately. Switches all seem to switch as they should. Lights are neat. I took some photos with my phone. I might try for some better pics one evening with suitable light and the big camera.
Overall I'm really stoked with the resulting look and style. The leather work looks great. I have a couple of ideas for possible changes to the colour/style of the alloy trims plus a controller screen cover but will think about it for a bit first.
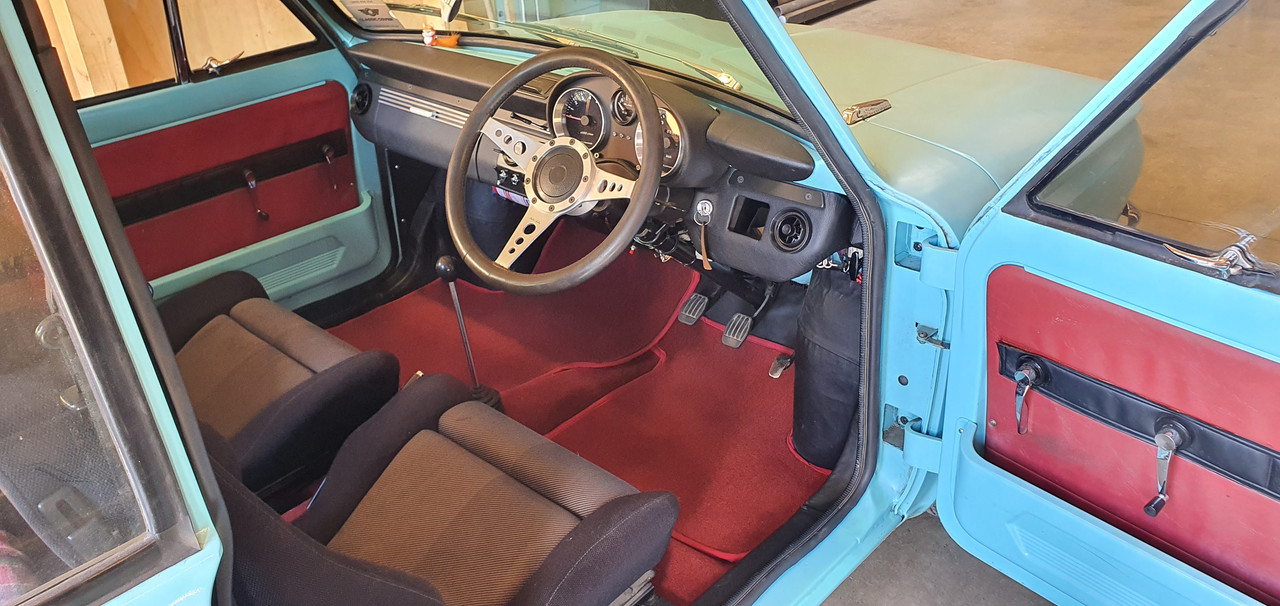
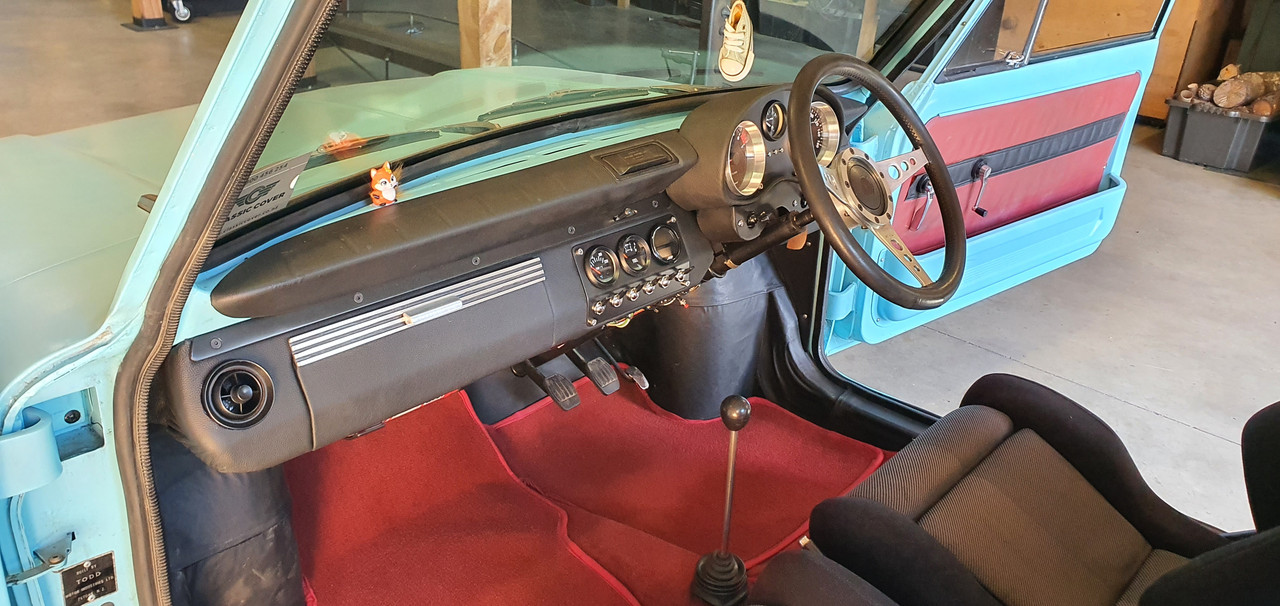
At a later date I will build some partitions along with a built in USB charger into the glovebox..
That little controller screen. I have some ideas for this but for now its usable as is.
The current fuse and loom hidden from view below. I'm not going to tape it up yet until I have finished adding extras.
The main gauge lights. Bit tricky to get a clear shot on the phone. Needles do light up enough in use.
Phew. What a mission but great fun! Now its back to clearing silt and trees.