Page 2 of 3
Posted: Mon Aug 17, 2009 5:18 pm
by Highfield
The car has been left too long, so today I decided to get a few small jobs done on the front end.
I had ordered a number of bolts and the rear eccentric nuts from my local OPC, so no excuses not to crack on.
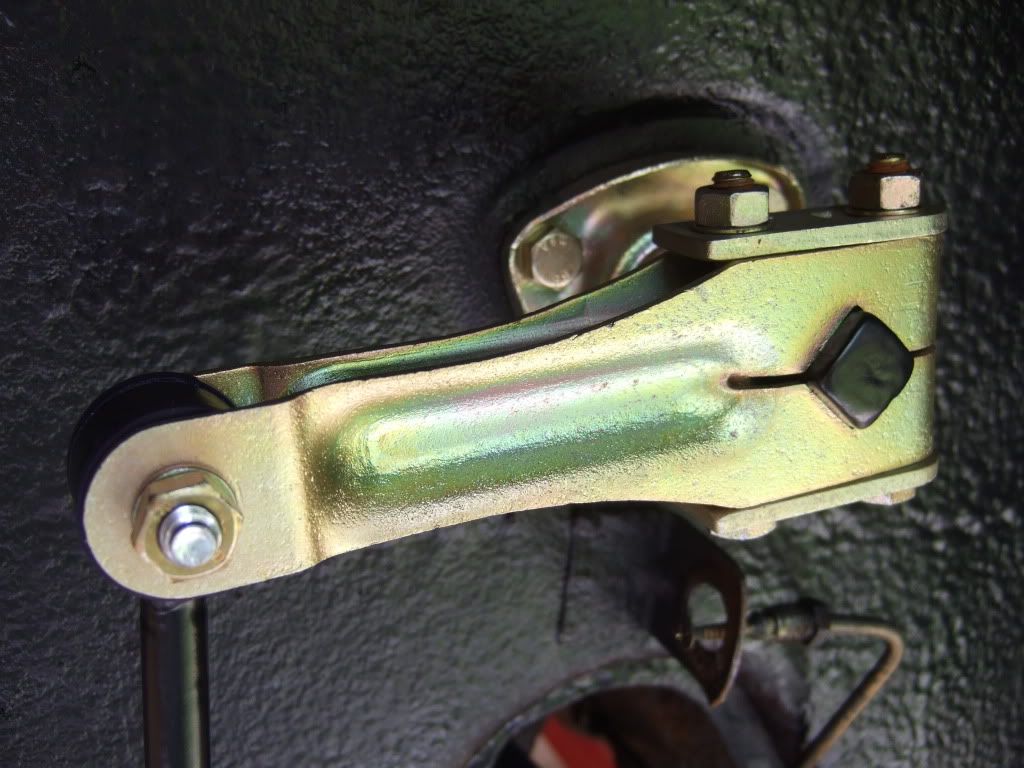
First I completed the ARB install. I left it with the drop link in place but no bolts. I also ordered 4 'spacers' from the OPC which were shown in PET for the drop link bushes. I have pushed these in to the new bushings, so the bolt doesn't slop about.
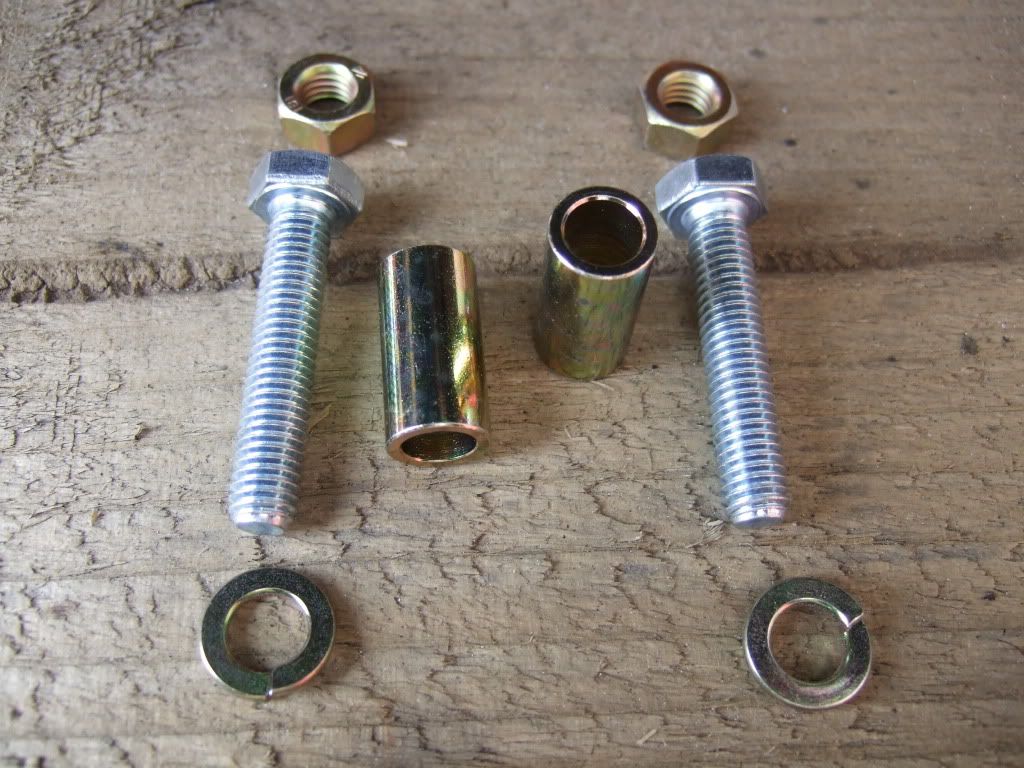
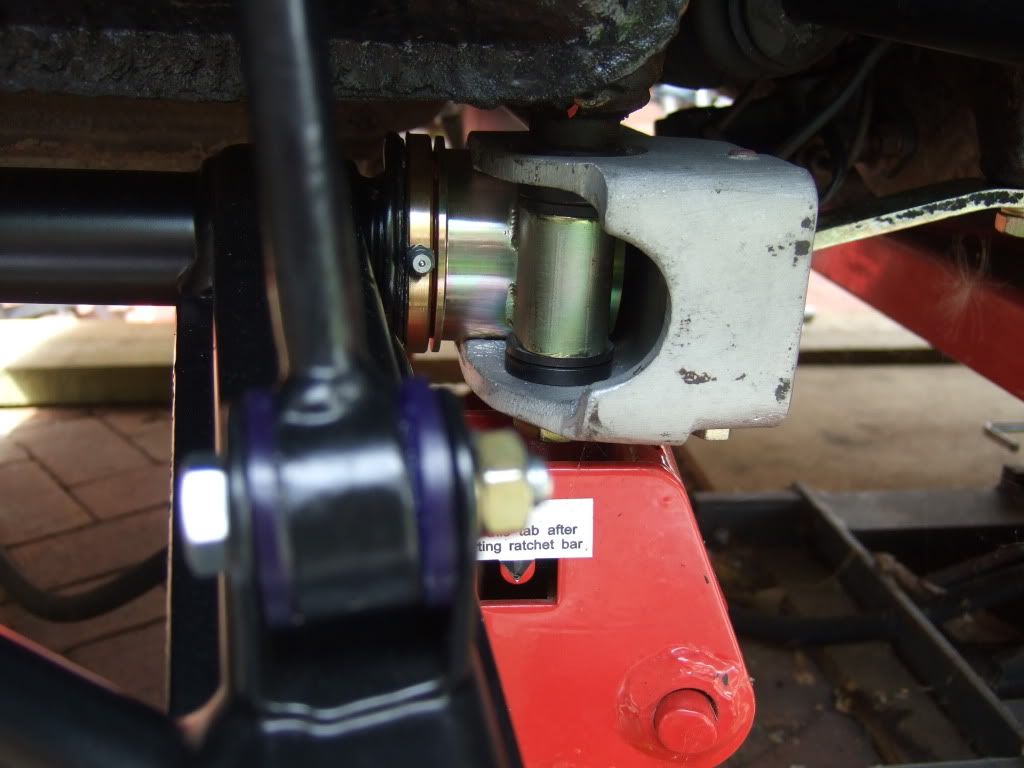
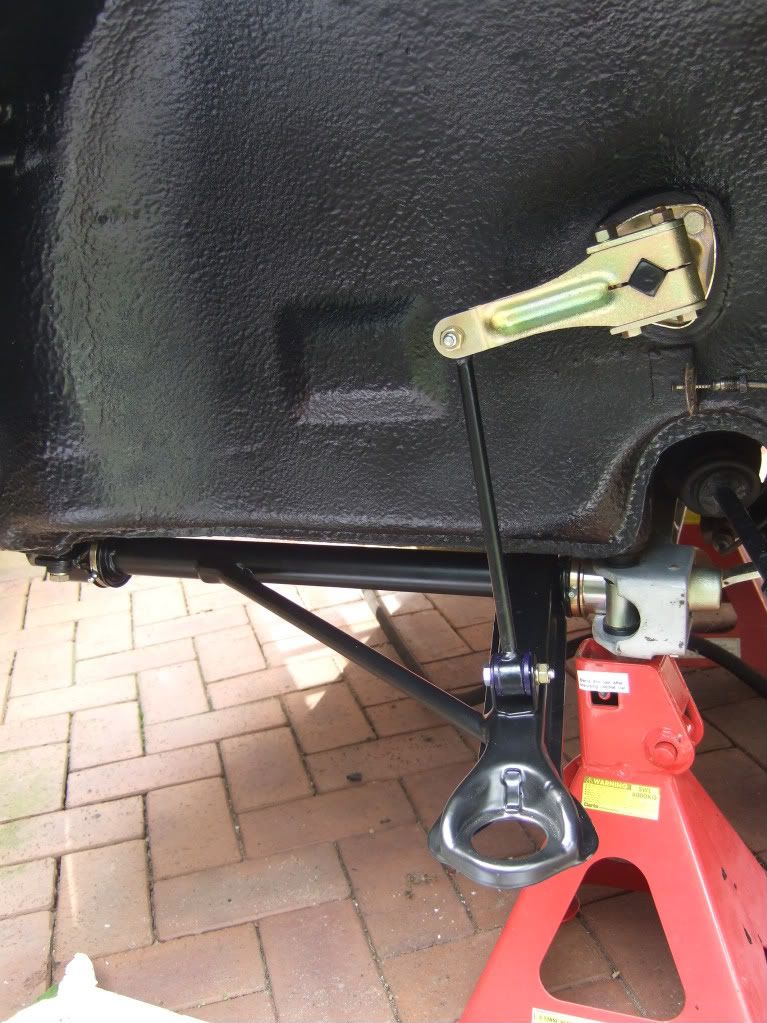
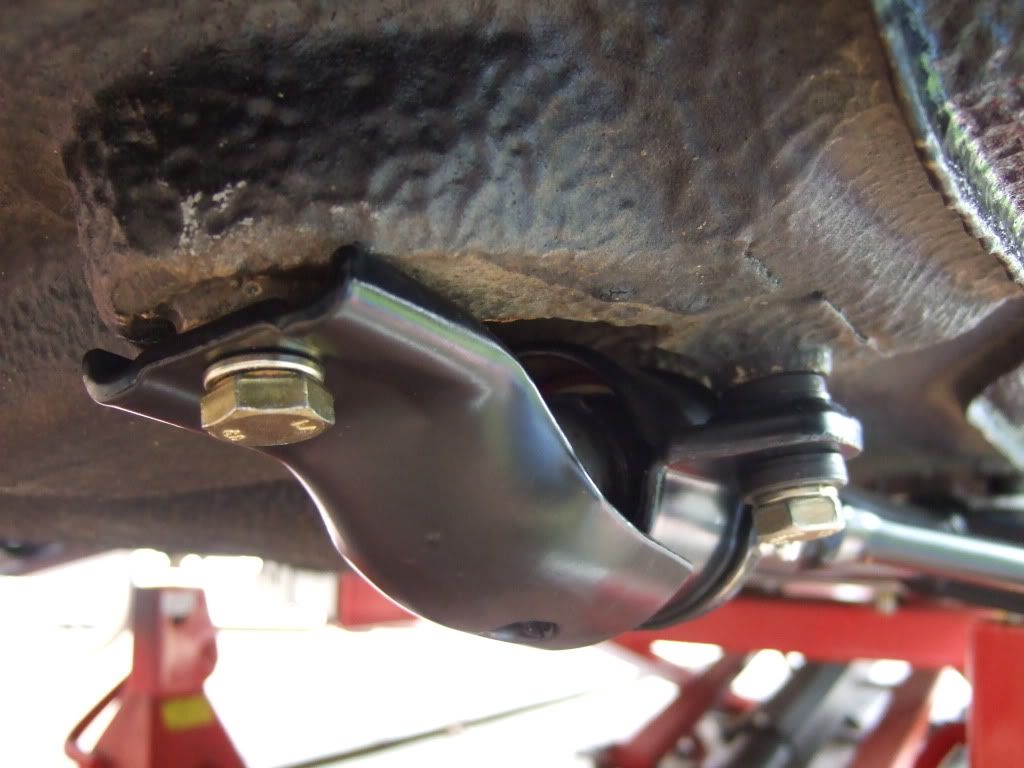
I also received the new bolts to mount the front bracket that protects the front of the A-Arm.
Ian
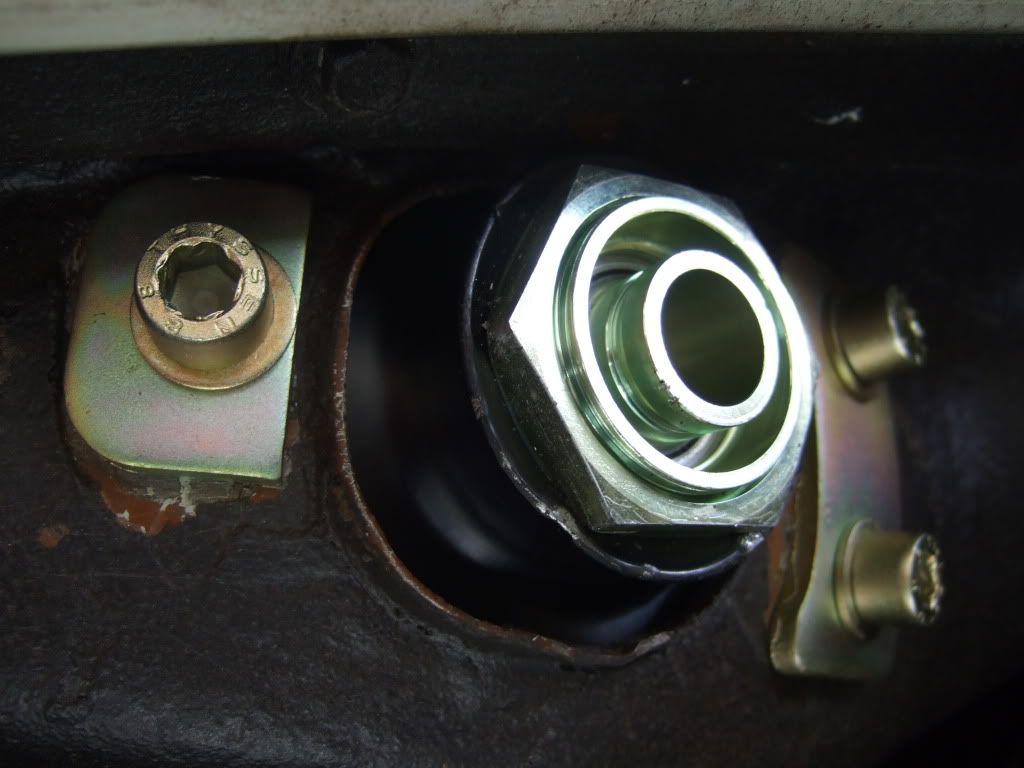
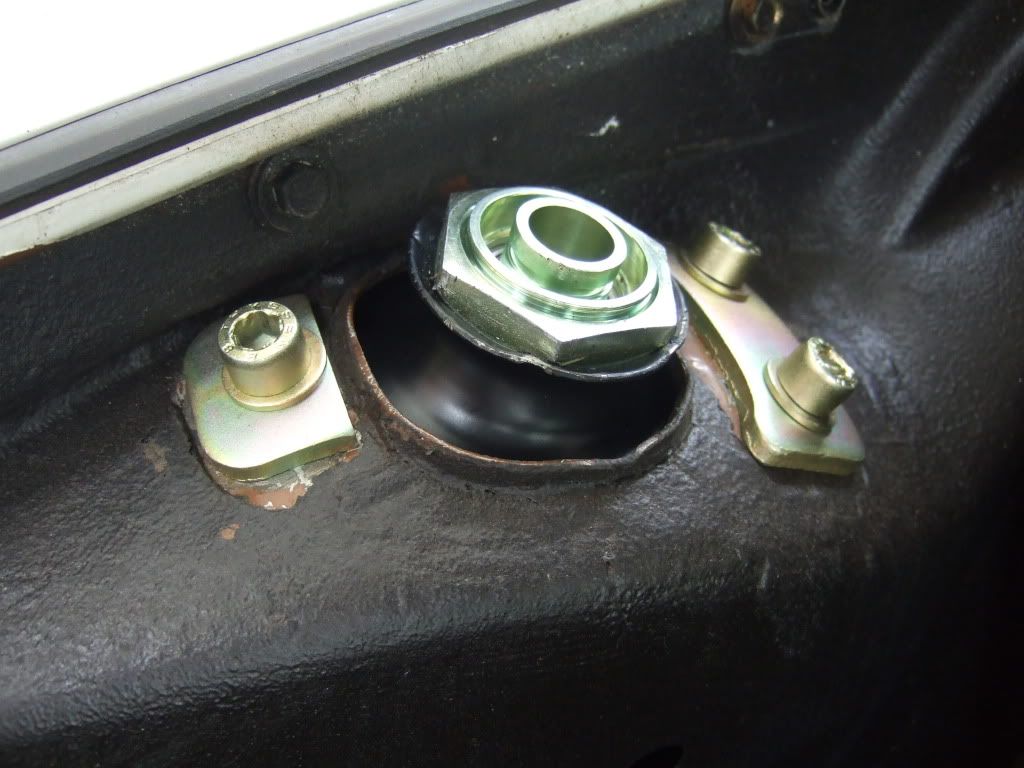
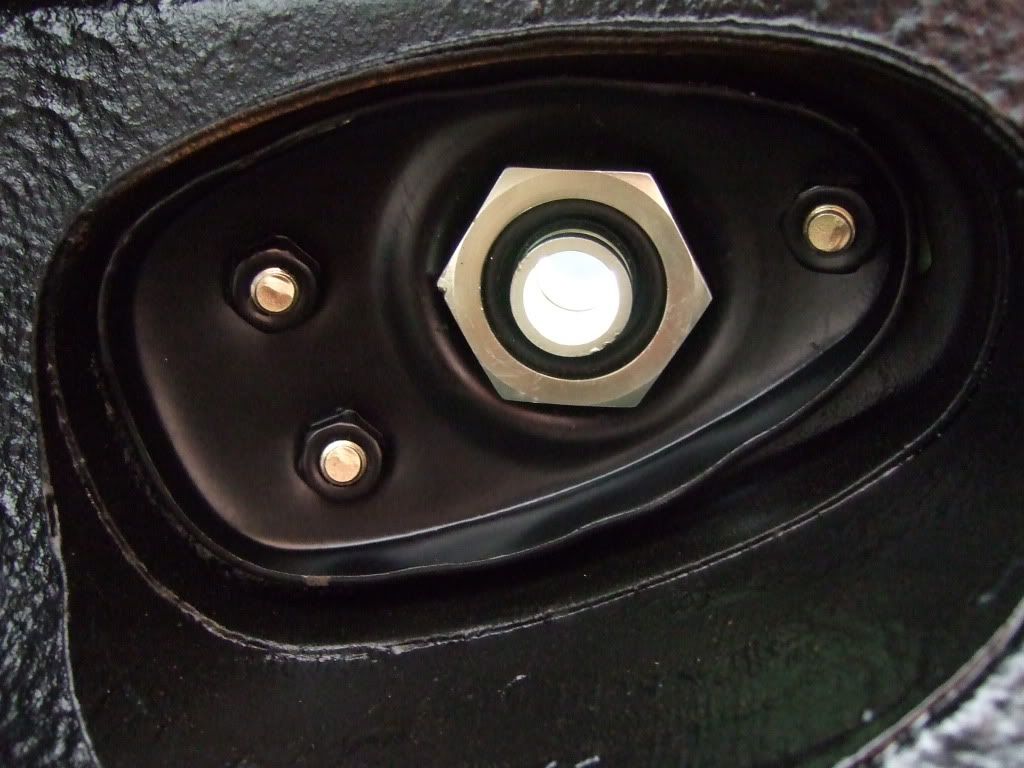
Front Monoballs
Posted: Mon Aug 17, 2009 5:25 pm
by Highfield
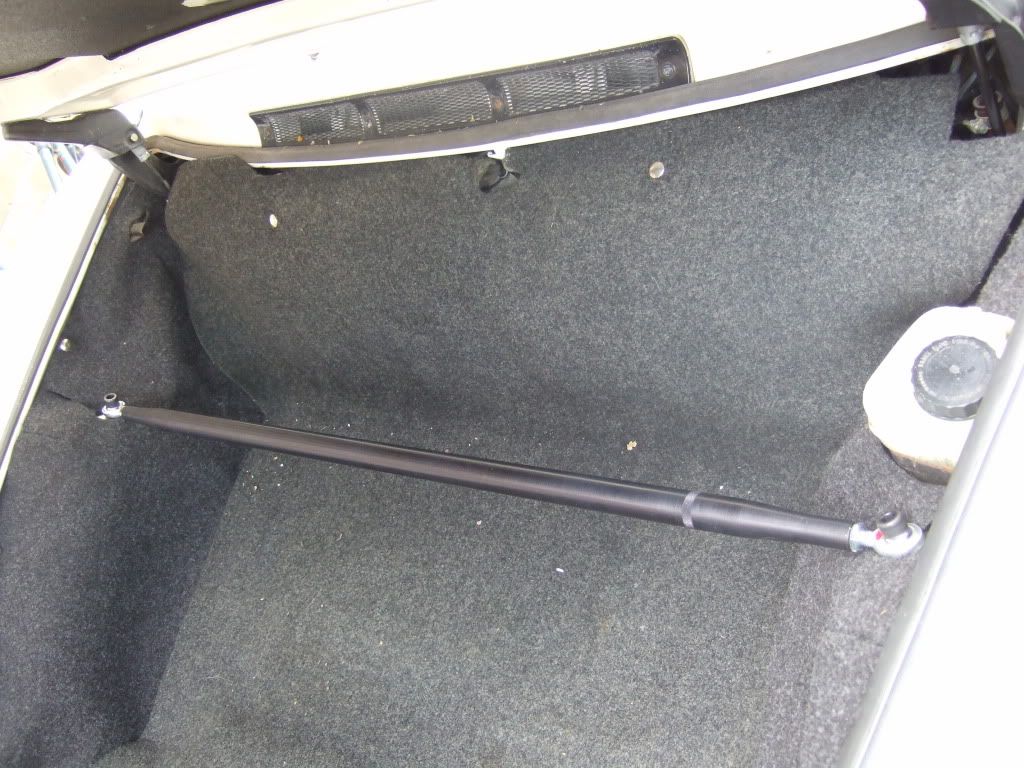
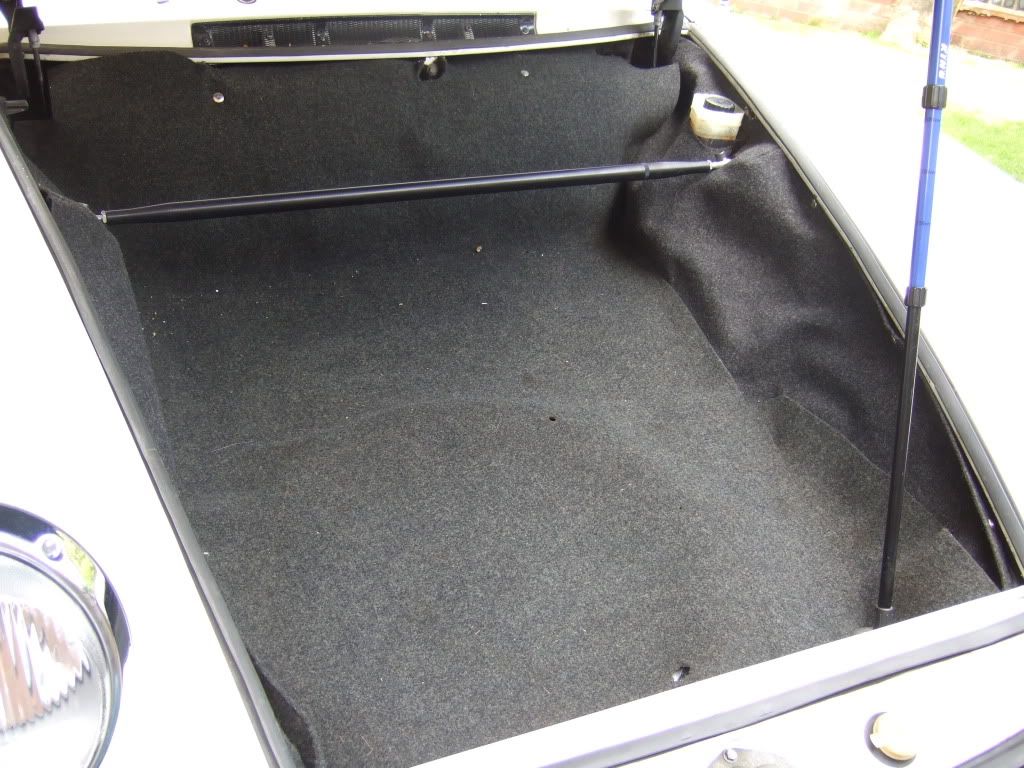
ER Basic Strut Brace
Posted: Mon Aug 17, 2009 5:30 pm
by Highfield
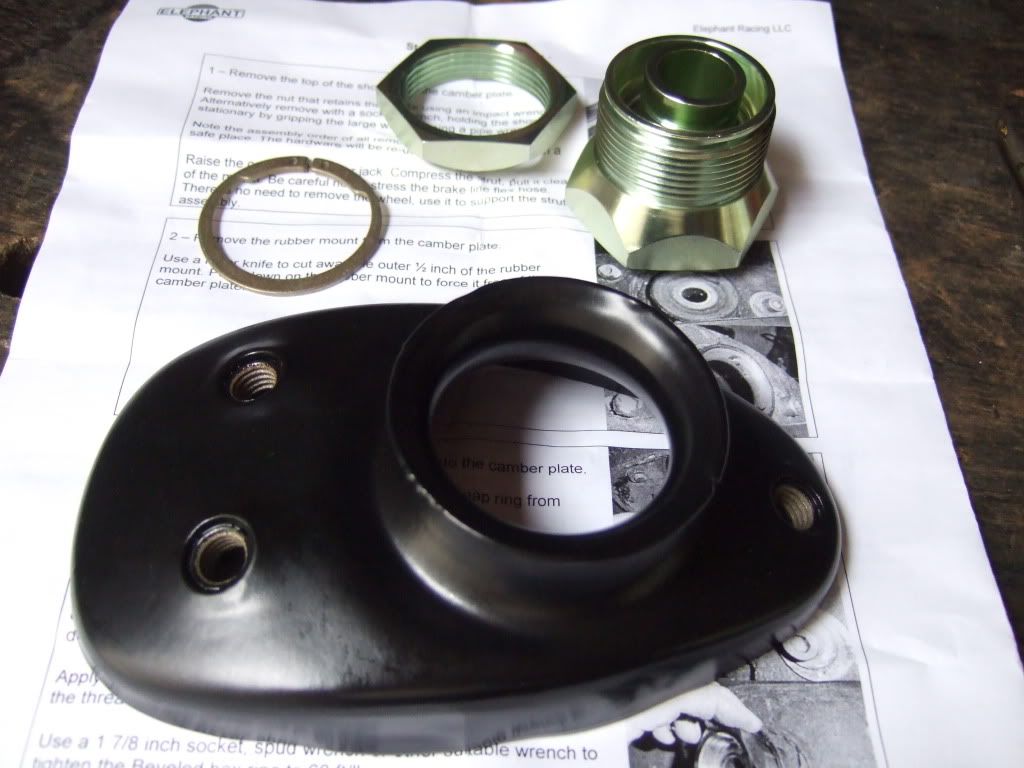
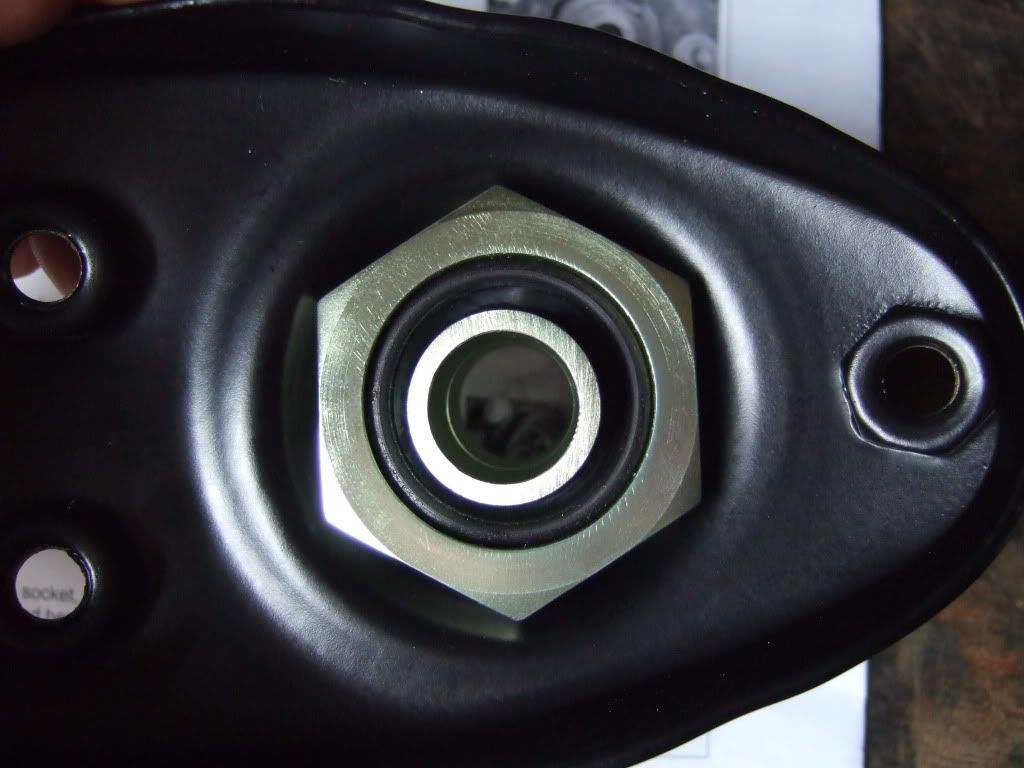
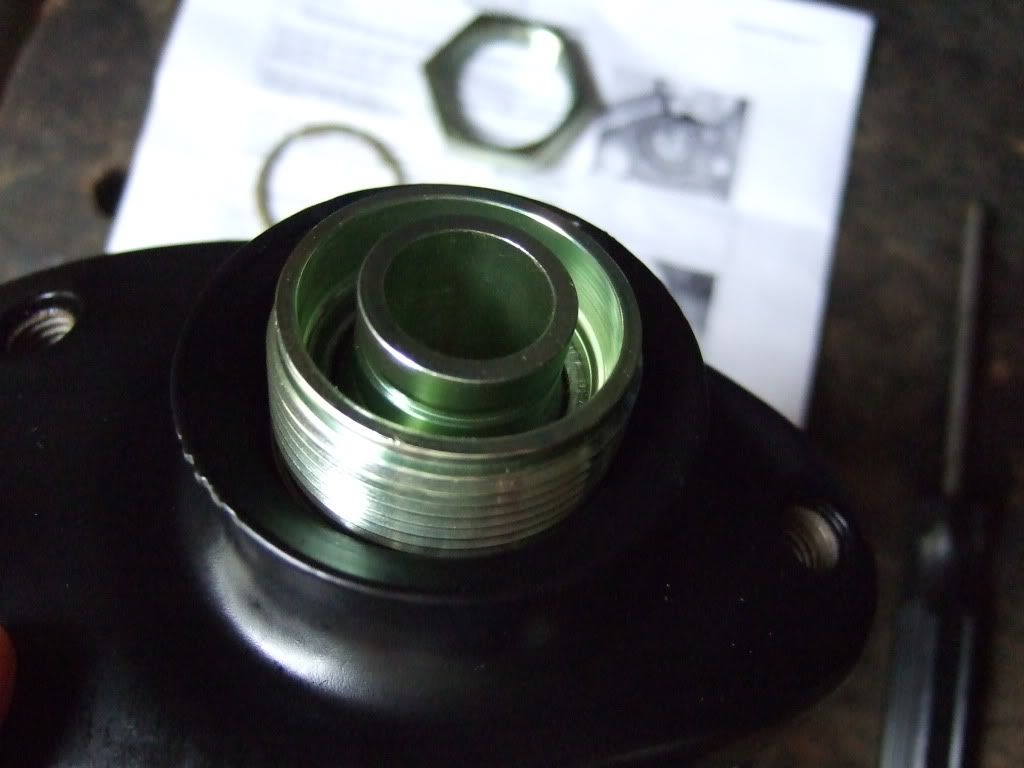
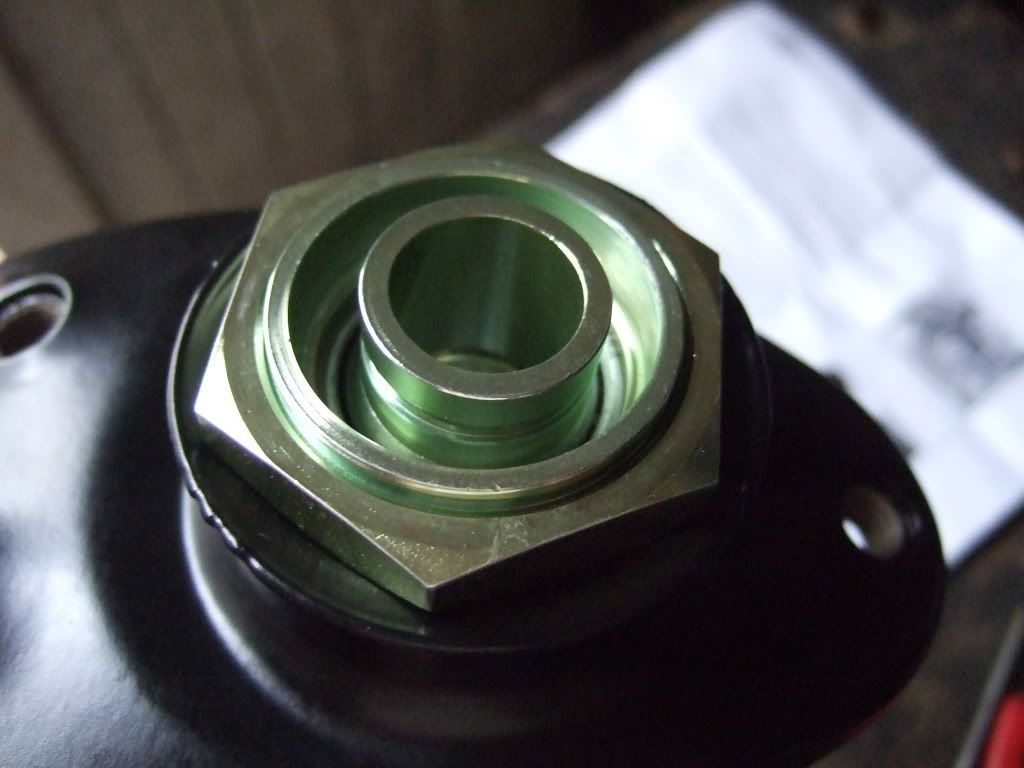
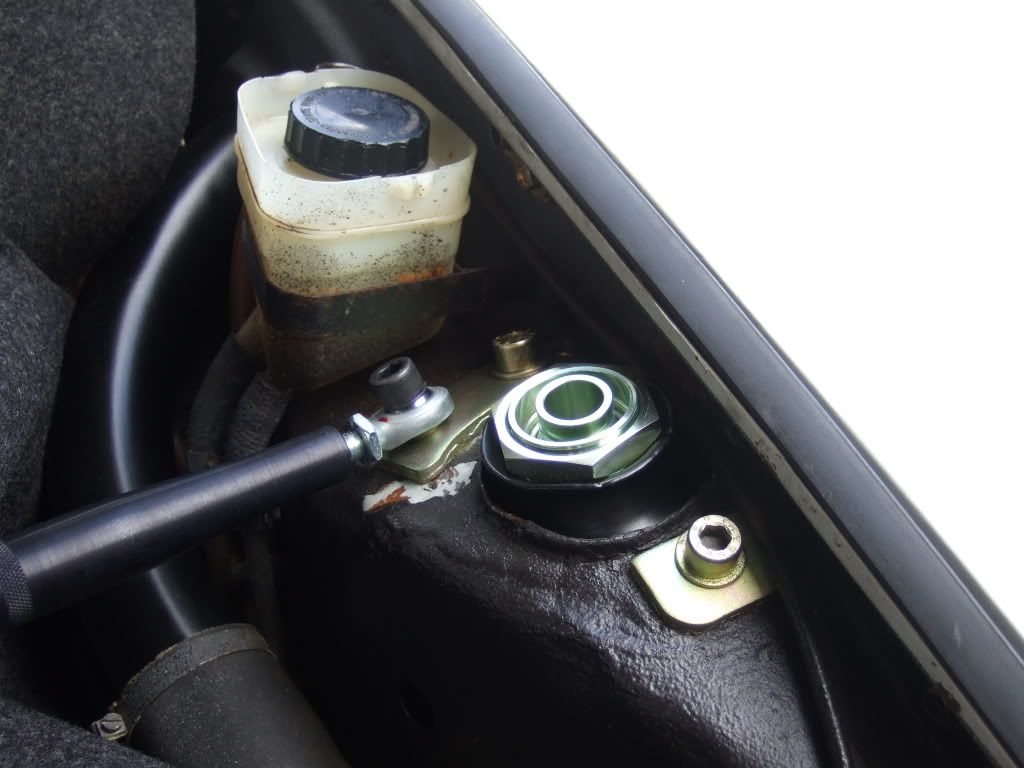
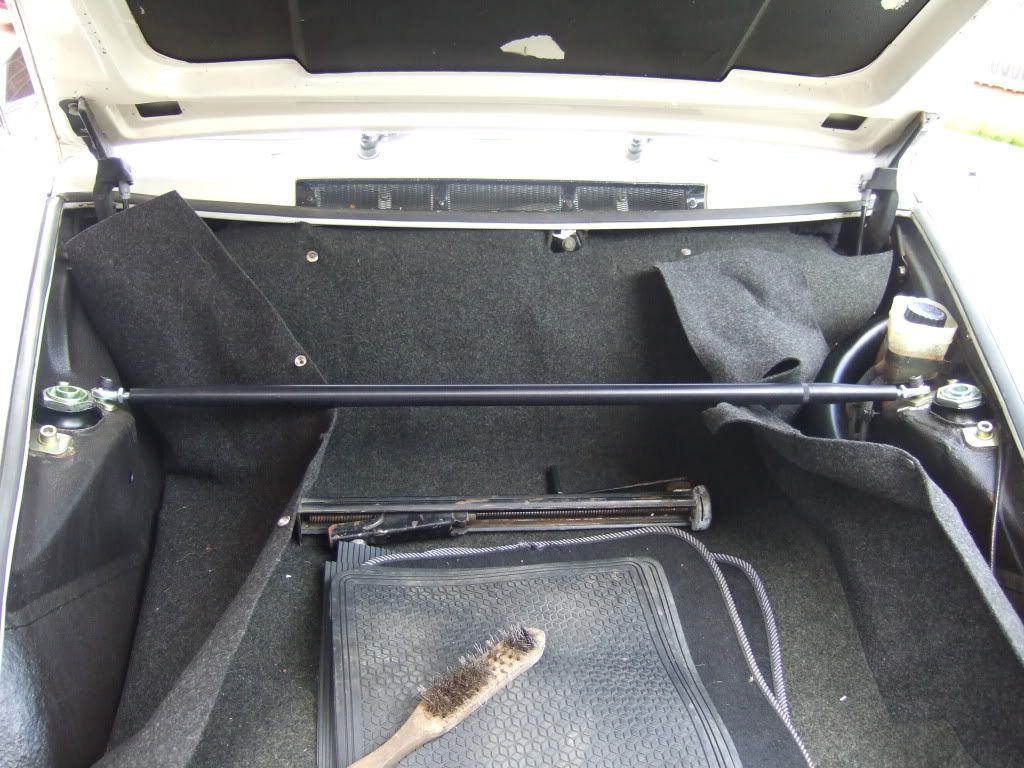
I have the ER Basic Strut Brace, and fitting is straight forward as I was doing the camber plate install at the same time.
The bar mounts to the inner most camber plate mount, and is tightened 1/3 of a turn to apply a little pressure.
Ian
Bilstein Re-paint
Posted: Mon Aug 17, 2009 5:34 pm
by Highfield
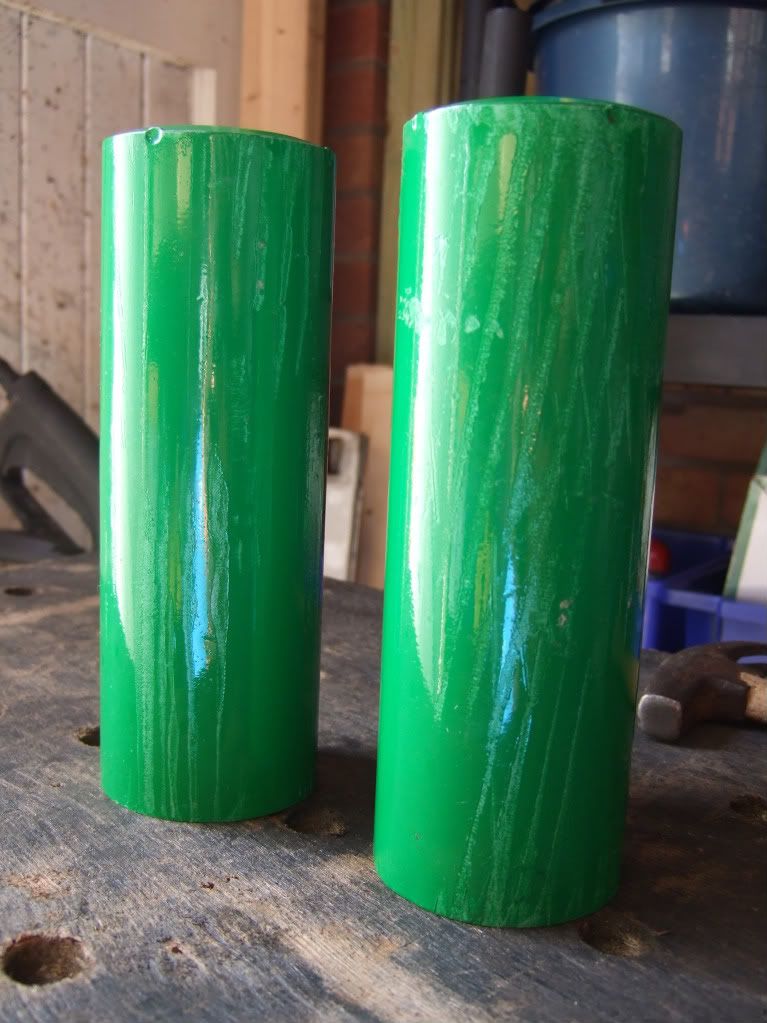
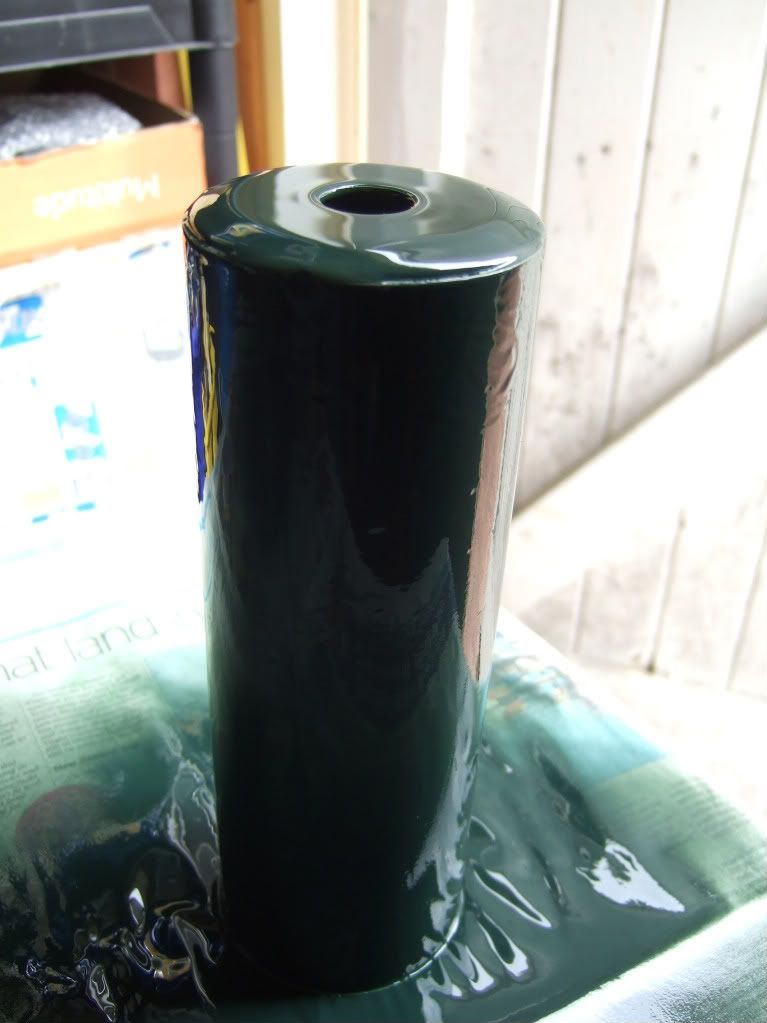
Tuthills had painted my bilstein struts in viper green, but unfortunately they had been packed with corregated card and this had marked the finish.
So I decided they should in fact be finished in a darker green, and not having access to John Deere green, I went with Hammerite dark green spray. It is a hard wearing finihs which will hopefully chip less than spray paint.
Here is a taster, before I remove the masking a then they can be fitted up.
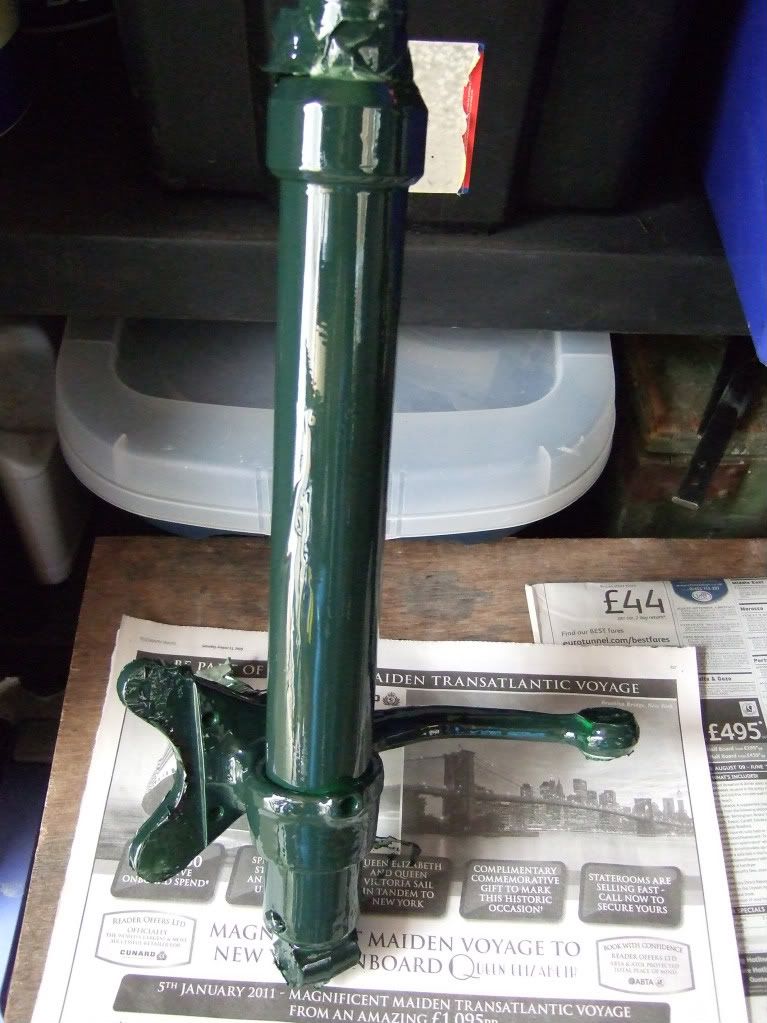
That is all for today

Ian
Posted: Mon Aug 17, 2009 7:26 pm
by Nige
Top stuff Ian. Excellent work and great a reference thread.
Posted: Mon Aug 17, 2009 7:50 pm
by sladey
Hi Ian,
I've got a car like that - under the crud and rust

For tightening up the monoballs I ground away the tip of a mole wrench which allowed it to fit into the flats underneath - this wasn't perfect but it was pretty good
It's looking a great job - you'll notice one hell of a difference when you get to drive it again
Posted: Mon Aug 17, 2009 10:04 pm
by Highfield
Sladey
I bought a pair of blue channel locks from the US (UK Ebay) and they fit nicely underneath - I have my son holding on to those whilst I use a pipe wrench on top.
We will continue tomorrow until we can fit the circlip.........
Ian
Posted: Tue Aug 18, 2009 5:07 pm
by Highfield
More progress today, as I edge closer to having the car back on four wheels for the first time in a year (nearly).
I tightened the monoball as much as I could, and then ground down the circlip to get it partly fitted - no way they are going to move
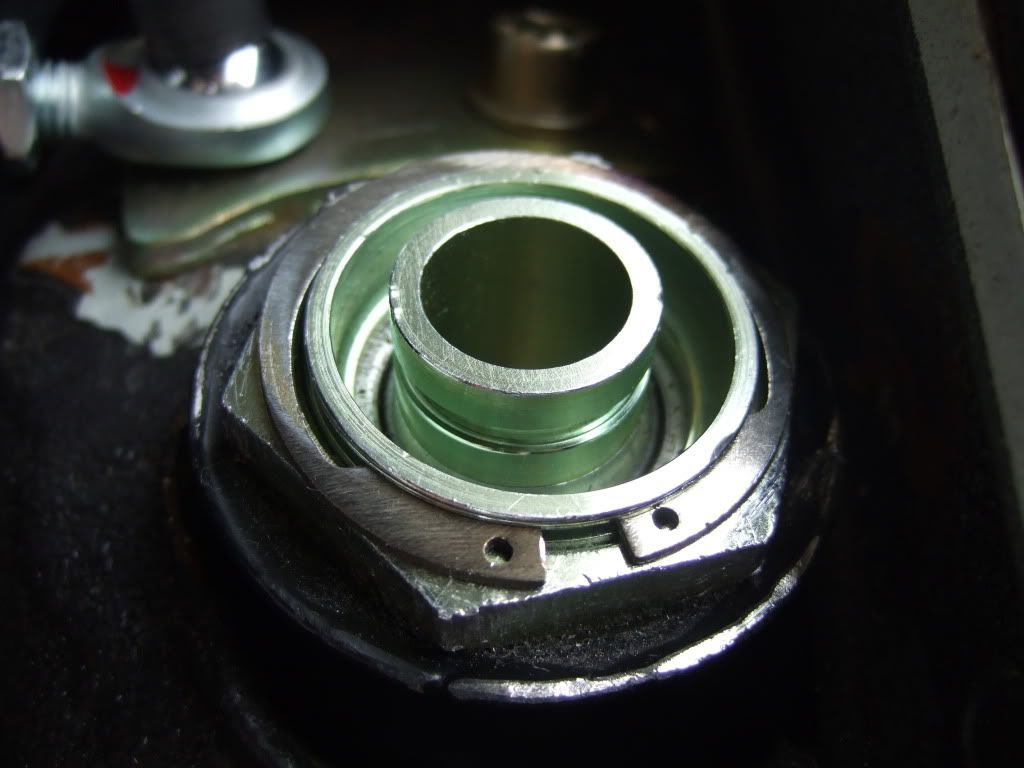
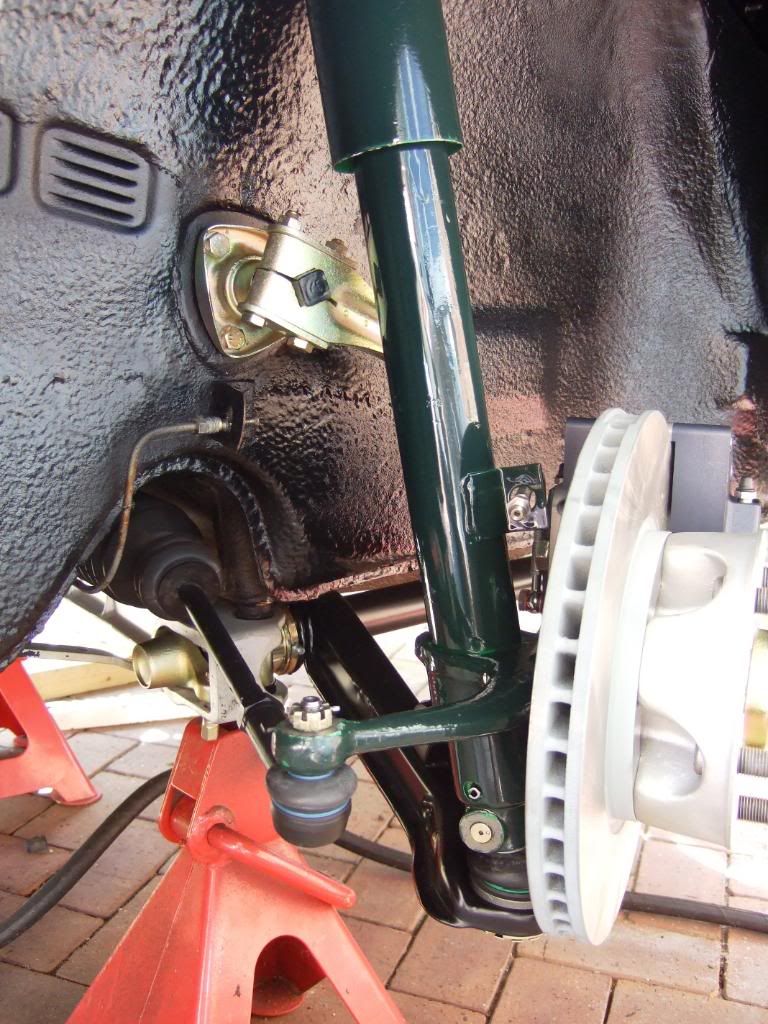
Next up were the new balljoints, with the re-plated castle nuts and washer and new cotter pins. These have to be oriented so the cutout faces away from you.
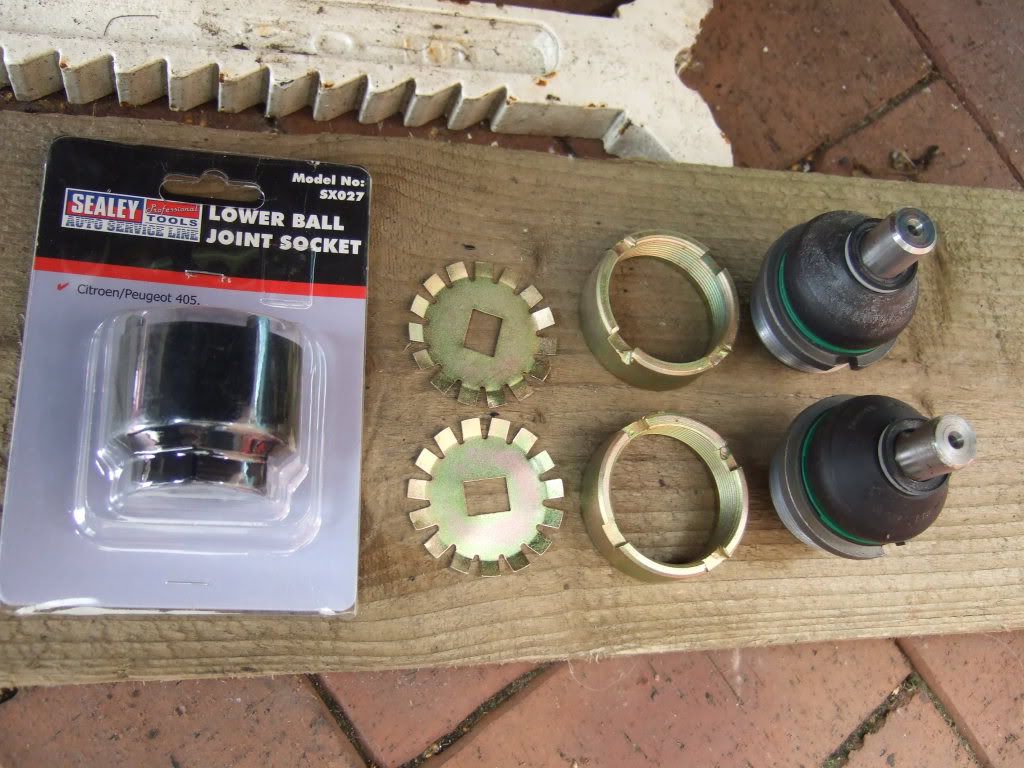
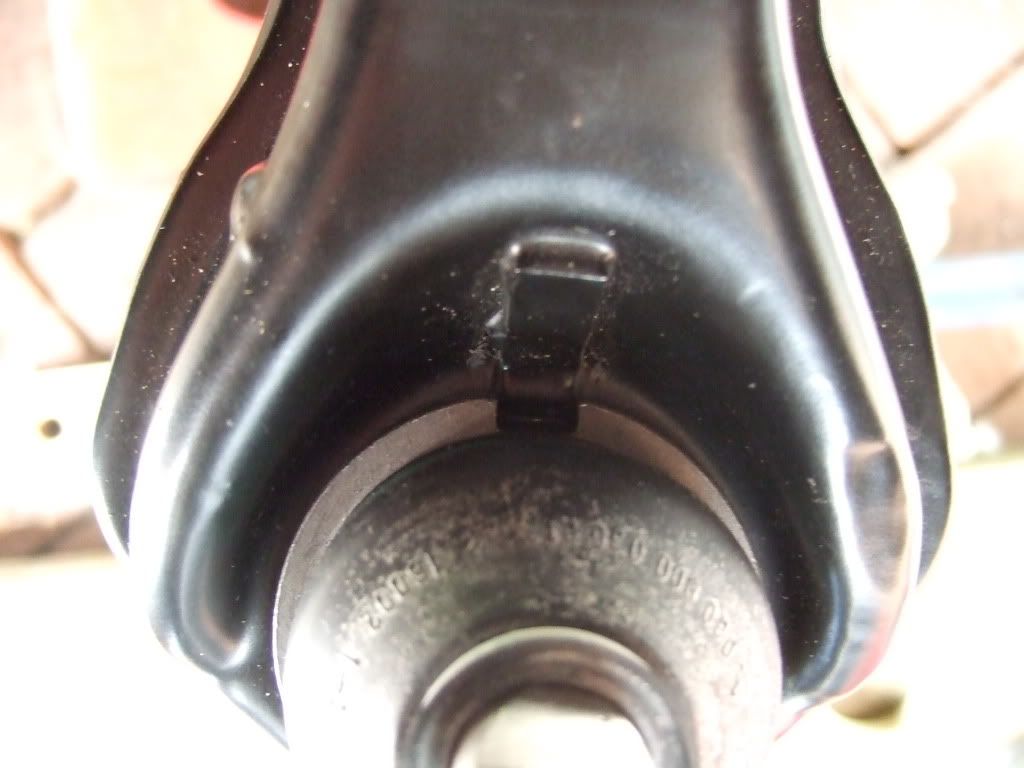
The struts had been drying over night, and look good in their new dark green paint.
Fitting is straight forward, firstly over the new balljoint, and then compressed and pushed up in to the monoball. Secure with the re-plated washer, lock washer and nut. The wedge pin punched in easily and is secured with the washer and nut.
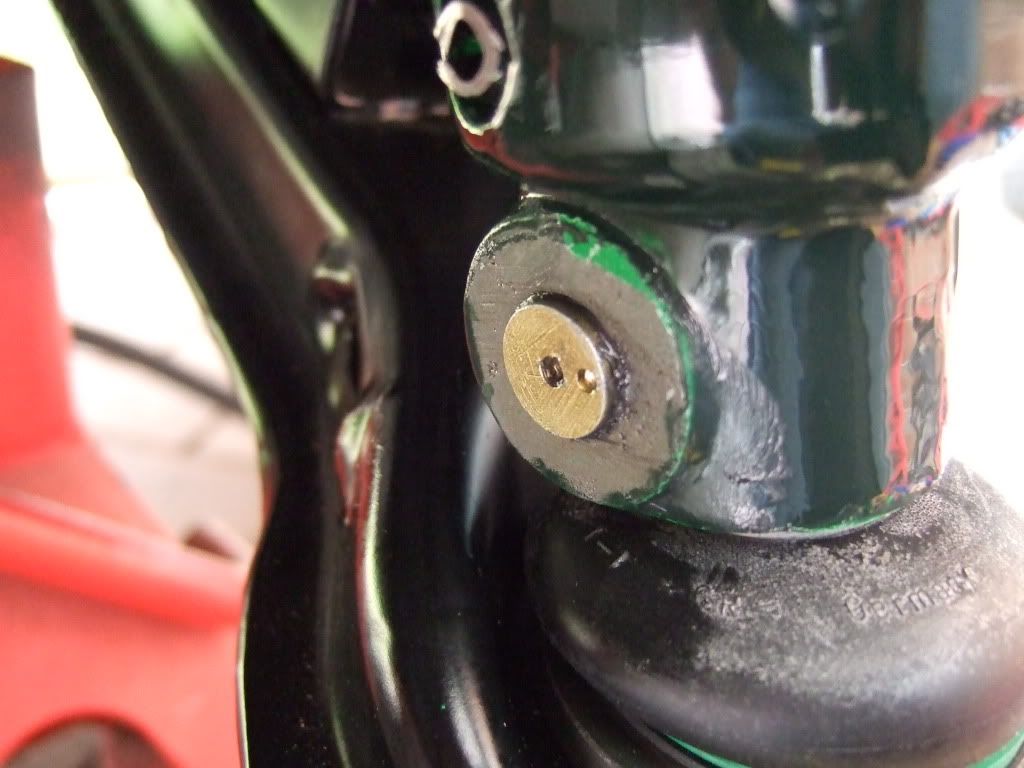
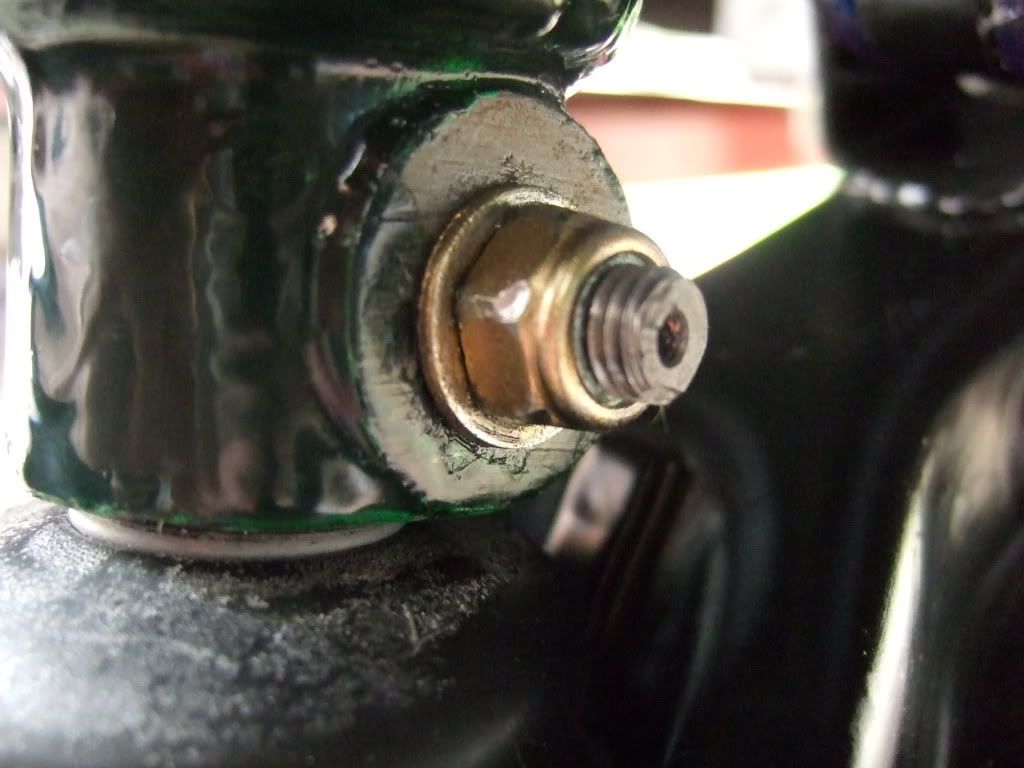
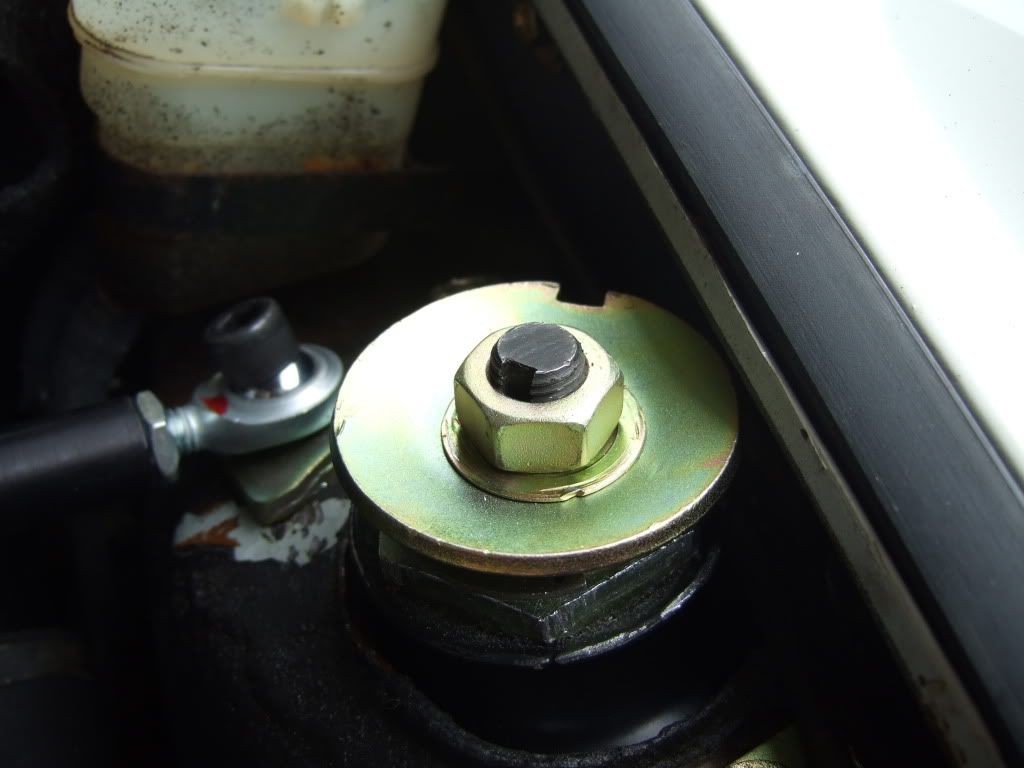
Ian
Posted: Tue Aug 18, 2009 5:12 pm
by Highfield
The installed strut :-
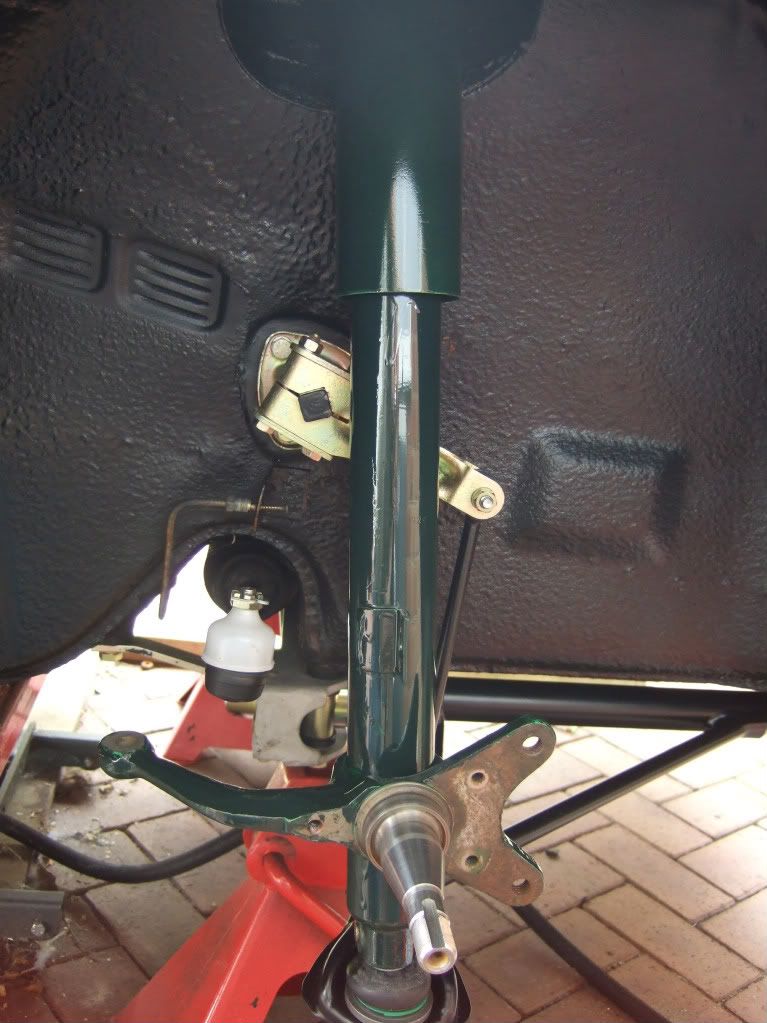
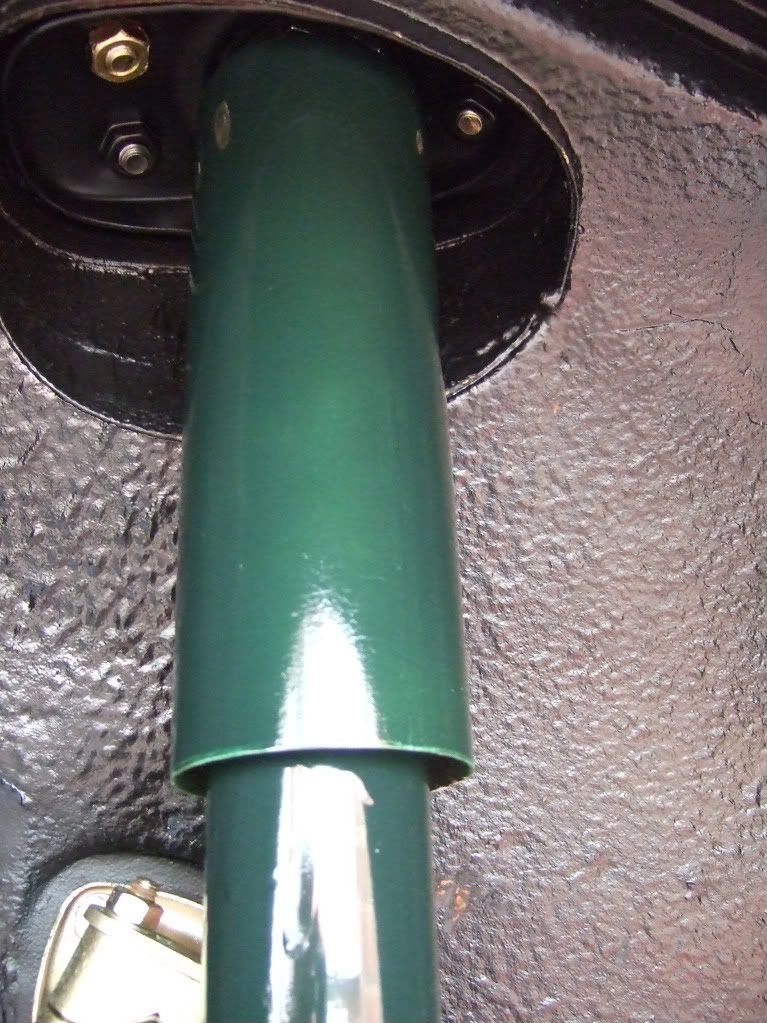
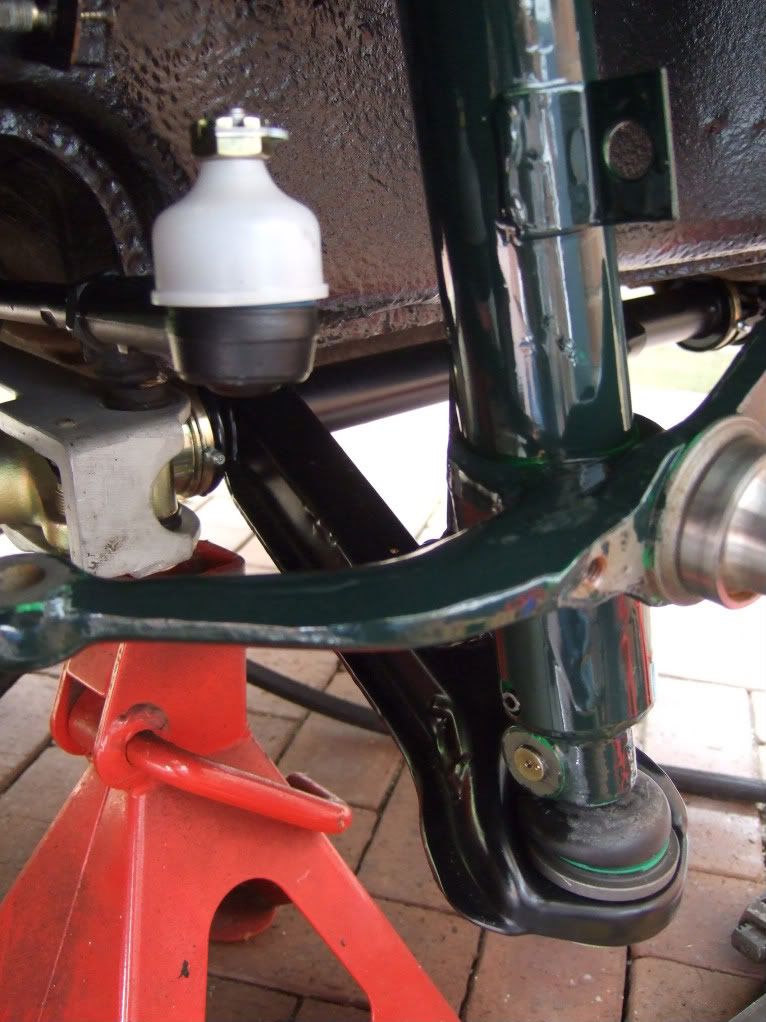
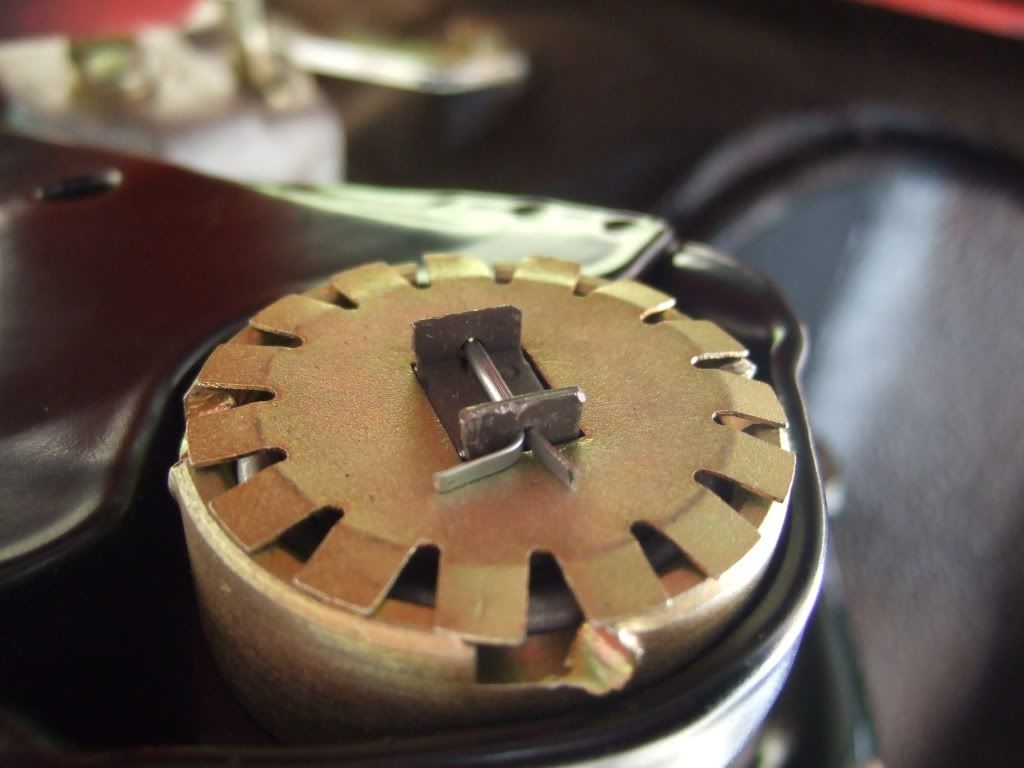
And the tightened (not torqued) castle nut assembly (is this right, or do the tabs fold in to the nut ?) :-
Repeat on the other side of the car.
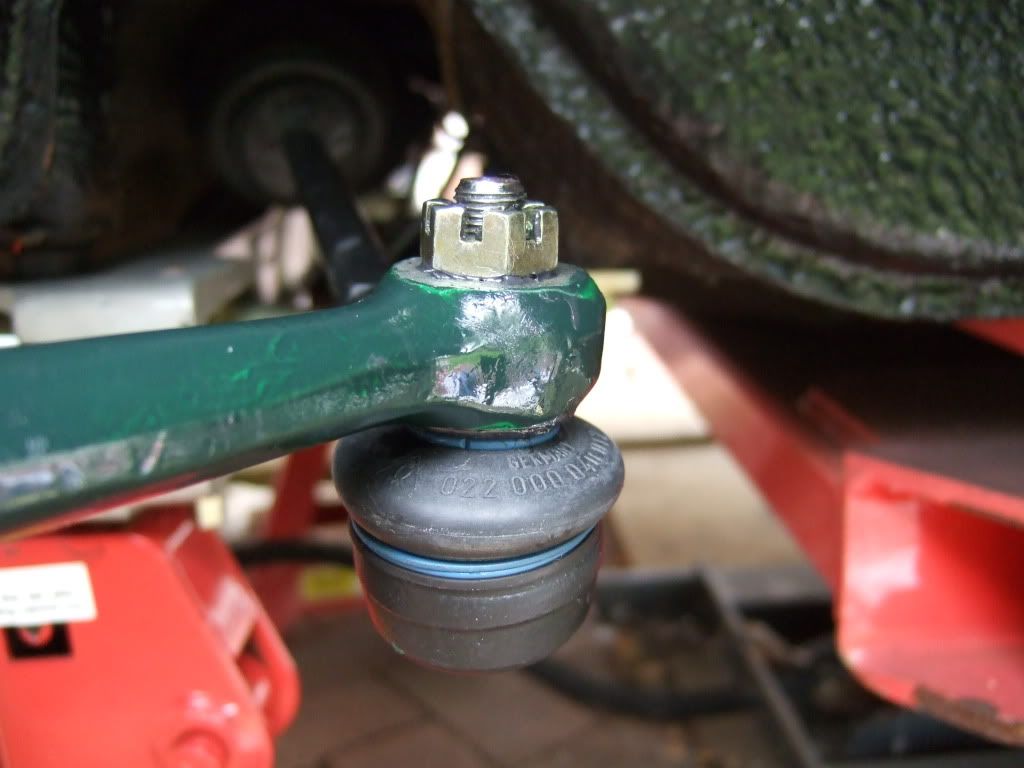
Final job was to attach the new turbo tie rod ends to the strut and torque down.
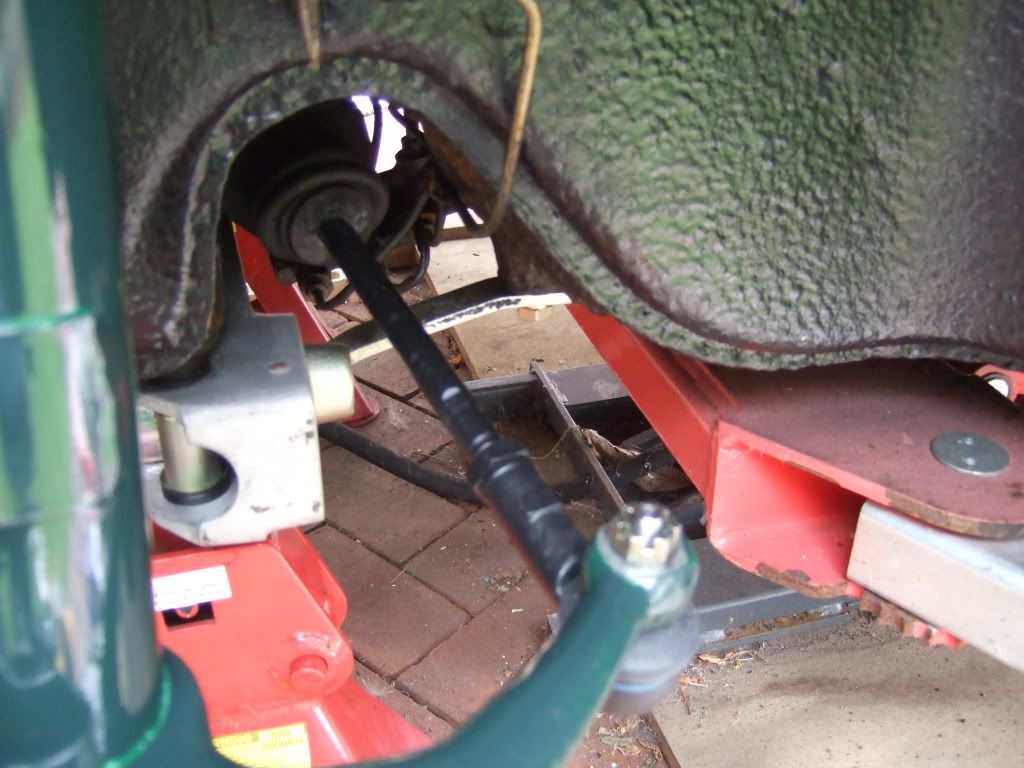
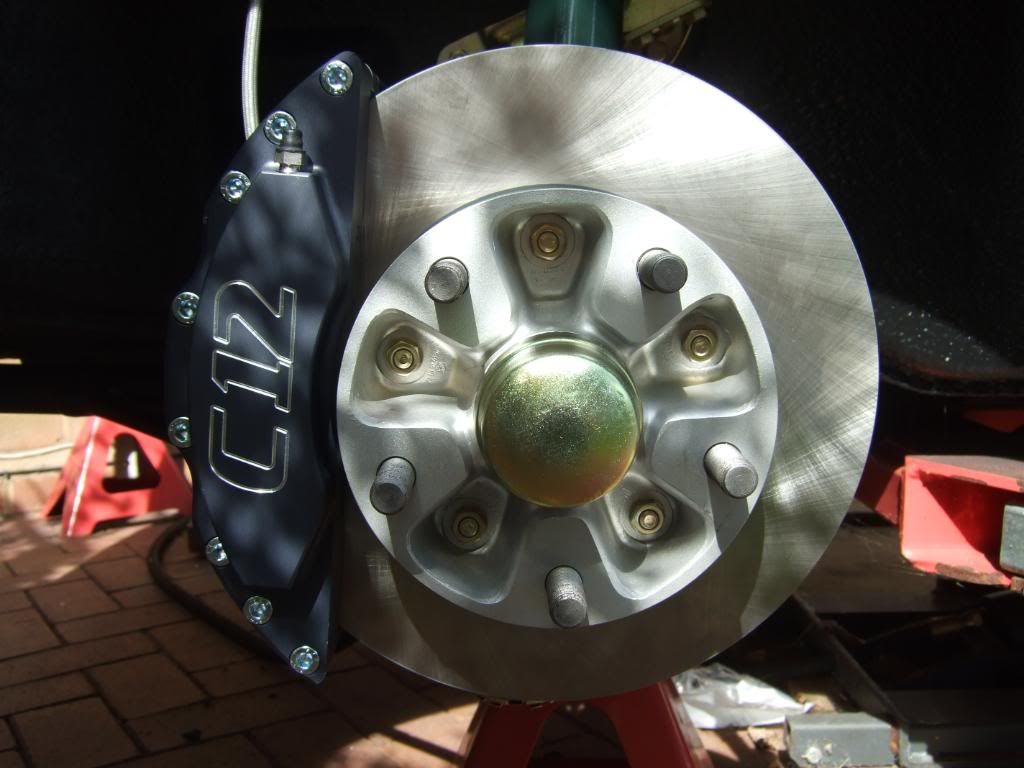
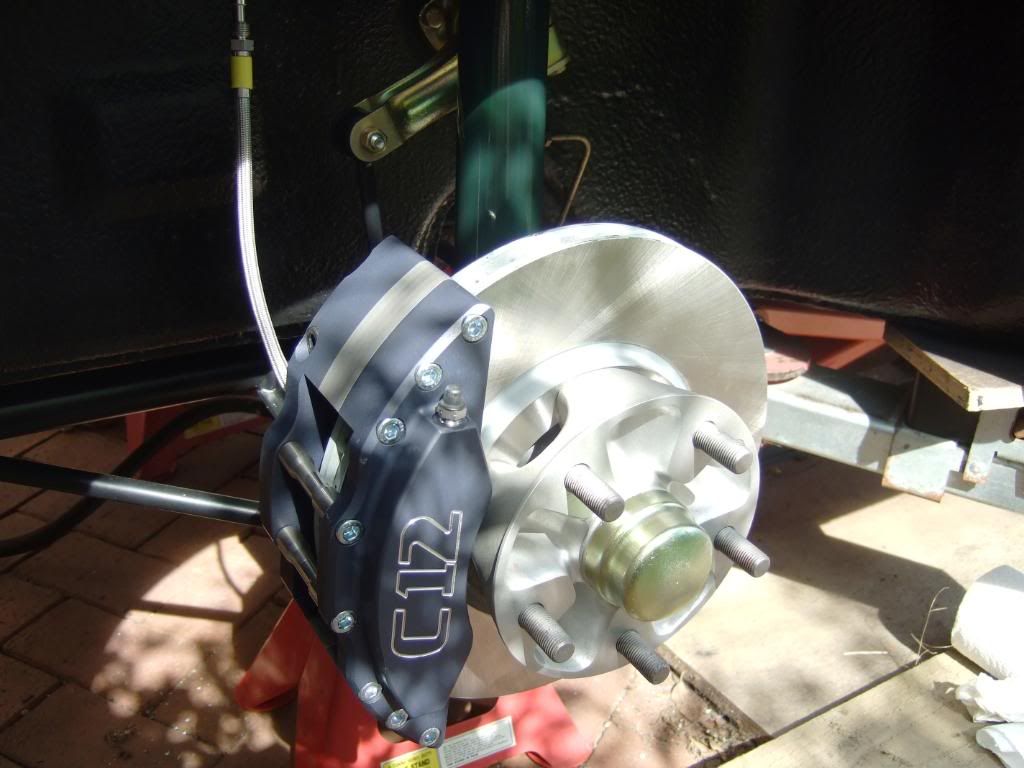
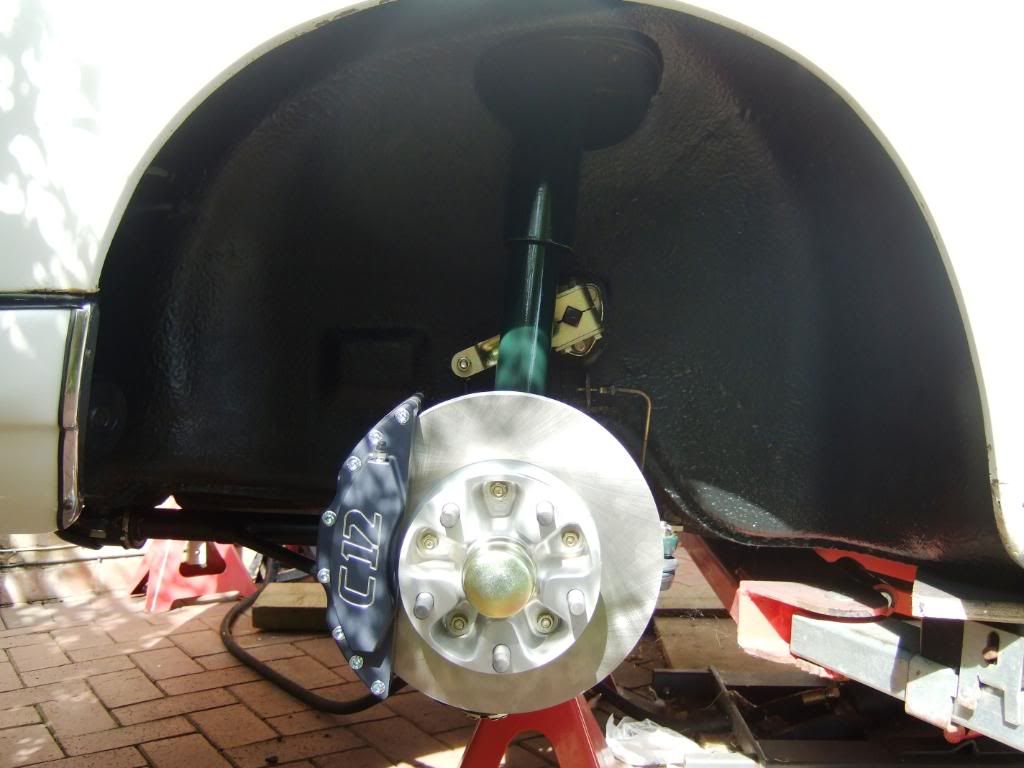
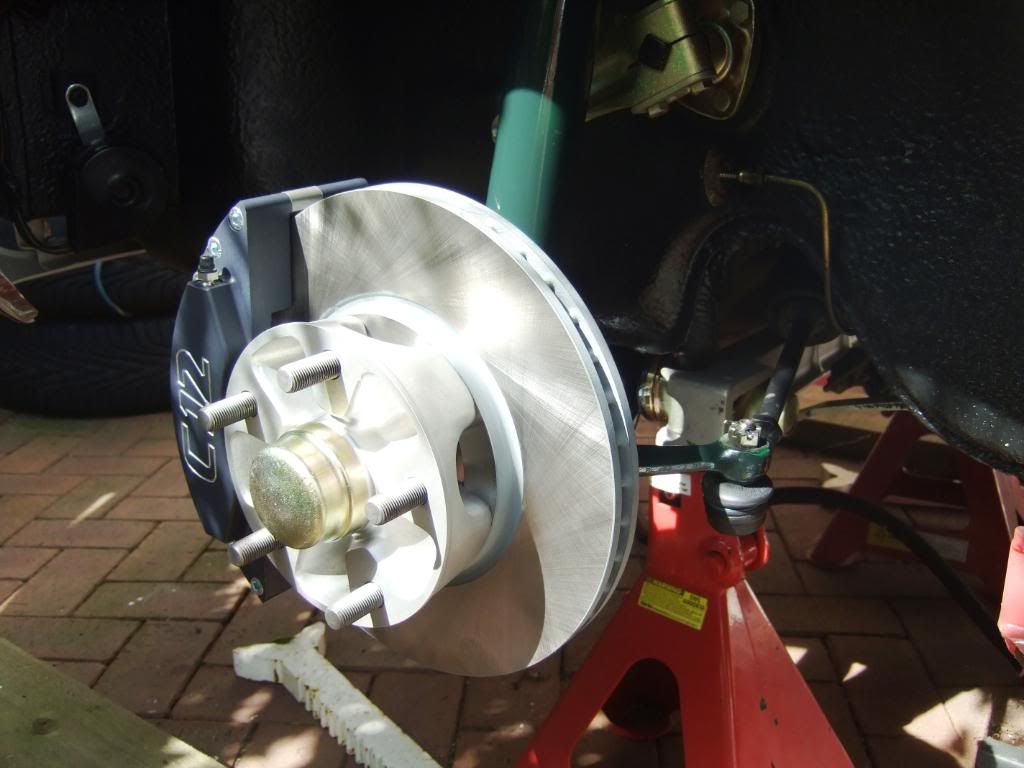
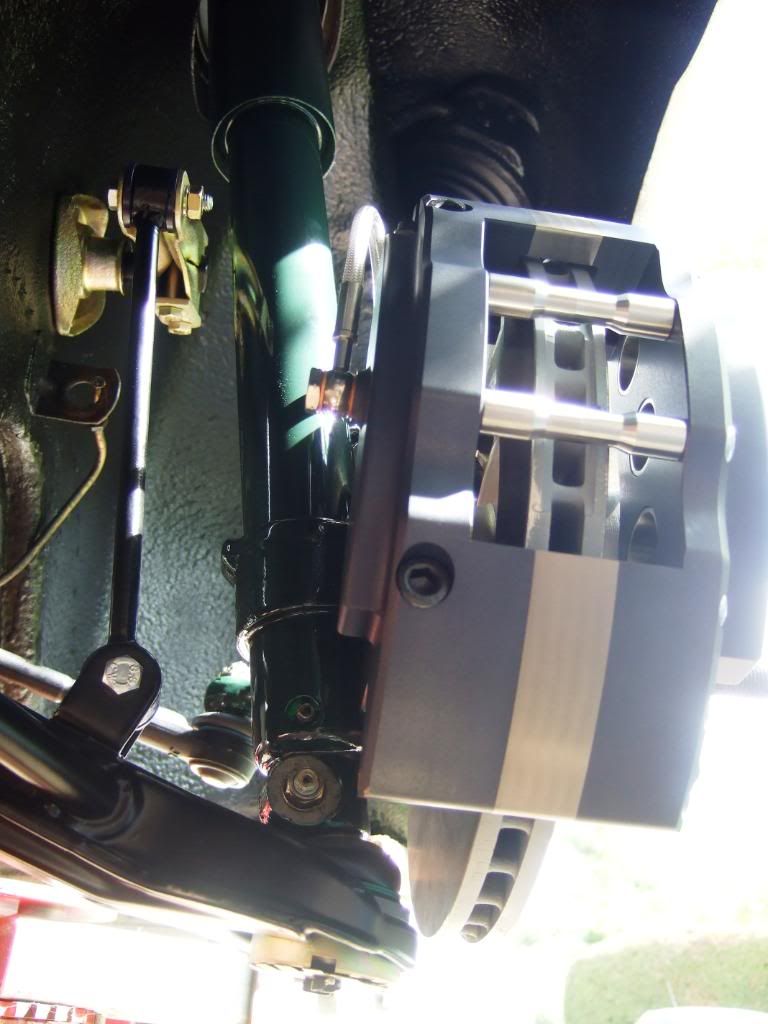
That is it for today. Tomorrow I hope to get the hubs, discs and 6 pot C12 brakes installed, ready for the car to be lowered to the ground !
Ian
Posted: Tue Aug 18, 2009 5:20 pm
by sladey
Looking good Ian. I'm sure I didn't have that circlip to fit when I fitted my monoballs - I certainly haven't got one on there
But a corner of the washer you're showing in this pic is bent up on mine to stop the nut coming undone
[/img]
Posted: Tue Aug 18, 2009 10:52 pm
by Highfield
Sladey
My fault - I take photos and then remember something like, must put the cottor pin in the tie-rod end (now done) and bend up the strut washer (now done) - thanks for the prompt.
Even without the circlip, thoswill never budge
Any idea on the castellated nut and washer - should the tabs on the washer fold in to the gaps in the nut ?
Ian
Posted: Wed Aug 19, 2009 3:10 pm
by Highfield
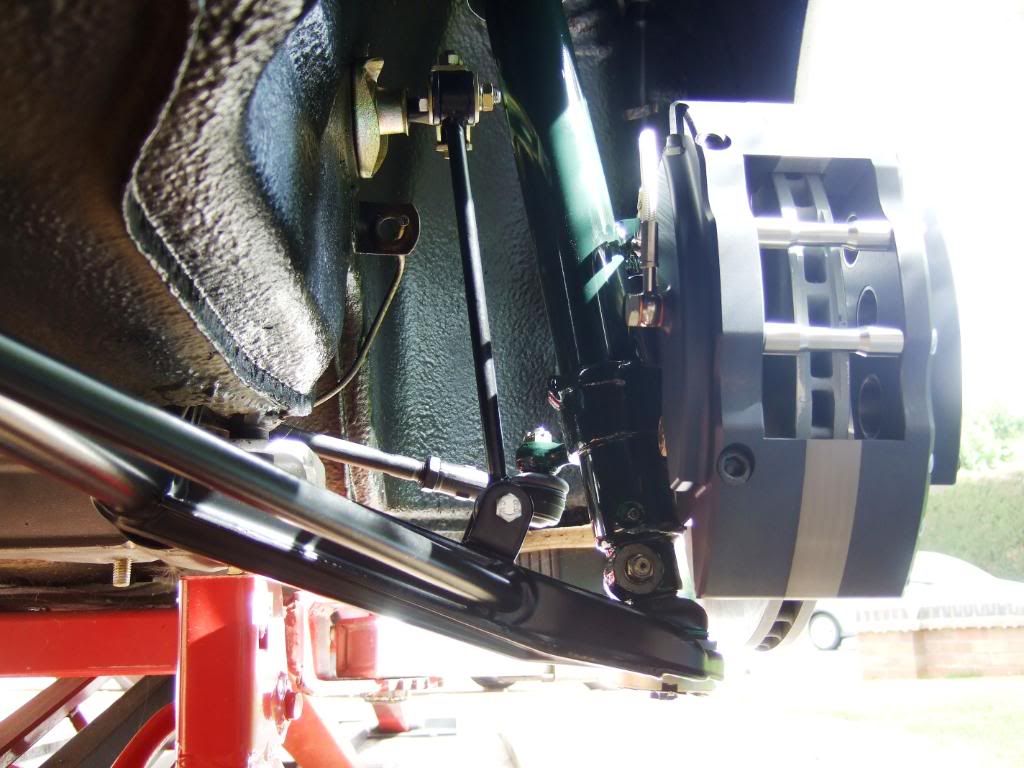
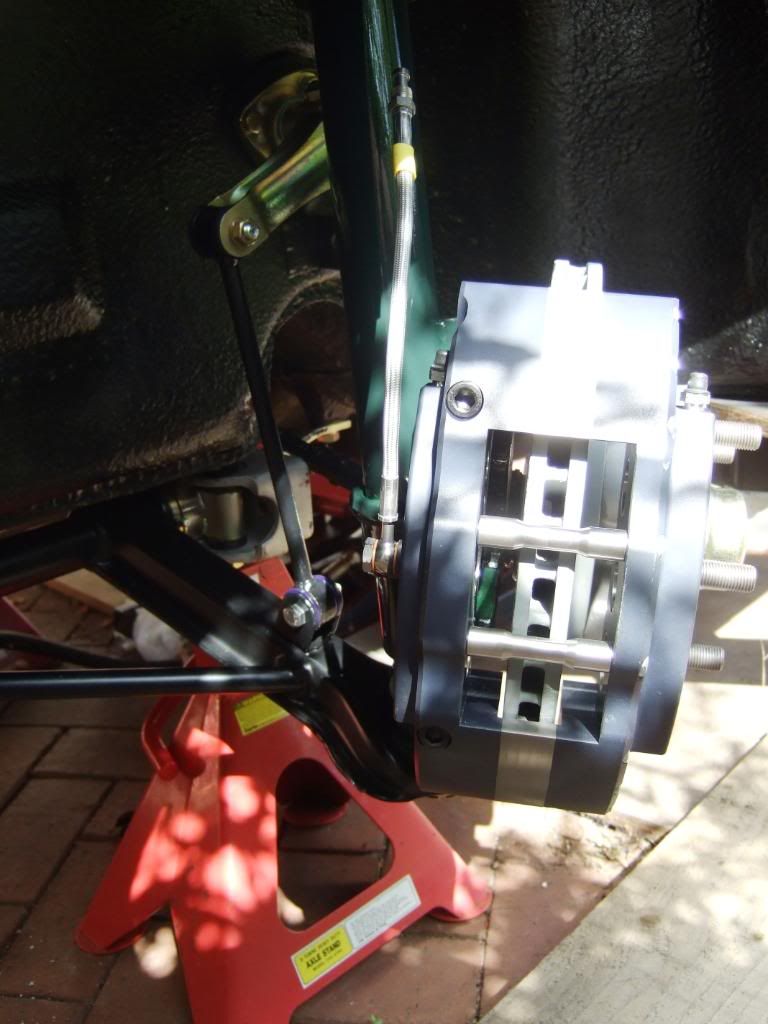
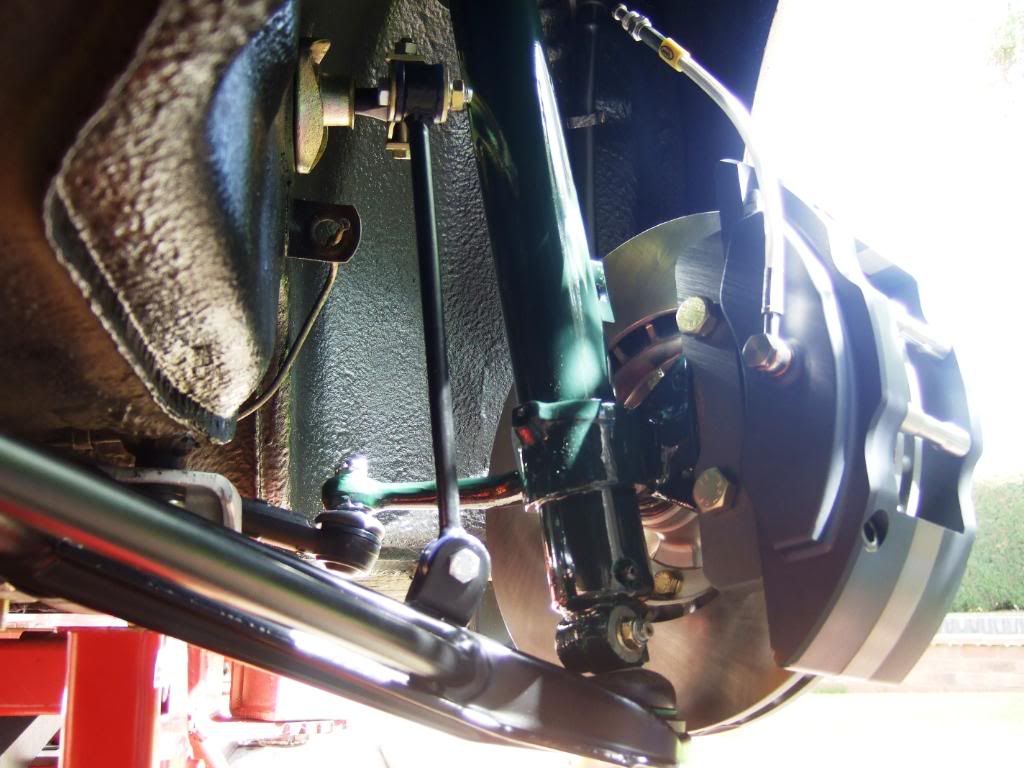
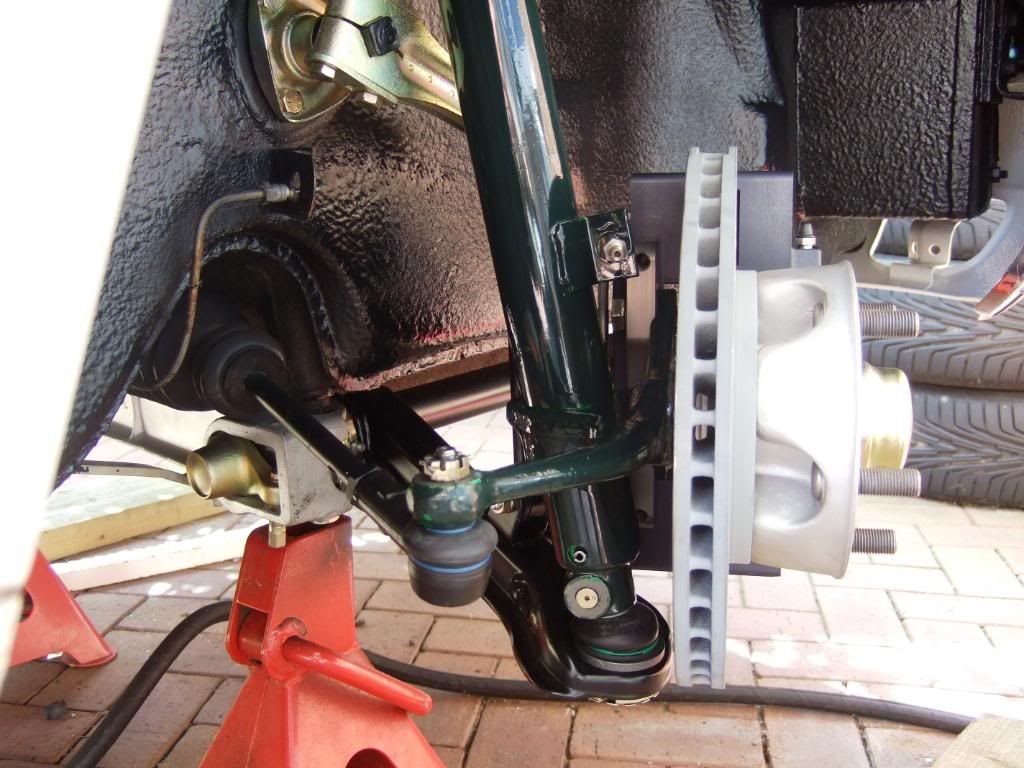
I am now on the final straight, and can almost see the car back on four wheels - ironically hiding all the good work that I have done, and exposing the need to get the paintwork and wheels done.
Today was hub, rotor and caliper day, and starter by attaching the new Carrera rotor to the refurbished hub - it has new races, bearings and seals.
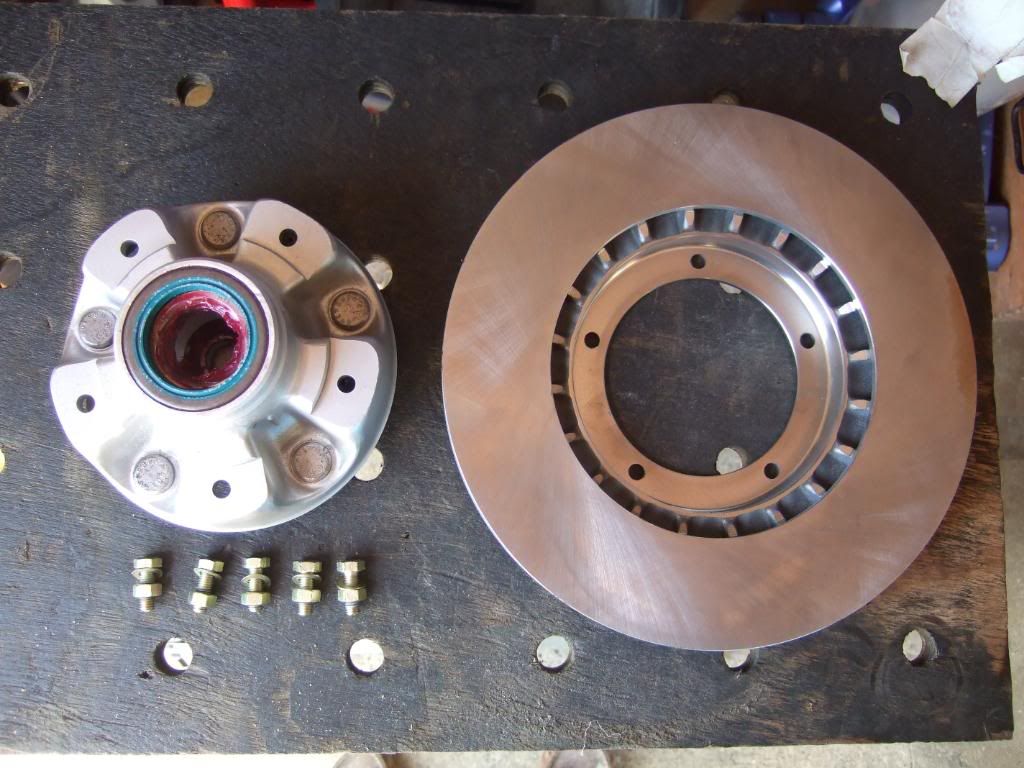
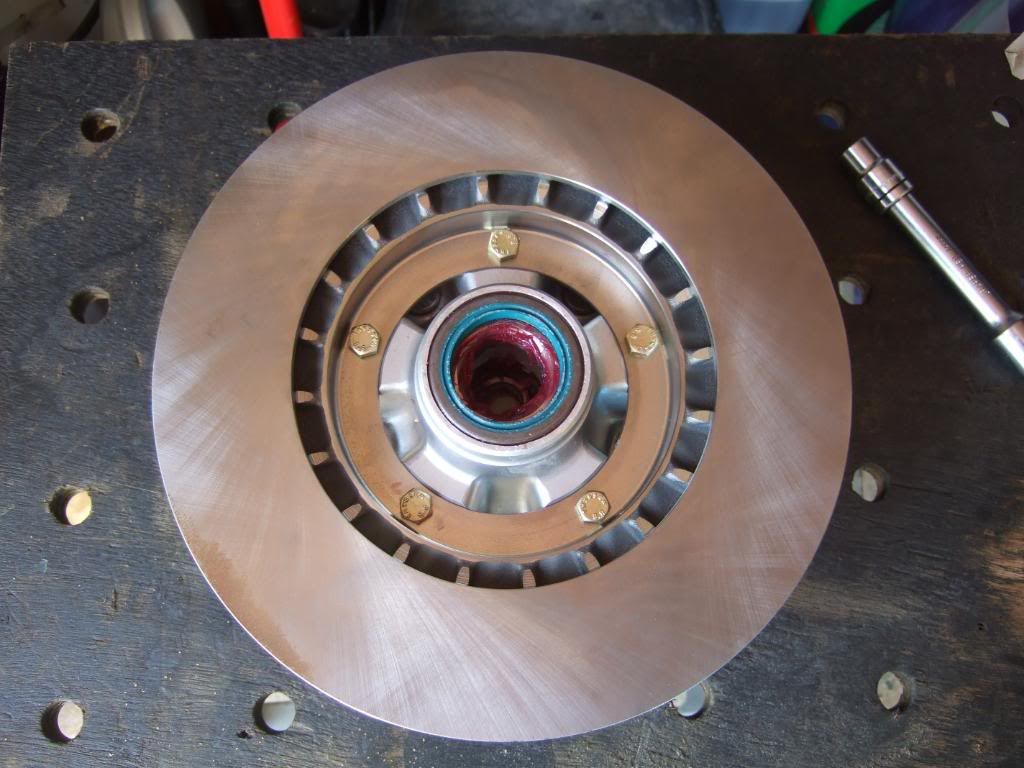
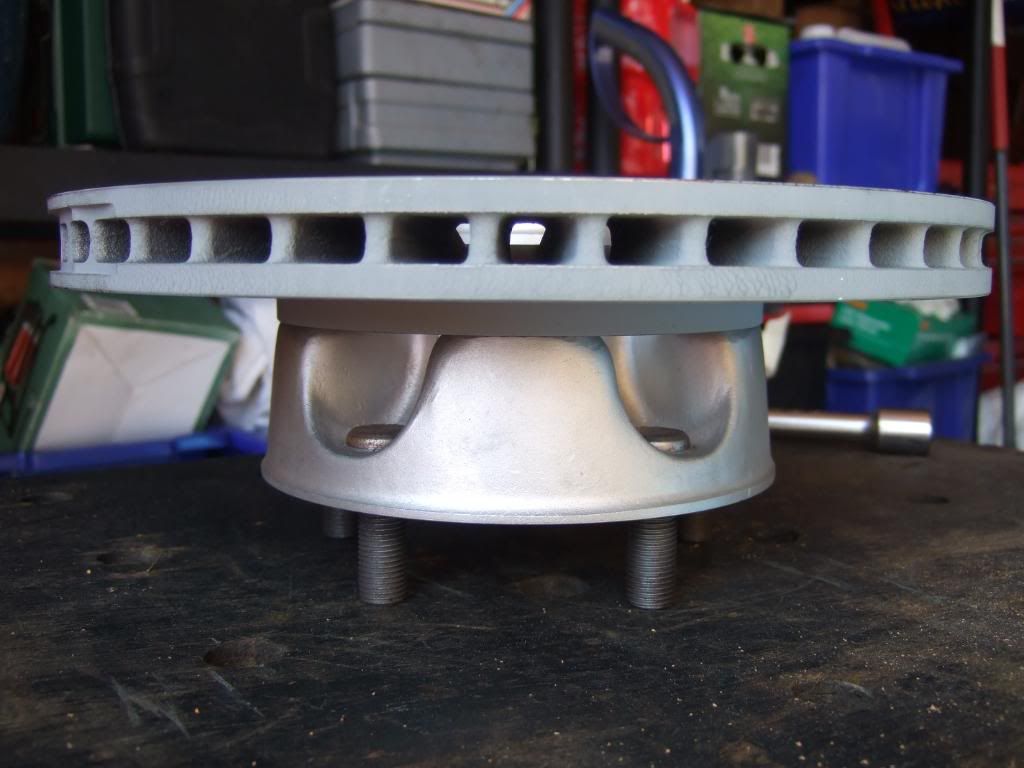
Grease the seal and spindle and slide the hub on, then the thrust washer, and finally the 'nut'. I finger tightened, then a bit more to seat everything, then backed it off, finger tightened, plus a 1/16 of a turn more.
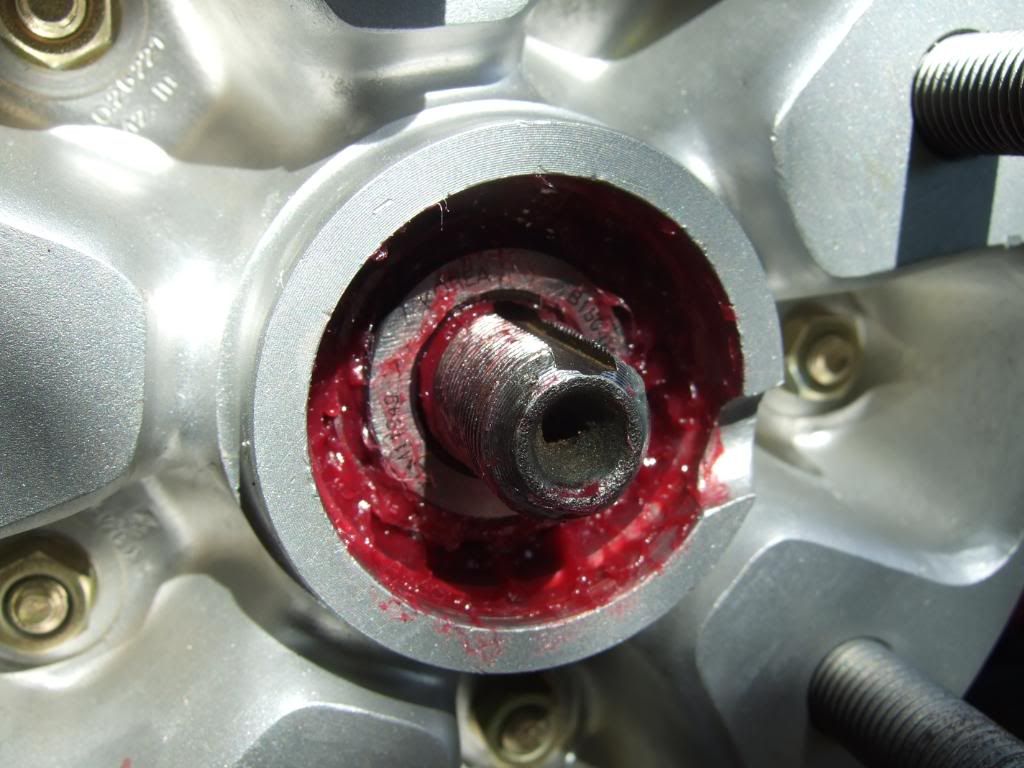
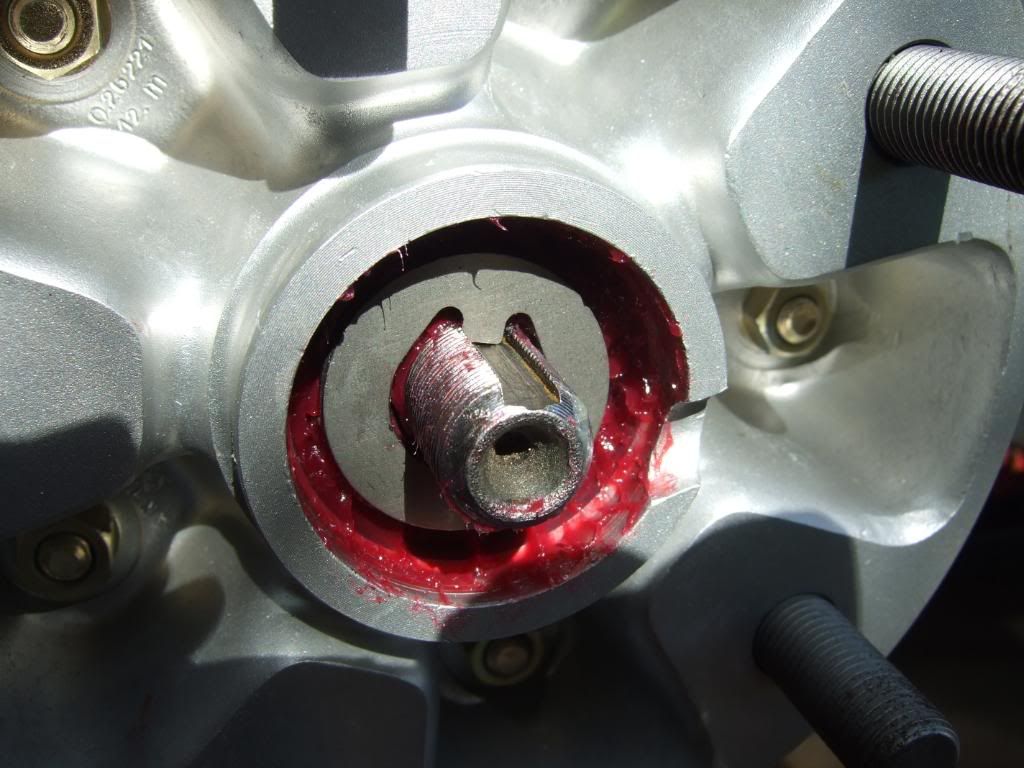
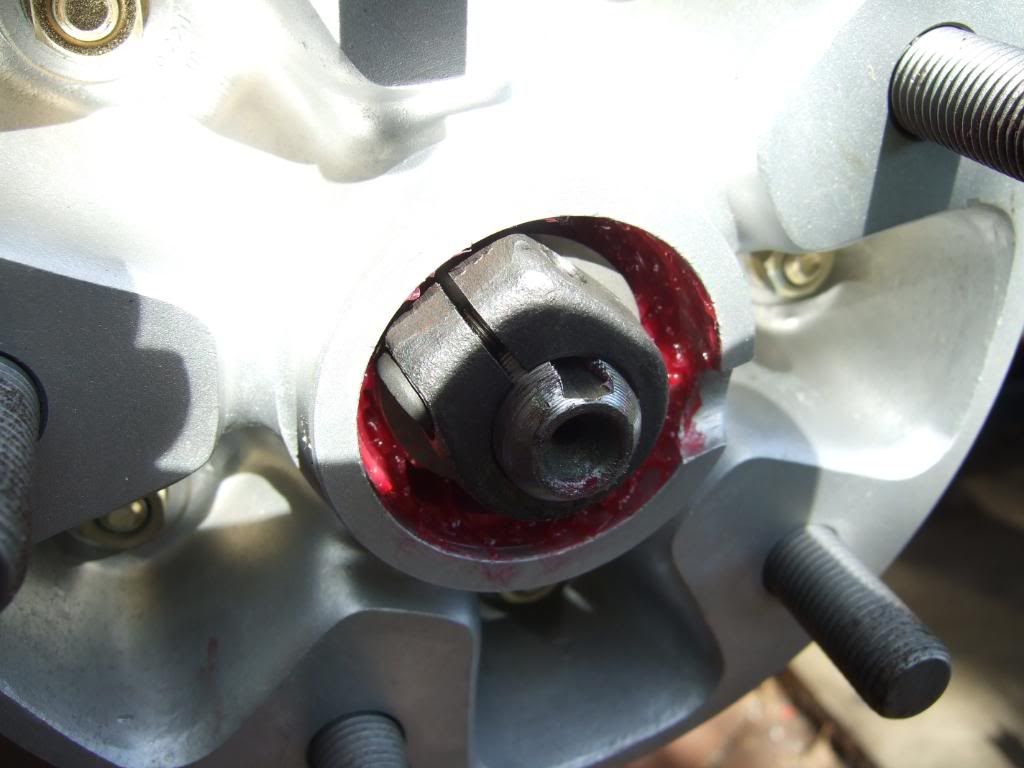
Next the calipers.
Ian
Posted: Wed Aug 19, 2009 3:15 pm
by Highfield
Posted: Wed Aug 19, 2009 4:58 pm
by sladey
Highfield wrote:
Grease the seal and spindle and slide the hub on, then the thrust washer, and finally the 'nut'. I finger tightened, then a bit more to seat everything, then backed it off, finger tightened, plus a 1/16 of a turn more.
Next the calipers.
Ian
Hi Ian,
Are you sure those washers have gone on in the right order? It may just be that it's different for the later ones (or it may be my own are the wrong way around) - but on the 3.2 you tighen up the nut to the point where you can just move the washer behind with the tip of a screwdriver - the one you've got immediately behind the locknut has a groove to go onto the spindle
Dunno
Mark
Posted: Wed Aug 19, 2009 5:05 pm
by Nige
Its right Marky boy. Carry on Ian just ignore him he's a solicitor.