So onto part 2….
Having bust a gut to get the preparation ready, using my free time rather than paying someone to prepare the car it was time to start spending money
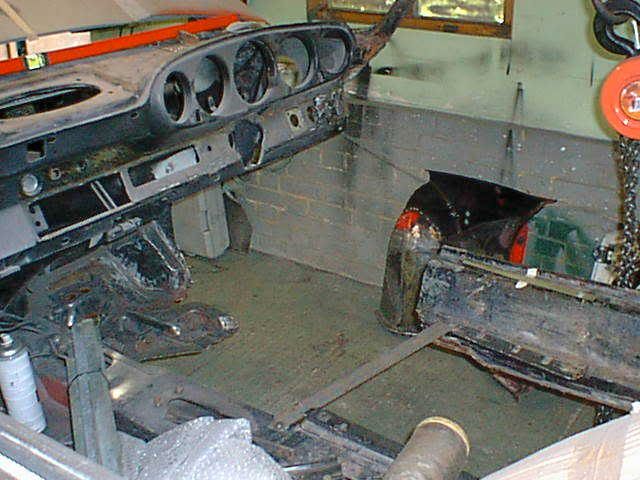
I omitted to mention but I had bought a grit blaster and compressor so having ground off the underseal and then finally linished with the fibrous discs, all that remained was to blast remaining inaccessible areas like the rear seat pans and around the torsion bars back to bare metal
Never again, blasting in the open is a hell of a mess….did the job but not one to wish on the neighbours….
Cue Mr Carter
I had met Barry a few times thanks to the DDK site and was quite convinced that he would be a solid bet for working on the car
I would have loved to do some welding but in all honesty it was not the kind of project to learn the art of bodywork…..a statement that would only become more apparent as time passed

So by the early new year I had received numerous body parts from Mittelmotor and the car was transported down to Sussex…..

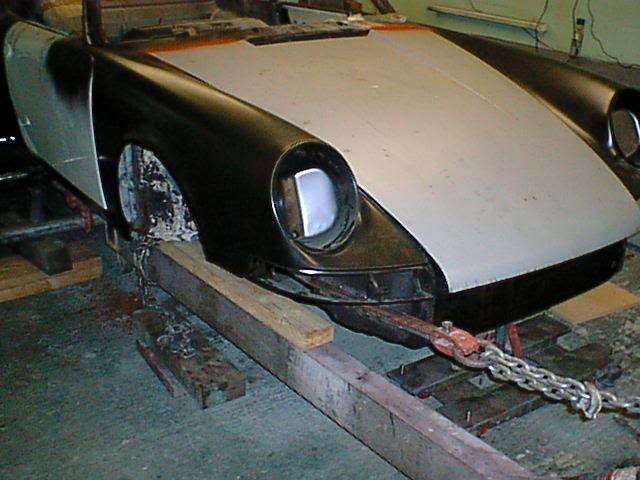
Problem was the Mittelmotor bonnet, in a word it was crap, “did they drag it behind the lorry or just drop it and stand on it for a laugh” was Barry’s opening line
He did have a point

so apart from being able to tackle smaler parts of the work, like bumper mounts and mirror mounts (my car originaly had the chrome durant mirror but I bought it with a pair of SC doors so we had to blank off the holes for the later style mirrors), we were in a holding pattern...
A second bonnet was ordered but apparently the shipper did drop it….

So I had to wait even longer
A third(Mittelmotor) bonnet was finally supplied but by this time probably 4 months had passed (yes 4)

This was a bit better but still pretty average, and no matter how it was tried it would just not sit on the car right
it did allow us to get the front suspension rrepair sections and slam panels done though....
So after a further few weeks I split the cost of postage and it went back to Germany
Cue Alan.UK (thanks Alan…)
For a very reasonable sum a second hand genuine bonnet was provided
Would this be my salvation, well kind off, only that now we had a good bonnet but after 24 hours of head scratching, as this one would still not line up properly I had one of those great Friday evening calls
“I think the cars not straight, what are you doing tomorrow, perhaps we could have a look at the problem”
yup

this was where the fun stated
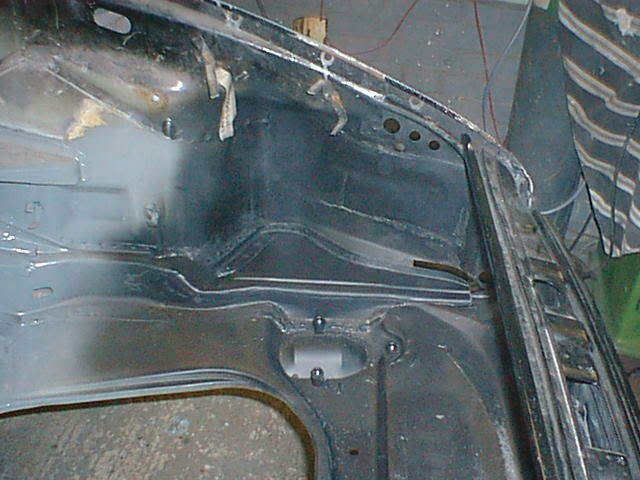
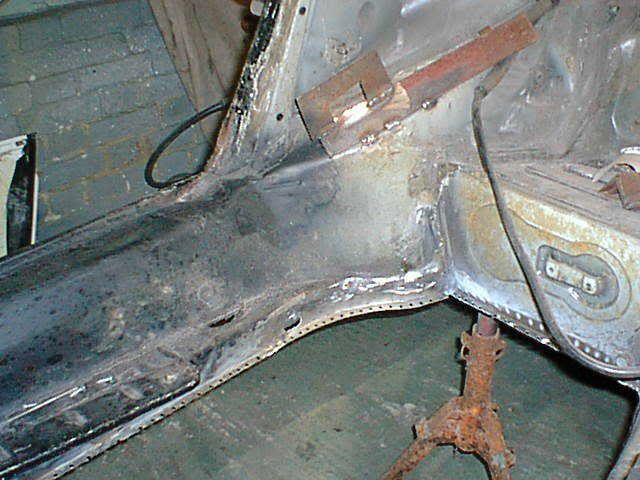
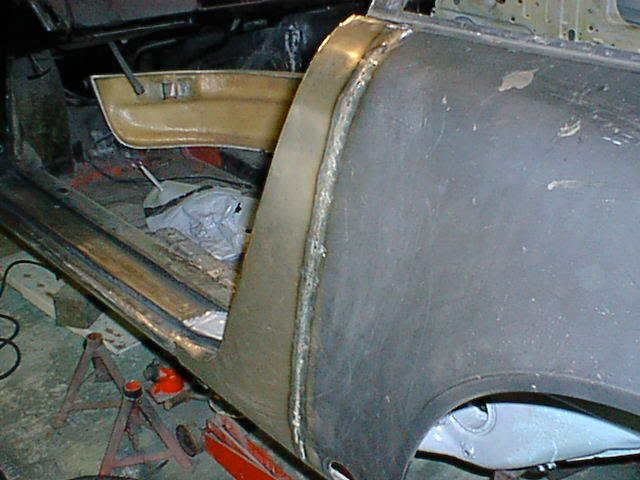
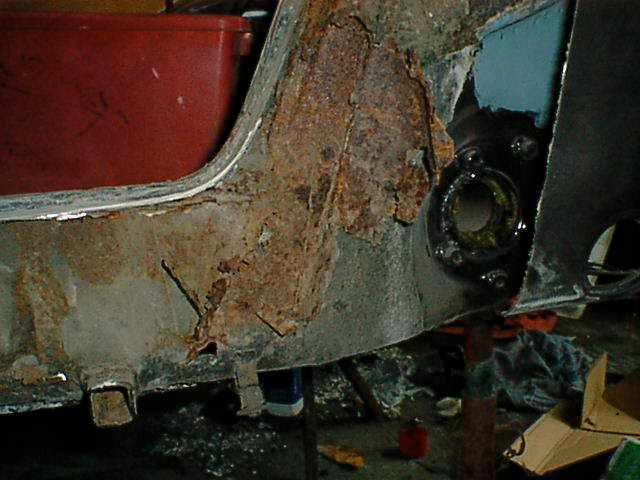
we are still not quite sure what could have done it but the car had definitely hit or been hit around the drivers A post and had
a) pulled the drivers front inner wing down by about 8/9mm and as we discovered also
b) pushed the A post in and buckled the floor and cill, plus
c) required the B post to be adjusted” when repaired
oh and pushed the drivers door frame up into the roof and over to the passenger side
not that bad really
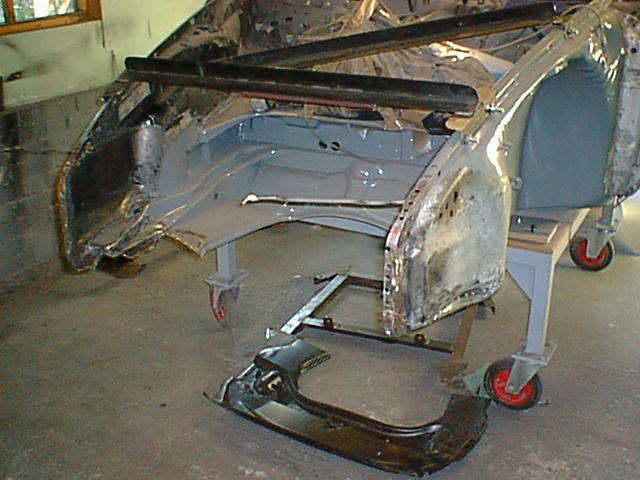
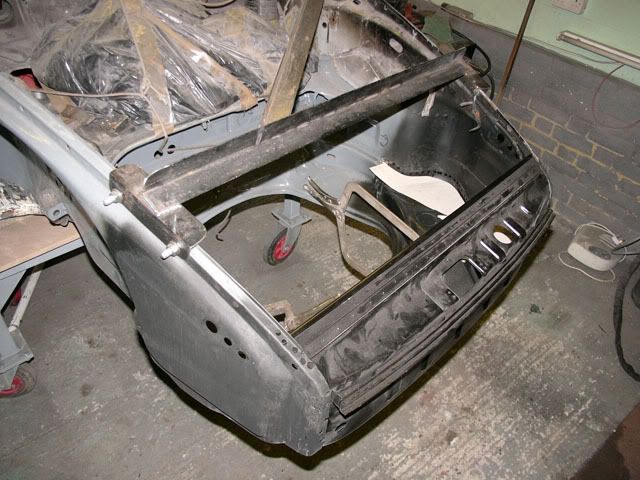
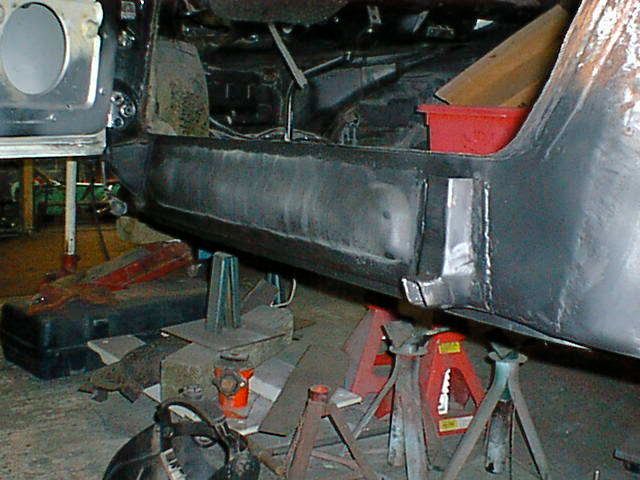
the pictures next are the dozer stretching equipment which lead the another great Friday night call
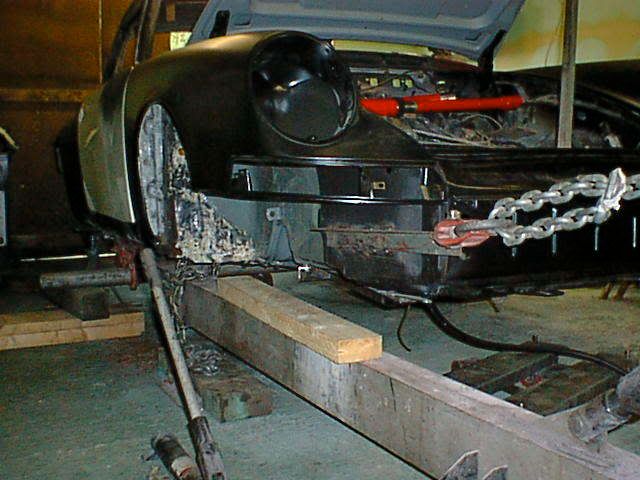
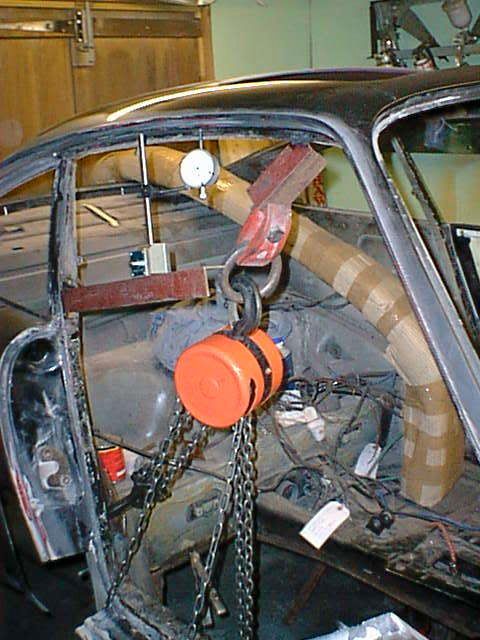
“I’m not sure if this will work , if it doesn’t its always going to pop the screens, so it could be a case of calling it a day” (write off I think is the general
term……)
hmmmmmnnnn
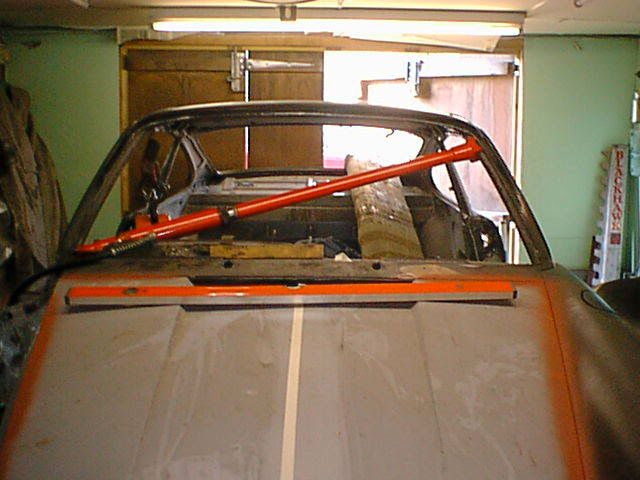
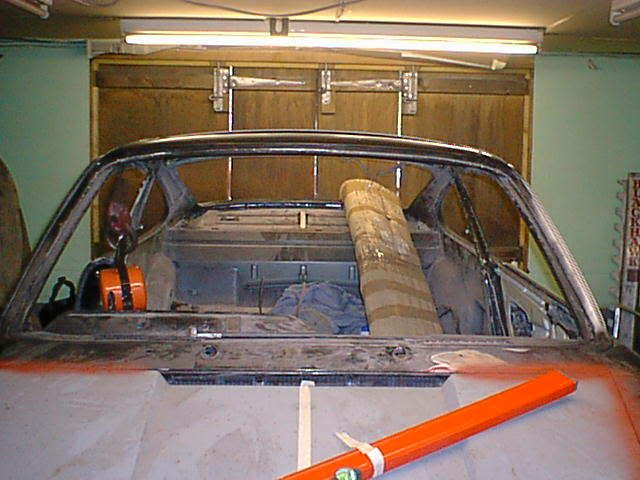
not that I had any doubt, but after a bit of a detour of around 2 weeks the car was just fine and dandy
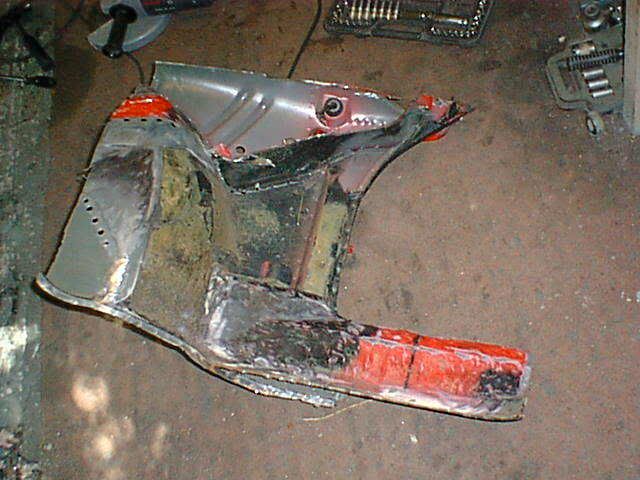
including, courtesy of Mr Moss, a donor section of an A post plus portion of inner wing and cill for a most reasonable sum (thanks Nick)

masses of measurements and we recon its within a mm or
2 off perfect

not bad is a bit of an understatement
3 cheers for Mr Carter

the rest as they say is history, but in total the body count amounted to
new slam panel
new front suspension repair section
various battery tray related panels
both front windscreen repair sections
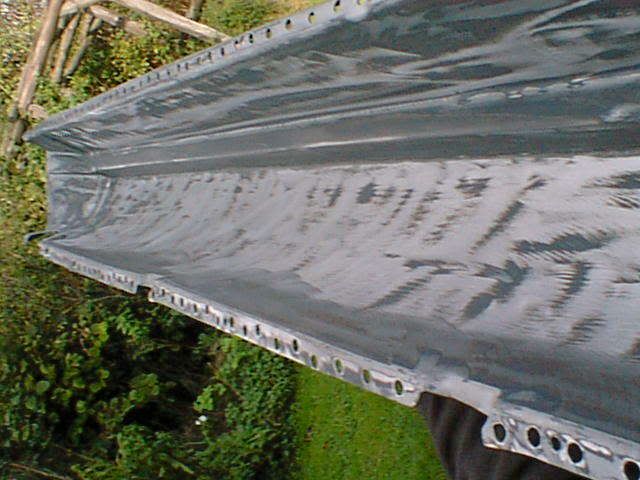
let in new drivers A post and reapirs to inner cill
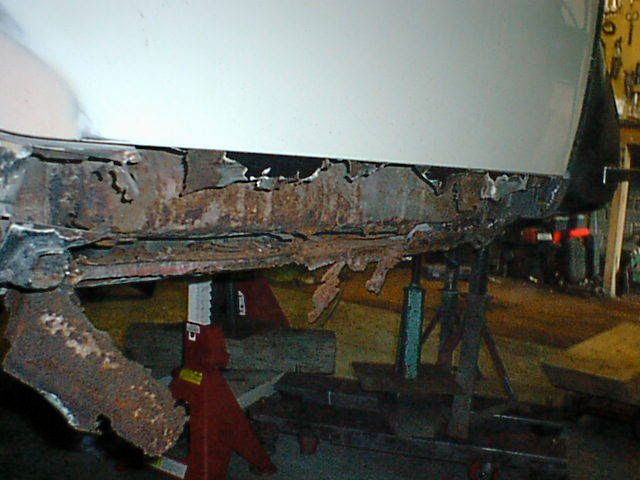
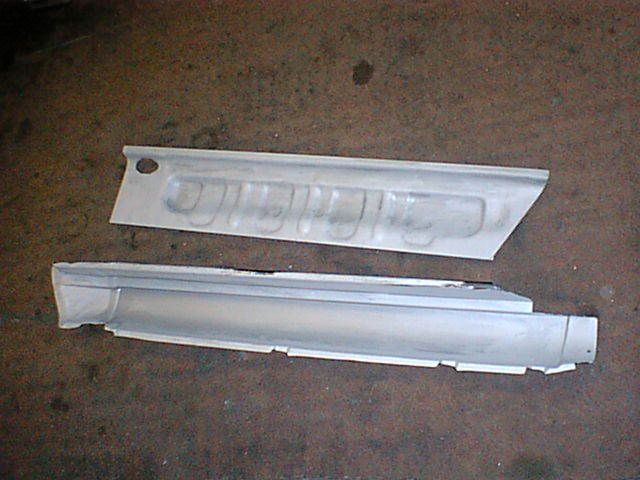
both outer cills
both middle cills
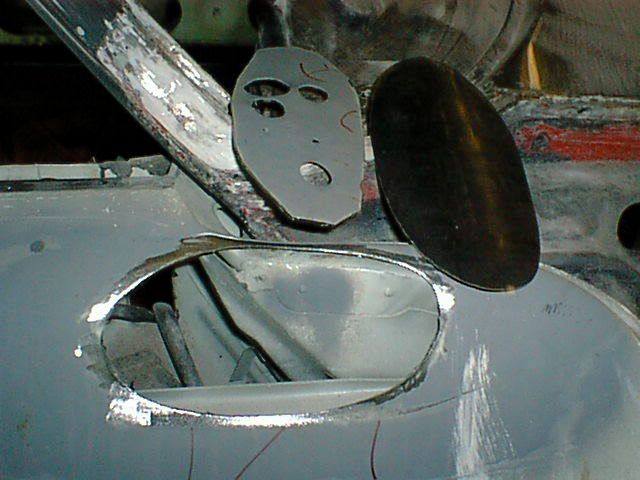
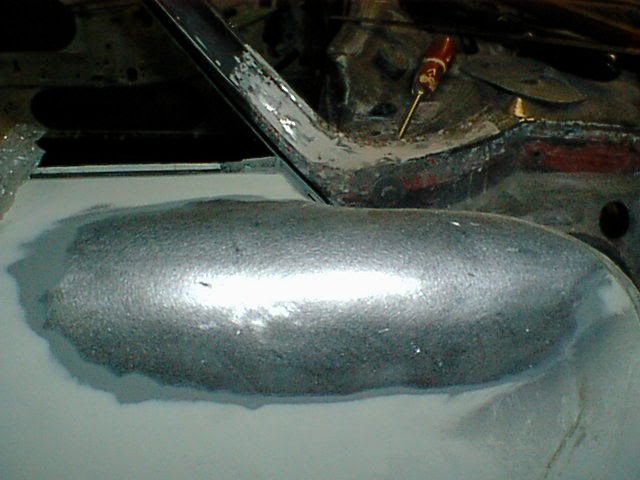
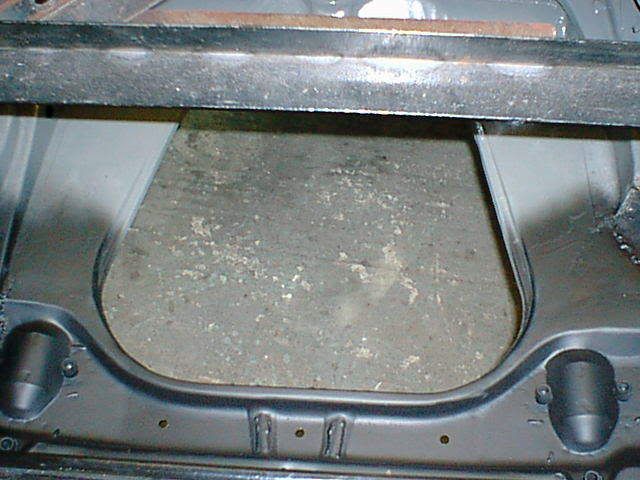
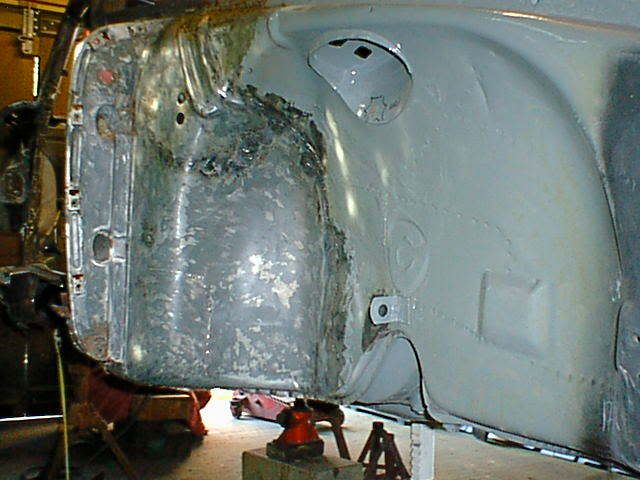
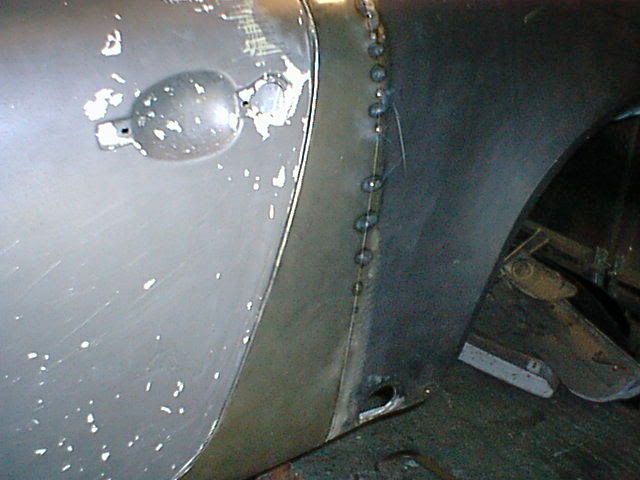
new drivers floor ( this is one of my favourites, its an invisible joint, with well over a hundred drilled out and plugged new spot weld)….gorgeous both kidney bowls
removal of all bumper mounts and new captive bolts let in
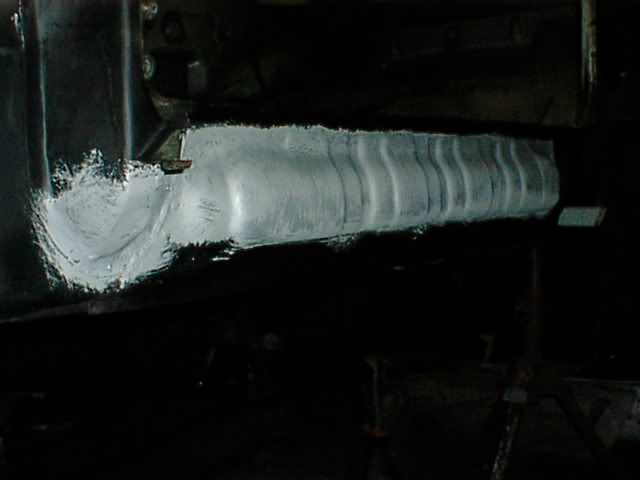
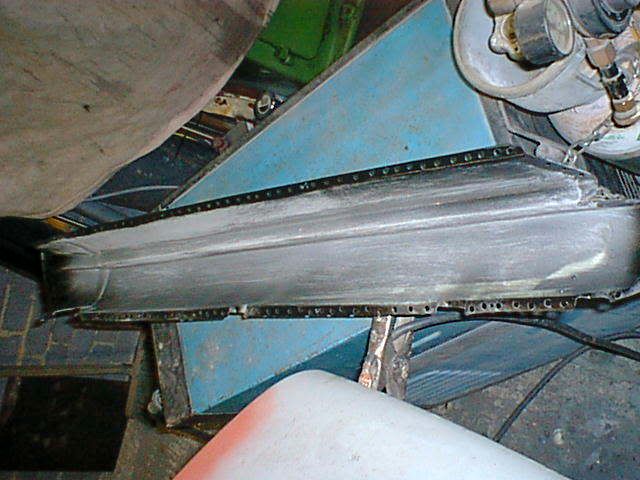
and new fabricated front repairs to rear wings (my other favourite, beautifully fabricated from flat sheet, invisible TIG welding, just great
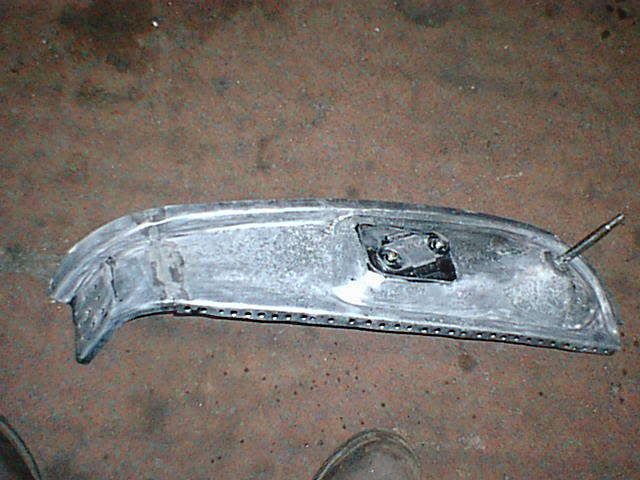

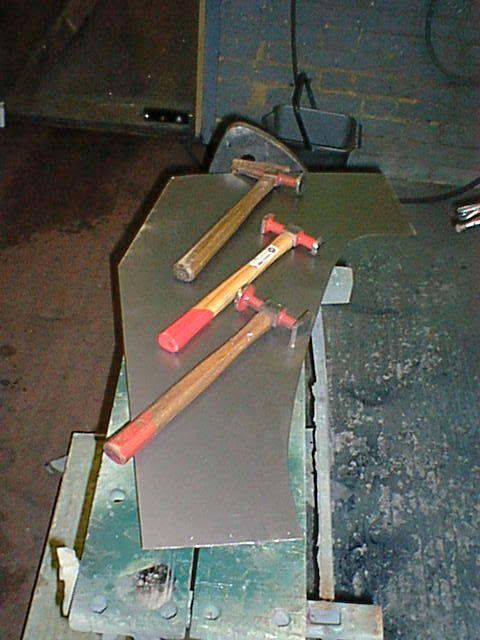
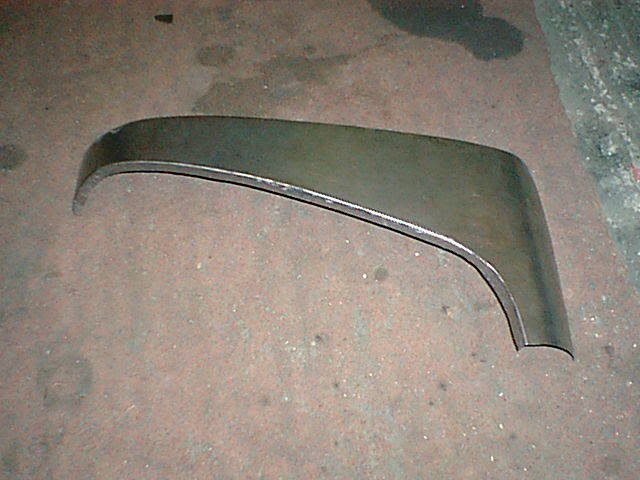
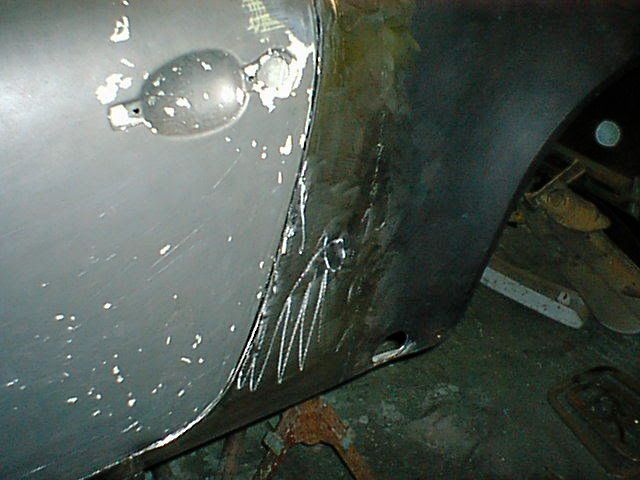
can't even see the joint.......
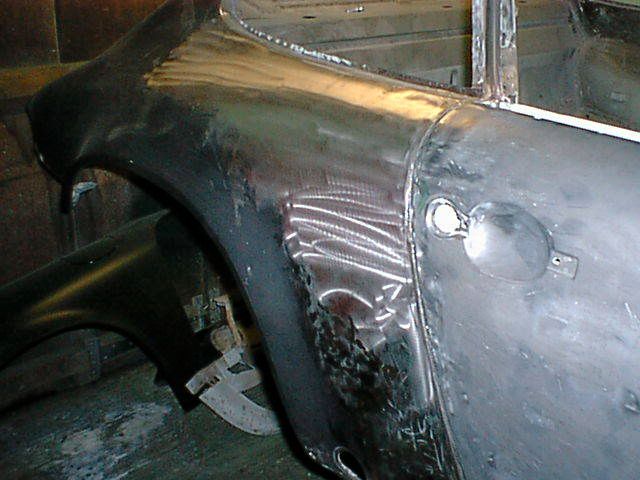
tweaking new pattern wings (pretty good from
Mittelmotor)
generall tweaking to get the panel gaps to a constant
3-4 mm……just lovely
plus a host of general repairs…….in each case all panels were stripped of primer, re primed with weld through primer, then installed
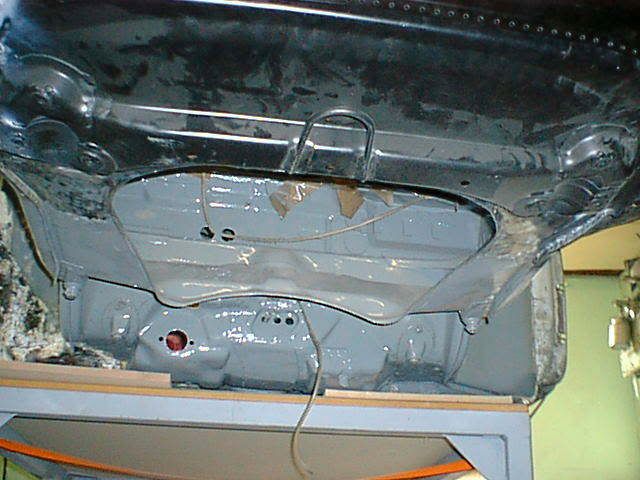
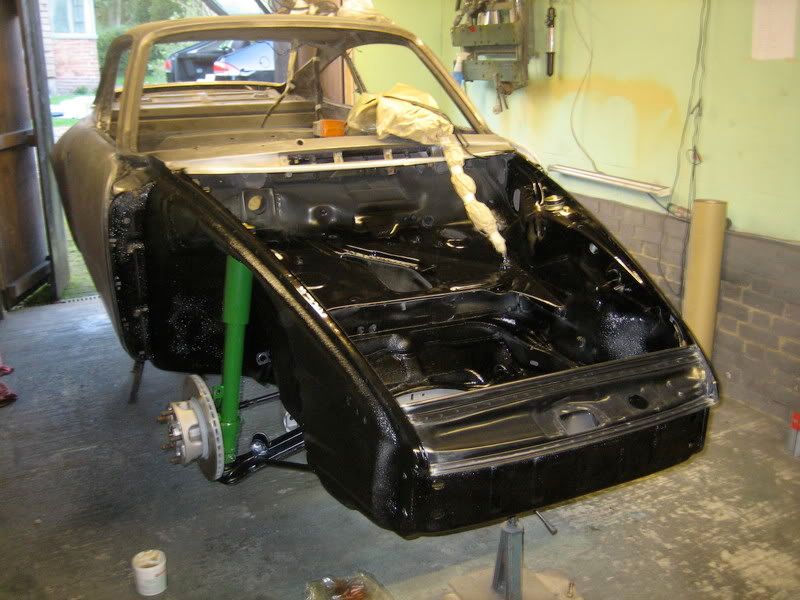
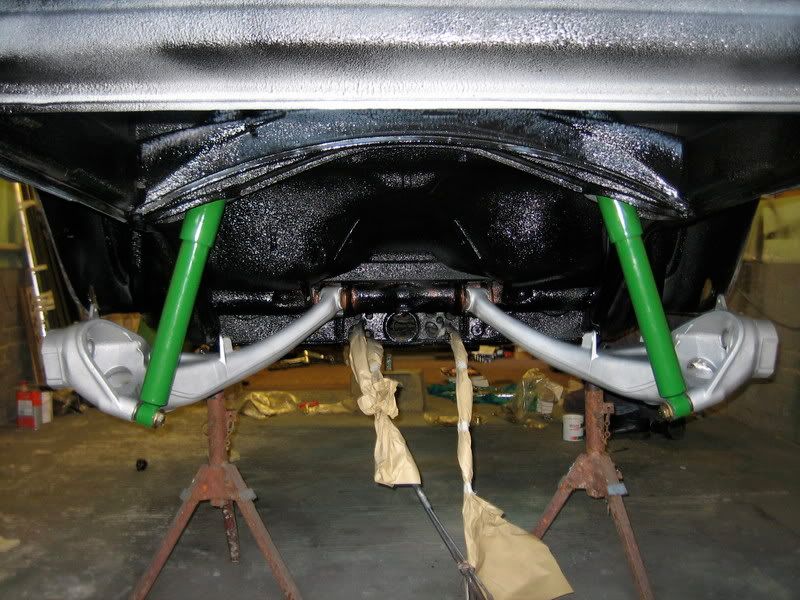
so after around 3 months of real work. Spread over a lot more I had also stripped the last of the paint off the upper body panels at Barry’s (nitromores), we had completed all the POR-15 paintwork including its primer, then Barry sourced an OEM rubberised coating, which after spraying was coated in a final black for all the undersides, engine bay and front trunk
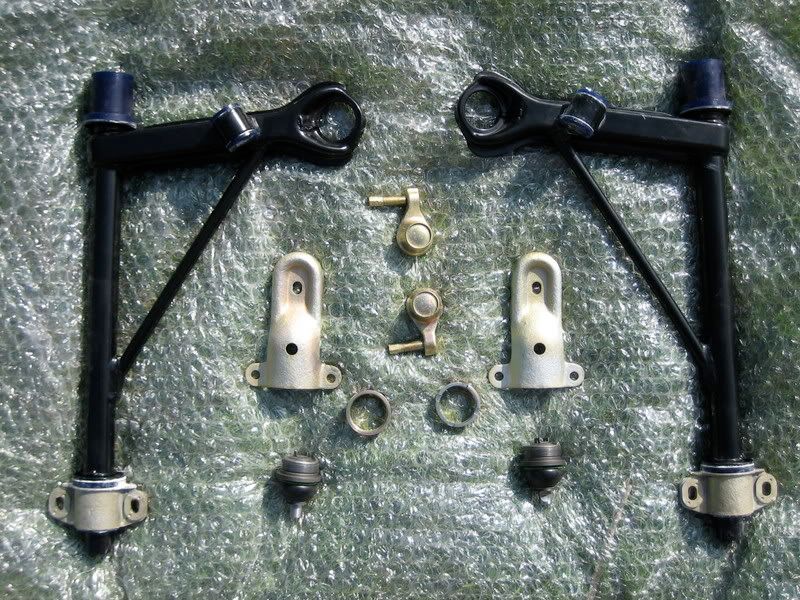
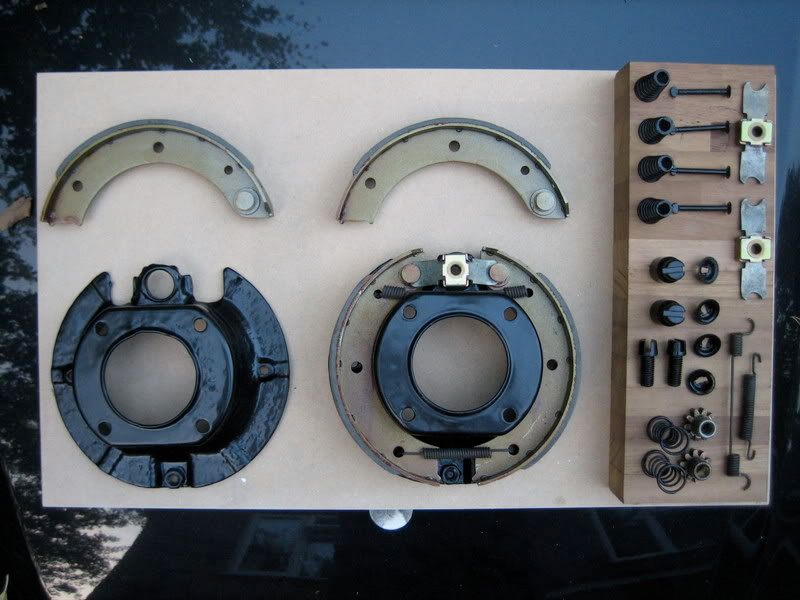
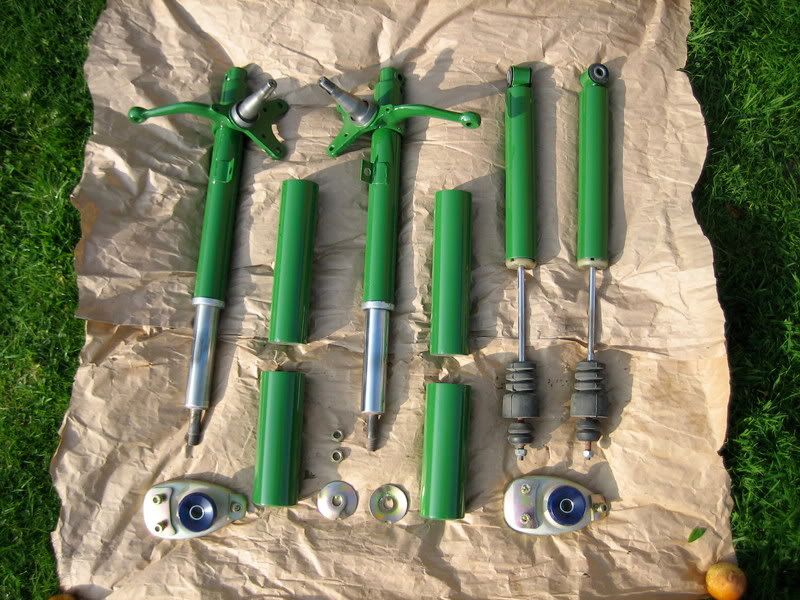
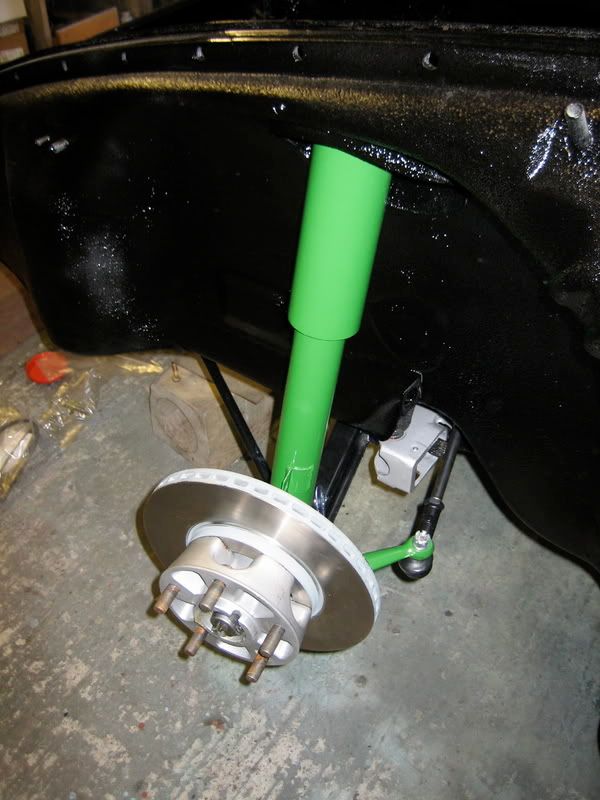
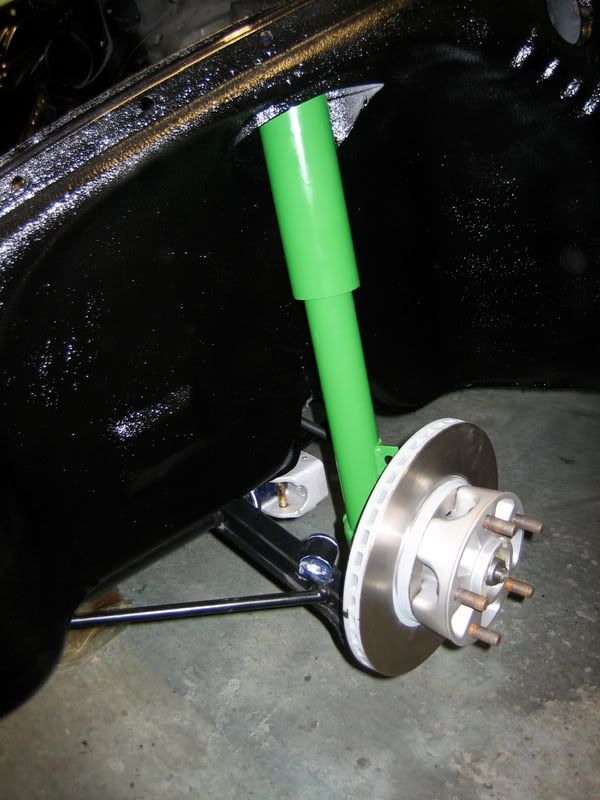
last thing was a long day of bolting on some nice shiny bits and finally she was a rolling shell
that little lot brought us to end of October this year
the car is now in the paint shop, I saw it last weekend, I will upload in a few weeks for part 3
enjoy the pictures
I do.
It makes me realise just how grubby she was initially when you look at the nice ones
thanks
Jonathan