Dashboard
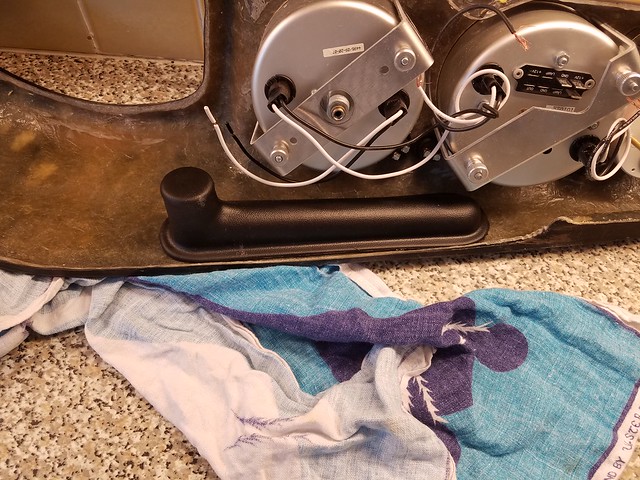
On the dash I started by fitting my oversize Autometer Pro-Comp Ultralight Rev Counter and Speedo gauges as these are a little bigger that the standard gauges I had to make the holes bigger in the dash so I got a marble hole saw of the right size and as these are diamond edged and not toothed like normal hole saws and this made a really good job of enlarging the holes. It was a bit difficult to choose exactly where to place the gauges as the dash is not actually parallel so if you line it up along the bottom then the top look wrong and vica versa, so I ended up placing them where they look right from the top as this is the view I will have from behind the wheel. I also got the rest of the switches and warning lights this morning and have now added these to the dashboard too. I have also got an old beetle ashtray that I am modifying to fit in the dash and have made a new front for it out of stainless and will add an alloy knob when I next get access to a lathe to turn one up. Work still to do on the Dash includes mounting of 3 other Gauges (Oil Pressure, Oil Temperature & Volts) which I will mount in a pod under the main speaker grille. Not sure what is going in there at the moment - maybe just a speaker. I then have to find a way of bonding the ashtray caddy to the dash, but I think I will wait till i decide what goes in the centre as I may make a wood substructure to make the dash more rigid and make this all as one piece.
The Ashtray as came from Beetle
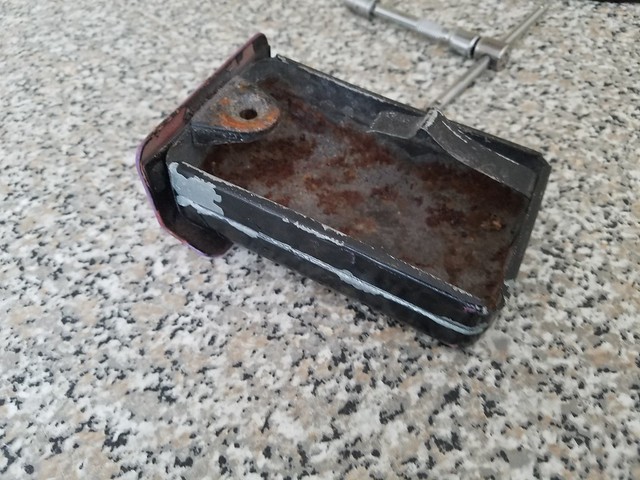
The Ashtray Caddy that needs to be bonded to the dash or at least a mounting fixture needs to be added so that it can be bolted in as per the original beetle dash
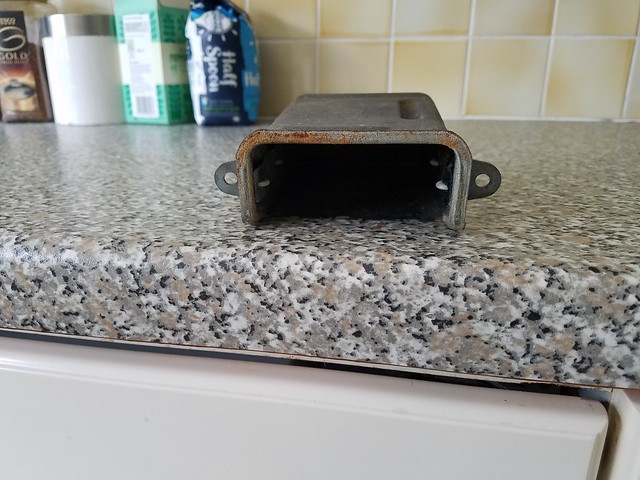
Removed the front panel and the cigarette Stubber
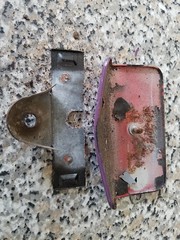
The dash caddy with doorless ashtray offered up to the dash...
The Ashtray new stainless steel front
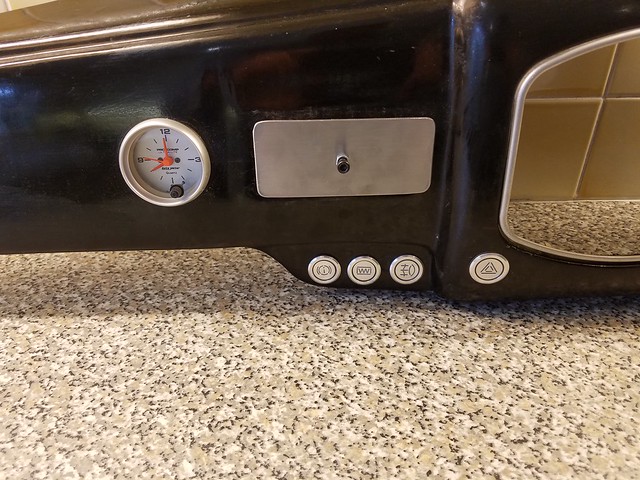
Various Images of the Dash as I added the instruments and switches.
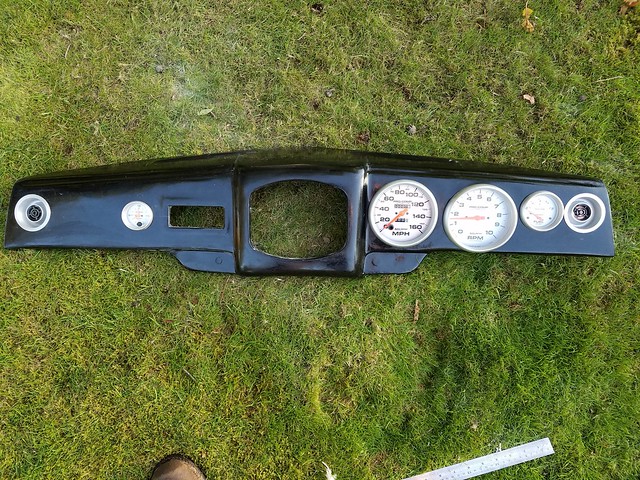
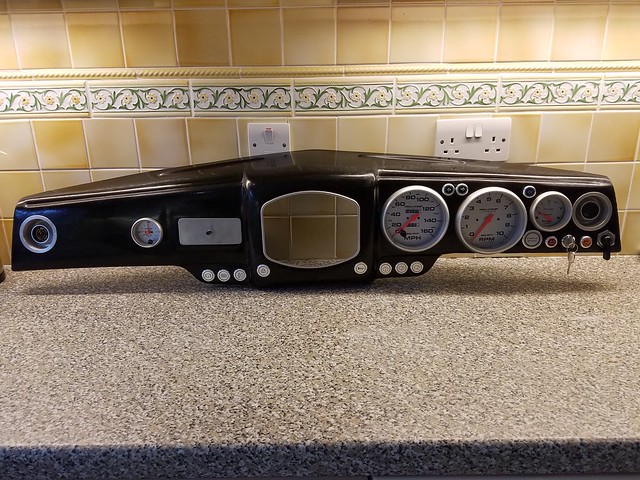
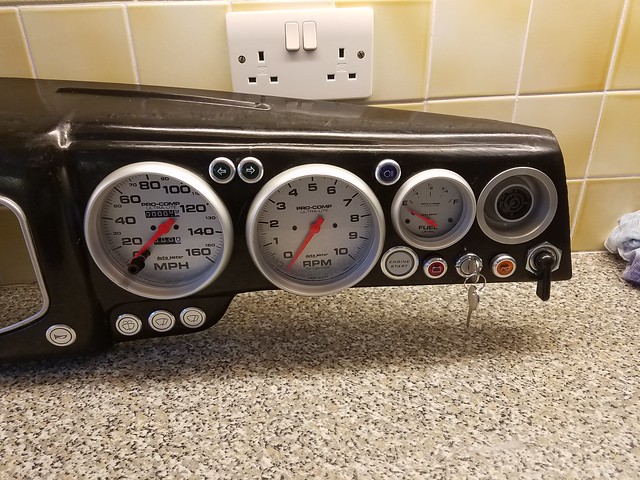
Some images of the back of the dash
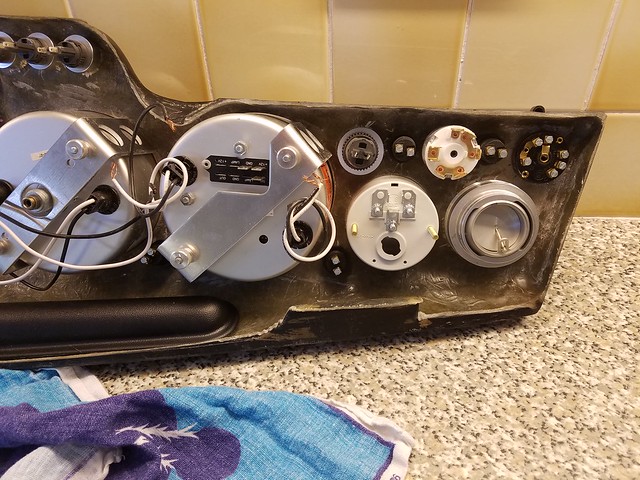
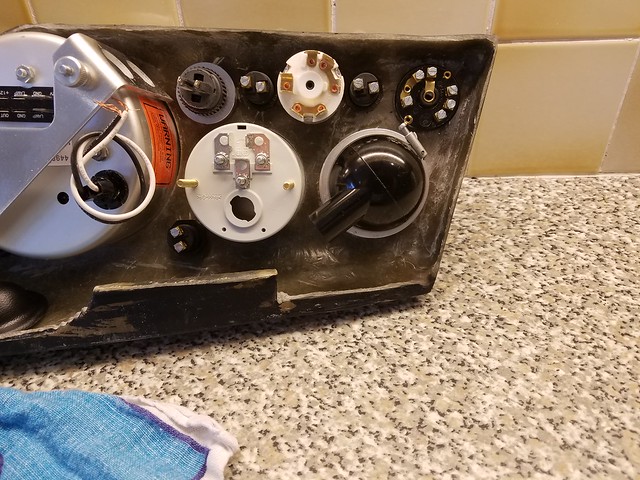
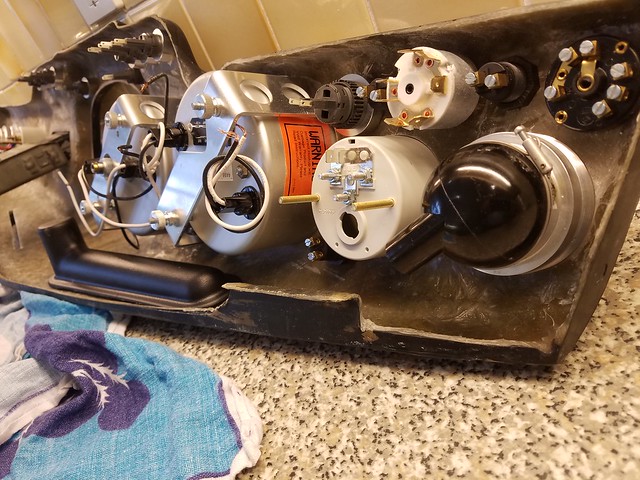
Overall I am really pleased with how the dash has turned out and hope that once I have decided what to do with the middle bit then it can be finished off. Will just need Wiring and plumbing then and it is ready to go in.
Heater and Fresh Air
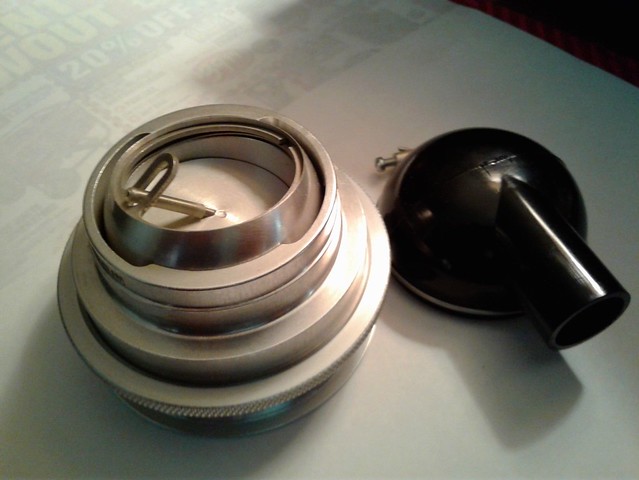
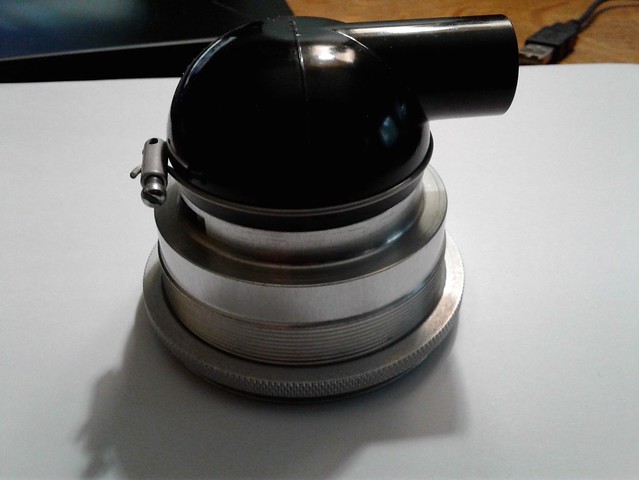
I want to drive my car all year round so am putting fresh air and a water based heating system in the car. I also wanted some Fresh air vents for the dash that looked good and would be IVA friendly too. I found some ex Aircraft new Old stock air vents from the 1980's on EBAY which are made from billet Aluminium and are a lovely bit of engineering. They even come with some air inlets that take 20mm air pipes that I will hook up to the dash plenums and then to the heater.
Air Vents
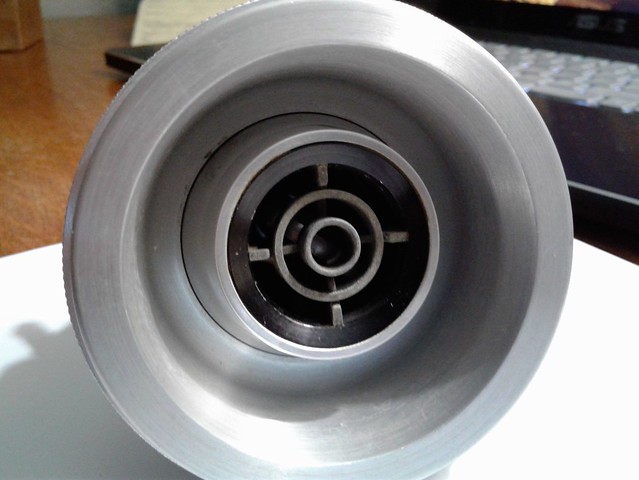
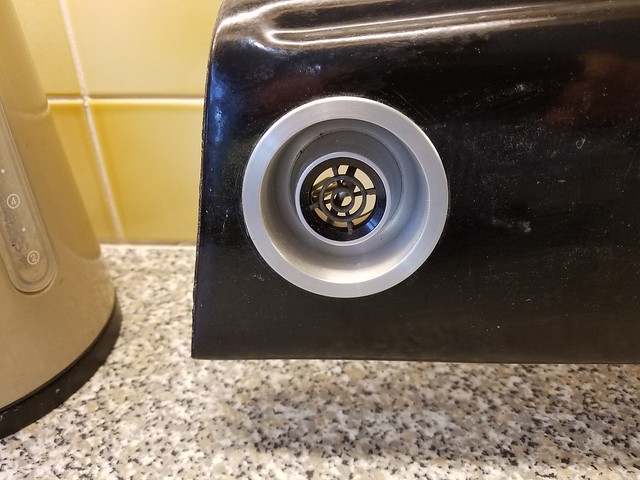
And here they are mounted into a 62mm hole in the dash
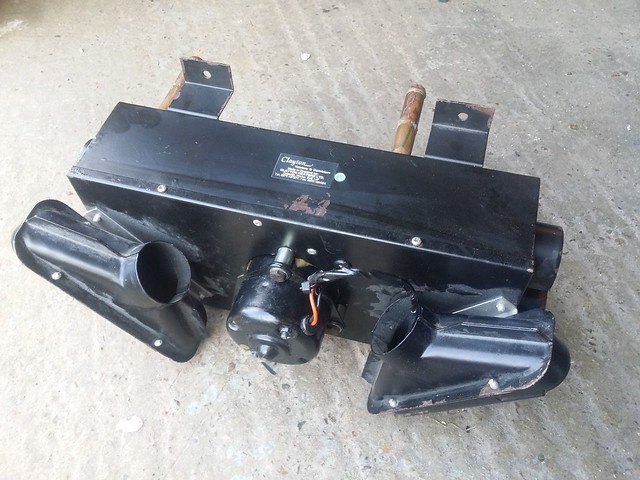
This is the Clayton Water heater that I will mount up behind the dash it comes with a 2 speed fan, and 4 outlets (2 each side) one that will be hooked up to the built in vents you can see in the picture for the cabin and one for the demist vents / fresh air eyeballs. This will be linked to an Eberspacher Hydronic heater that will provide the hot water. I will also be running a mico hot water heater with an original demist tube to handle the rear demist requirements.
I have cut out the demist slots on top of the dash
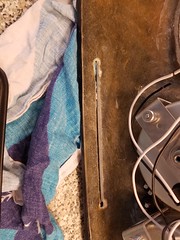
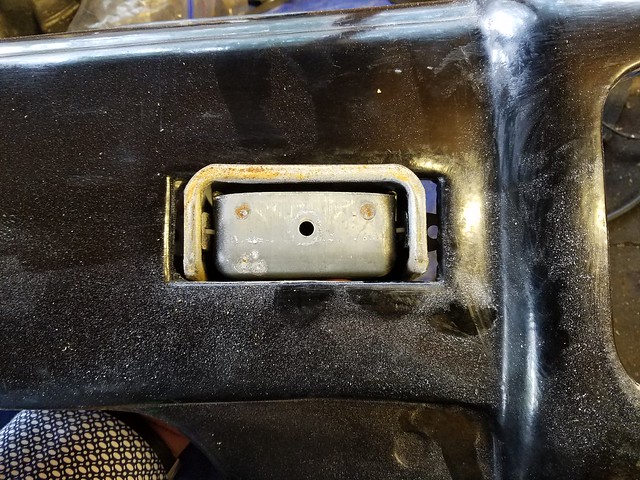
You can also see a good image of the ashtray caddy and how I will need to mount it to the dash.
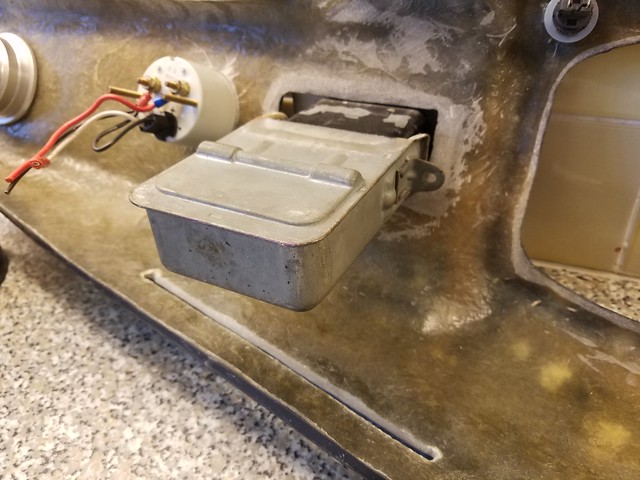
And will bond these kit car Plenums to the underside of the dash to direct the air through the demist slots