

Epic build thread; thank you for sharing. Read the entire thread here and on 911UK today.
At the risk of going off-topic - what all did you use to fabricate the various bits of sheet metal that you welded in place? I might just about have been clever enough to come up with a small subset of them but no way could I have made them as neatly and tidily as you have.
Project Blue Book
Moderators: drummerboytom, MdR
Re: Project Blue Book
sunflower yellow 1973 914/6 conversion
Re: Project Blue Book
Thank you so much for your kind words and wasting so much time reading here and over on my main thread.arbitrate wrote:Epic build thread; thank you for sharing. Read the entire thread here and on 911UK today.
At the risk of going off-topic - what all did you use to fabricate the various bits of sheet metal that you welded in place? I might just about have been clever enough to come up with a small subset of them but no way could I have made them as neatly and tidily as you have.
As for tin bashing, you just keep going until you have it just so. I never worry about time as it’s just a hobby. Once in that frame of mind you can be free to get it how you want it.
The engine tins had me scratching my head in truth. Trying to get them looking factory is my main aim. Now the shell is back and the ramp installed I can dry fit to see if I’m happy.
Thank you all for reading, it really makes a difference…..
Up to date stuff in on Instagram chiefporsche
h'Project Blue Book' - 'The Red Baron' - Amber Alert!
Re: Project Blue Book
EFA!!!chief wrote: Thank you so much for your kind words and investing so much time reading here and over on my main thread.
As for tin bashing, you just keep going until you have it just so. I never worry about time as it’s just a hobby. Once in that frame of mind you can be free to get it how you want it.
The engine tins had me scratching my head in truth. Trying to get them looking factory is my main aim. Now the shell is back and the ramp installed I can dry fit to see if I’m happy.
Thank you all for reading, it really makes a difference…..
Up to date stuff in on Instagram chiefporsche
sunflower yellow 1973 914/6 conversion
Re: Project Blue Book
So time for a much needed update on Project Blue Book...
A lot has been going on with the car behind the scenes and work comitments have taken president but i'm hopfully back to it....
Now where did we leave it last time?
Wiring and lights where next on the list to tackle...
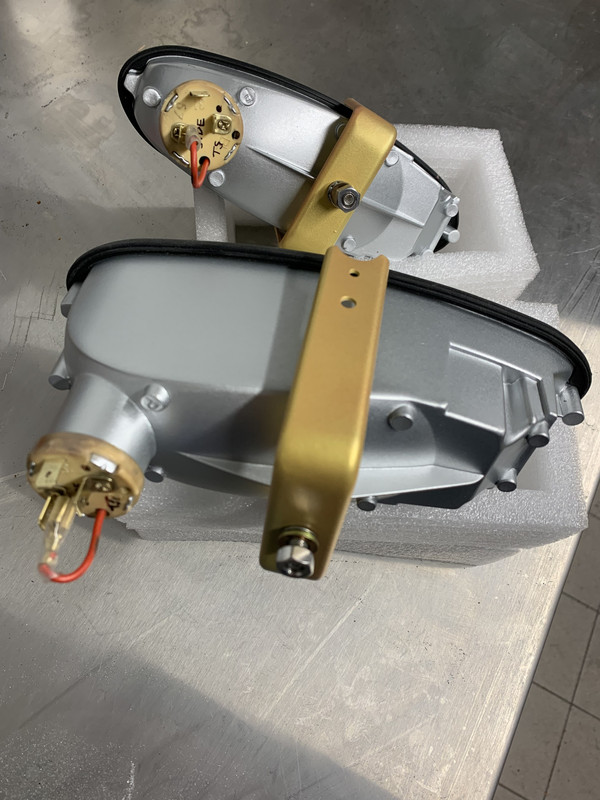
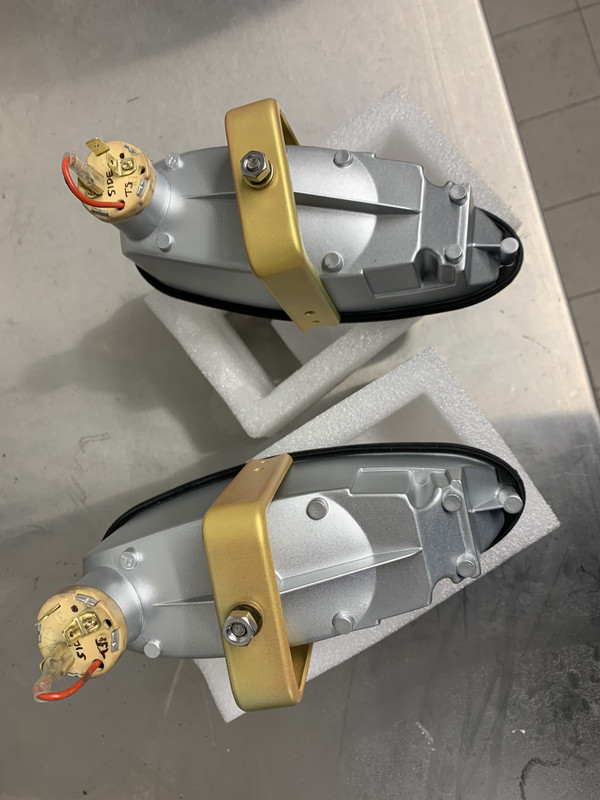
The front indicators were first up and needed modifying to Euro Style. The American lights fitted were just a double filiment bulb which served as side light and indicator. What I needed to do was make a split light which is clear at the bottom third for side light and the top amber for the indicator. First off was to refurbish the lights and re Chrome the insides.


Using Chrome spray has worked really well and should be up to MOT standard. You can see the light holder bracket and wiring to split the light fitting. Only had an amber bulb at hand to check the connection. This is now clear.


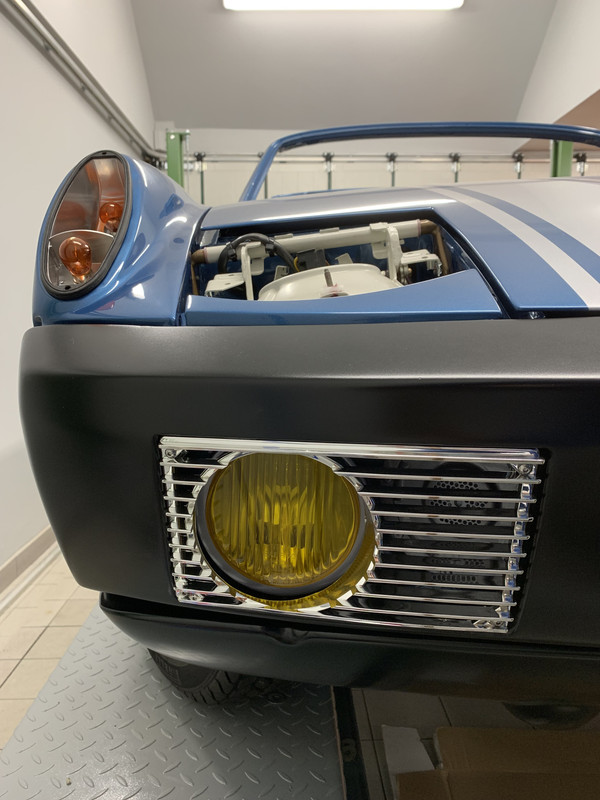
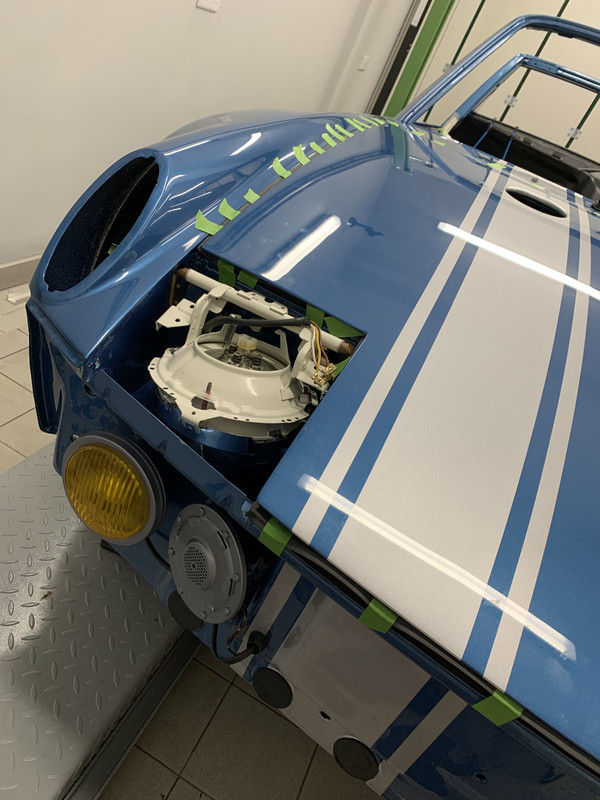
front now looking the part with the modified bumper and the yellow fog light.
Before and after above.
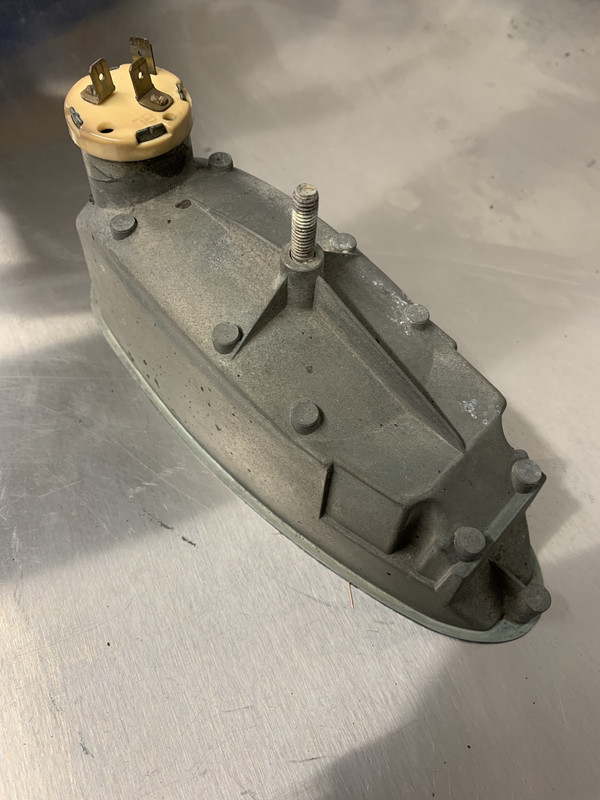
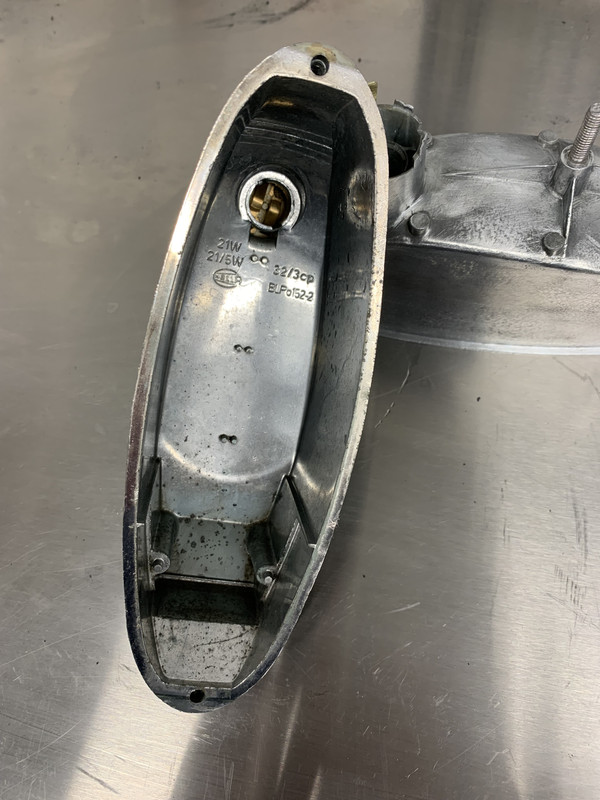
The rear lights were next to get some much needed treatment. You really see the light fitting when you open the boot. I wanted to make them look more than an after thought. So down the rabbit hole we go again...
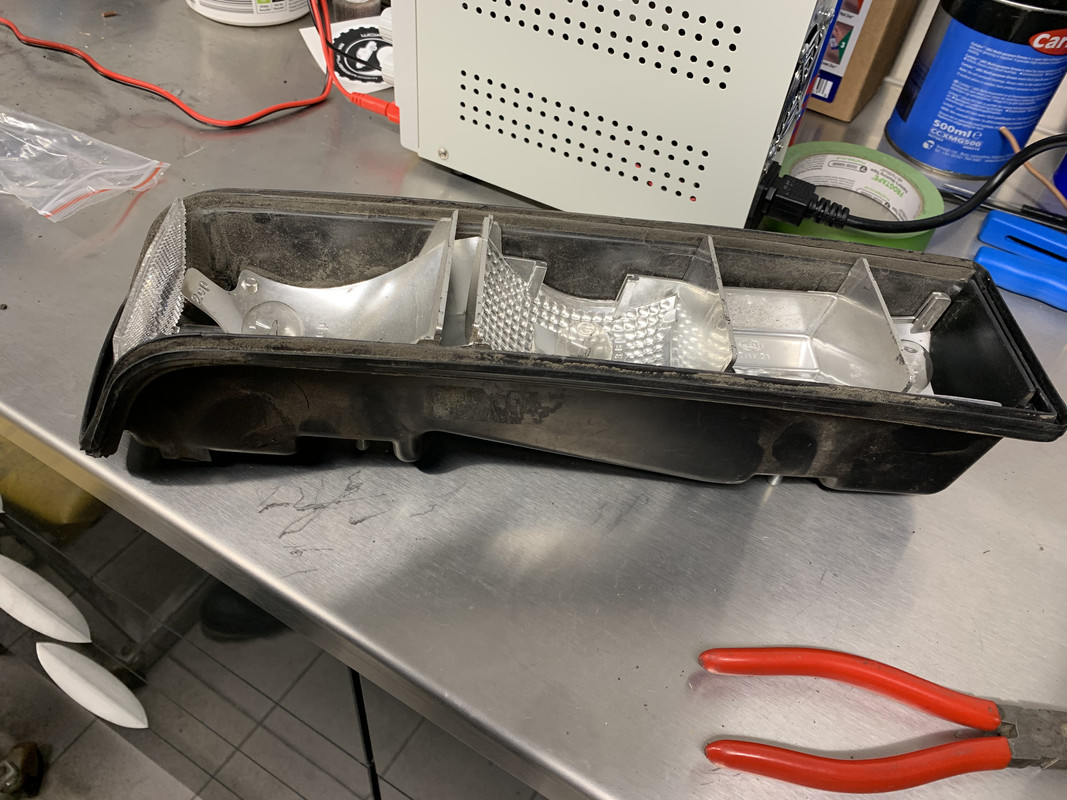
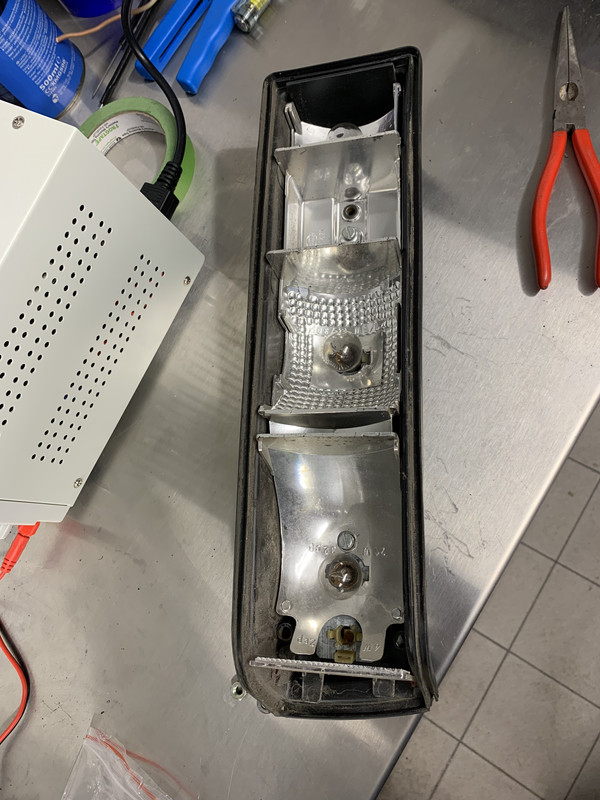


A couple of hours with the heatgun to try and get them back into shape. fifty years have taken a toll on the poor old plastic! Infact the lenses no longer fitted because they were so miss shaped!
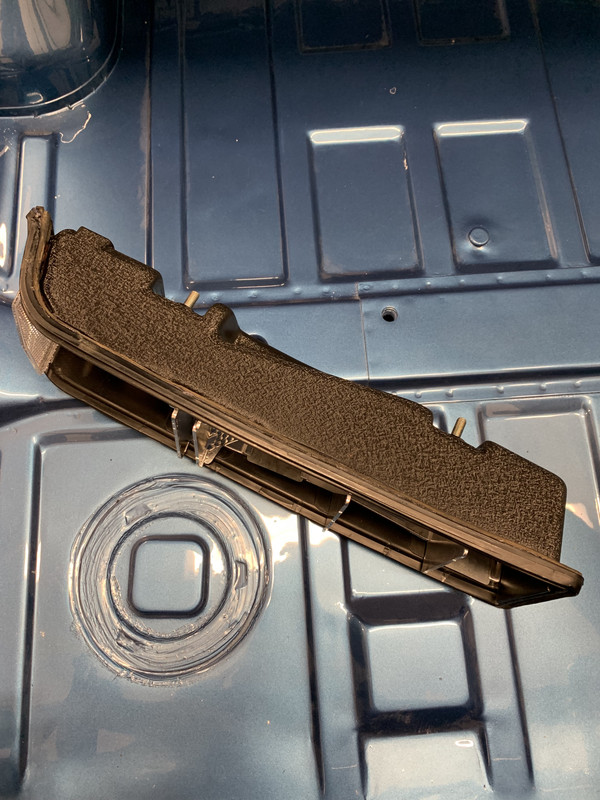
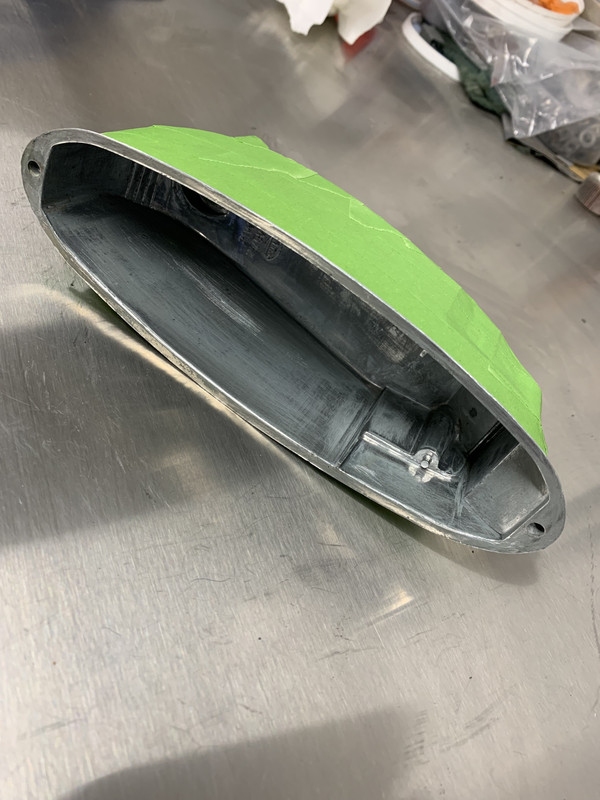
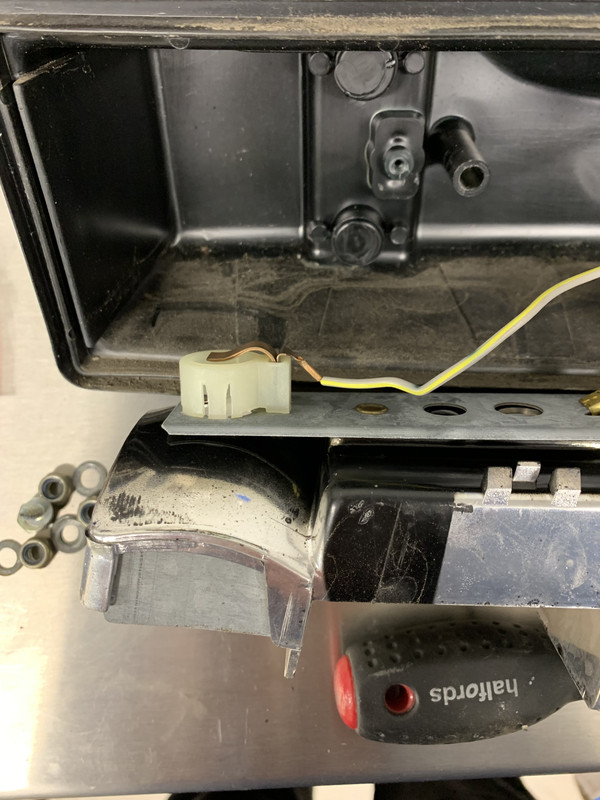
And back to the crackle finish. Also turned up some aluminium lens fittings instead of the nasty plastic thingies.
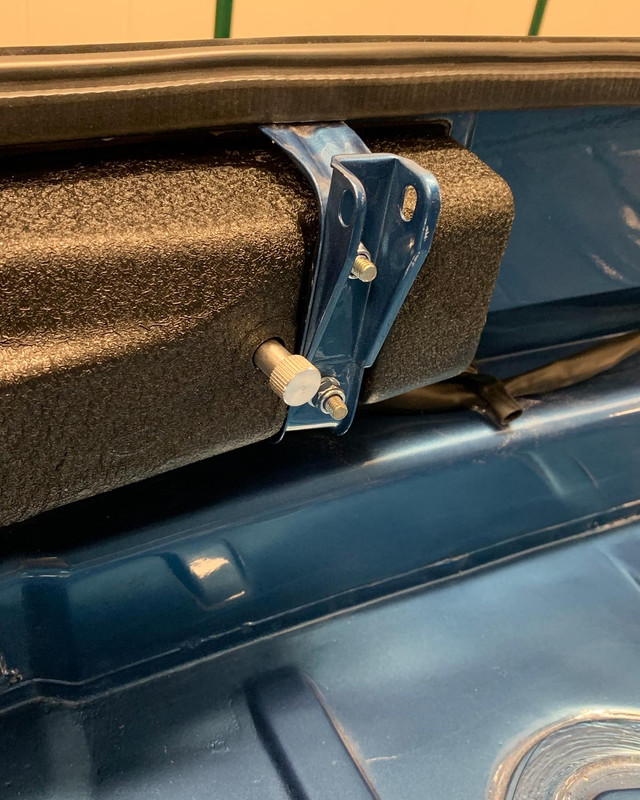
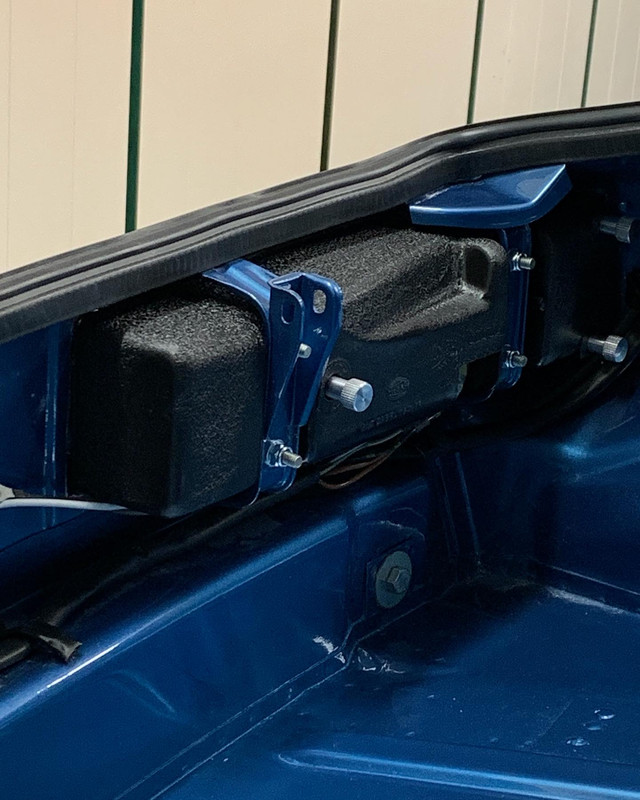
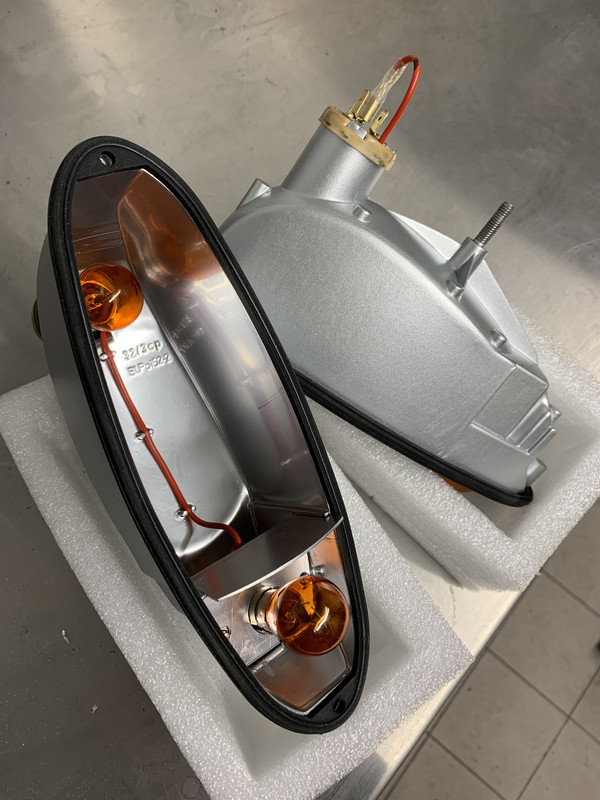
I think they look so much better finished this way. The dull factory plastic just wasn't doing it.
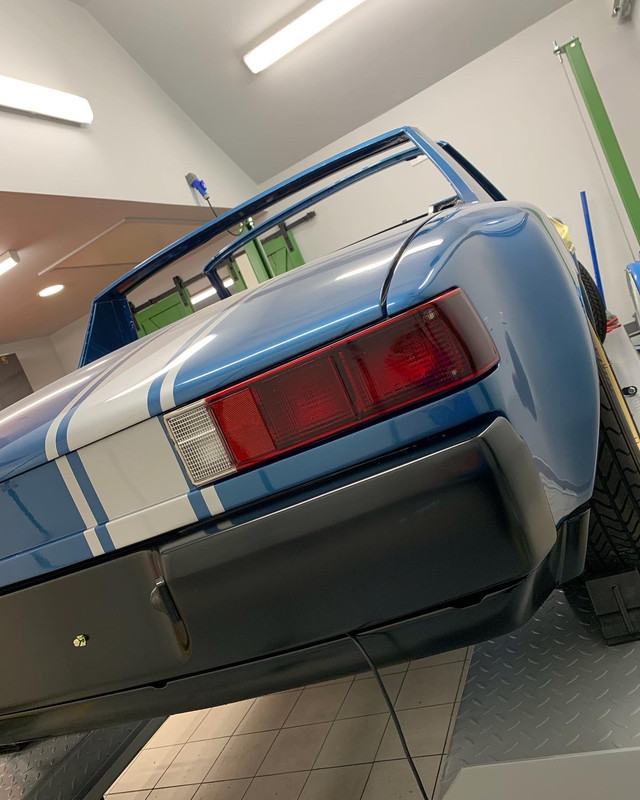
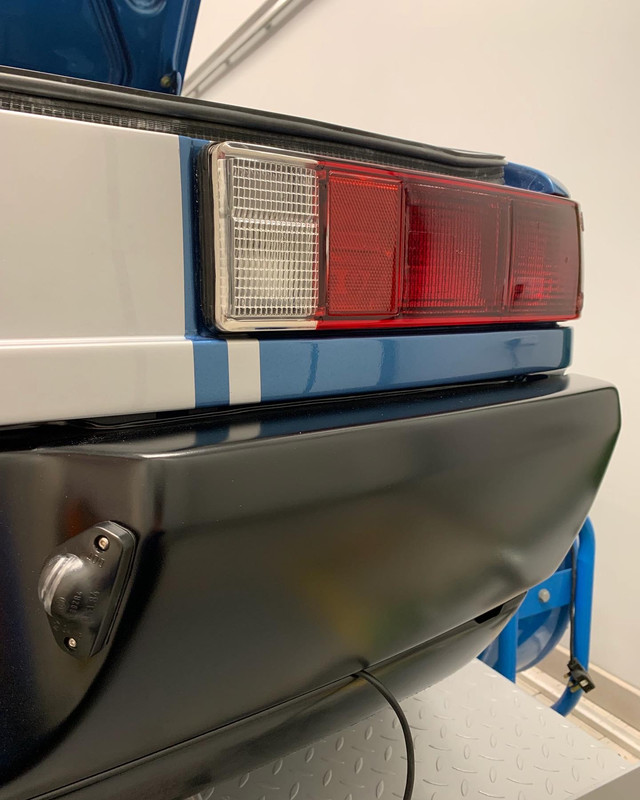
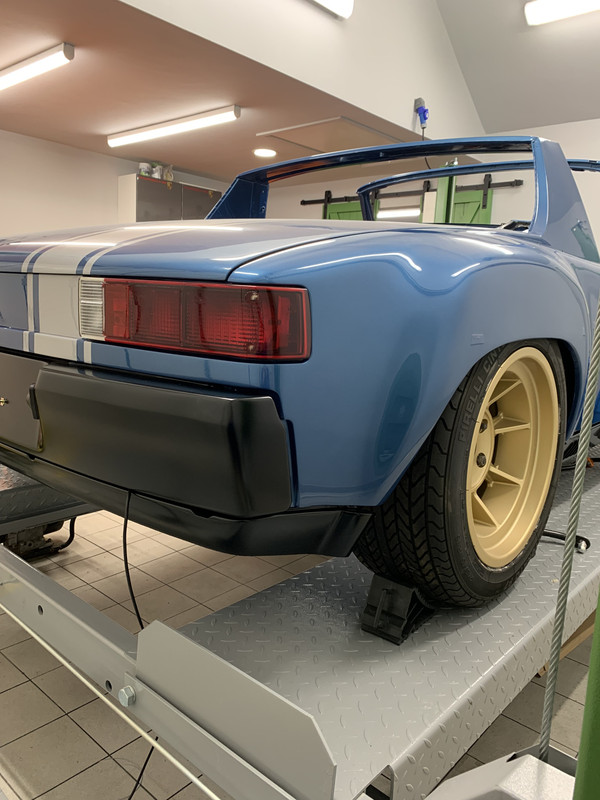
The light lenses now fit a treat. A nuber of hours have gone into these, but the fit is tighter that a Tit Mouses ear..
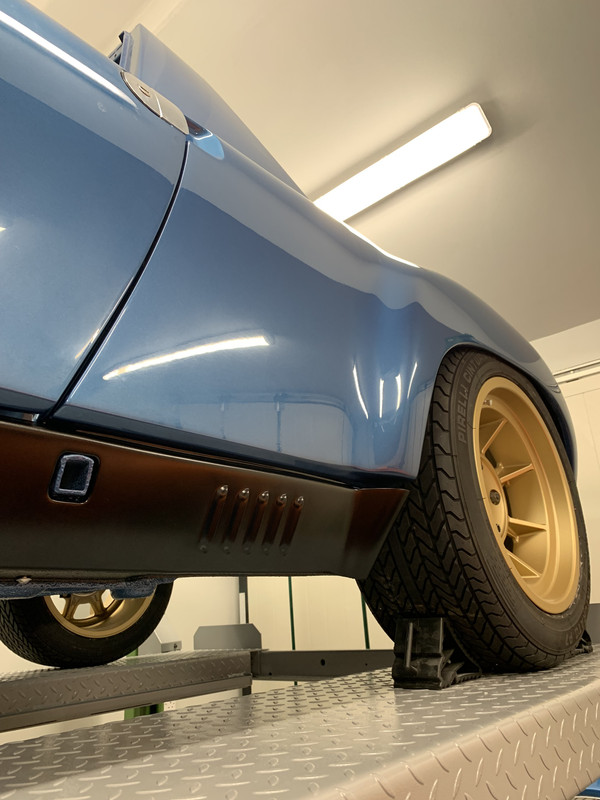
The modified back bumper looks like it should have always been this way.
Managed to fit up the side sills with the louvres cut out.
A lot has been going on with the car behind the scenes and work comitments have taken president but i'm hopfully back to it....
Now where did we leave it last time?
Wiring and lights where next on the list to tackle...
The front indicators were first up and needed modifying to Euro Style. The American lights fitted were just a double filiment bulb which served as side light and indicator. What I needed to do was make a split light which is clear at the bottom third for side light and the top amber for the indicator. First off was to refurbish the lights and re Chrome the insides.
Using Chrome spray has worked really well and should be up to MOT standard. You can see the light holder bracket and wiring to split the light fitting. Only had an amber bulb at hand to check the connection. This is now clear.
front now looking the part with the modified bumper and the yellow fog light.
Before and after above.
The rear lights were next to get some much needed treatment. You really see the light fitting when you open the boot. I wanted to make them look more than an after thought. So down the rabbit hole we go again...
A couple of hours with the heatgun to try and get them back into shape. fifty years have taken a toll on the poor old plastic! Infact the lenses no longer fitted because they were so miss shaped!
And back to the crackle finish. Also turned up some aluminium lens fittings instead of the nasty plastic thingies.
I think they look so much better finished this way. The dull factory plastic just wasn't doing it.
The light lenses now fit a treat. A nuber of hours have gone into these, but the fit is tighter that a Tit Mouses ear..
The modified back bumper looks like it should have always been this way.
Managed to fit up the side sills with the louvres cut out.
h'Project Blue Book' - 'The Red Baron' - Amber Alert!
-
rhd racer
- DDK 1st, 2nd and 3rd for me!
- Posts: 2060
- Joined: Wed Jun 23, 2004 9:47 pm
- Location: Nottinghamshire
Re: Project Blue Book
Excellent attention to detail, looks utterly awesome. I used chrome paint on the inside of mine which was fine, but I also used LED bulbs to improve further still.
Keep up the good work, can’t wait to see it in the flesh
Keep up the good work, can’t wait to see it in the flesh
93 964 C2
99 Boxster 2.5 > 2.7 hill climber
71 914/6 3.0 - gone
'You see Paul, hill climbing is like making love to a beautiful woman. You get your motor running, check your fluids, hang on tight and WHOA..30 seconds later it's all over!' Swiss Tony
99 Boxster 2.5 > 2.7 hill climber
71 914/6 3.0 - gone
'You see Paul, hill climbing is like making love to a beautiful woman. You get your motor running, check your fluids, hang on tight and WHOA..30 seconds later it's all over!' Swiss Tony
-
Gary71
- Nurse, I think I need some assistance
- Posts: 10296
- Joined: Wed Mar 31, 2004 1:27 pm
- Location: Cheshire
- Contact:
Re: Project Blue Book
Fabulous work on those lights, I can see the hours!
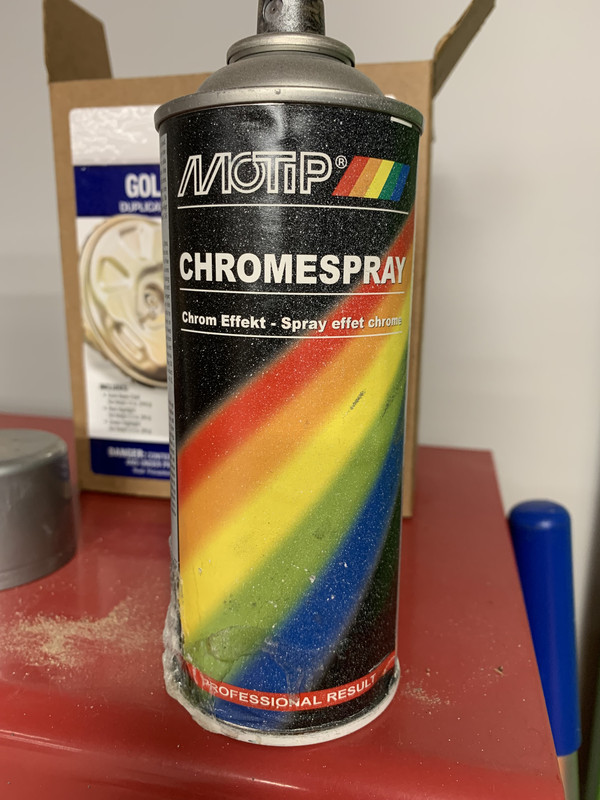
What chrome spray did you use? My current attempt was hopeless.
What chrome spray did you use? My current attempt was hopeless.
Re: Project Blue Book
Thank you rhd Racer I appreciate your comment 
Garry71
This is the Chrome spry I used. I have found that cleaning the surface after sanding is key. Even after etch priming I found that I had to clean with pre-prep silicon remover to avoid strange inclusion.
I keep the paint on the radiator for an hour or so first to get it nice and warm, then very light coats with a good 10mins between. Hope this helps....
h'Project Blue Book' - 'The Red Baron' - Amber Alert!

Re: Project Blue Book
That looks superb 
James
1973 911 2.4S
1993 964 C2
2010 987 Spyder
1973 MGB Roadster
Its not how fast you go, but how you go fast
1973 911 2.4S
1993 964 C2
2010 987 Spyder
1973 MGB Roadster
Its not how fast you go, but how you go fast
Re: Project Blue Book
"I keep the paint on the radiator for an hour or so first to get it nice and warm, then very light coats with a good 10mins between. Hope this helps...."
Radiator in a workshop - far too much luxury!
Radiator in a workshop - far too much luxury!
Porsche 964 1993
Porsche 944 1986 - sold
Porsche 914 1972
Porsche 944 1986 - sold
Porsche 914 1972
Re: Project Blue Book
You say ‘Workshop’ I say ‘Day Spa’ 
h'Project Blue Book' - 'The Red Baron' - Amber Alert!

Re: Project Blue Book
It looks fantastic.
Just a quick question ,
The yellow zinc plating on your parts from earlier posts,
Did you do these or did you send them out to a company?
If you sent them out, could you let me know who they were please as I need to get some done.
Keep up the brilliant work.
Karl
Just a quick question ,
The yellow zinc plating on your parts from earlier posts,
Did you do these or did you send them out to a company?
If you sent them out, could you let me know who they were please as I need to get some done.
Keep up the brilliant work.
Karl
Keep the Outlaw Faith
-
neilbardsley
- Nurse, I think I need some assistance
- Posts: 7772
- Joined: Mon Apr 16, 2012 4:31 pm
Re: Project Blue Book
Well done
Sent from my M2004J19C using Tapatalk
Sent from my M2004J19C using Tapatalk
“A REMINDER. I would be grateful if those members who have borrowed bits from me in emergencies (e.g starter motor, oil cooler, etc) would return them and/or contact me”. – Chris Turner RIP
Re: Project Blue Book
Redditch Electro Plating are the really good.hashman wrote:It looks fantastic.
Just a quick question ,
The yellow zinc plating on your parts from earlier posts,
Did you do these or did you send them out to a company?
If you sent them out, could you let me know who they were please as I need to get some done.
Keep up the brilliant work.
Karl
Some of it I have painted with a plating paint
h'Project Blue Book' - 'The Red Baron' - Amber Alert!
Re: Project Blue Book
Sorry for the lack of updates of late....
Here is some progress.
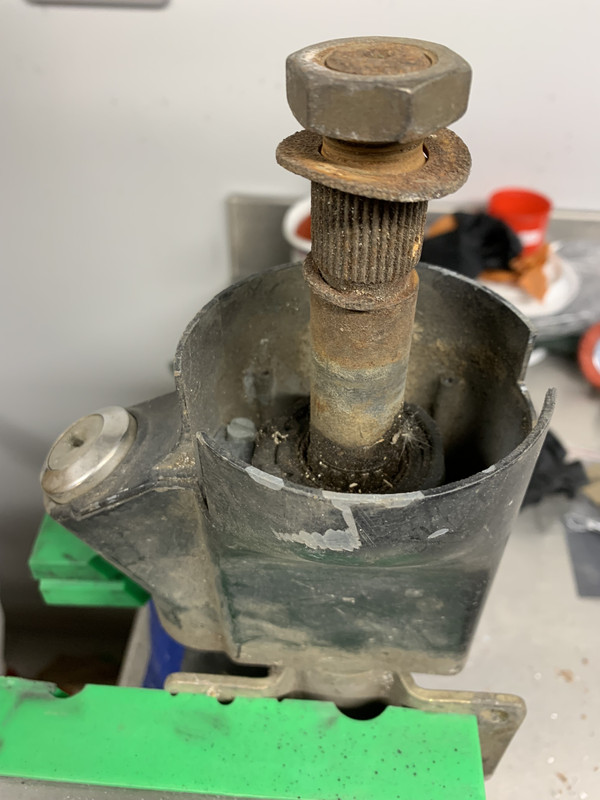
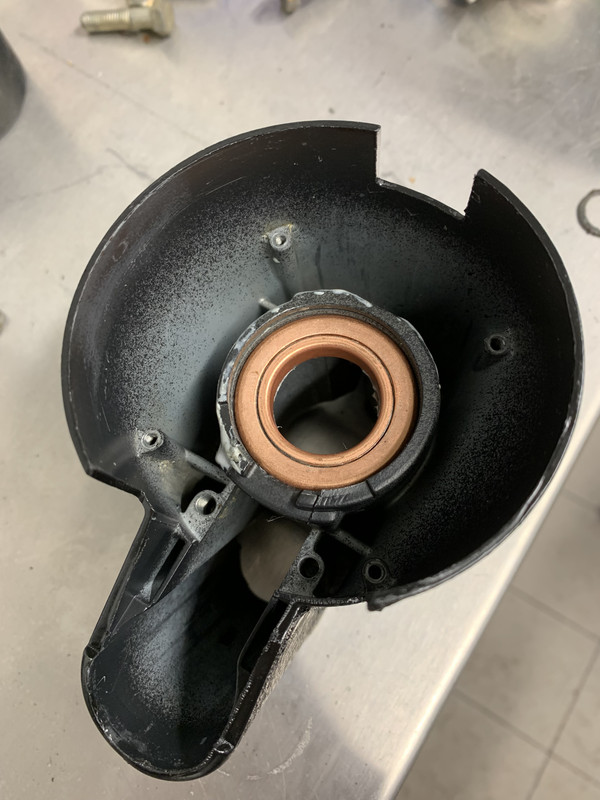
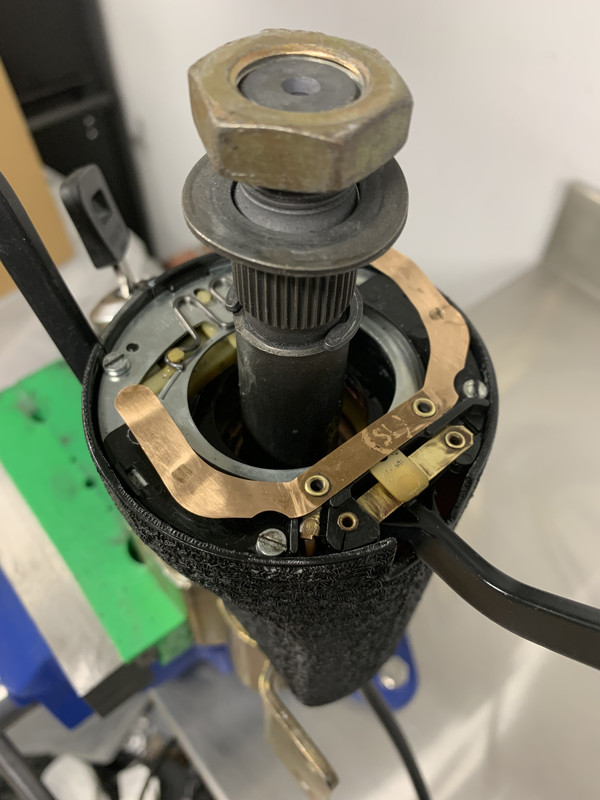
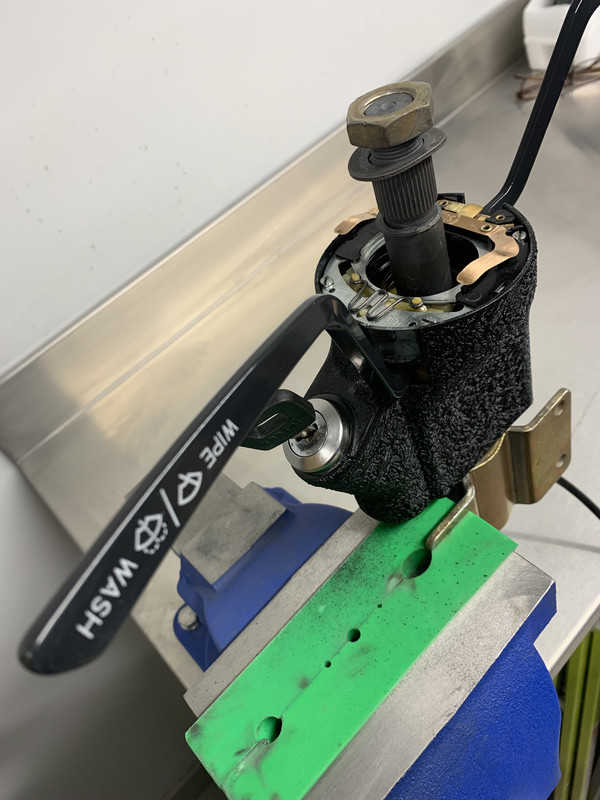
Time to change the bearings in the steering column
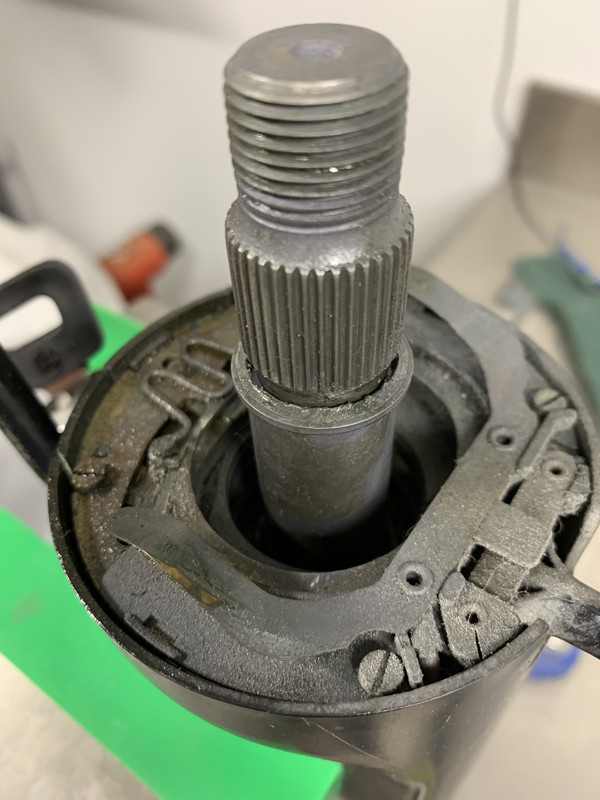
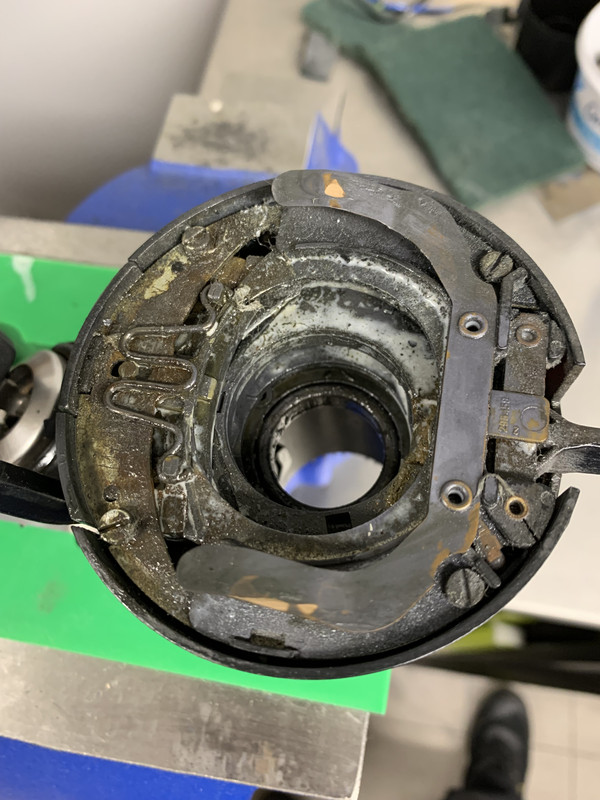
50 years of crud
Jeez, where do we start!
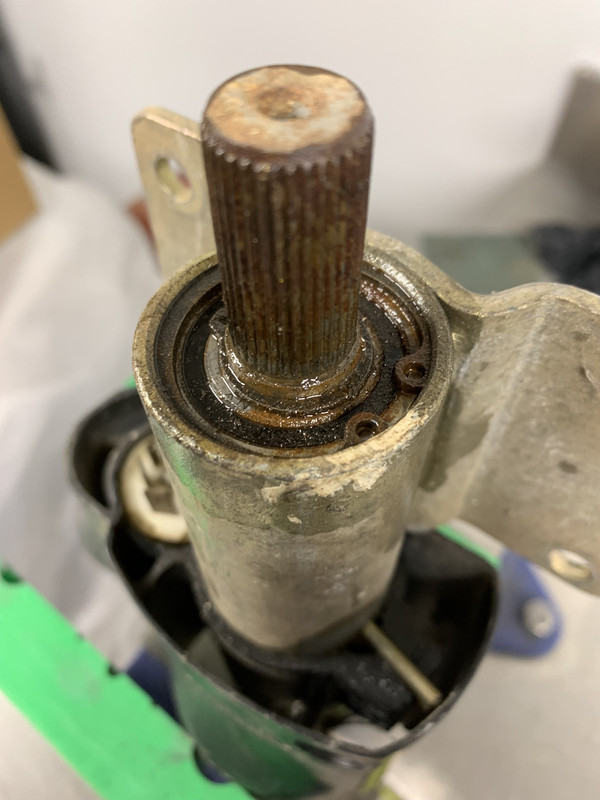
3 different bearings in this little bugger. All were sort of okay, but best to change them after all that time.
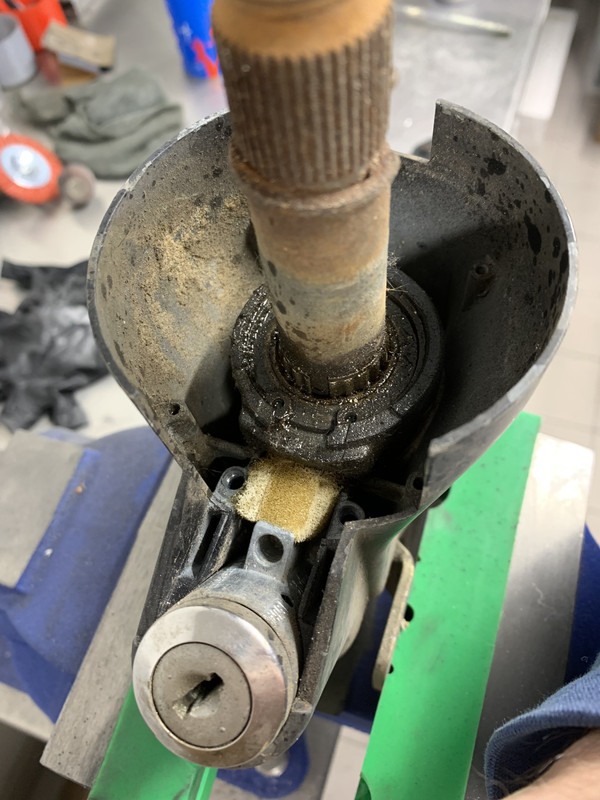
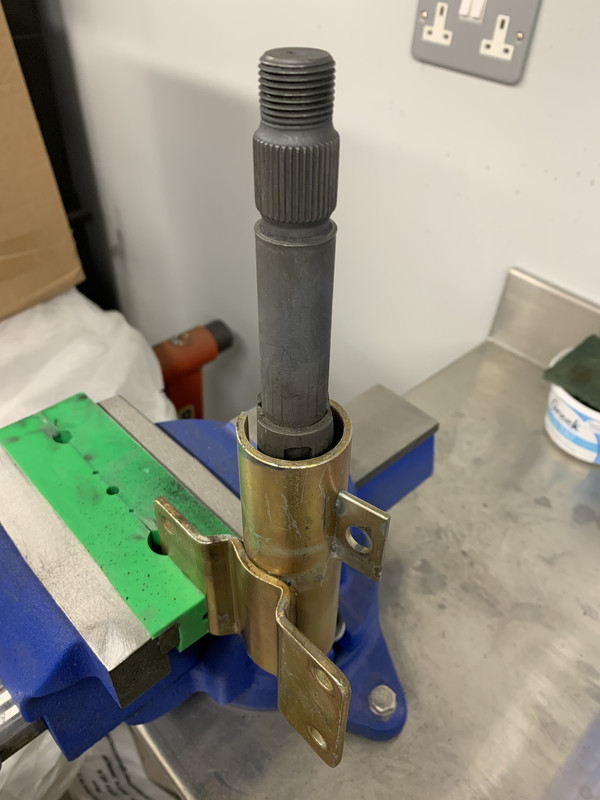
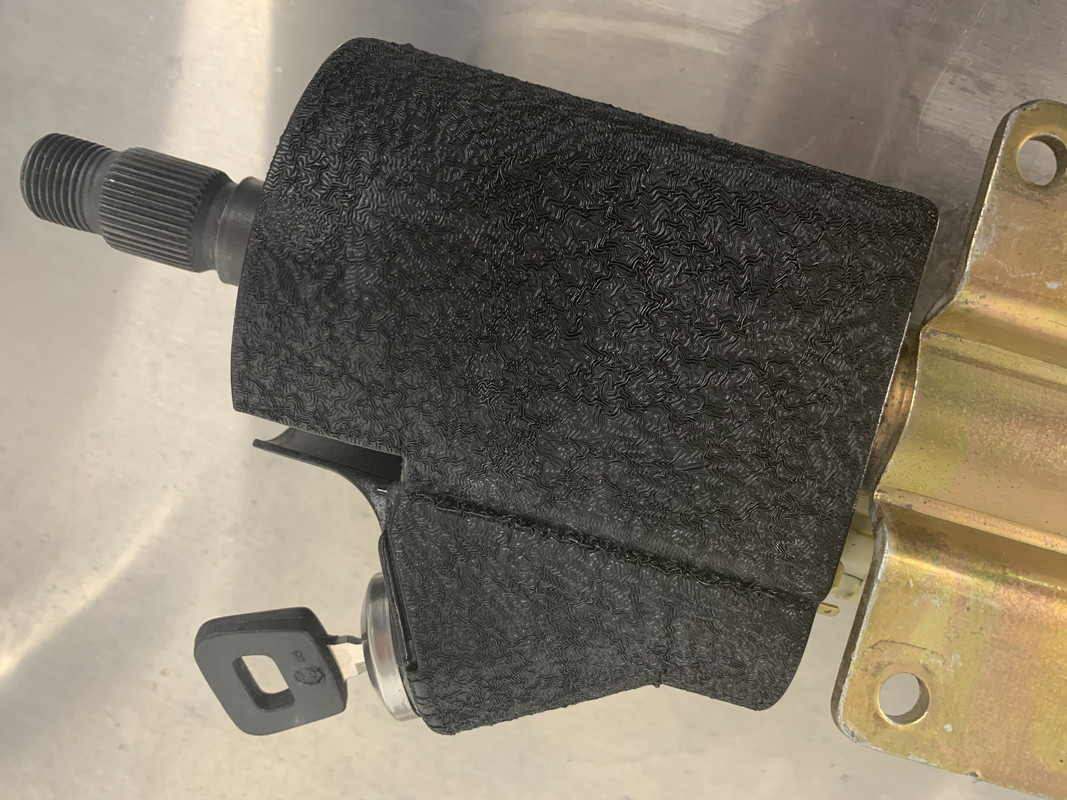
Lots of cleaning before paint and bearing replacement...
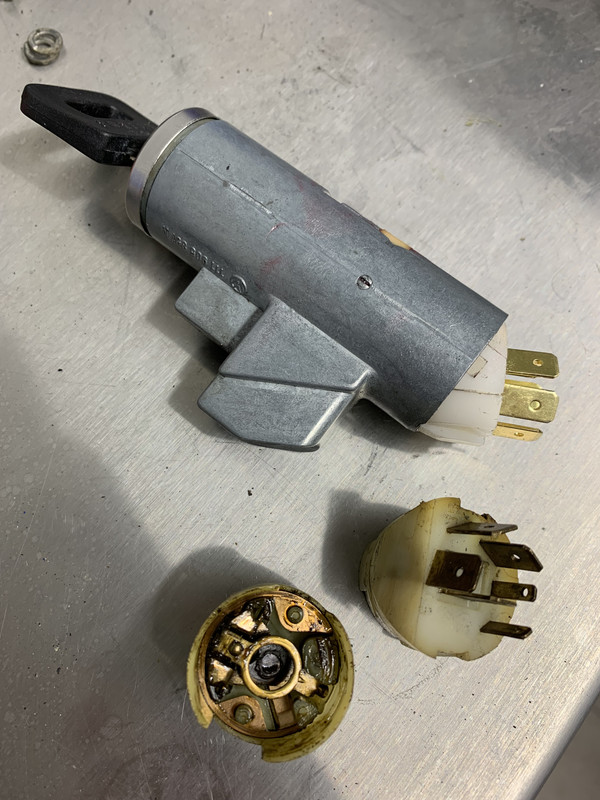
Ignition switch cleaned and electrical switch replaced.


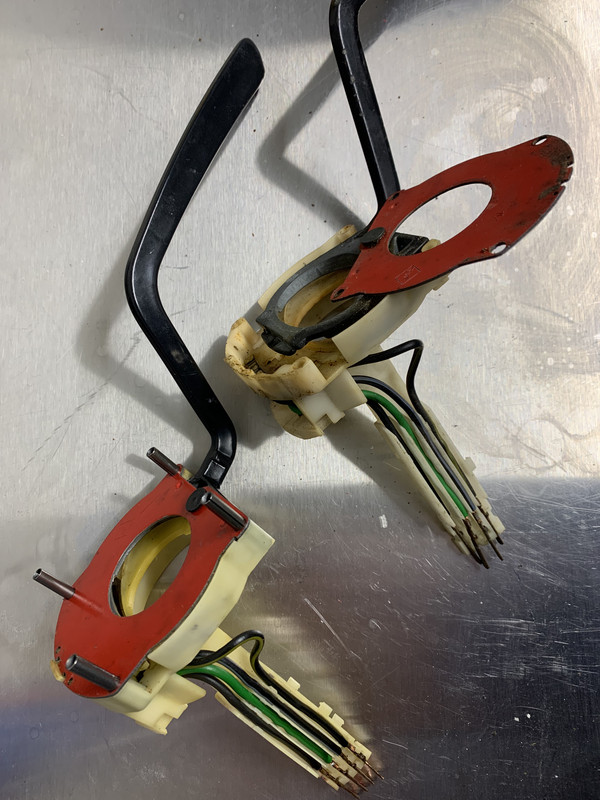
Lots of exploding tiny springs and tingz in the stalks.
Cleaned all the connections and check that everything buzzed through.
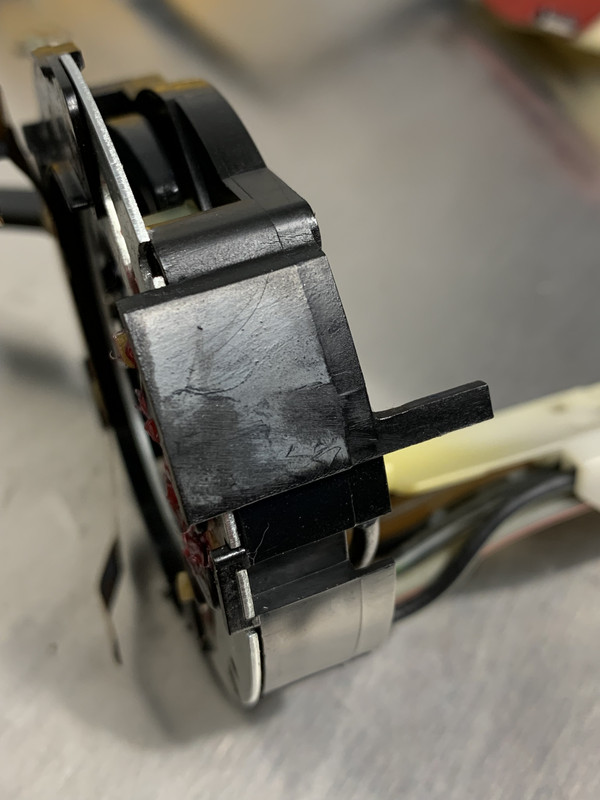
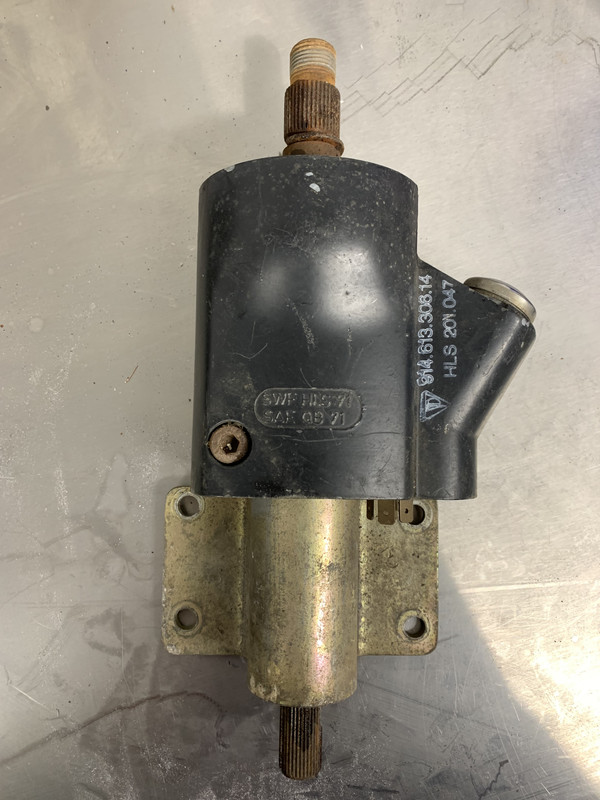
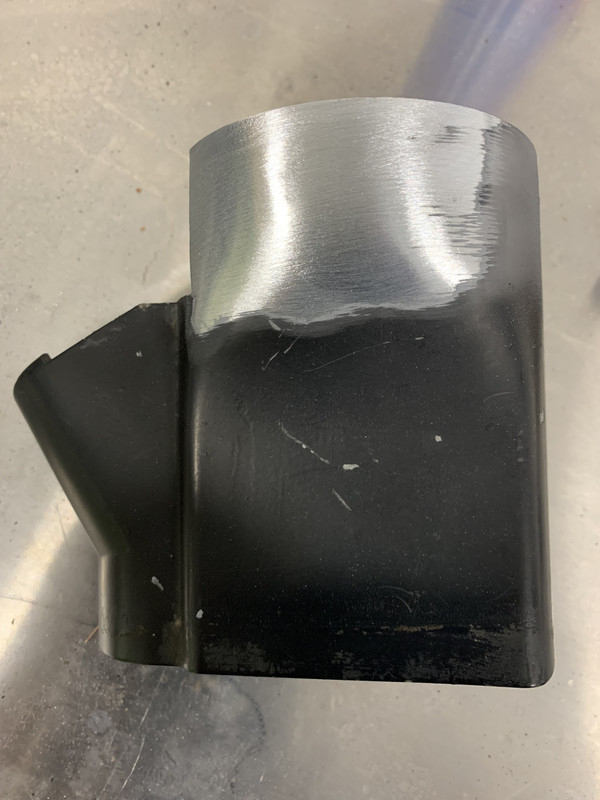
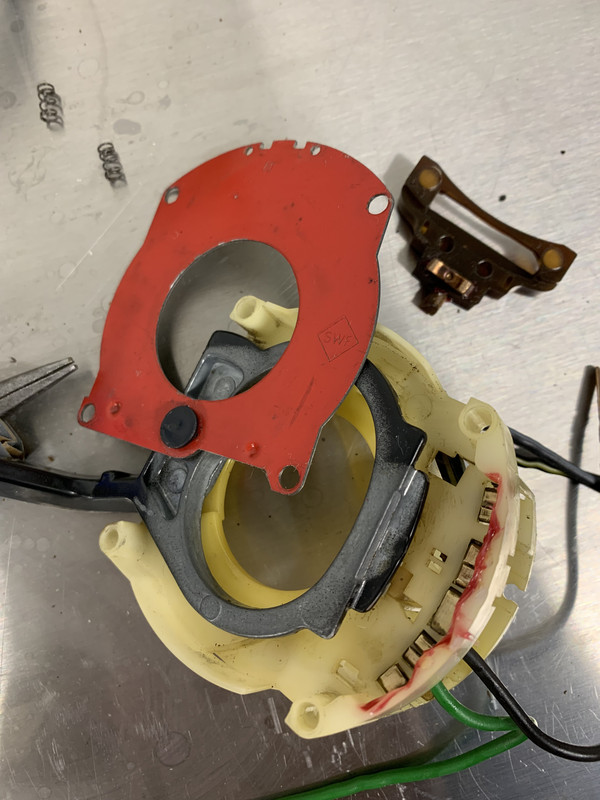
This little tag needs to be removed if fitting an intermittent wipe option. I still have not trcked down the correct stalk to get this to work so I think i'm going to used a seperate hidden switch. I have bought a couple of stalks off EBay that look like they will work, but no joy.
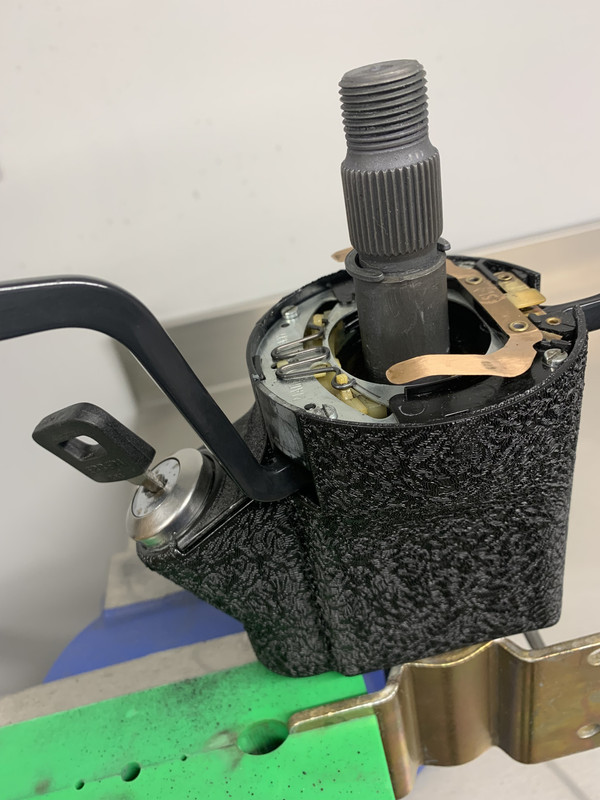
So all back together and working. crackle finish fits in with the dashboard really nicely.
A bit more to add later...
Here is some progress.
Time to change the bearings in the steering column
50 years of crud
Jeez, where do we start!
3 different bearings in this little bugger. All were sort of okay, but best to change them after all that time.
Lots of cleaning before paint and bearing replacement...
Ignition switch cleaned and electrical switch replaced.
Lots of exploding tiny springs and tingz in the stalks.
Cleaned all the connections and check that everything buzzed through.
This little tag needs to be removed if fitting an intermittent wipe option. I still have not trcked down the correct stalk to get this to work so I think i'm going to used a seperate hidden switch. I have bought a couple of stalks off EBay that look like they will work, but no joy.
So all back together and working. crackle finish fits in with the dashboard really nicely.
A bit more to add later...
h'Project Blue Book' - 'The Red Baron' - Amber Alert!