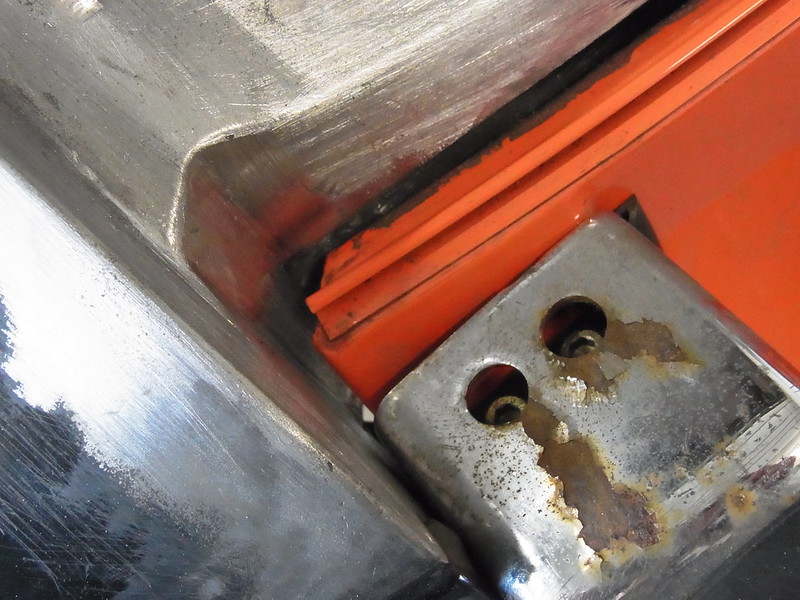
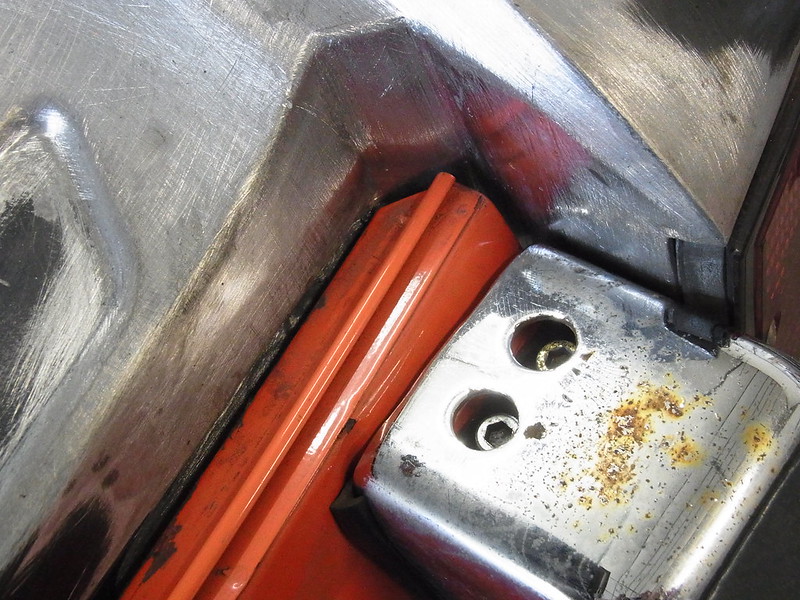
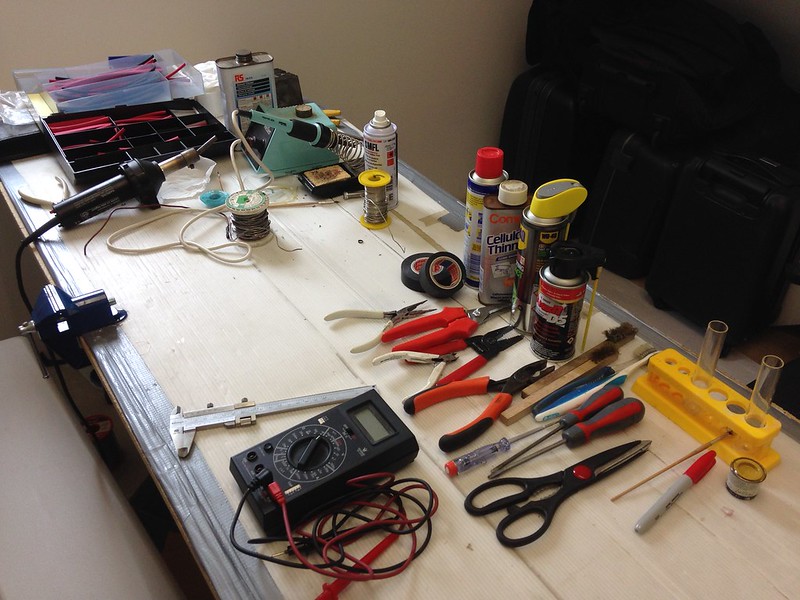
Unlike a lot of the work to date, this was a job that I felt we could do. I say we since my dad, a retired electronics engineer, helped me considerably (and even my mum joined in with some of the cleaning). Although my wiring appeared to be original and largely untampered with, it was in considerably worse condition than I had anticipated and some areas actually looked quite scary with badly damaged and burnt out wires. If you are considering repairing your wiring, allow plenty of time: in total we clocked up about 50 hours x 2 people. Carrying out the work ourselves was very satisfying and overall I am really pleased with the results. However, I am slightly less sanguine about the experience. Other than the hours, I think you need to be technically proficient to handle certain aspects. A good example was with one of the 14 pin multi-plugs at the back of the car where we had noticed some scorching on one of the pins and upon opening the plug, we found one of the wires was seriously burnt out. Repairing this and reassembling the plugs was a challenge and I therefore don't think it is for novices. You also require certain bits of kit, something which we had but I wouldn't expect everyone else to have lying about:
There were many areas where the wiring was not damaged but we chose to employ an if in doubt, change it attitude. One example was the rear screen heating element loom which felt stiff across about half its length and the pvc tubing was also hard and had gone brown, we could have changed this half but instead chose to change the whole loom.
If you are thinking of doing this yourself, here are a few tips I can share:
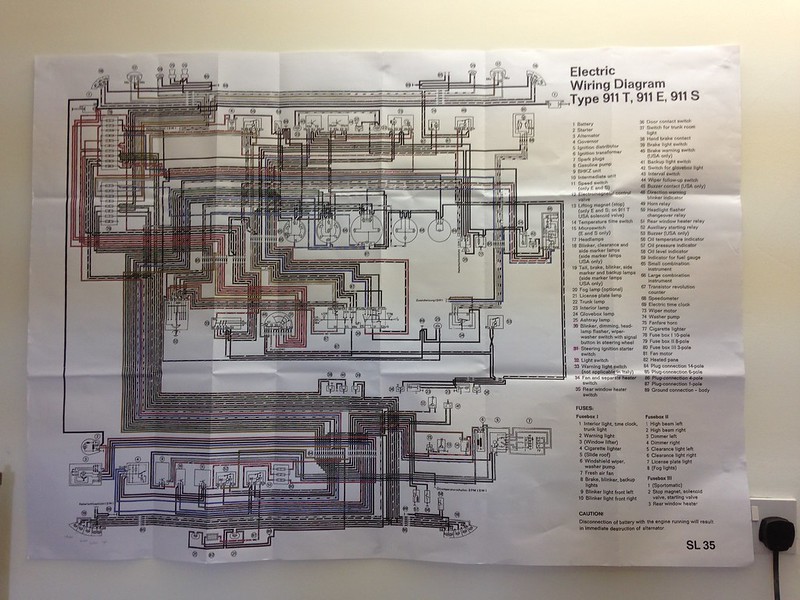
- The wiring diagram is useful but is quite difficult to read so I had it printed as an A0 poster and stuck this up on the wall which is also useful as a quick reference:
- It is a good idea to carefully open the 14 pin multi-plugs since there was a lot of dirt in mine. Obviously, when doing so, make a note of the wiring order.
- Some replacement wire with tracer is not available so I ordered the base colour and painted the tracer marking on with some Humbrol enamel model paint I had lying around which worked really well and doesn't readily rub off.
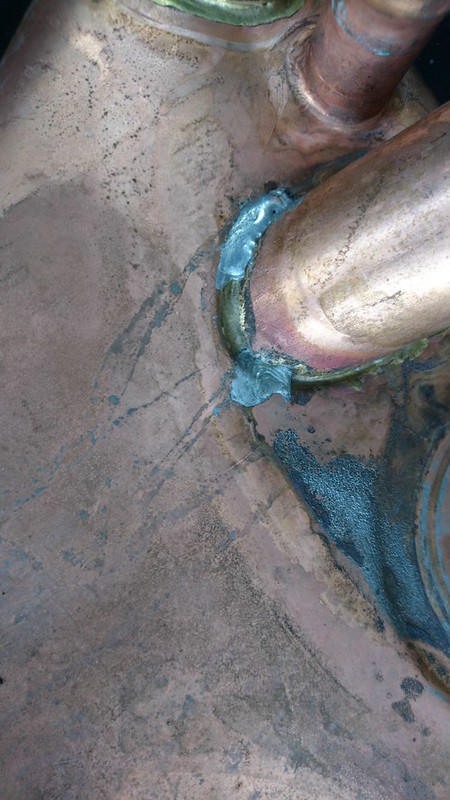
- We found that when repairing a damaged wire it was good to splay open the strands, join the old and new with a twisting action and then spiral wrap them with a single strand of new copper wire to hold them all together before soldering.
- Another useful tip from my dad: when using heat shrink sleeve on a soldered joint, apply the heat to the ends of the sleeve and do not apply too much heat to the sleeving over soldered area since it can puncture. Better to leave a soft balloon over it.
So in short, if you have the ability, I highly recommend doing this yourself and you can repair it to your own standard.
Many thanks to Richard (inaglasshouse) for his help and guidance.
Gitesh