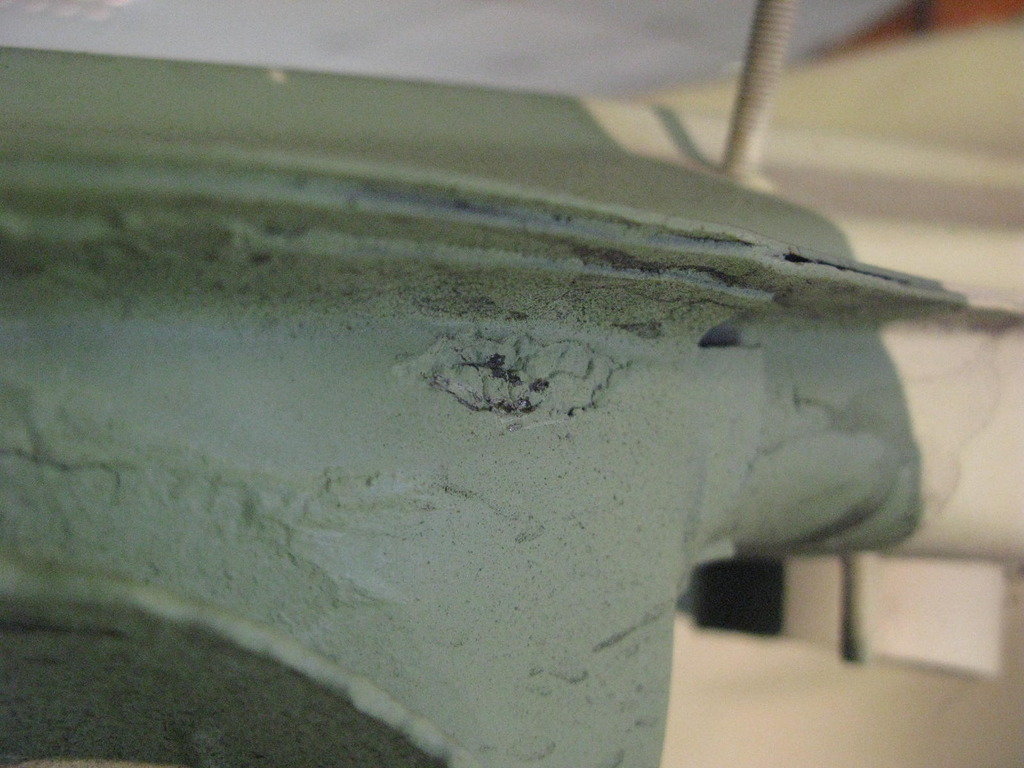
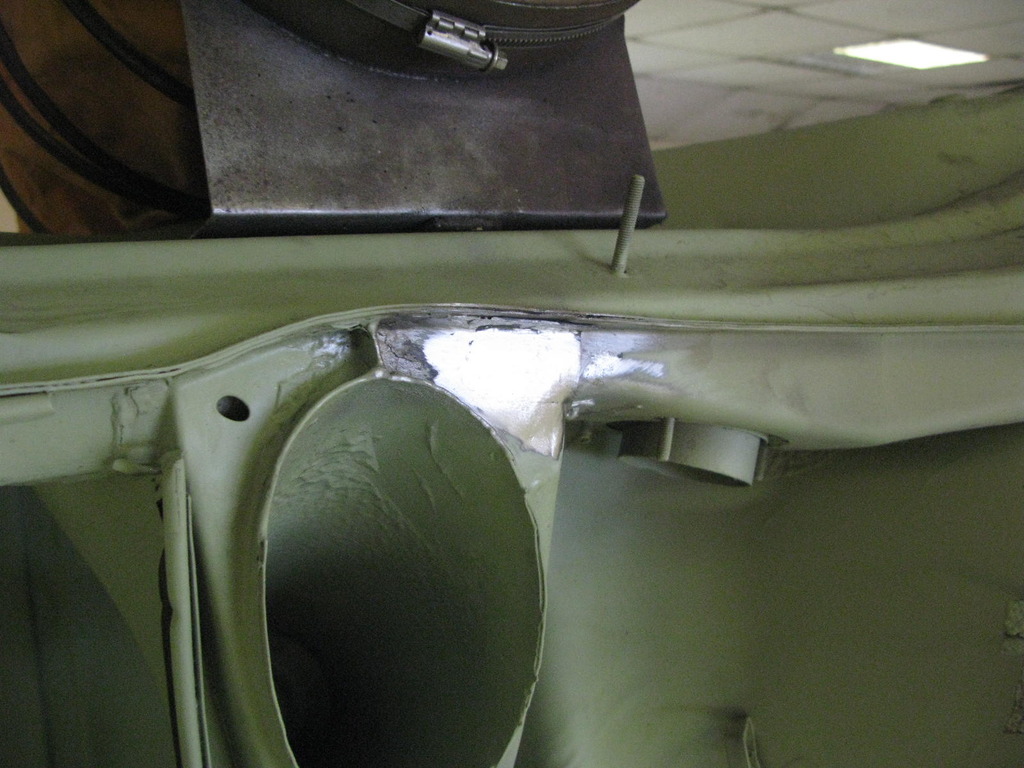
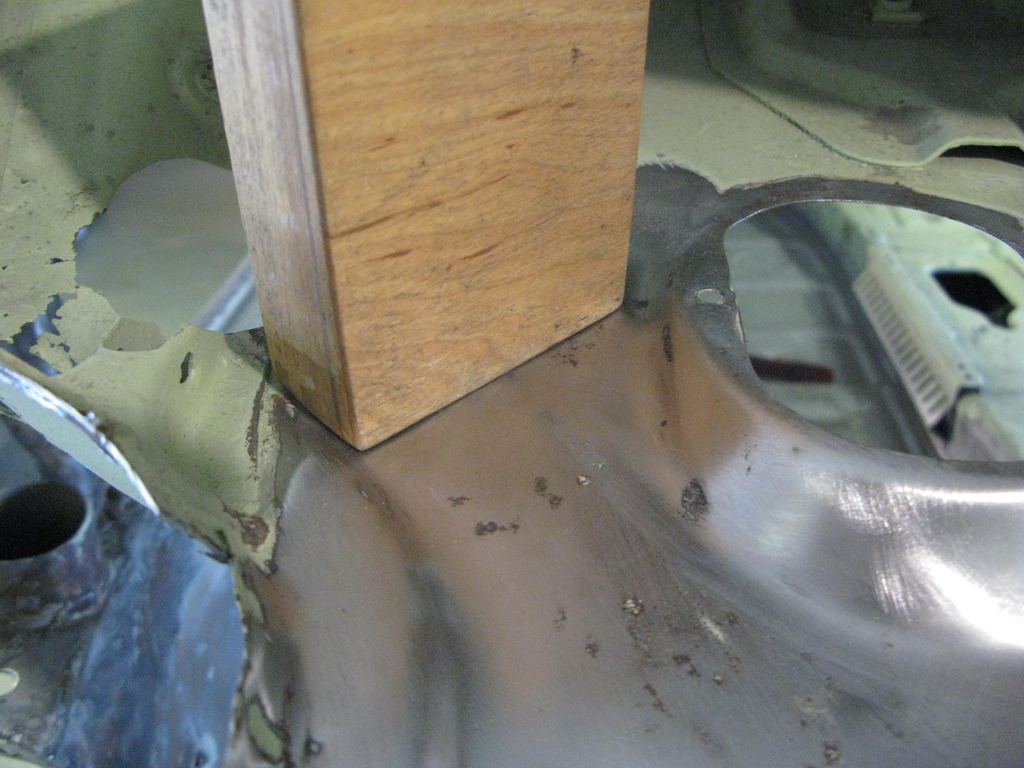
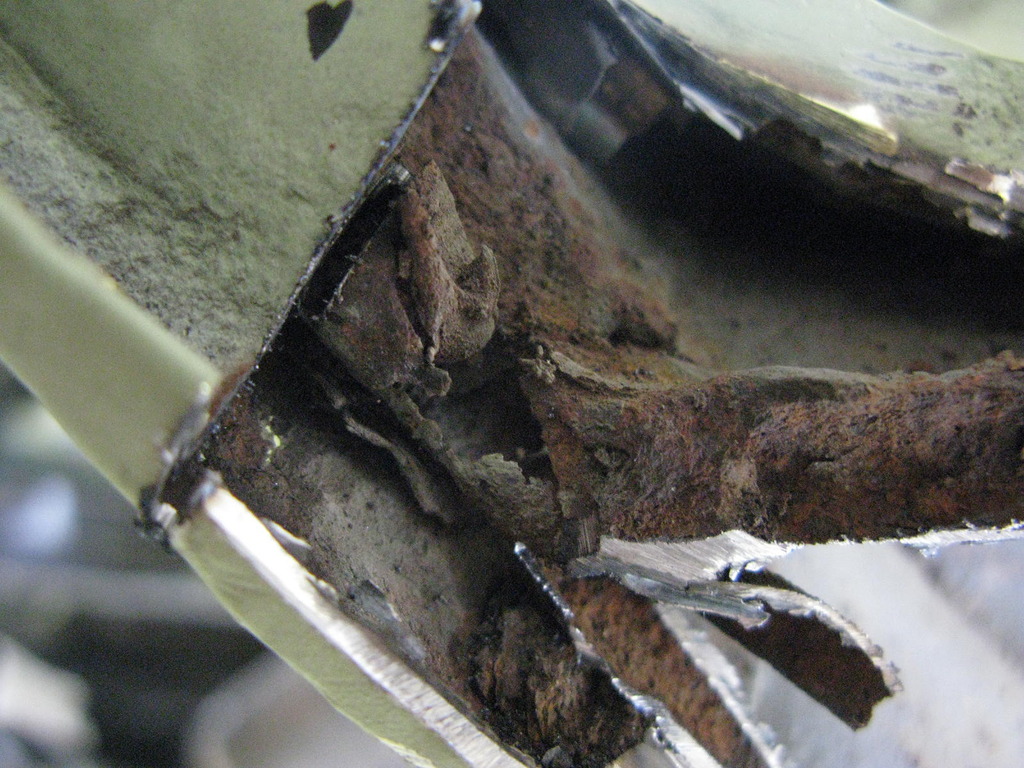
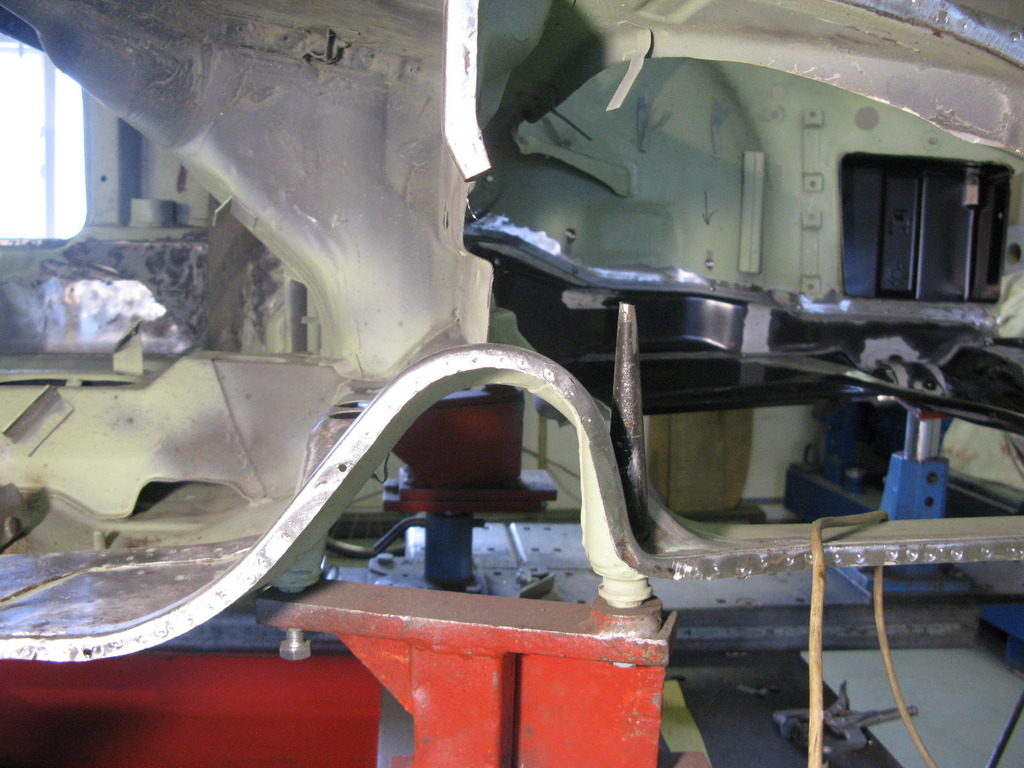
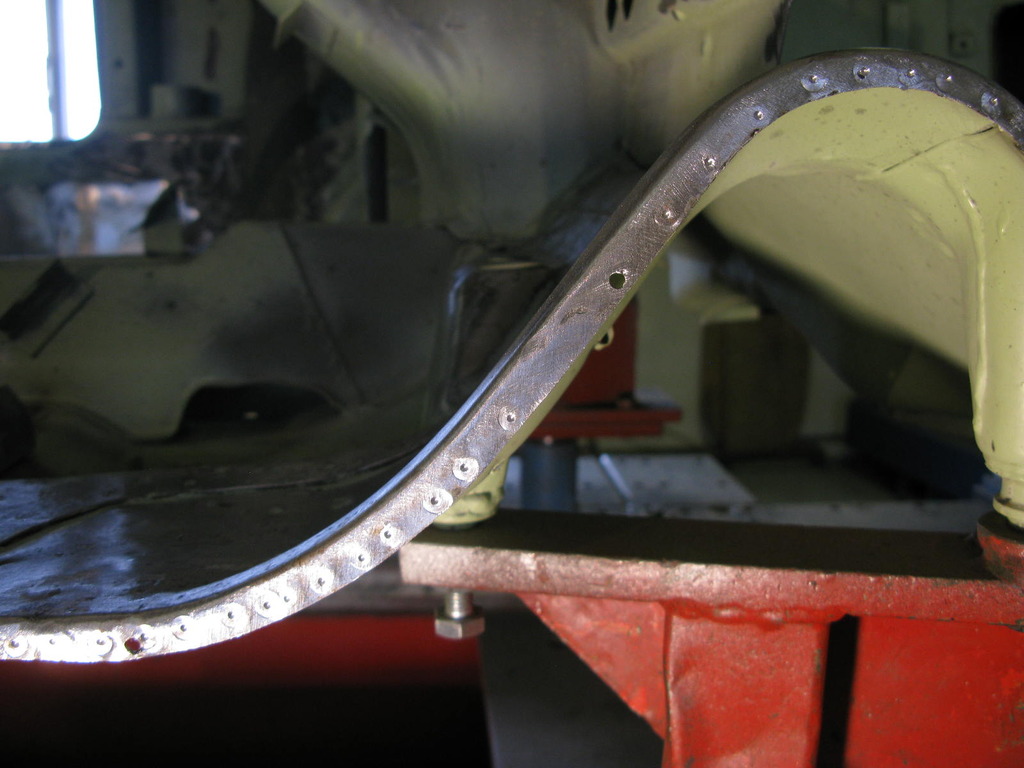
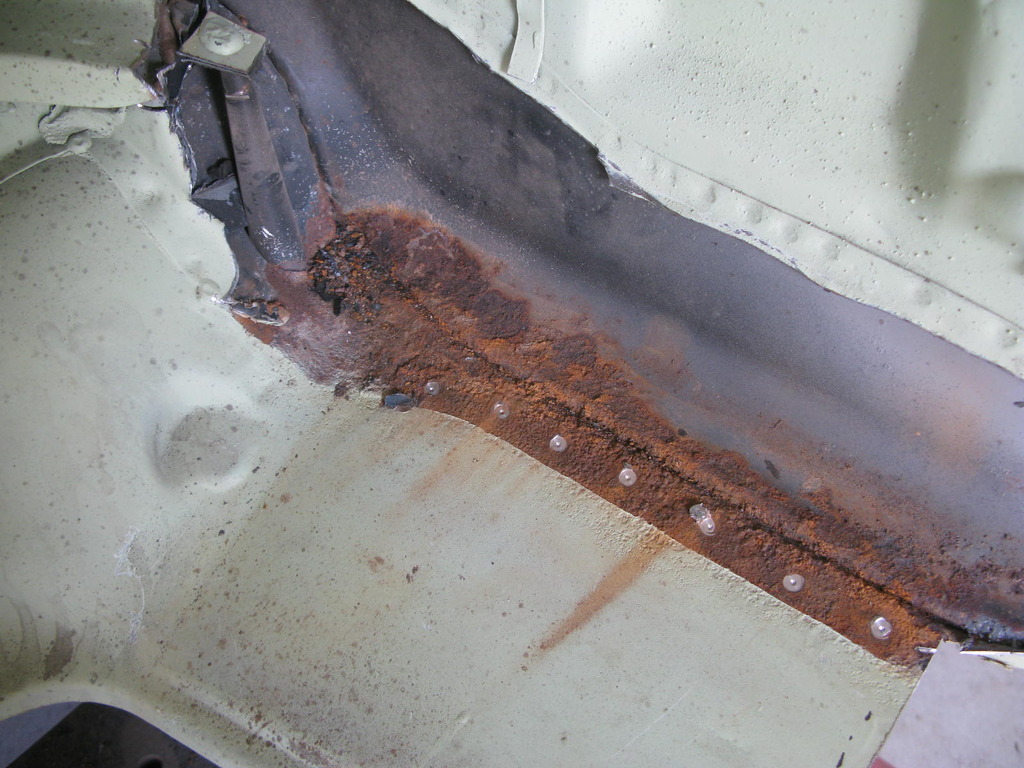
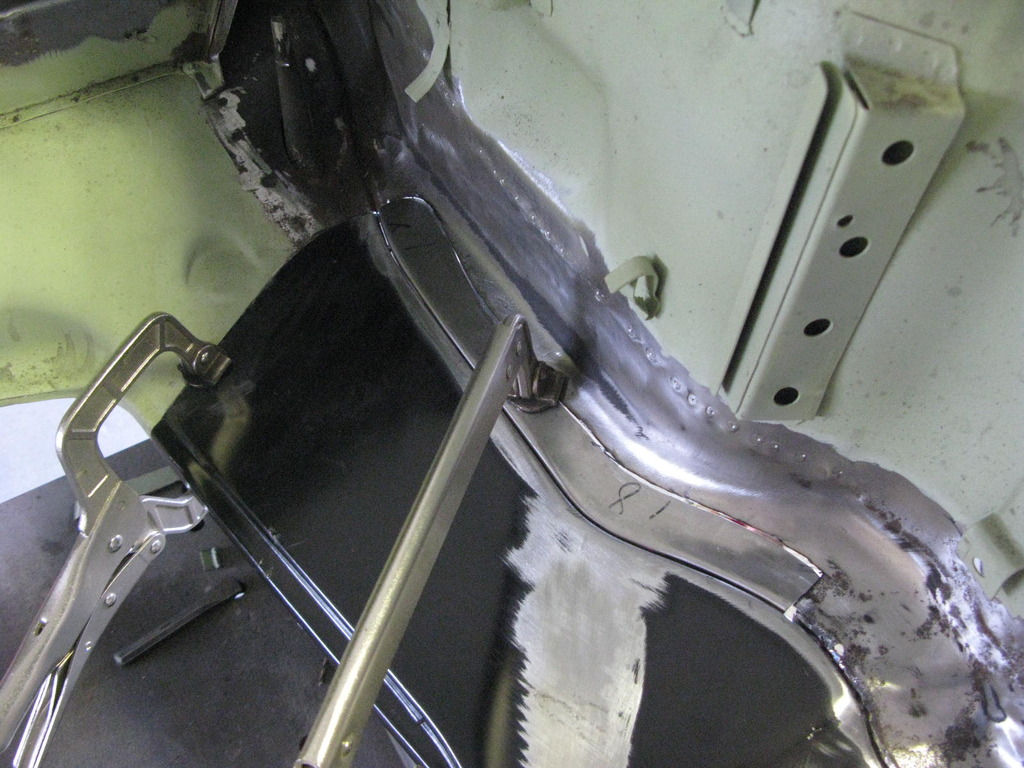
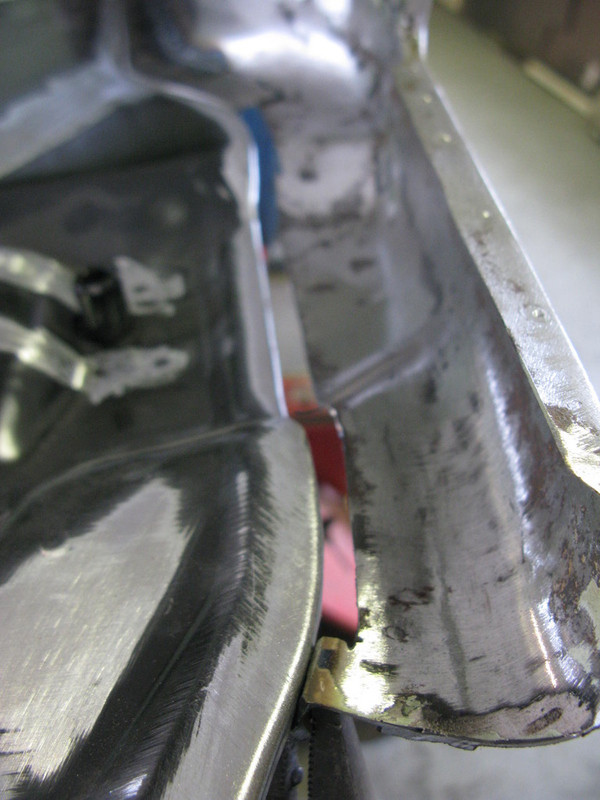
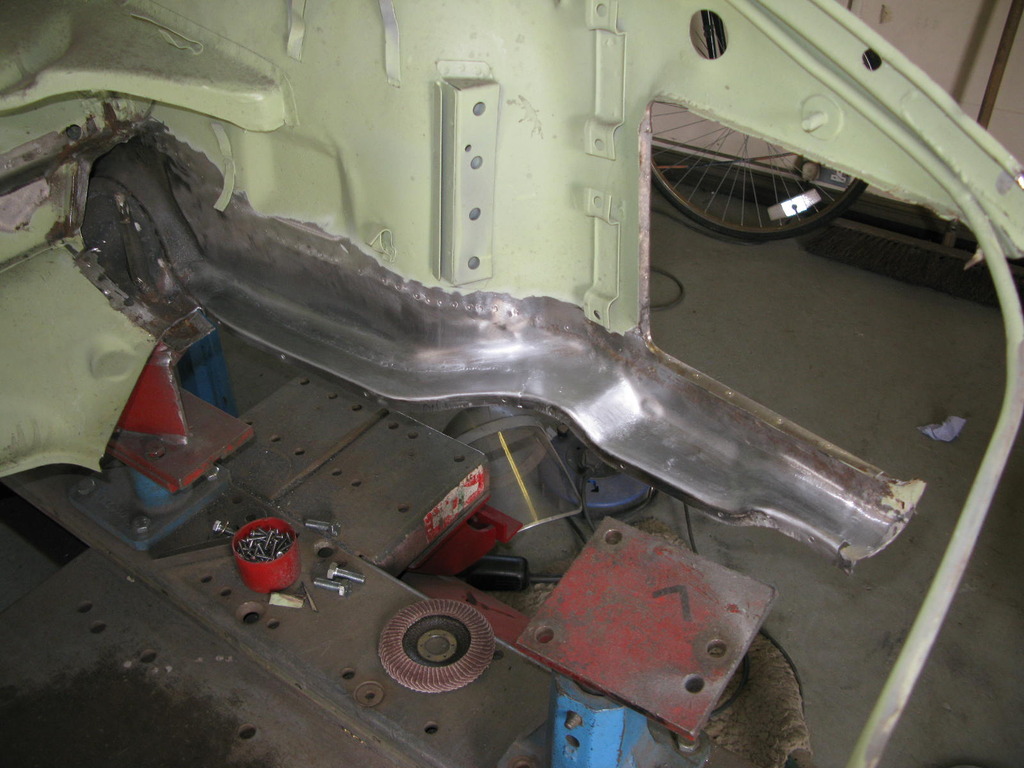
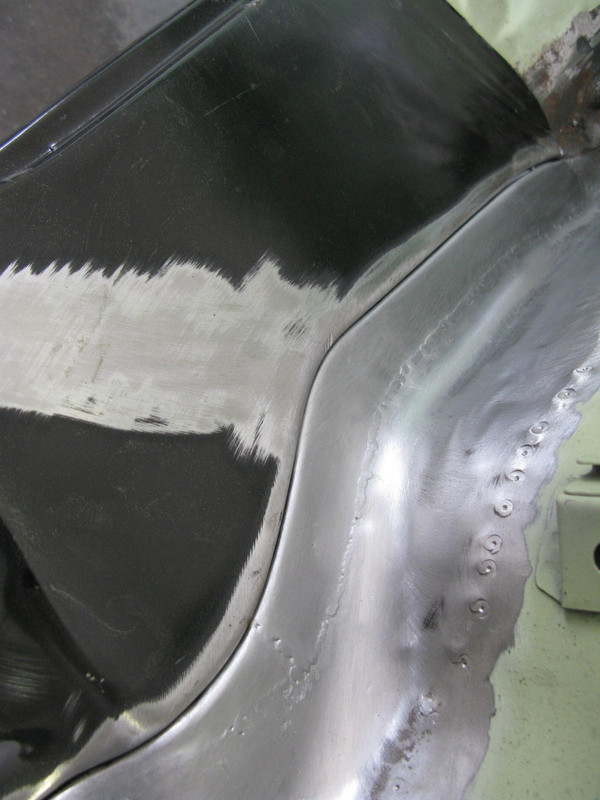
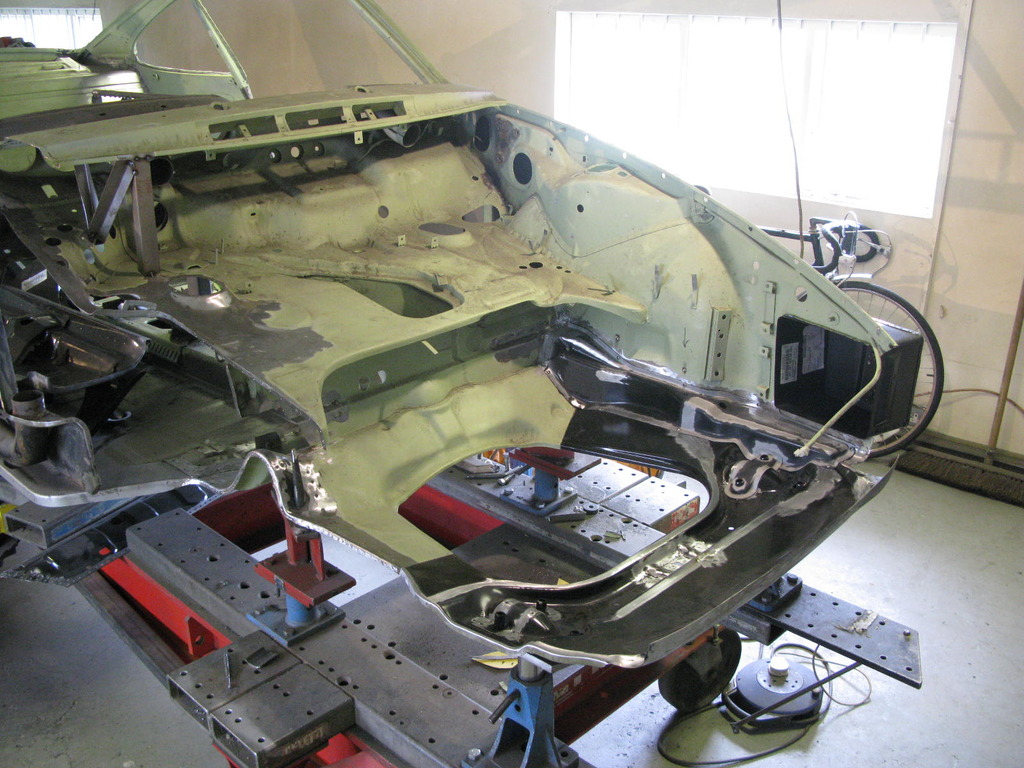
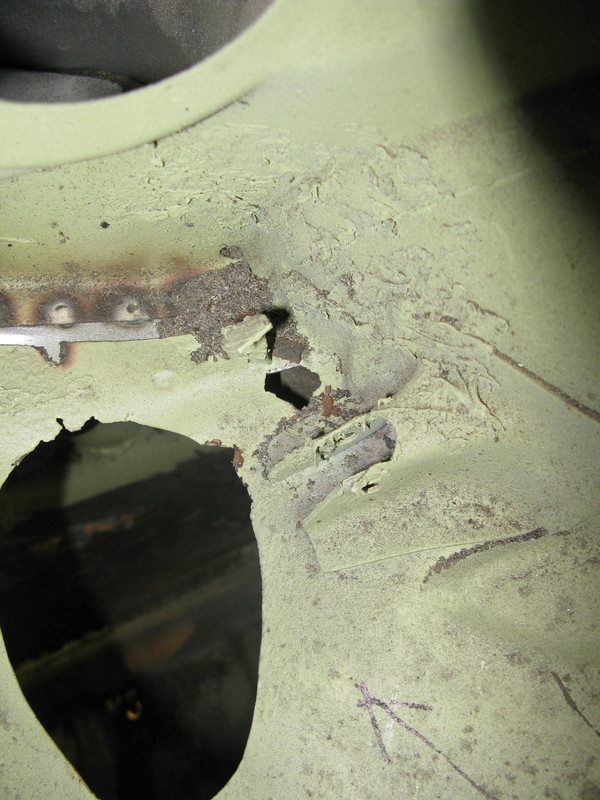
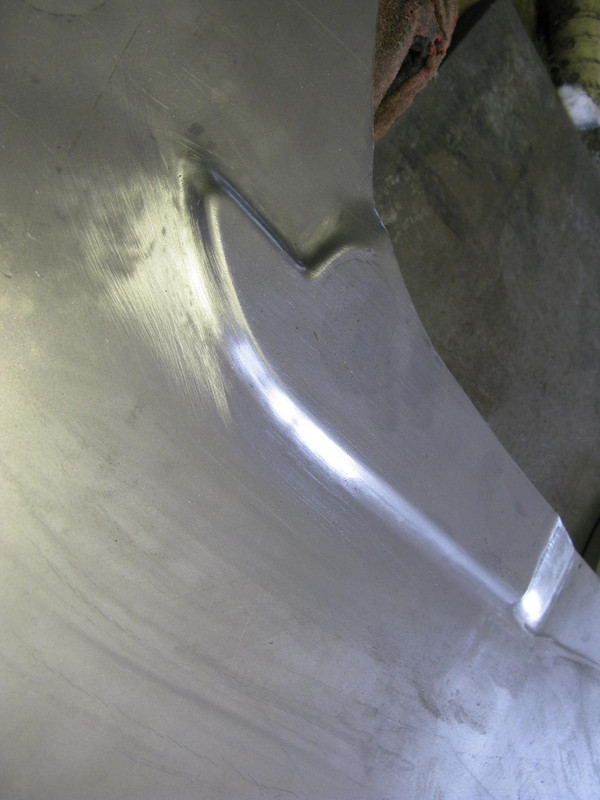
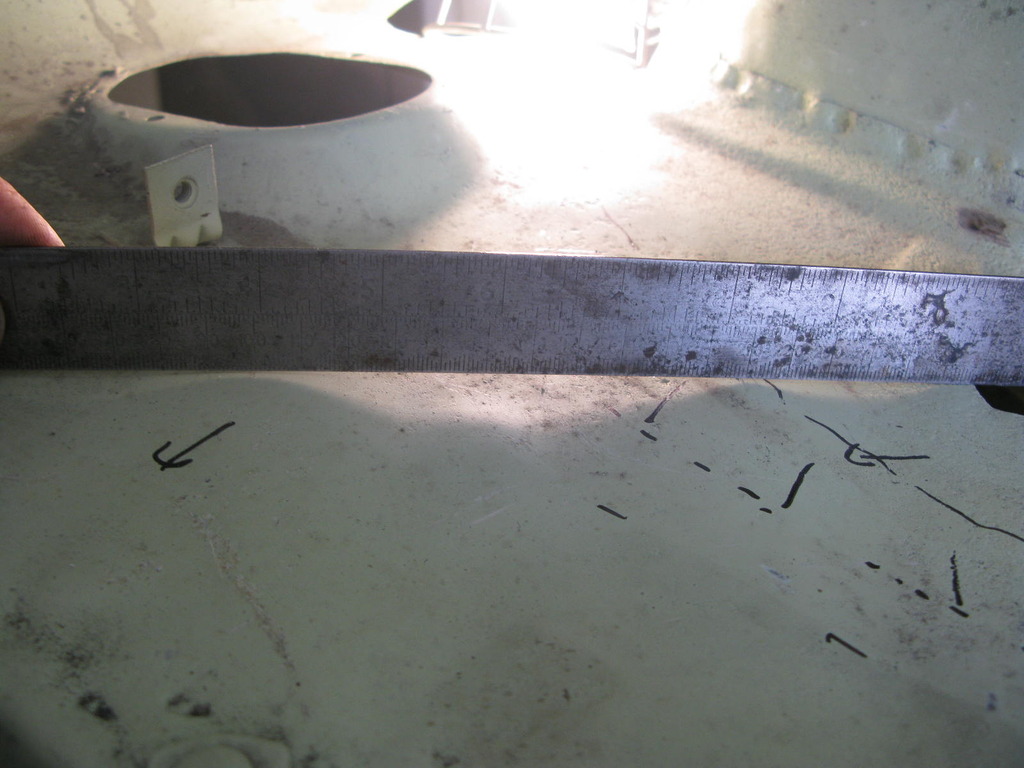
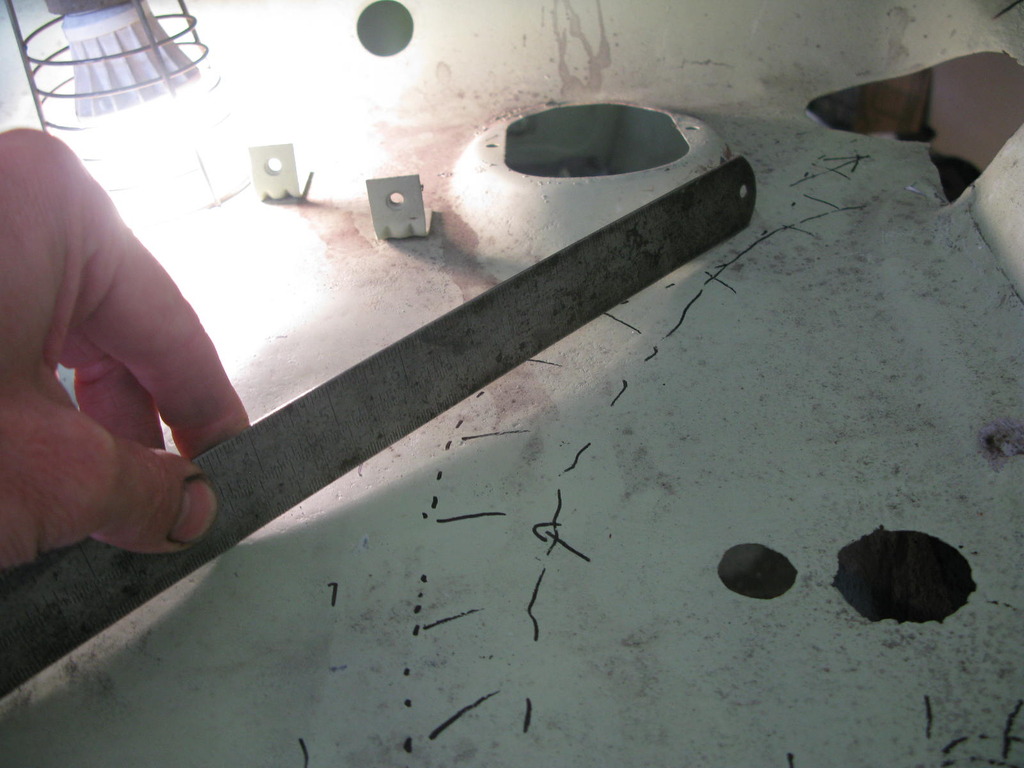
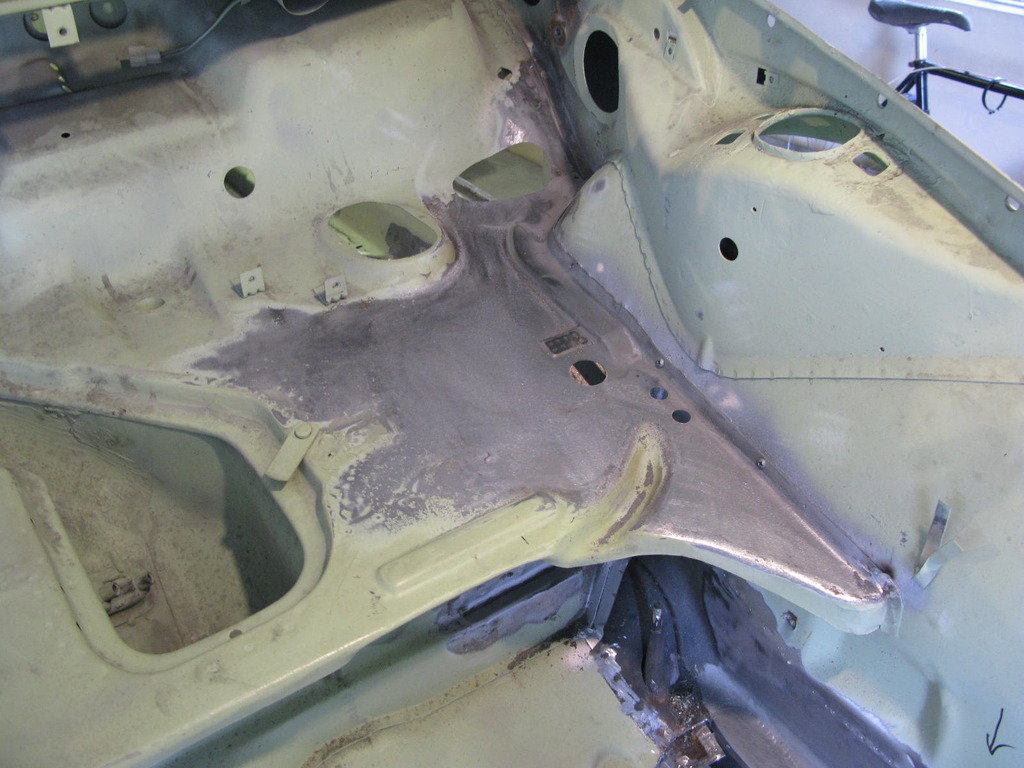
29. N/S/F inner wing base.
The base of the inner wing was quite badly corroded underneath the old chassis leg / side tank support, plus the flange joining the wing to the front pan had been through the mill before and was beyond help. Therefore, Barry removed the rearmost section first, whilst retaining the front. He explained that he tries to have a handshake of some sort between known good references and new metal. Obviously it would be the easiest thing in the world simply to run the cutter right around the whole lot and drop it out, only later would you realise you have no way of judging what the width should be at the inner wing base. You'll notice that even later on there's a tiny fragment of original (cleaned up) flange, just to guide him to the correct positioning of everything. Takes longer, but really pays off later.
Anyway, lots of new metal with fresh, tight fitting and full thickness flanges.
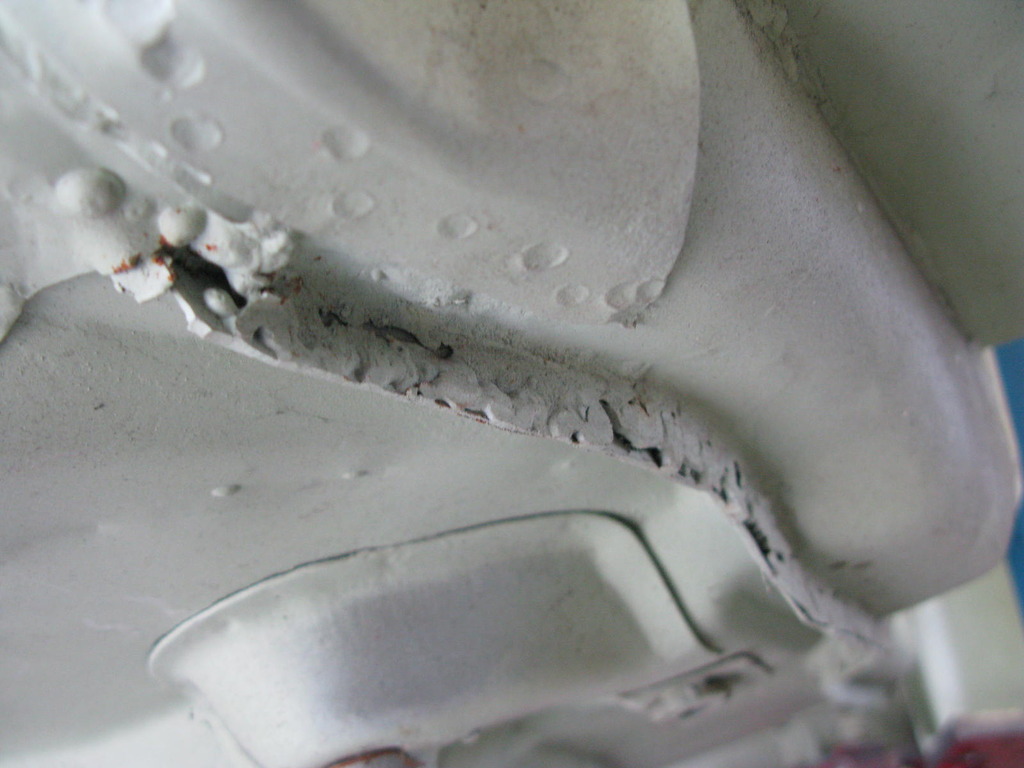
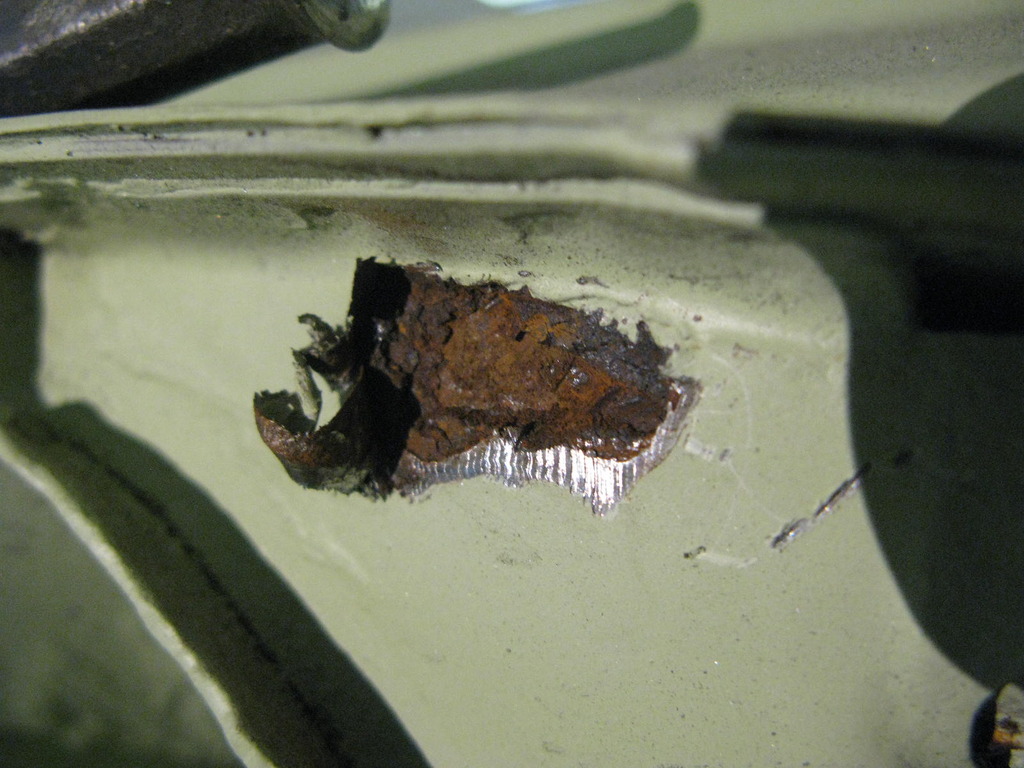
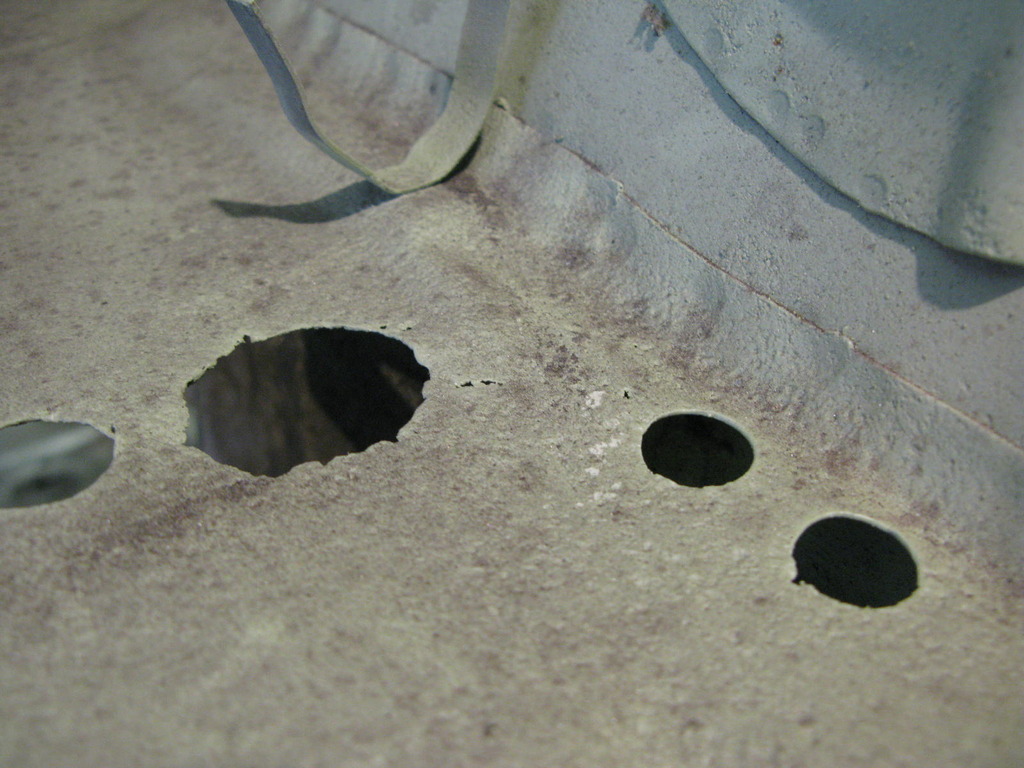
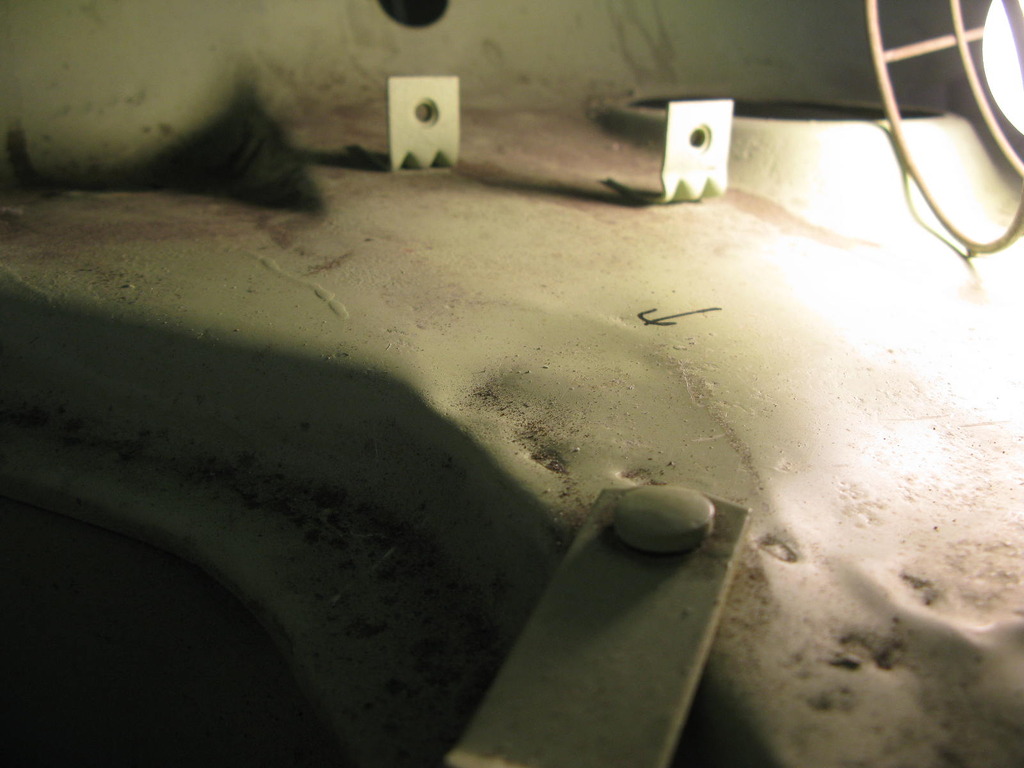
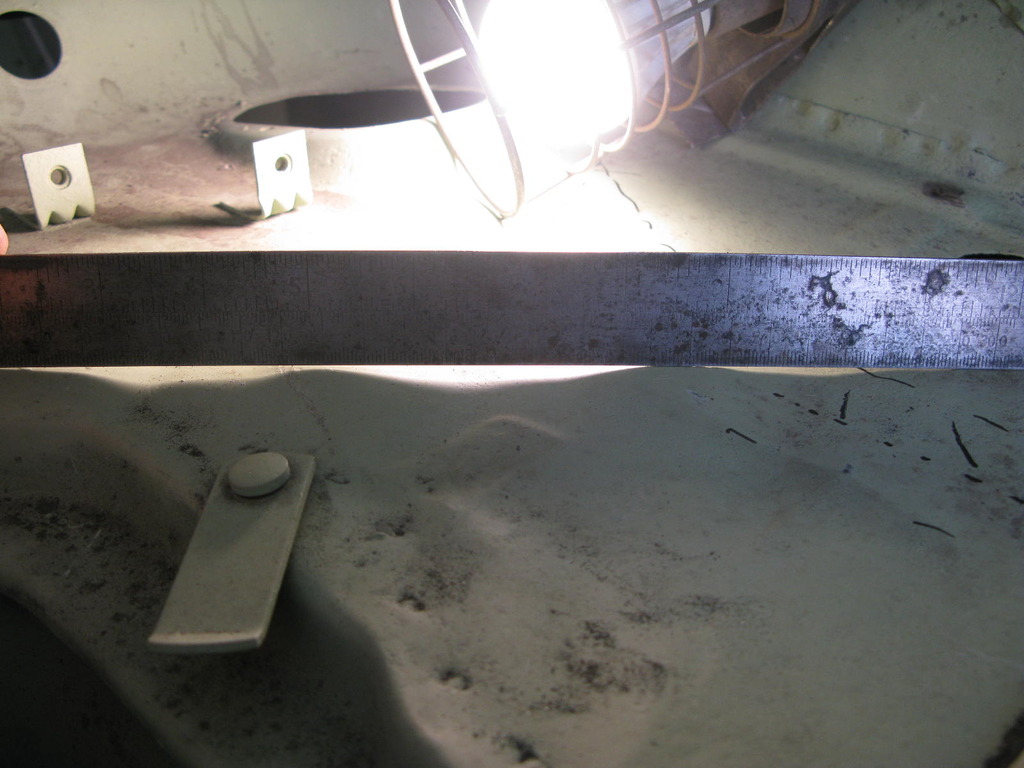
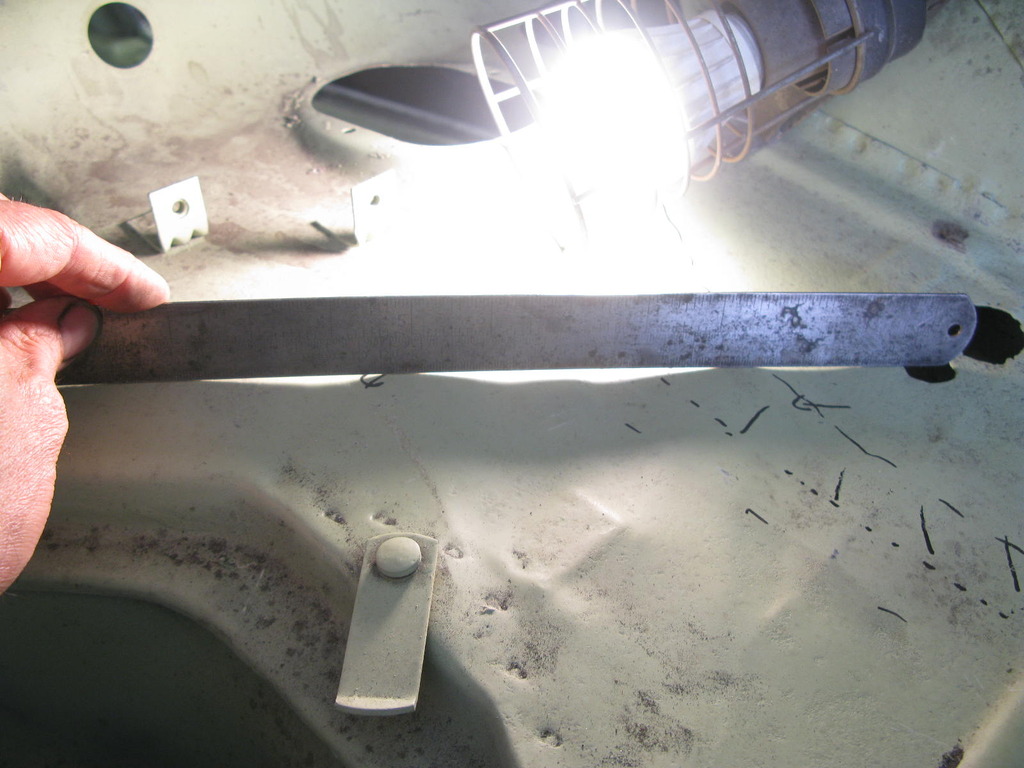
Reminder of hidden corrosion in this area.


]
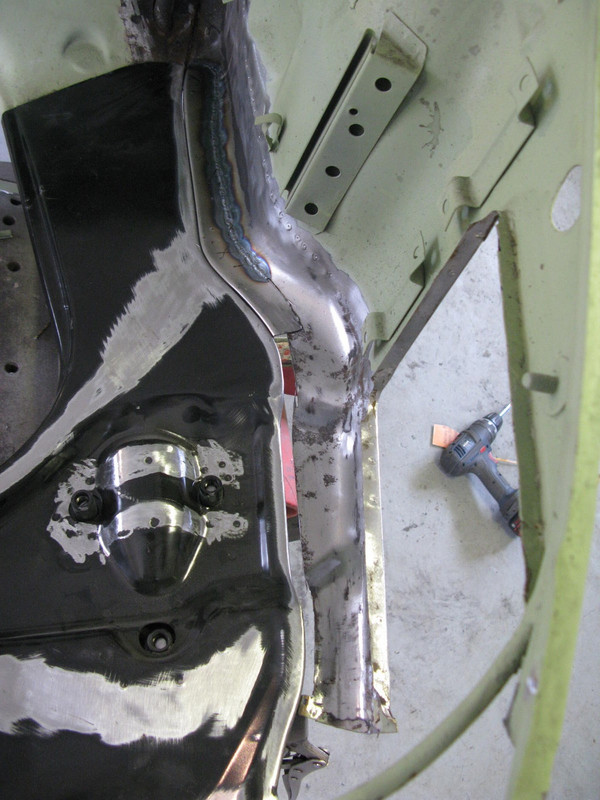
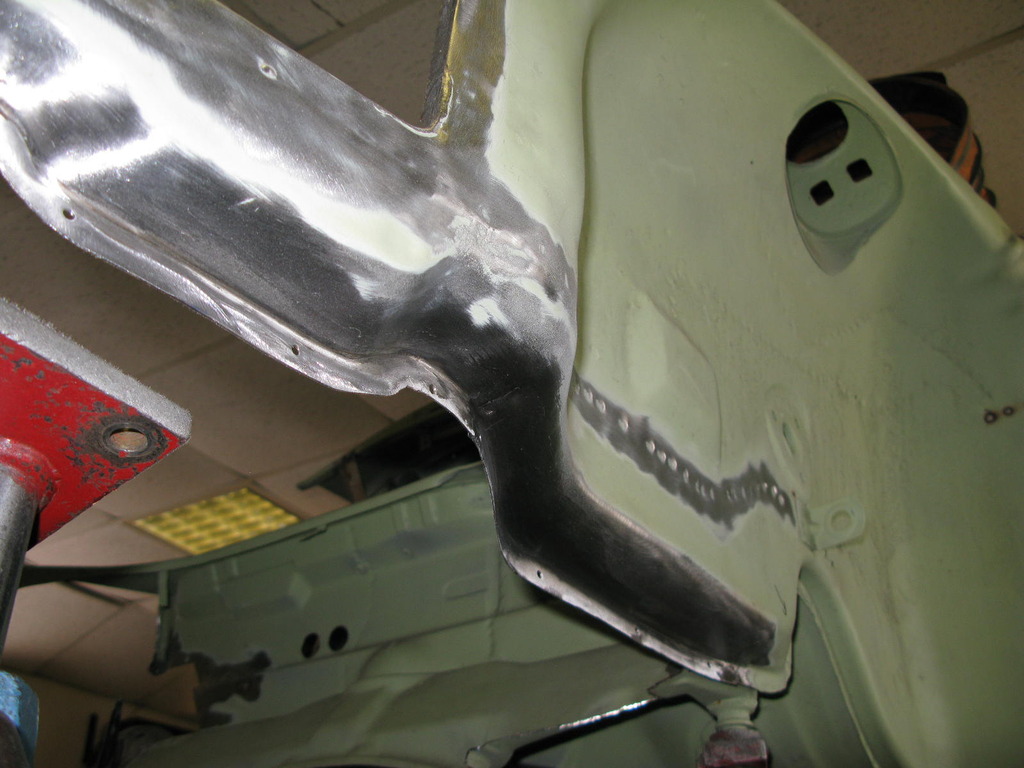
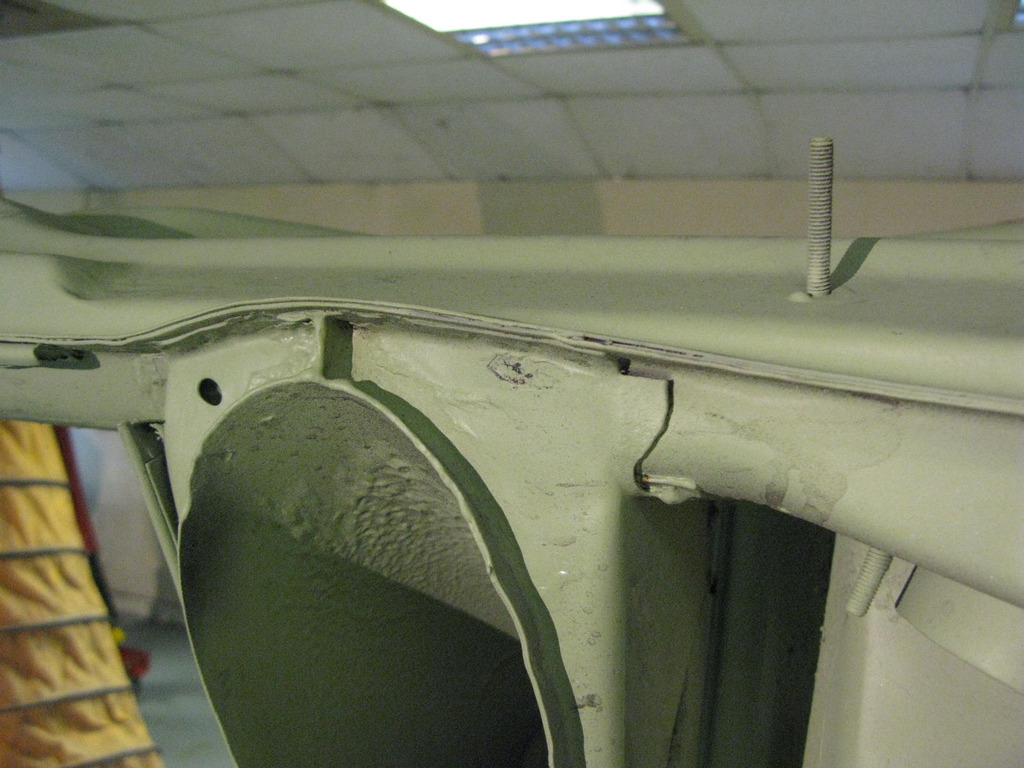
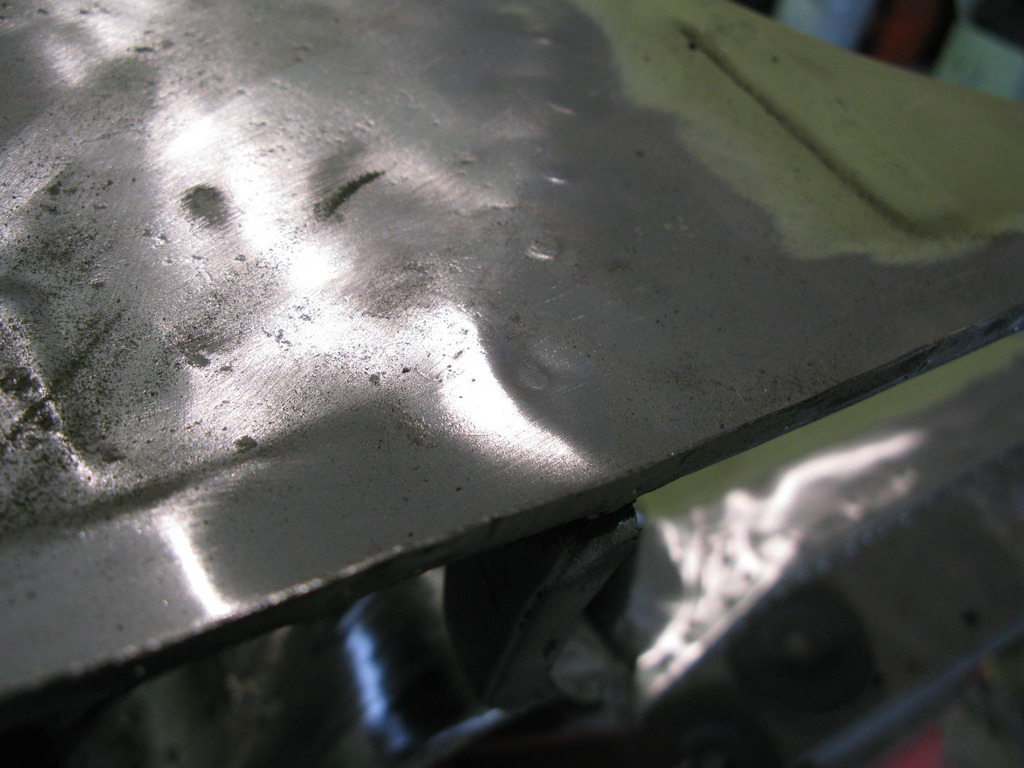
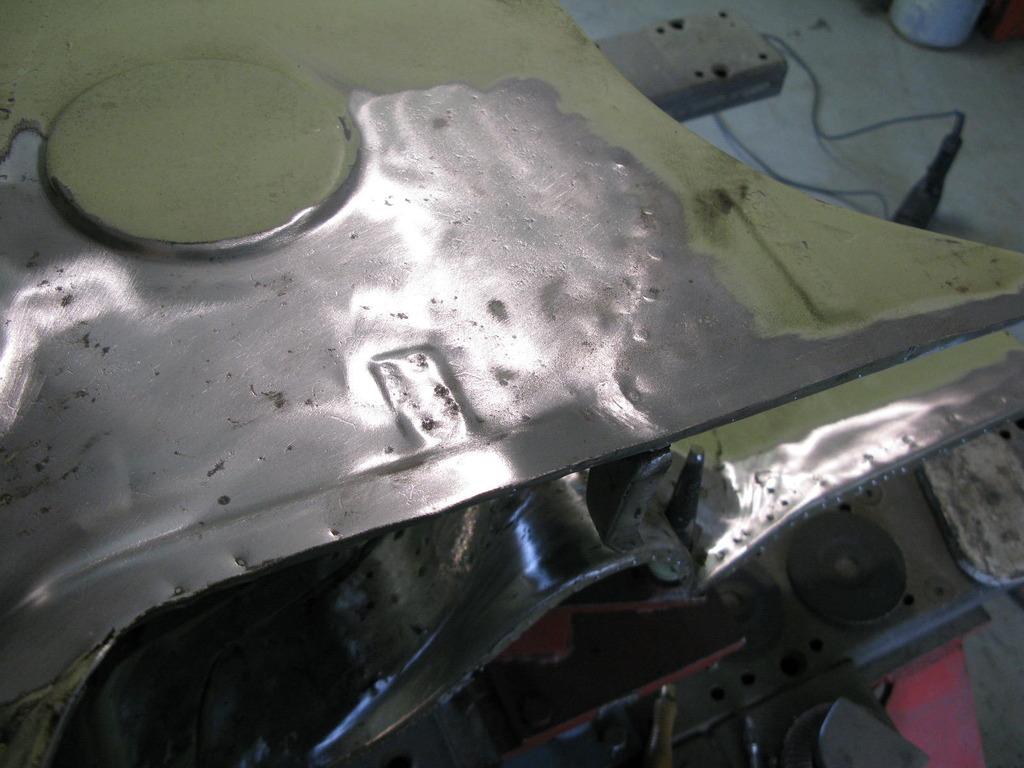
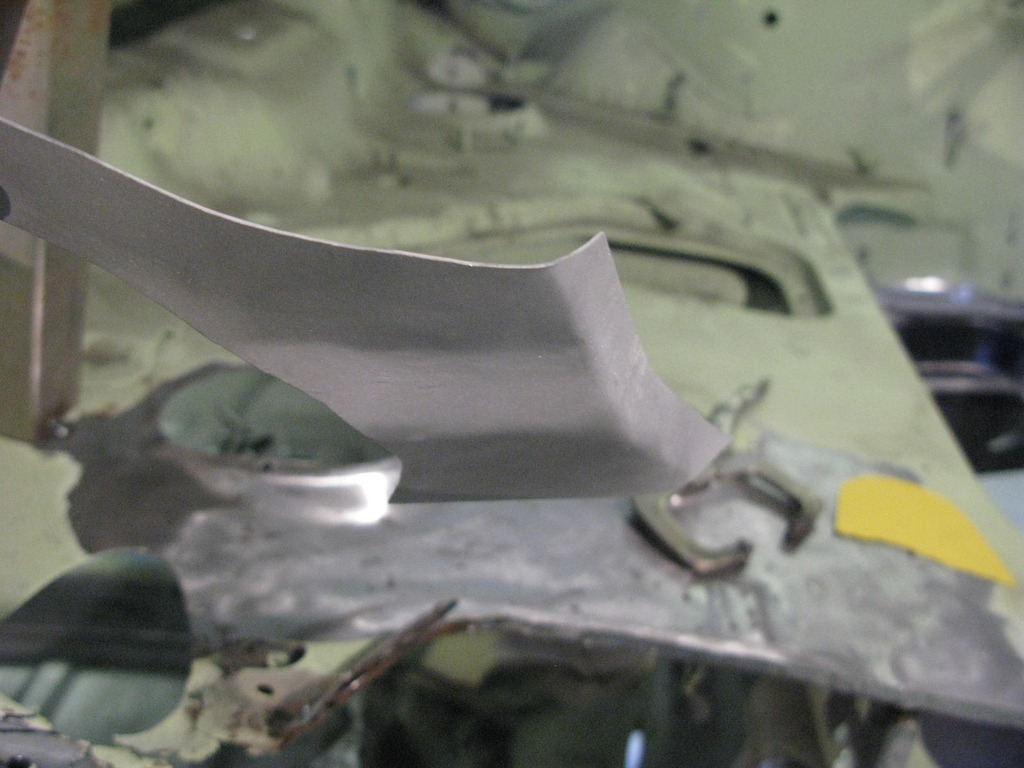
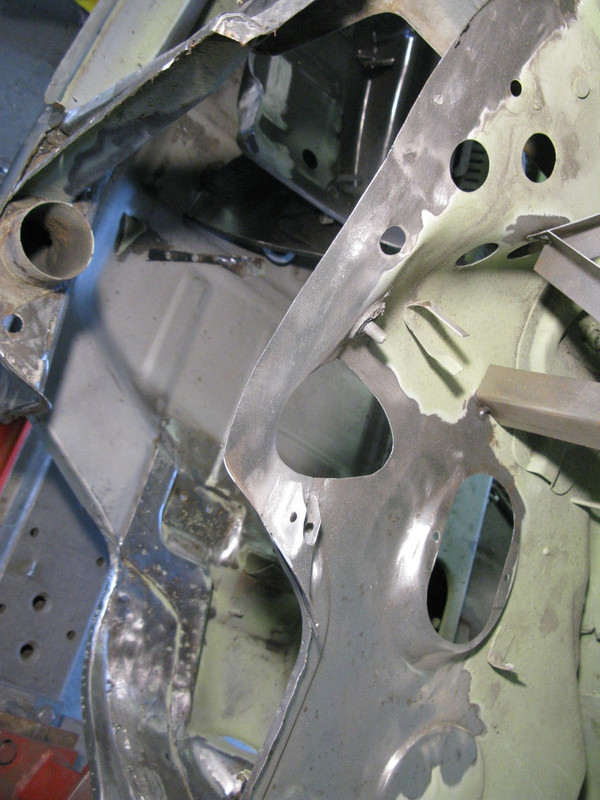
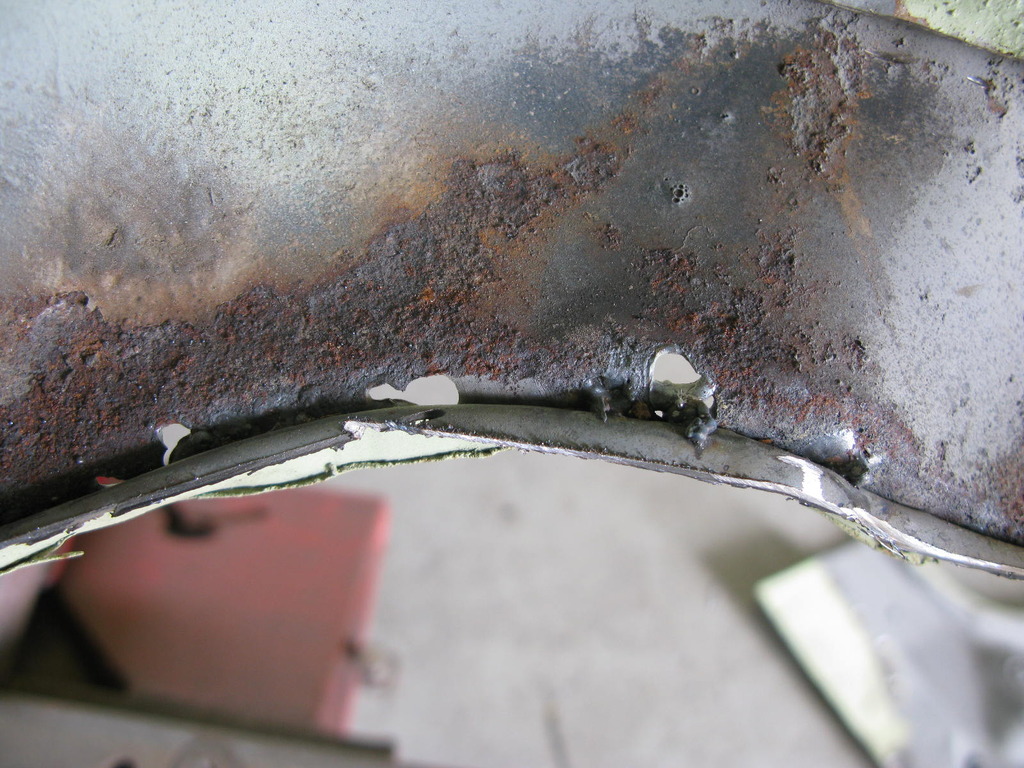
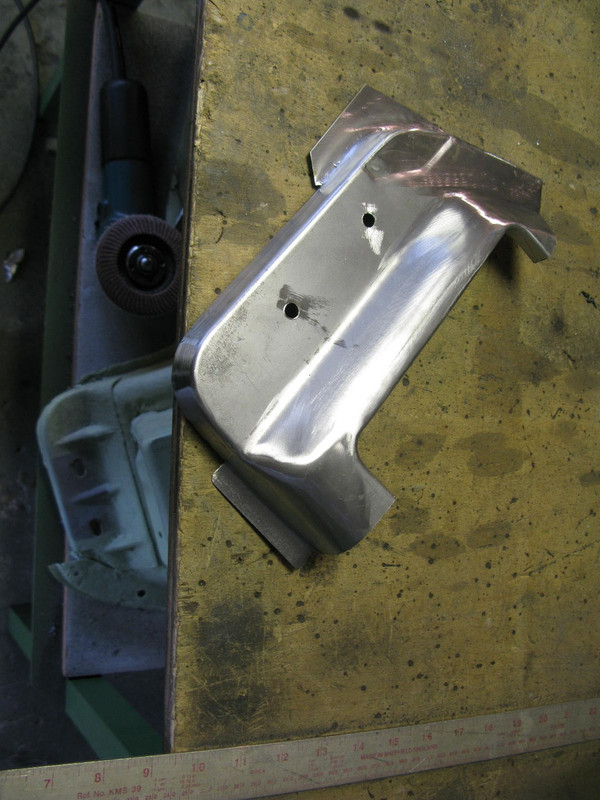
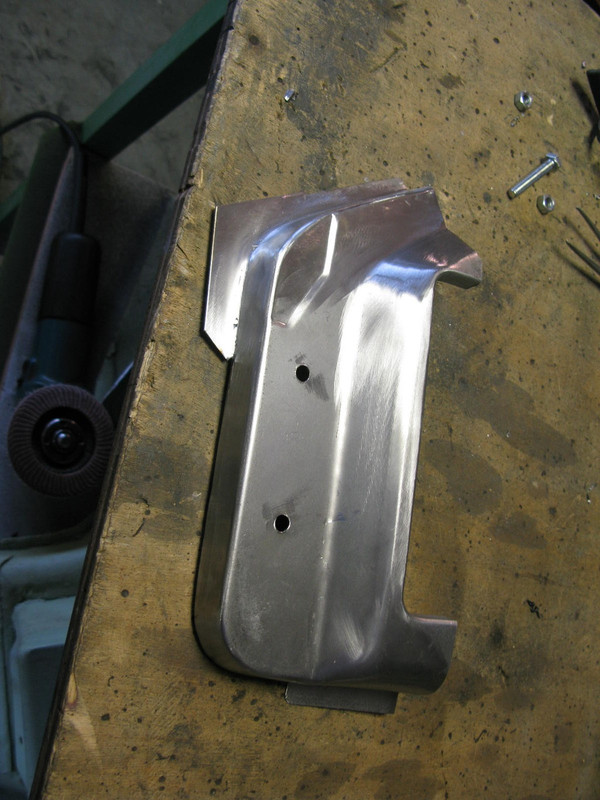
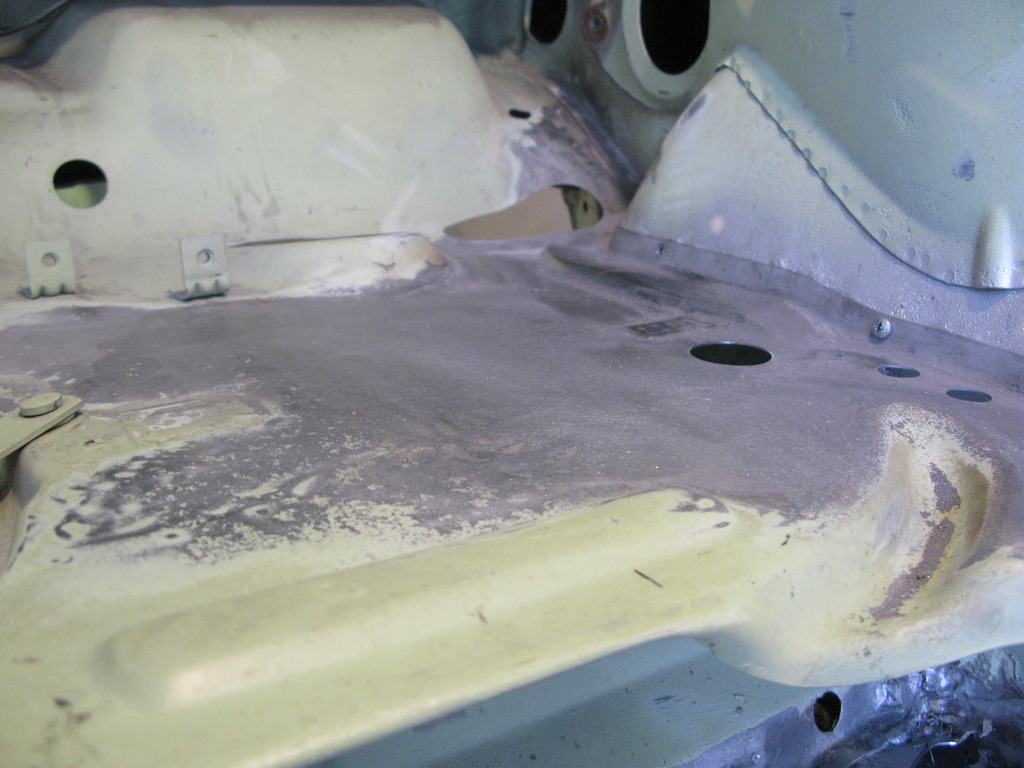
 30. Front inner wing.
The area ahead of both battery boxes was very rusty, mainly due to the two layers of inner wing and bumper reinforcement trapping moisture for the last forty years or so.
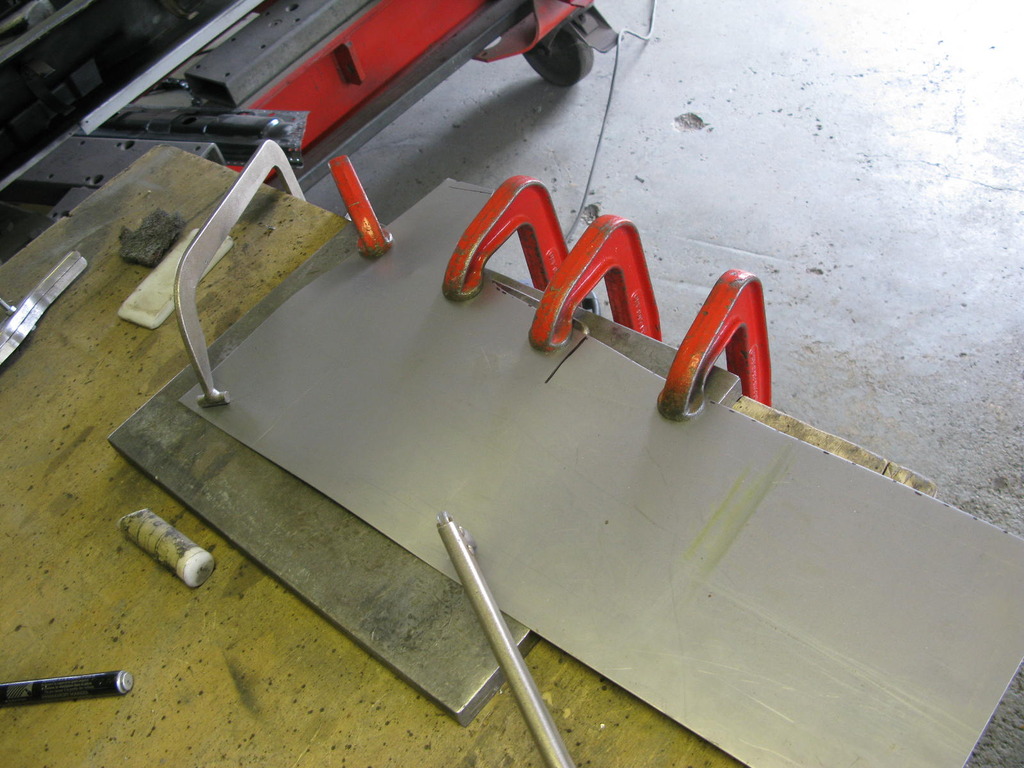
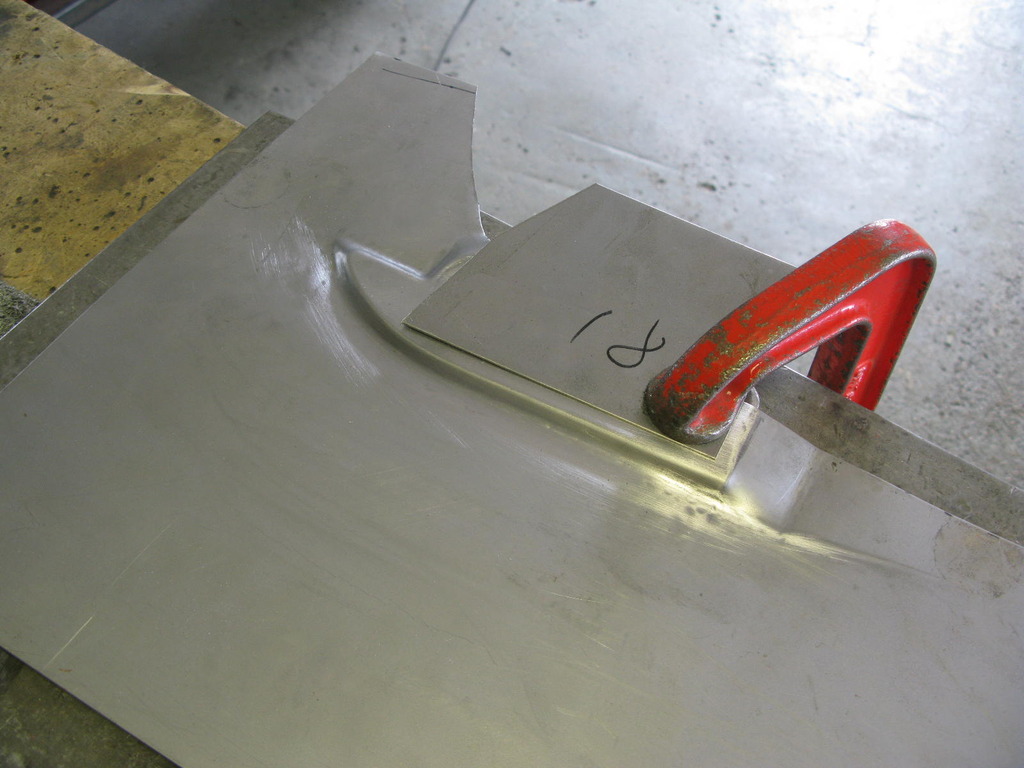
In the past Barry has tried to rescue this area, but nowadays he generally just replaces with new. As can be appreciated they do take a bit of time to make, but fit very well and make for an effective repair. It will be one of the last parts of the front end to go in as he has an order of welding that allows the big spot welder the most access - think along the lines of painting yourself back to a doorway and out ....
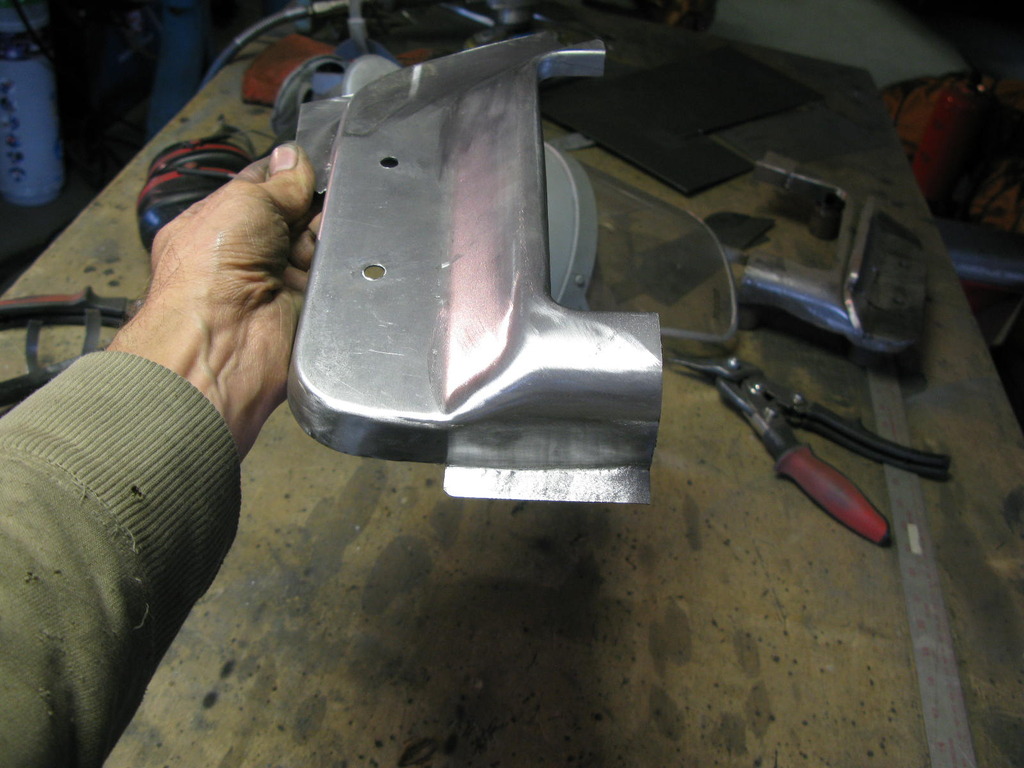
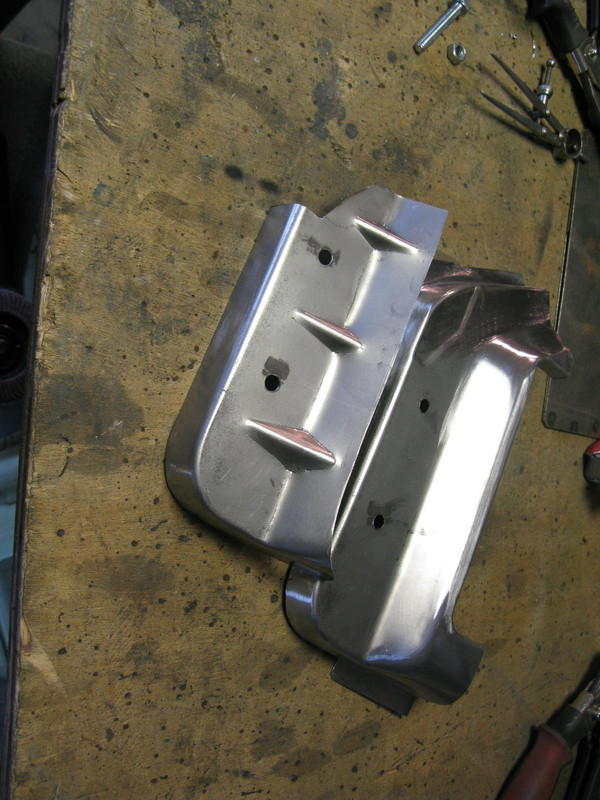
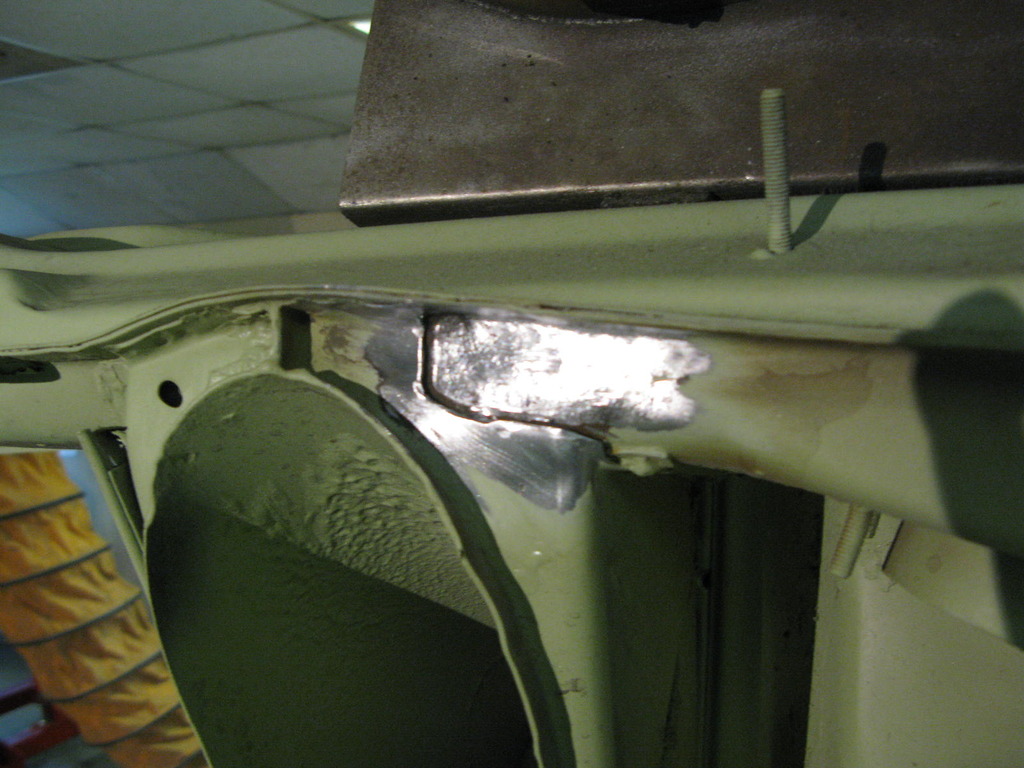
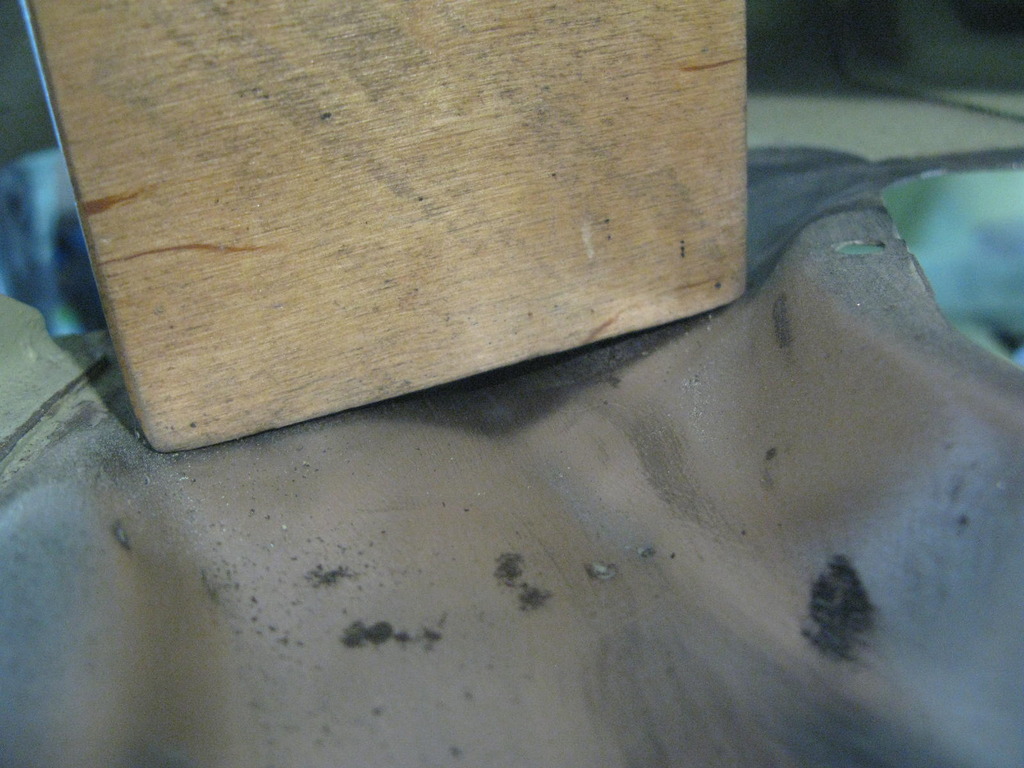
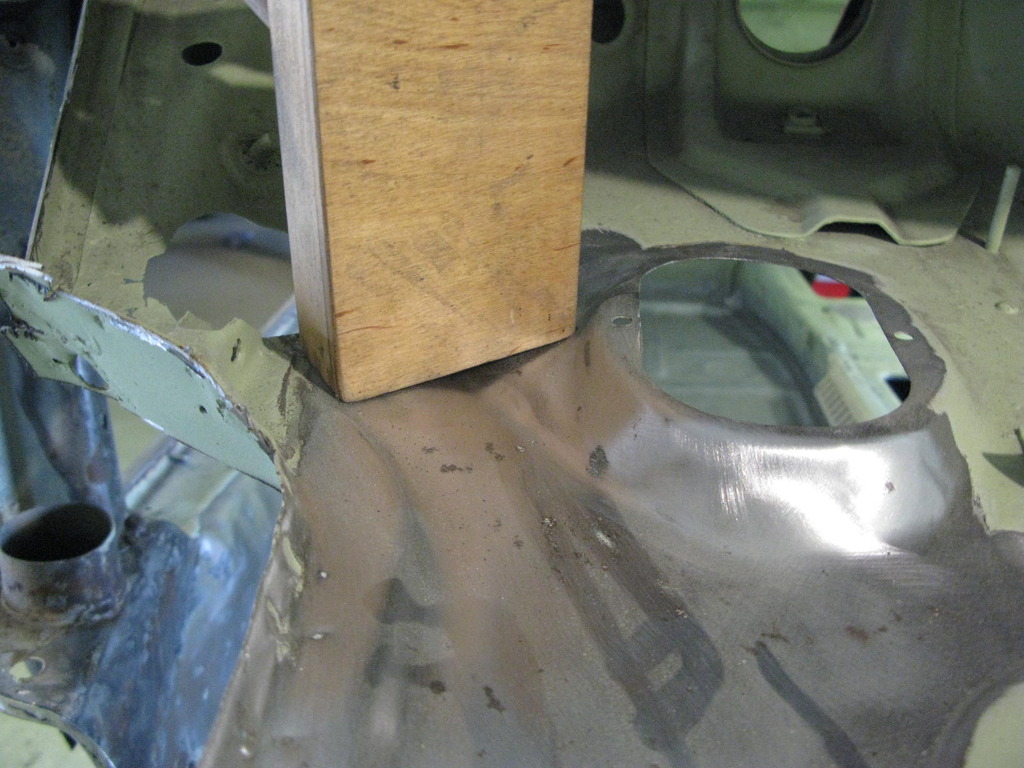
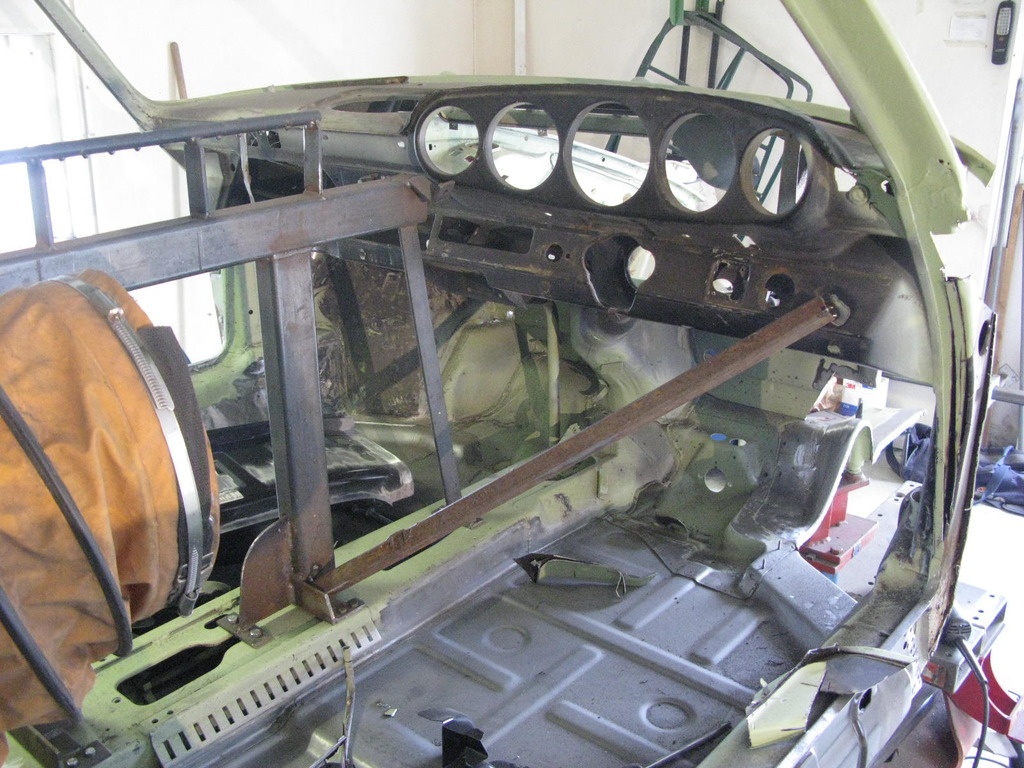
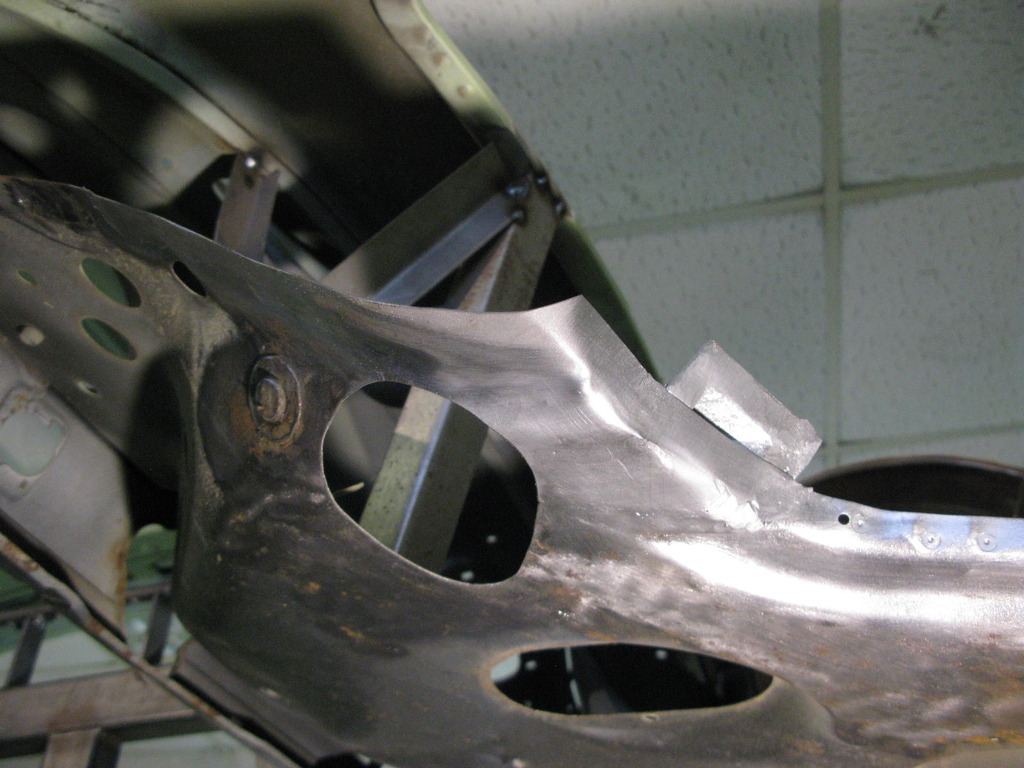
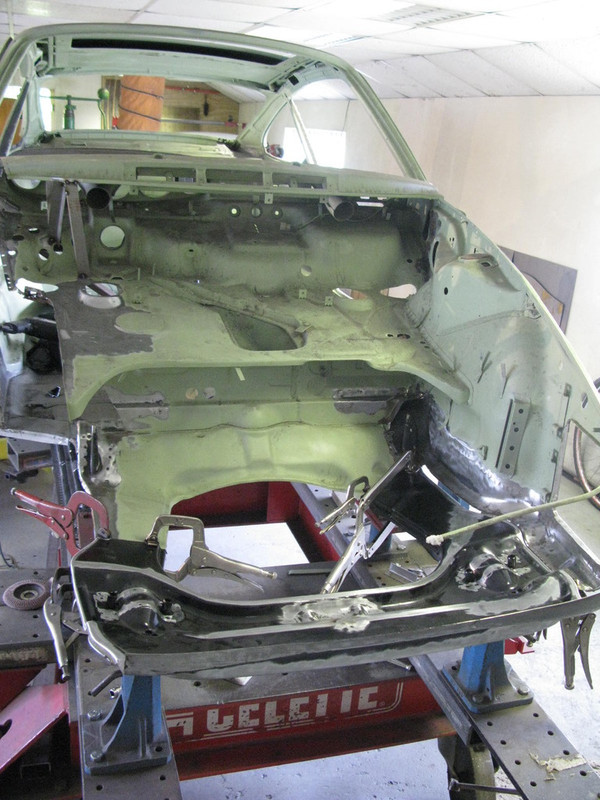
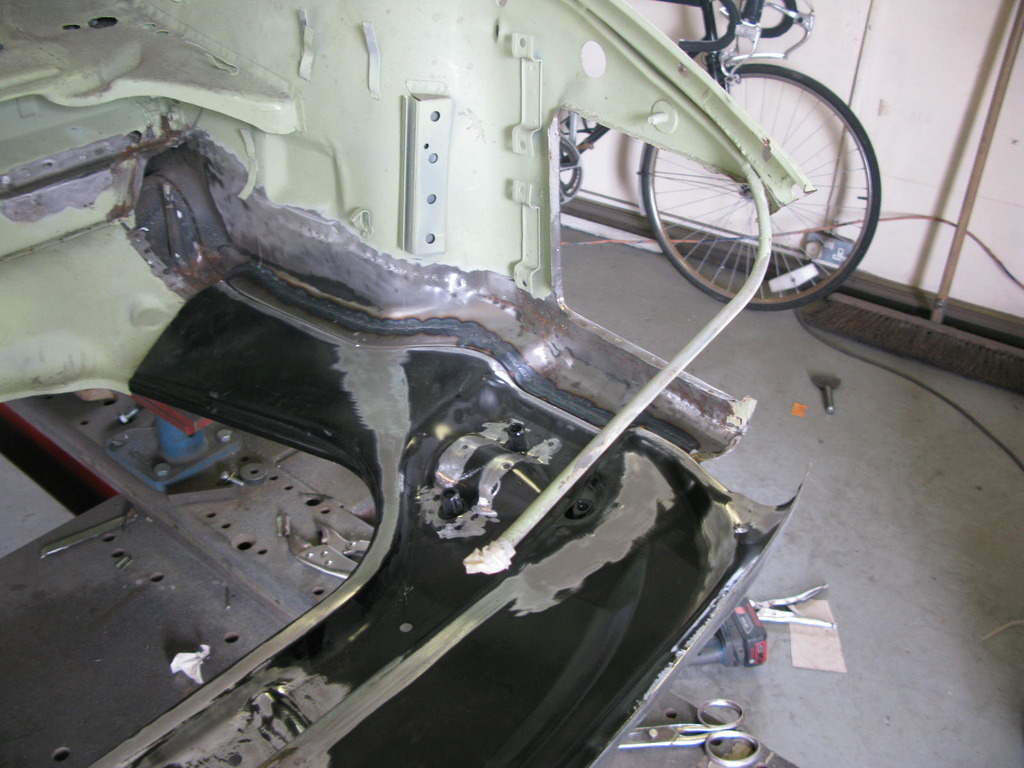
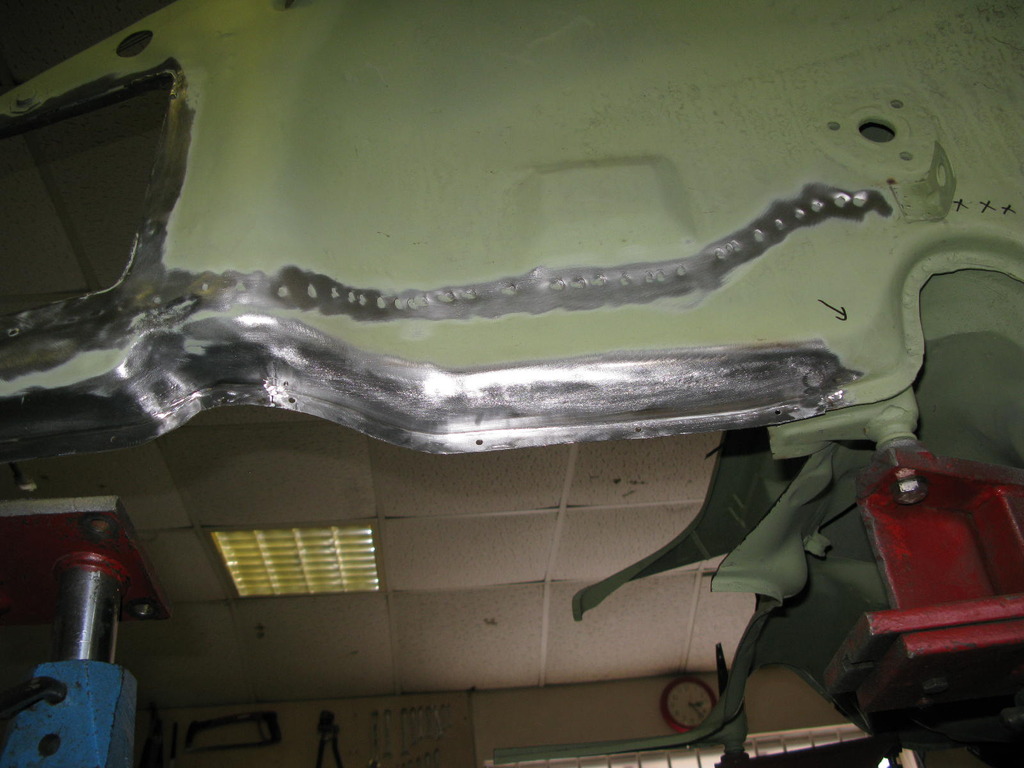
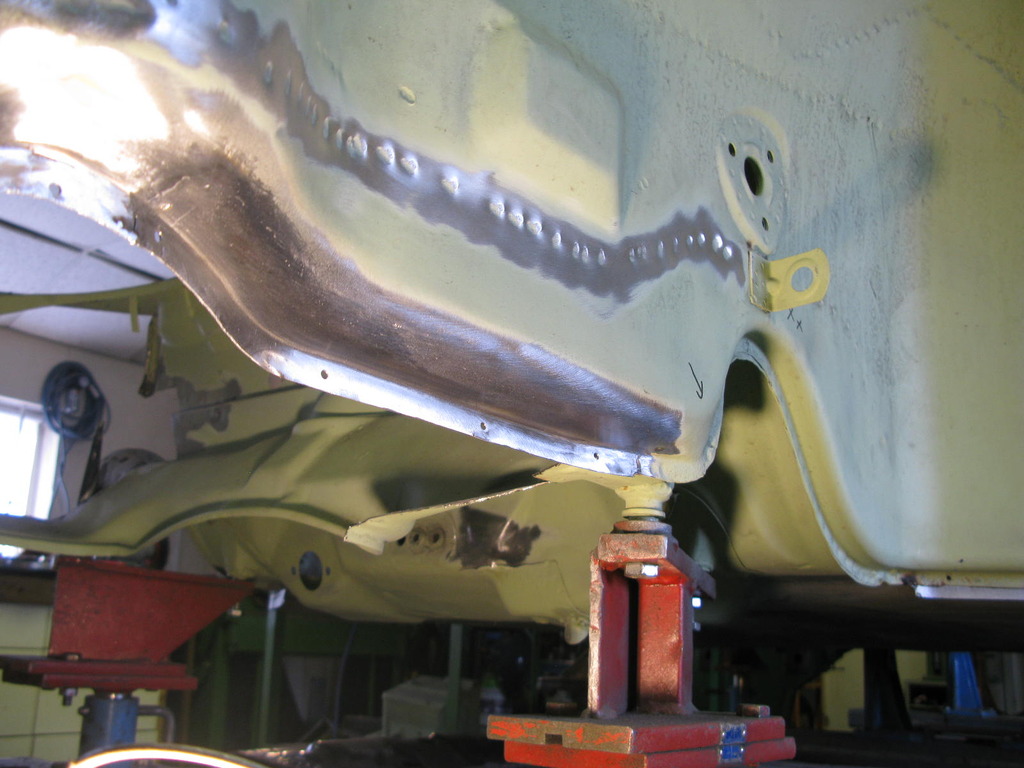
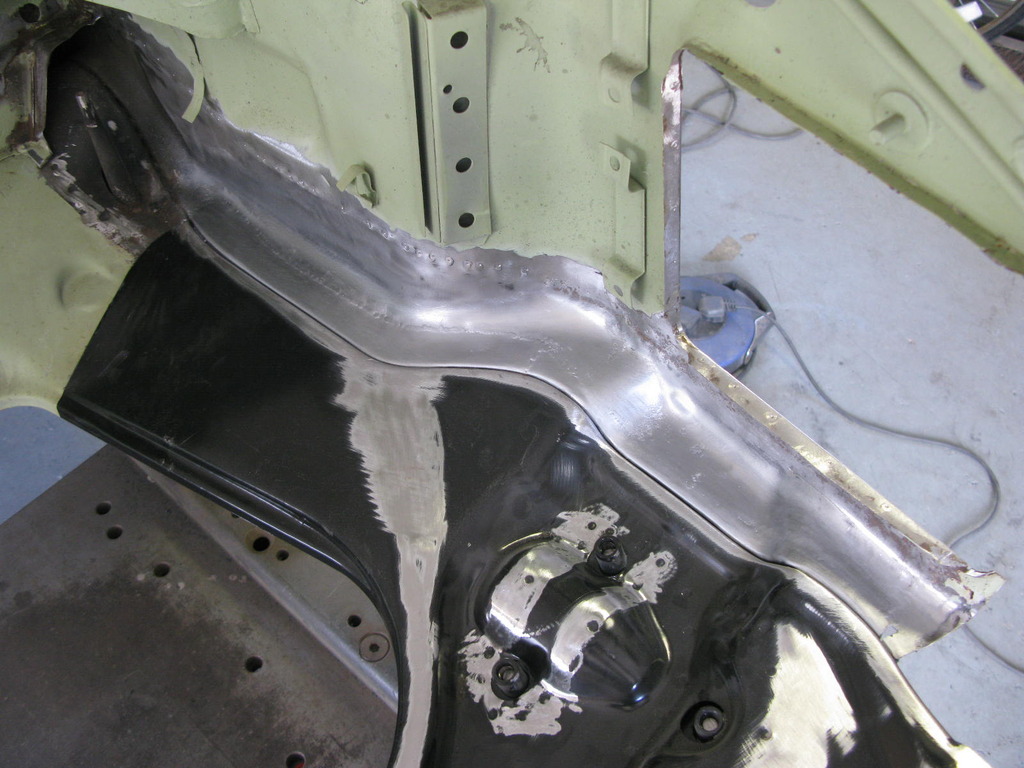
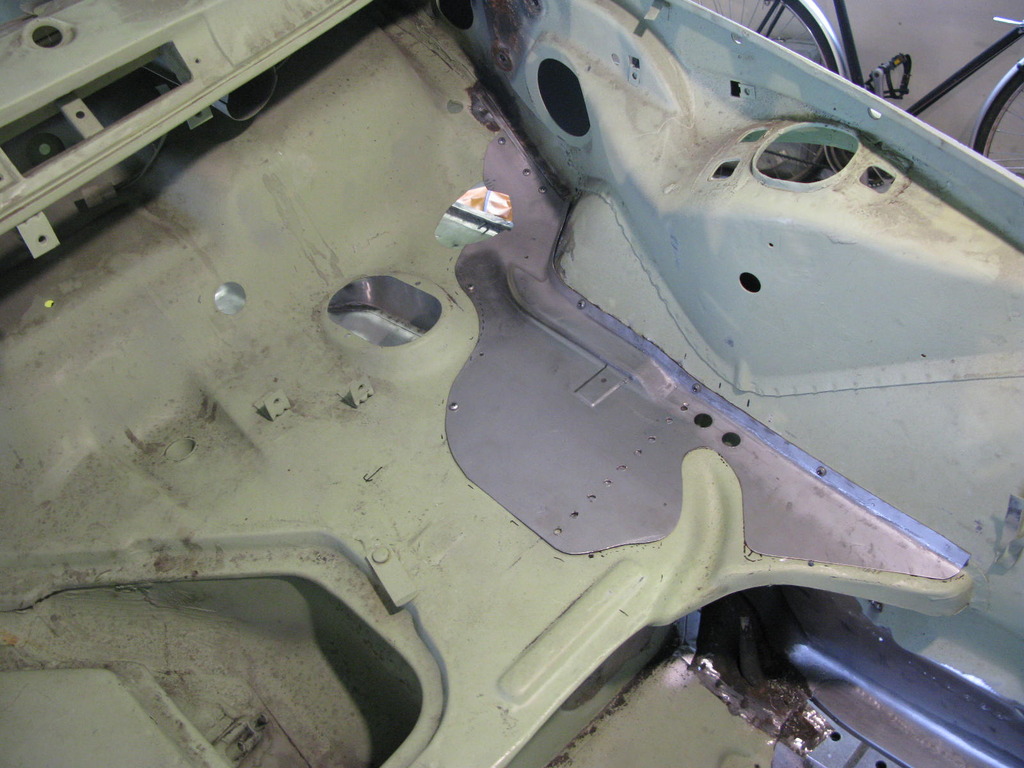
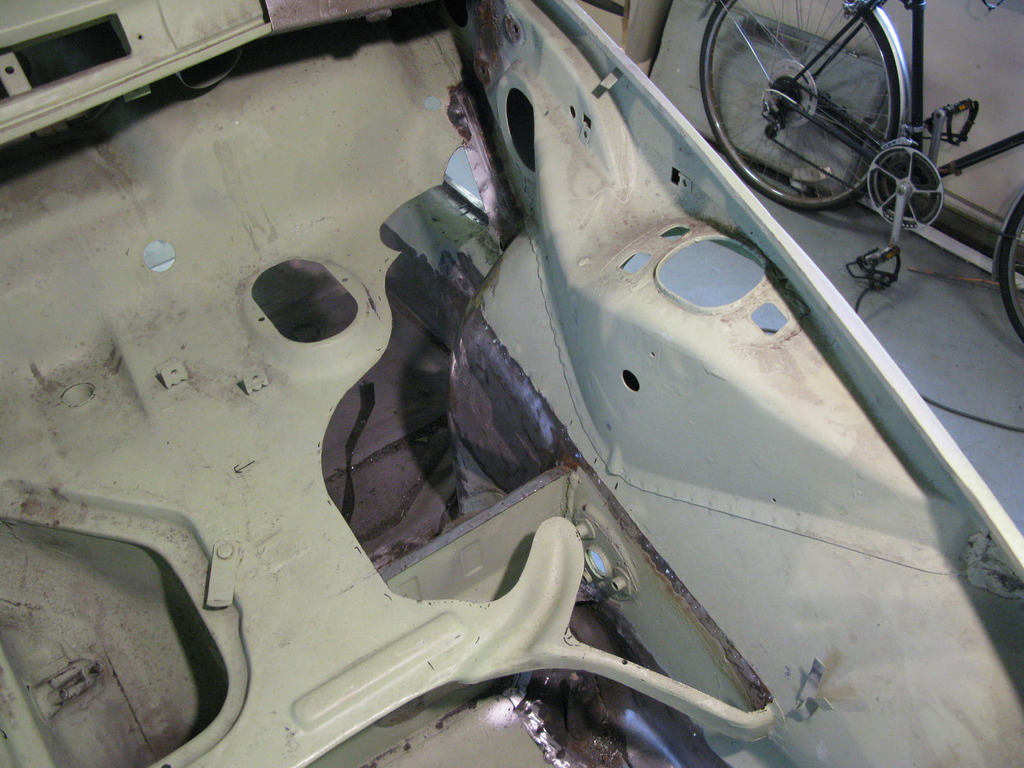
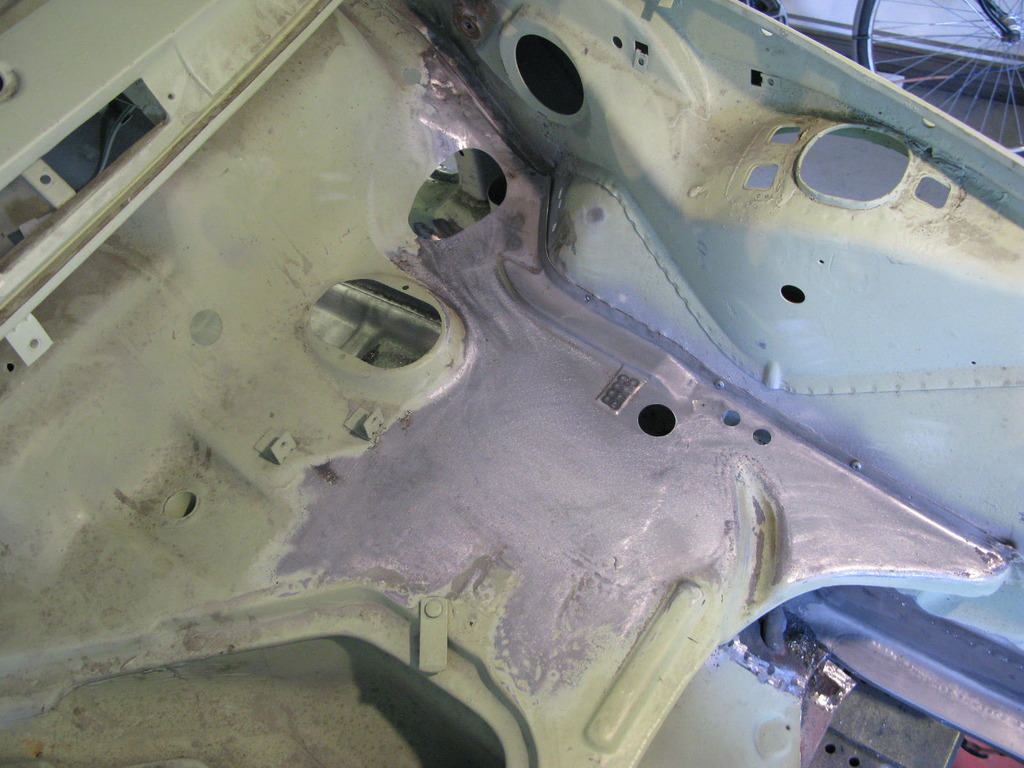
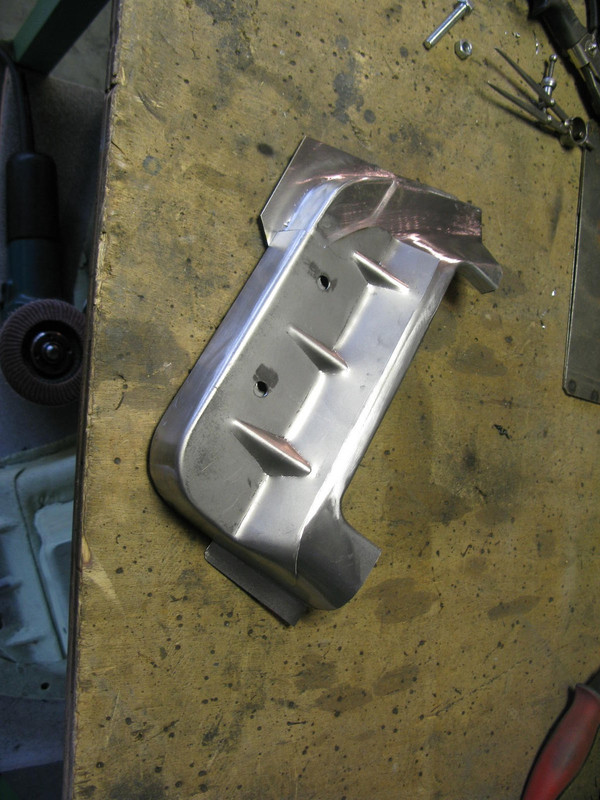 31. N/S front bulkhead repairs.
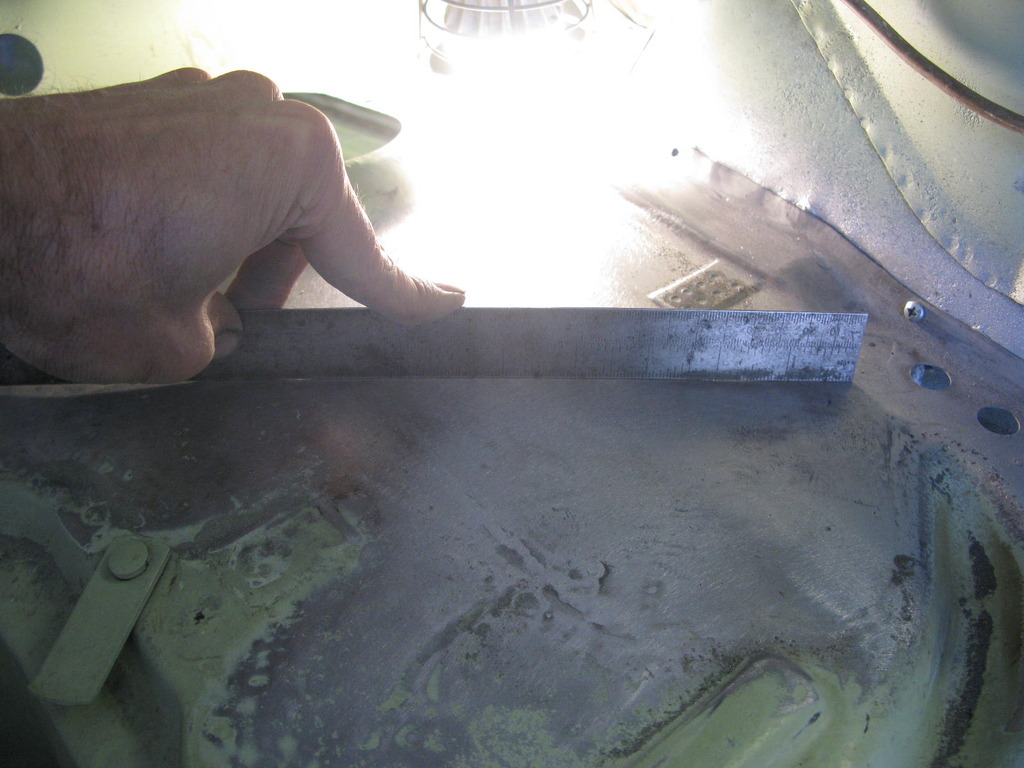
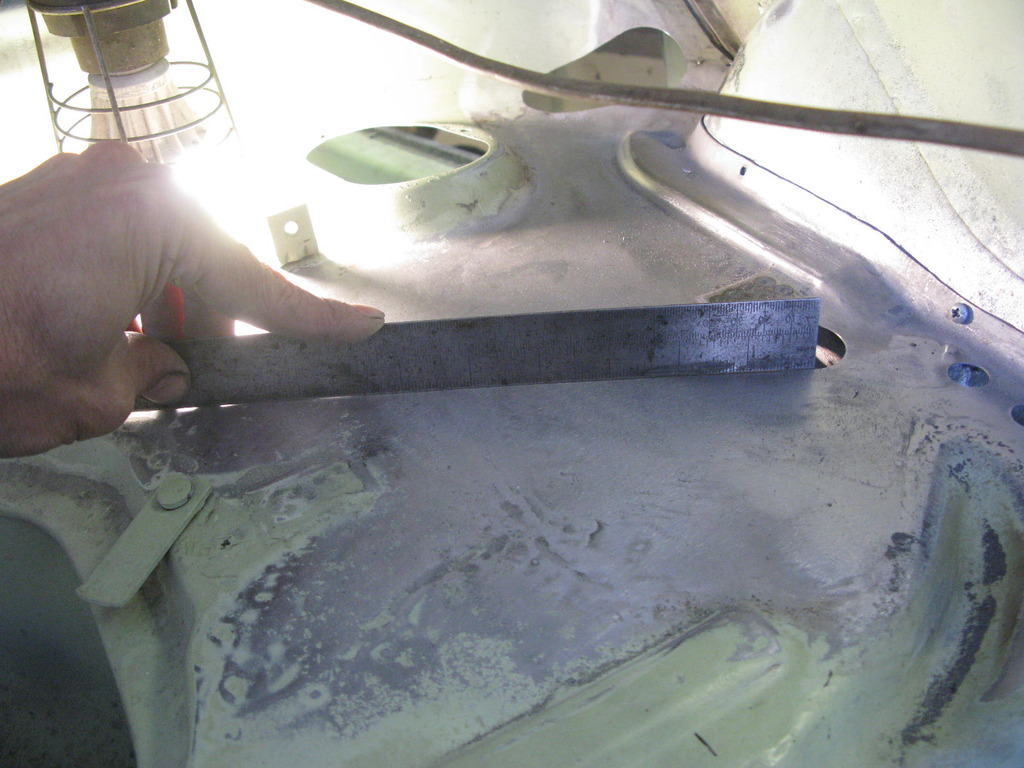
Barry says that this area incorporates his nightmare area - outboard of bonnet strut - loads of buckles to what should be a flat panel, fabricated 'pressings' with adjacent curved flange, welding right through the centre of a very thin flat area, and then tapping up / shrinking with poor access. The metal to the nearside was very thin and badly pitted although it doesn't really show in the pictures.
Anyway, for all of the challenges, it's come out quite nicely and has ended up being Barry's most satisfying part of the restoration so far.
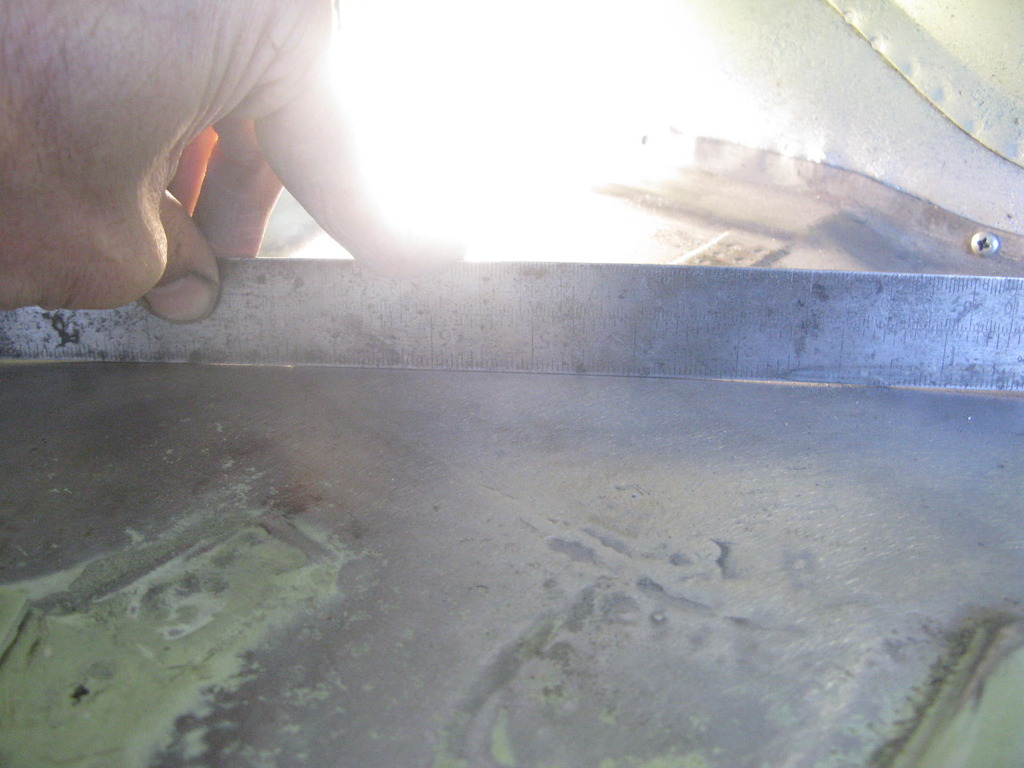
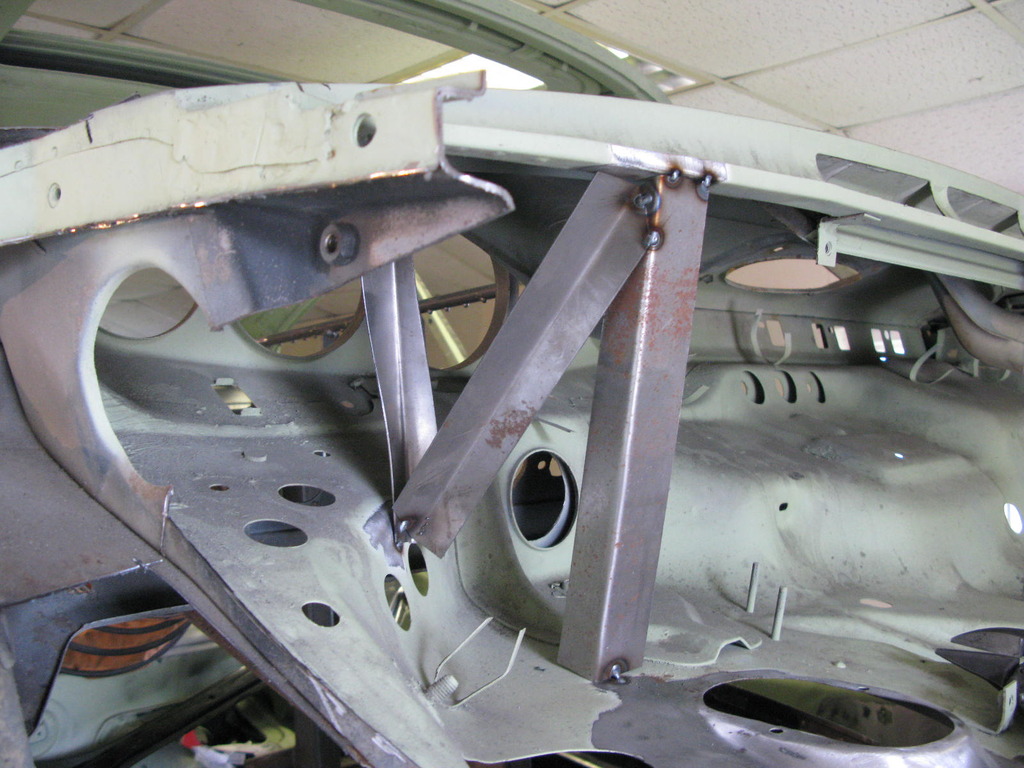
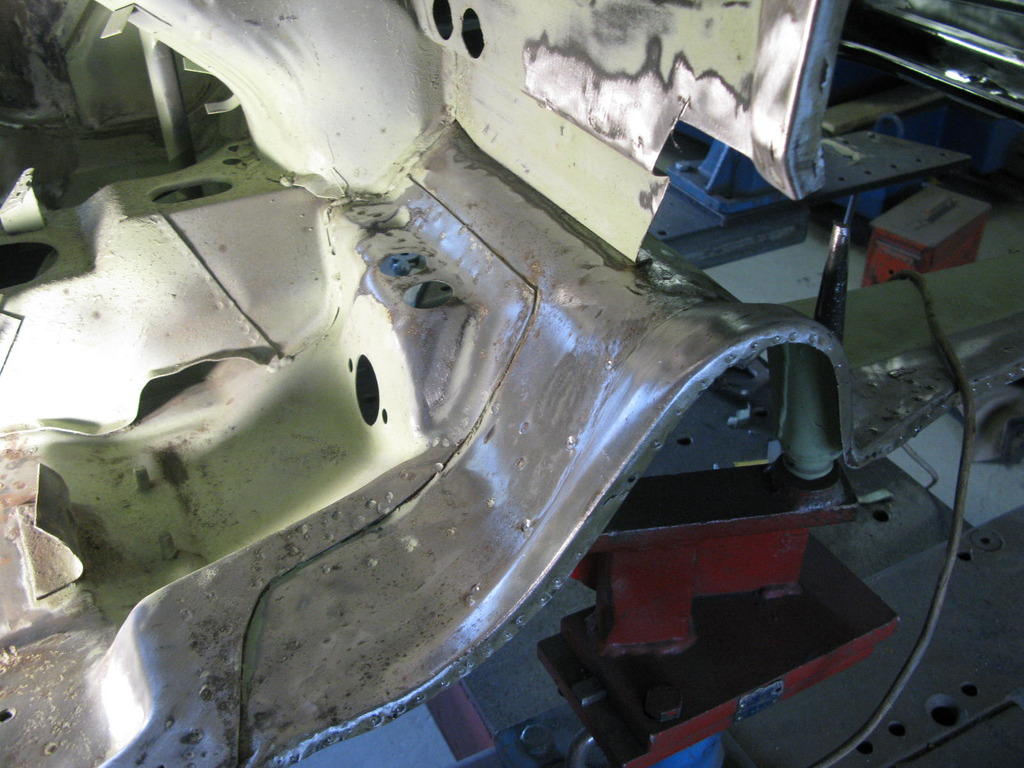
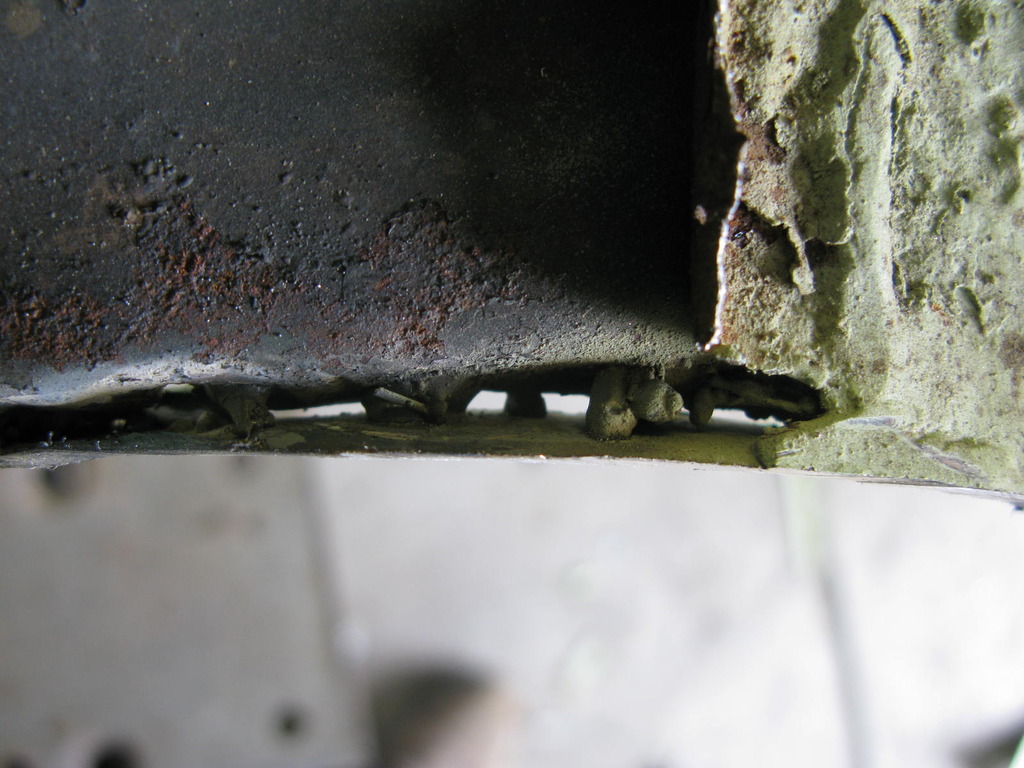
 32. Engine bay crossmember - small repair.
An innocuous looking area soon turned out to have hidden secrets. Luckily it was only the top layer that had failed, so a good clean, prime and new top layer and another little job out of the way.