Well as JohnM has commented in his thread, one of the pleasures of DIY restoration is if you get tired of one type of work you can always switch to something quite different - so since the last update time has been spent by me and some notable assistants on fitting screens, sound deadening, interior panels, carpets, engine lid and a bit of electrics thrown in.
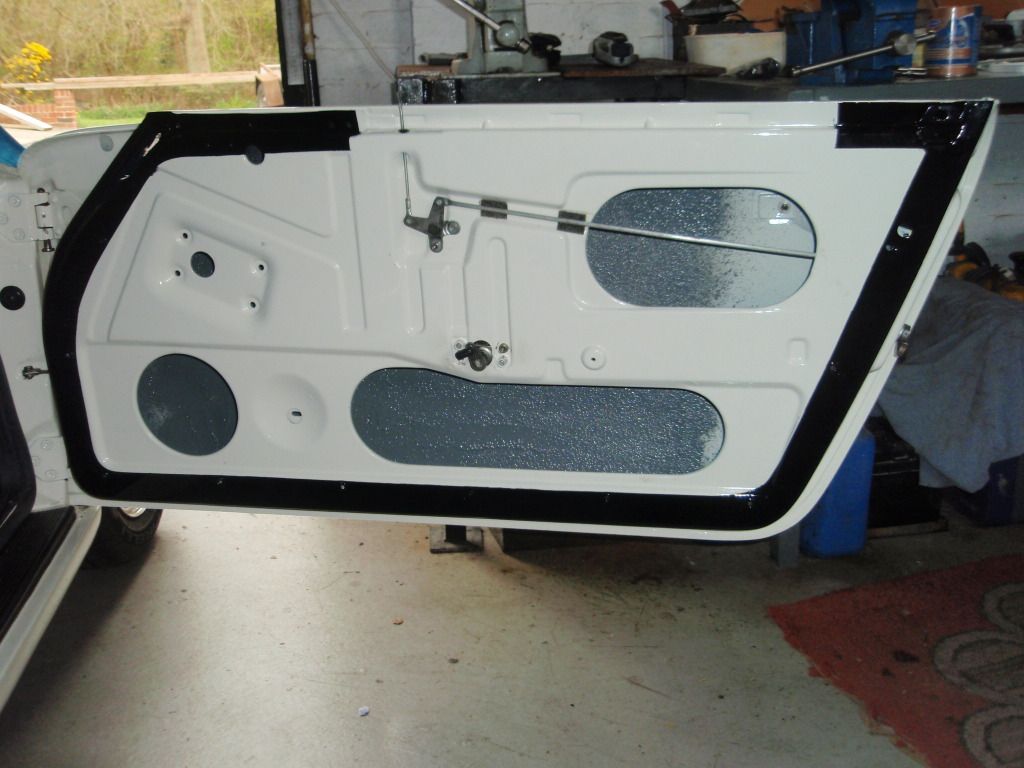
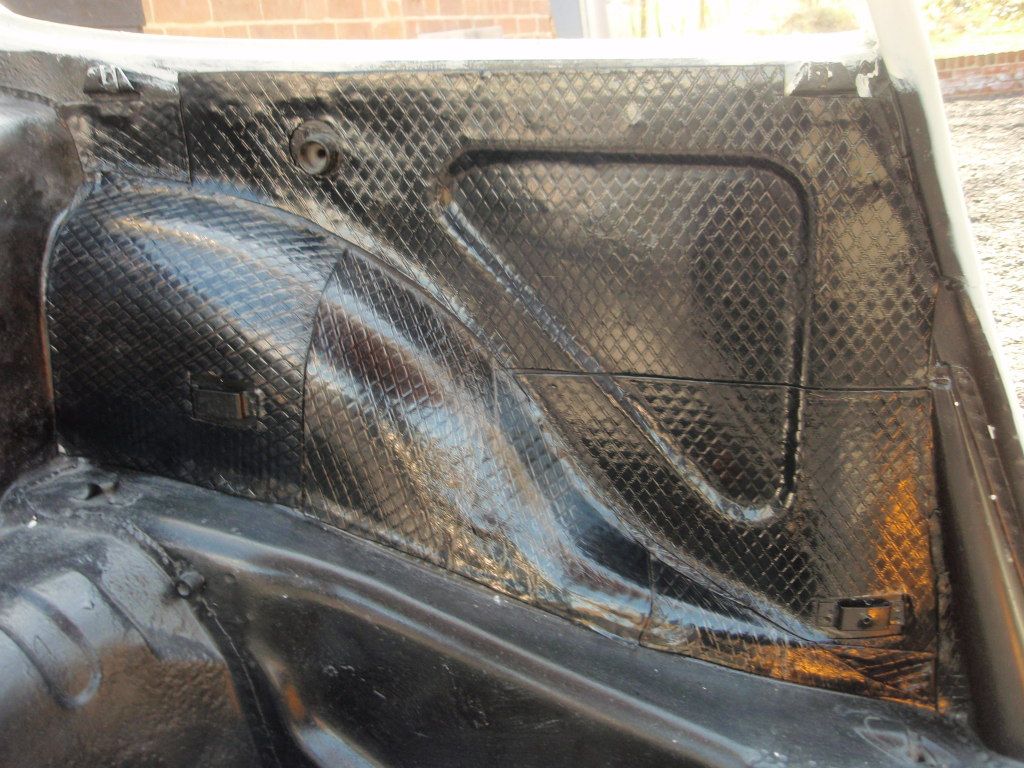
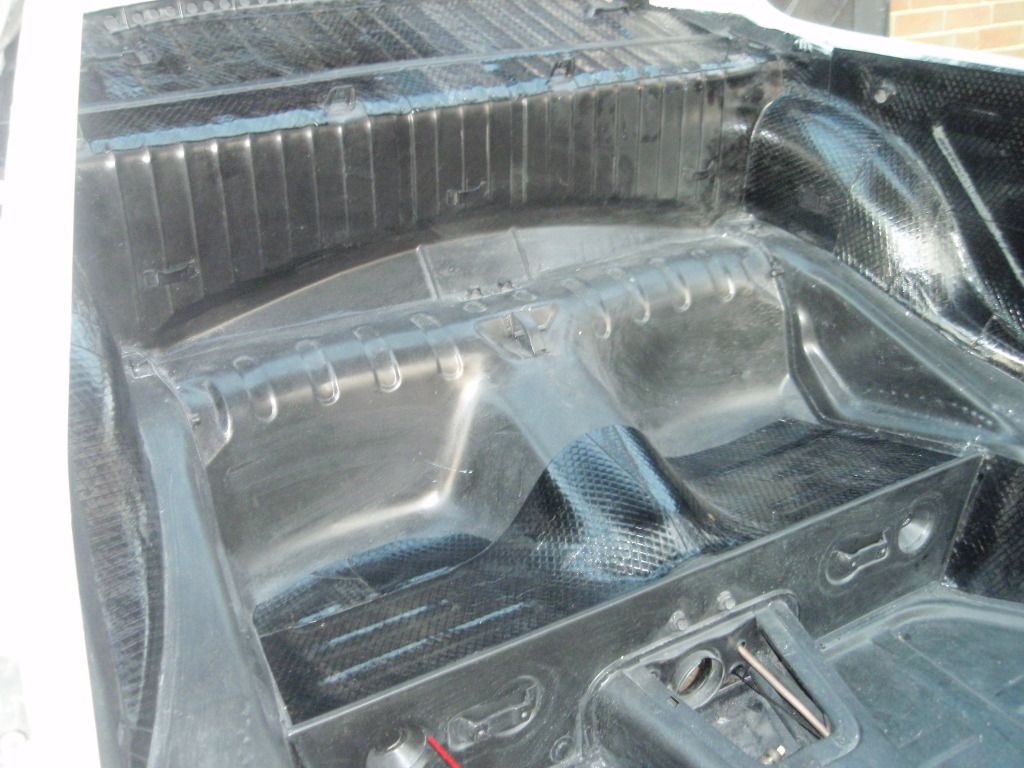
First off taking advantage of the warm weather last week I placed the self-stick soundpads pretty much everywhere they were on the original.
Rear quarters
Parcel shelf and rear seats
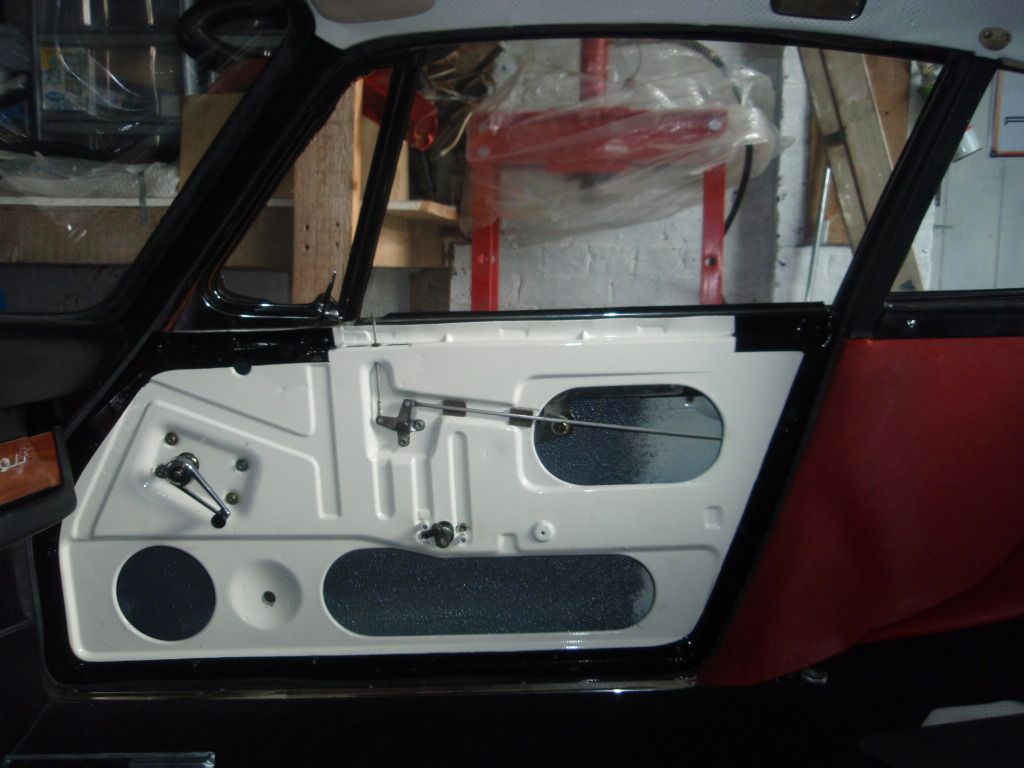
Side panels
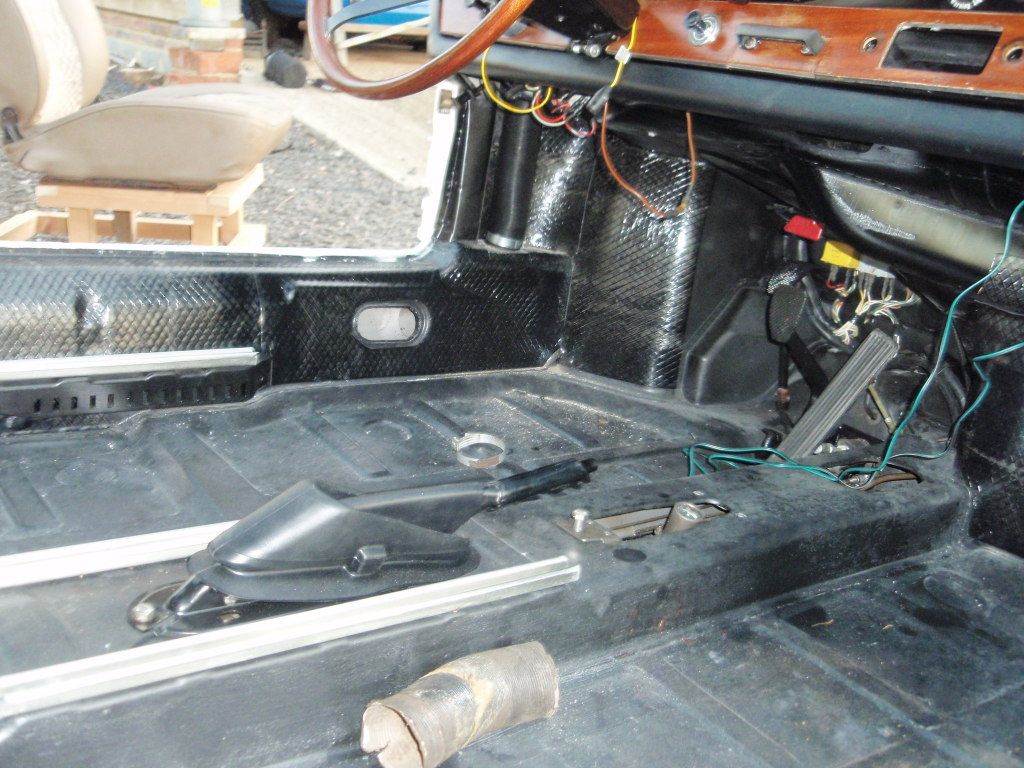
Front bulkhead
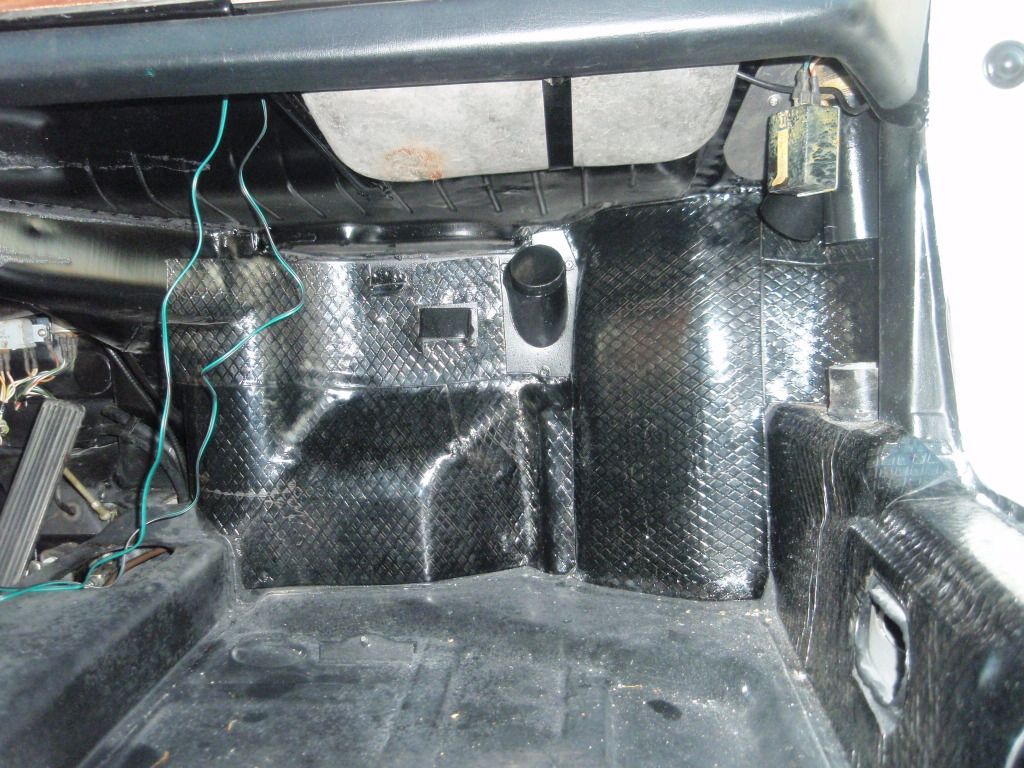
and a few other bits.
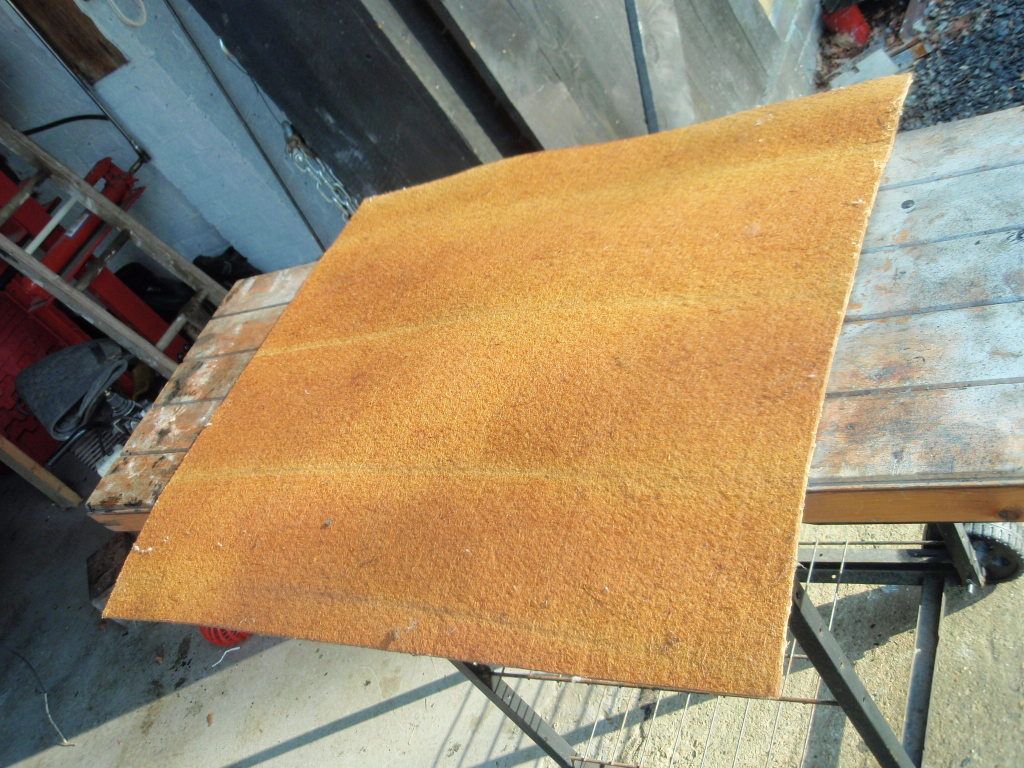
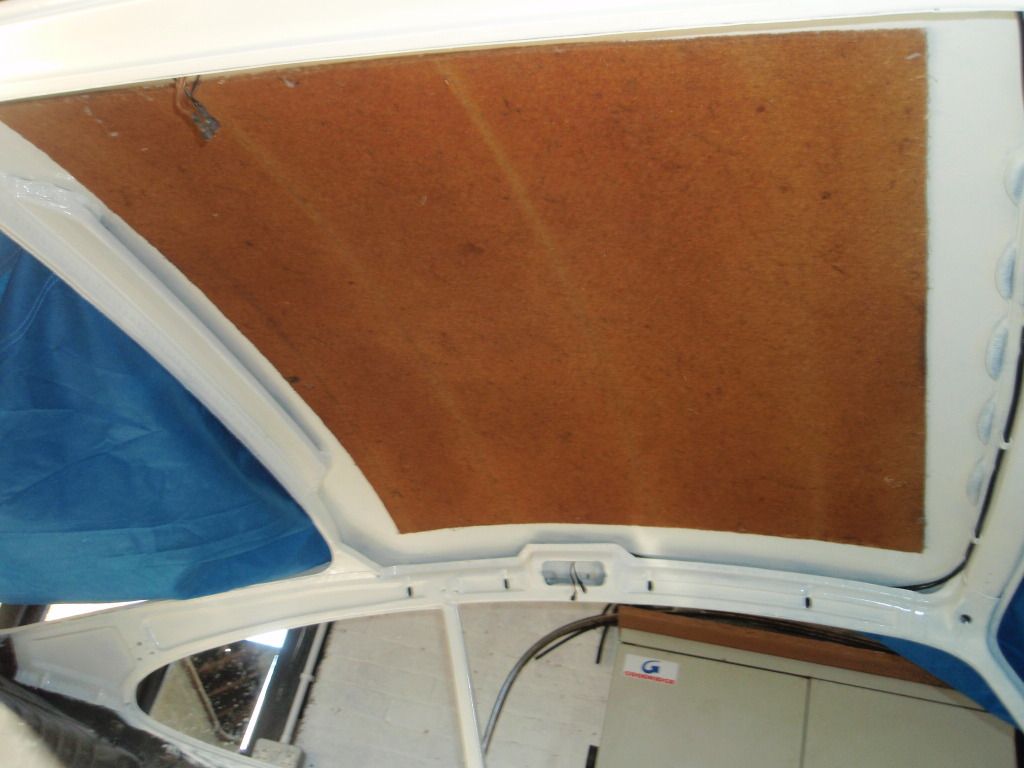
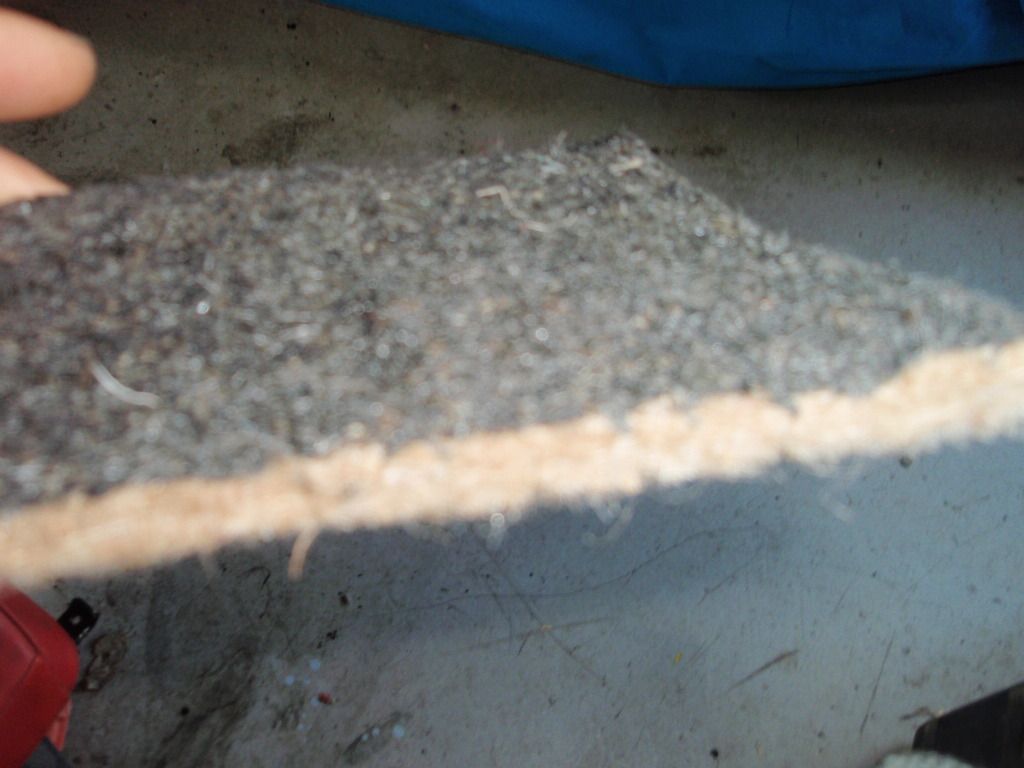
Then instead of using the original, but tatty horsehair/tar shhhhhi.. stuff I replaced it with the modern equivalent. Not the high tech stuff I've seen some others use, but a bit closer to the original I think.
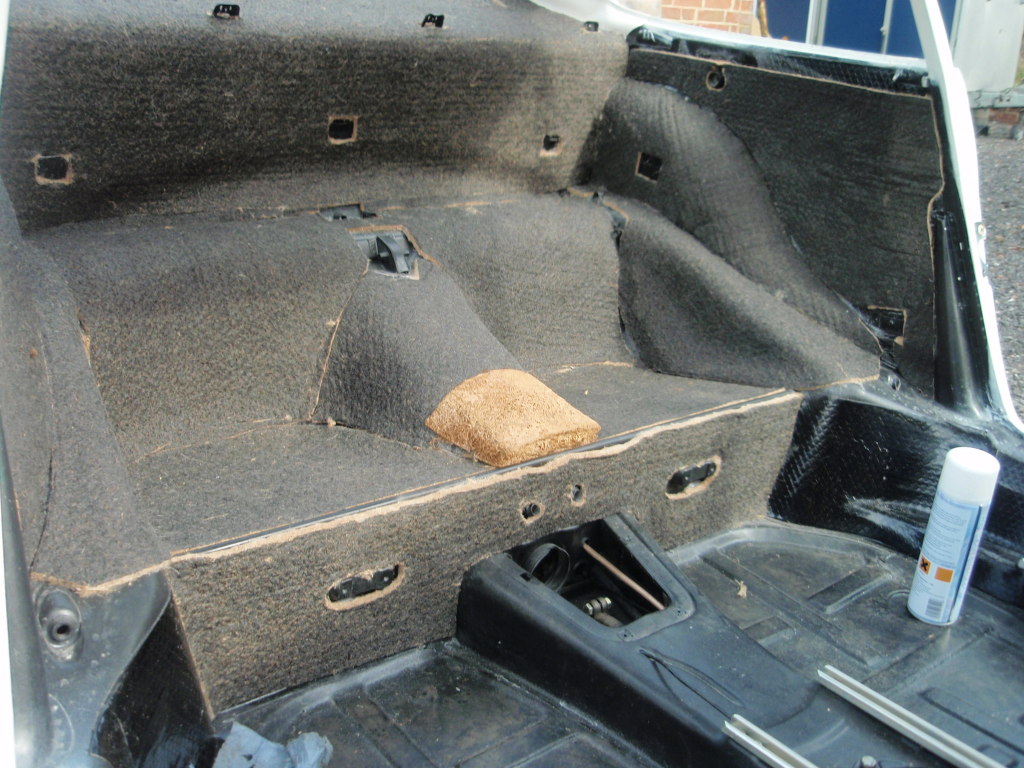
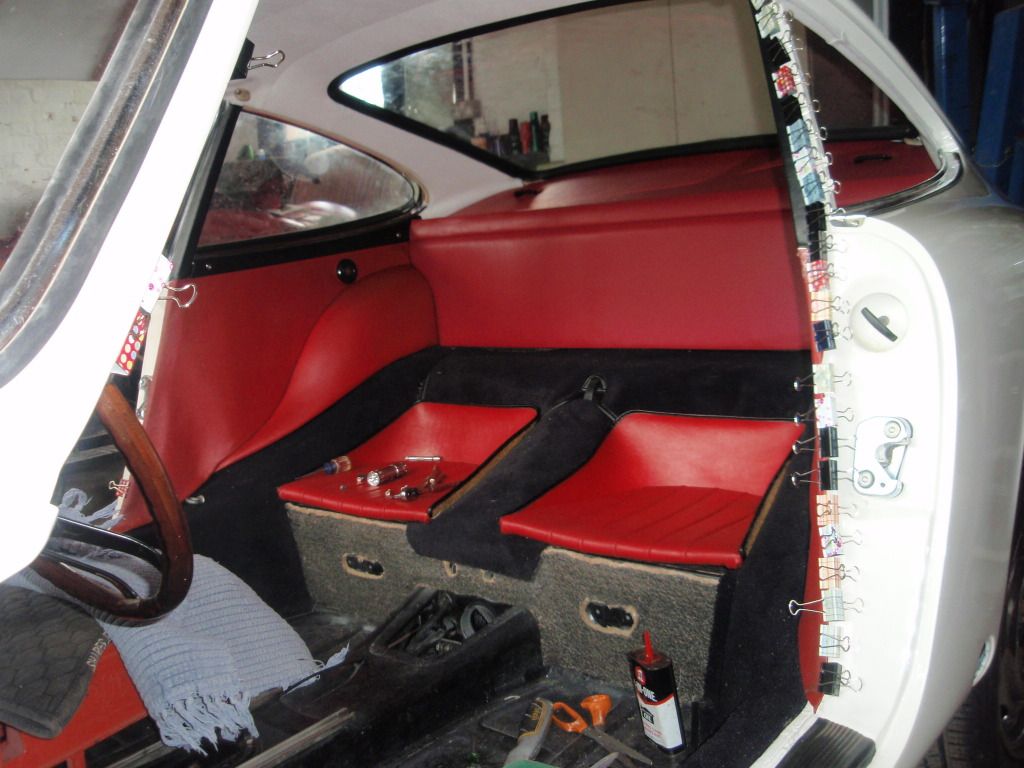
The little cup/rest/thingy in between the seats is original and I assume was there to better give shape to the carpets.
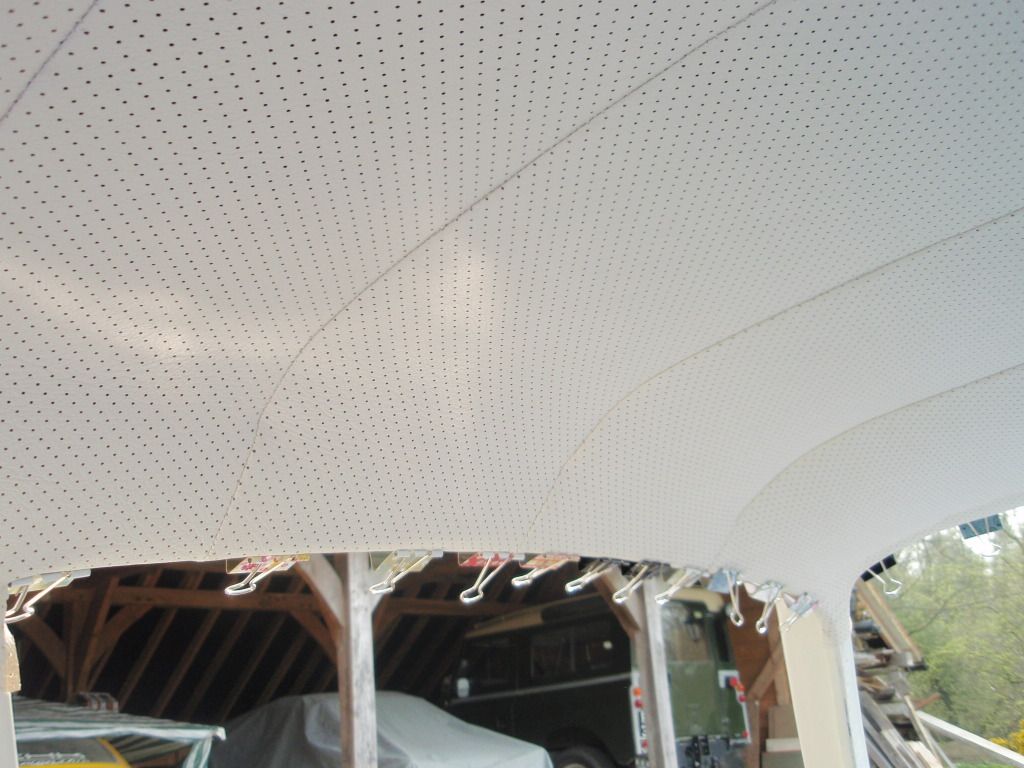
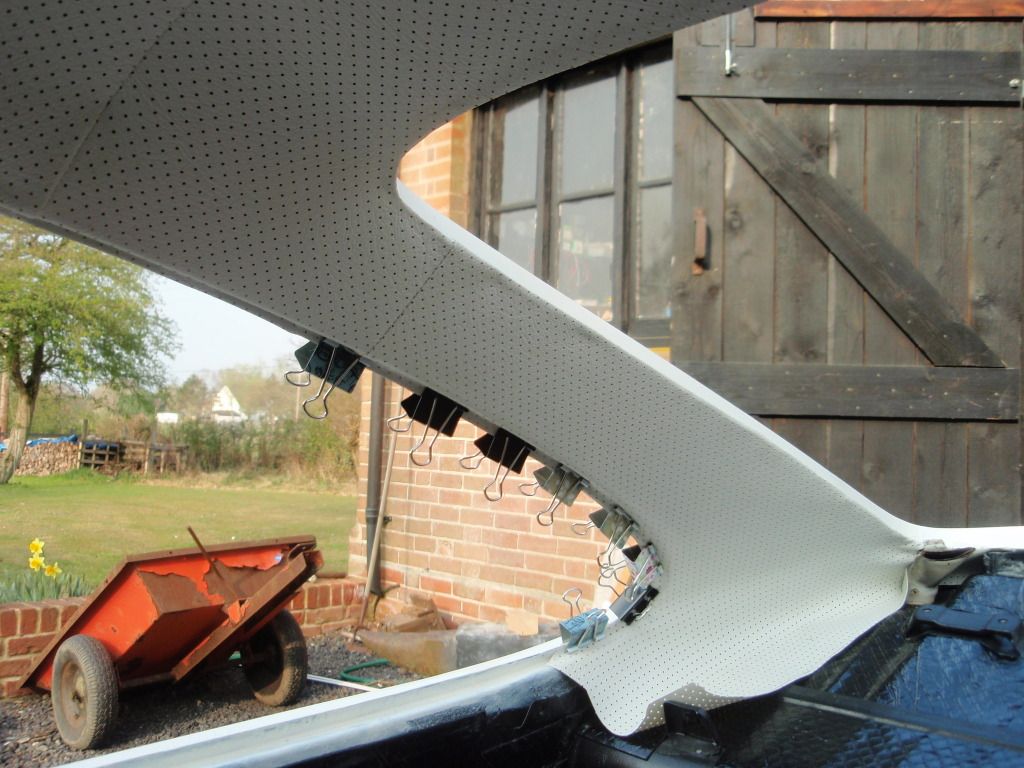
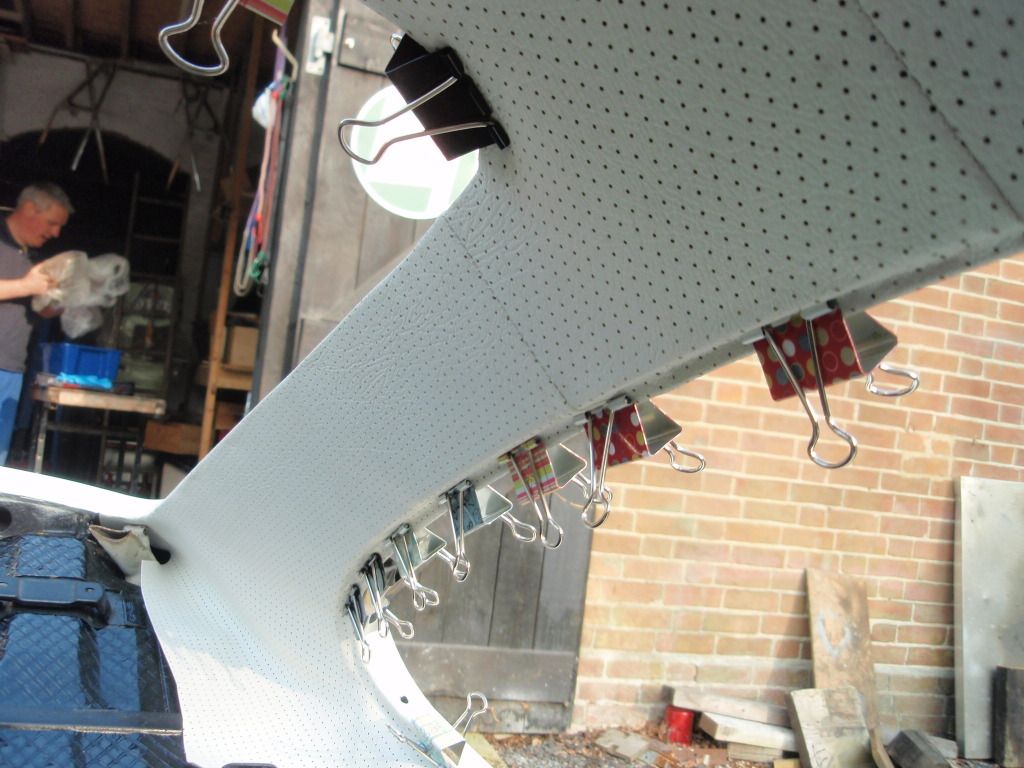
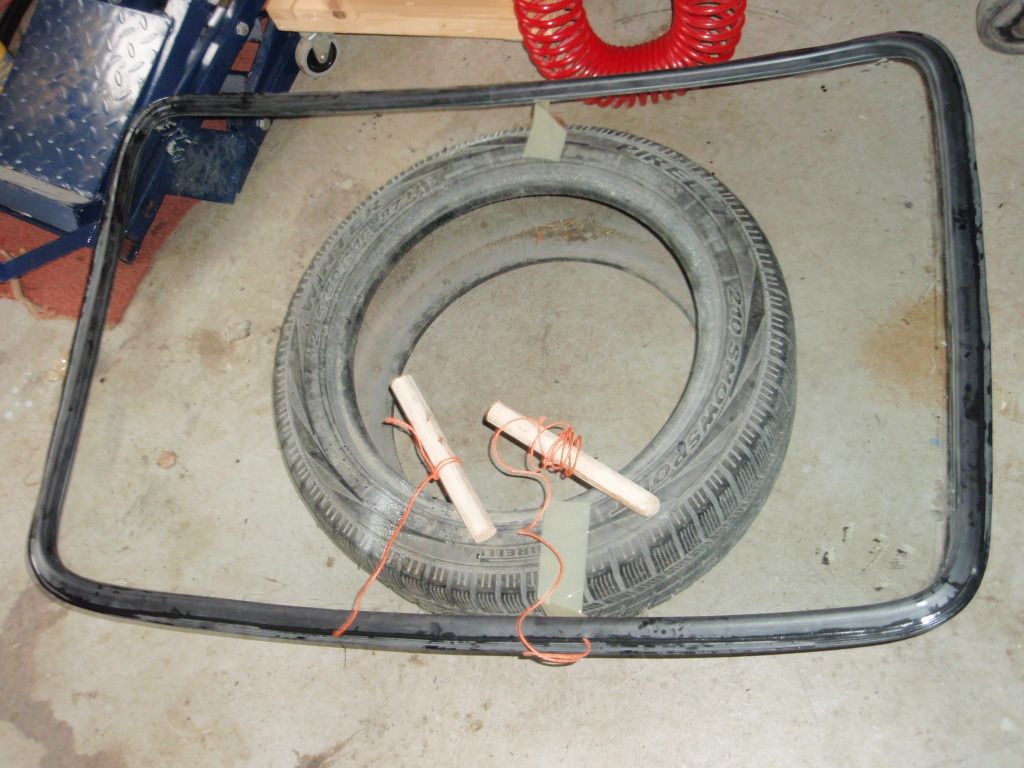
Then a bit of gentle persuasion of herself to assist in fitting the rear screen. We have fitted a few screens together over previous restorations, and divorce has loomed before - I am not at my most relaxed, sensitive and understanding in such stressful times, so she wasn't keen...
I had already fitted the metal trim (not well enough as it turns out) and a bit of dum-dum sealer in the lower corners, so in with the string
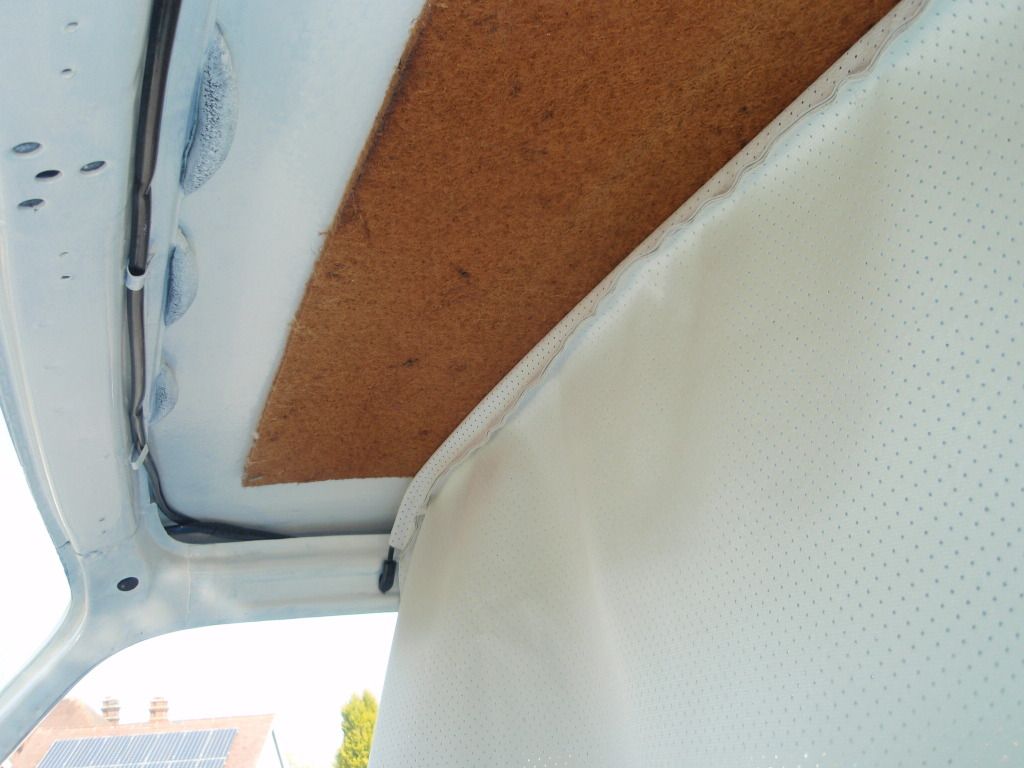
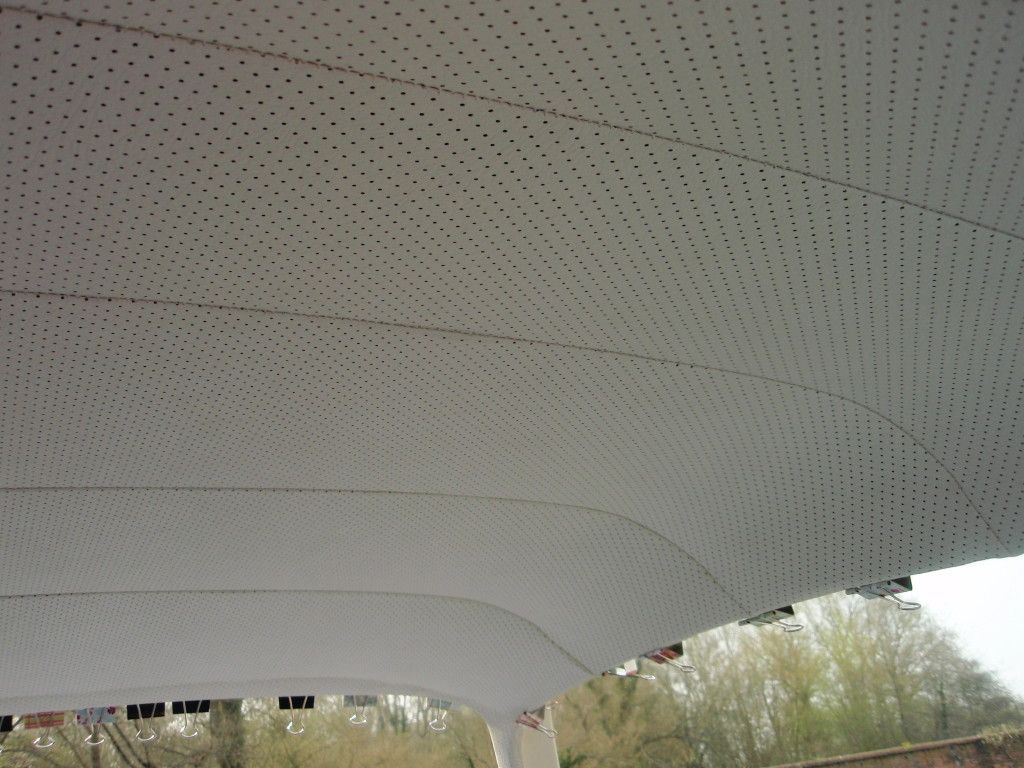
And after a couple of hours of jiggling, pushing, rubber hammer here, wood wedge there it was in. No damage to the headlining, which was my greatest fear, but I have got about 150mm of metal trim out of the groove near the top joining clip. It is currently defeating all attempts to get it back in .... but I have a cunning plan ...
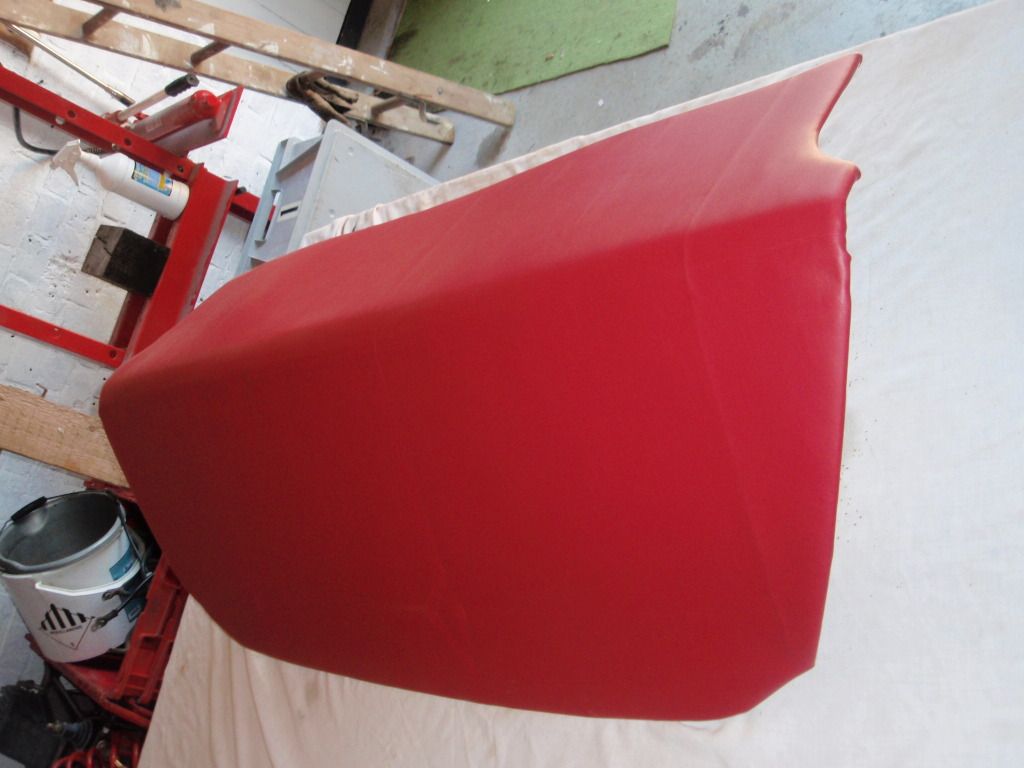
Then a bit of upholstery. As you know most of the interior was like new .... apart from the rear parcel shelf that was ripped, faded and so degraded it cracked when I took it out. Try as I may I have been unable to get an EXACT match of both colour AND texture - I have found one but not the other. In the end I decided that the correct texture was better than exact colour. As you'll see in the photos some of the original sections are slightly different anyway, but they are all the same smooth, very finely grained texture. You can see the rear shelf is different, but with the rear seat backs up I think it will be tolerable. If anyone knows of a source of an exact match - keep it to yourself please as it's all stuck in place now! Off with the old cover, on with the new, cut, glue and staple per original
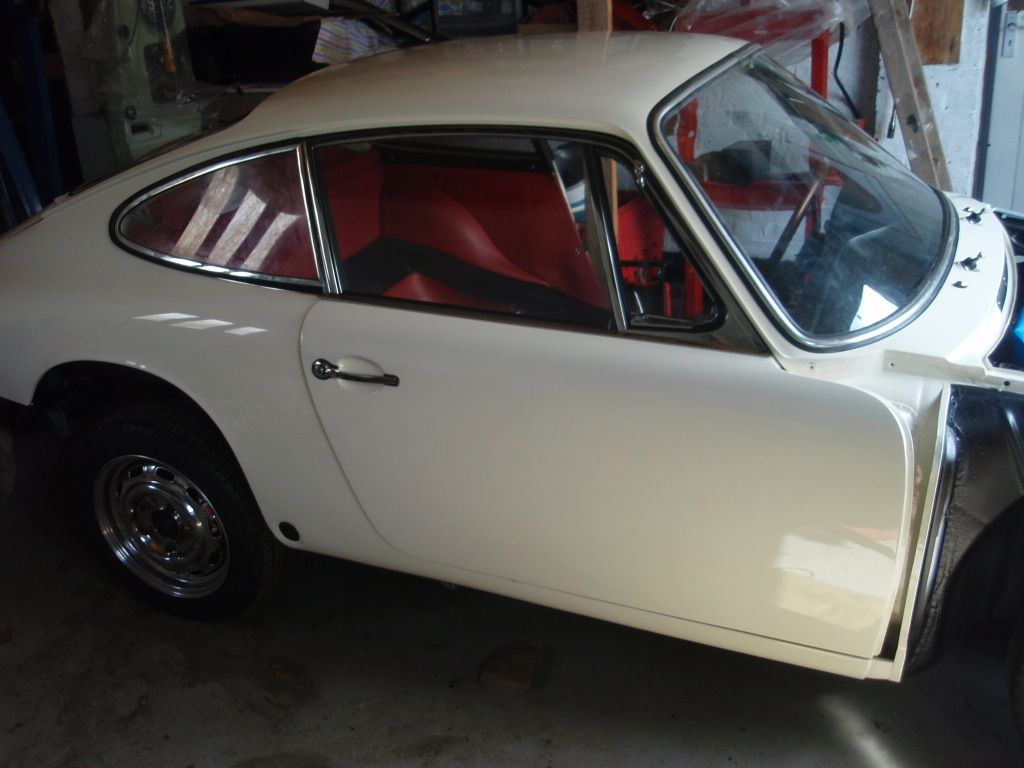
So in with the shelf, new carpet from Lakewell, the old rear quarters, tops and the rear quarterlights. The seat squabs are just resting in place and are not fitted yet.
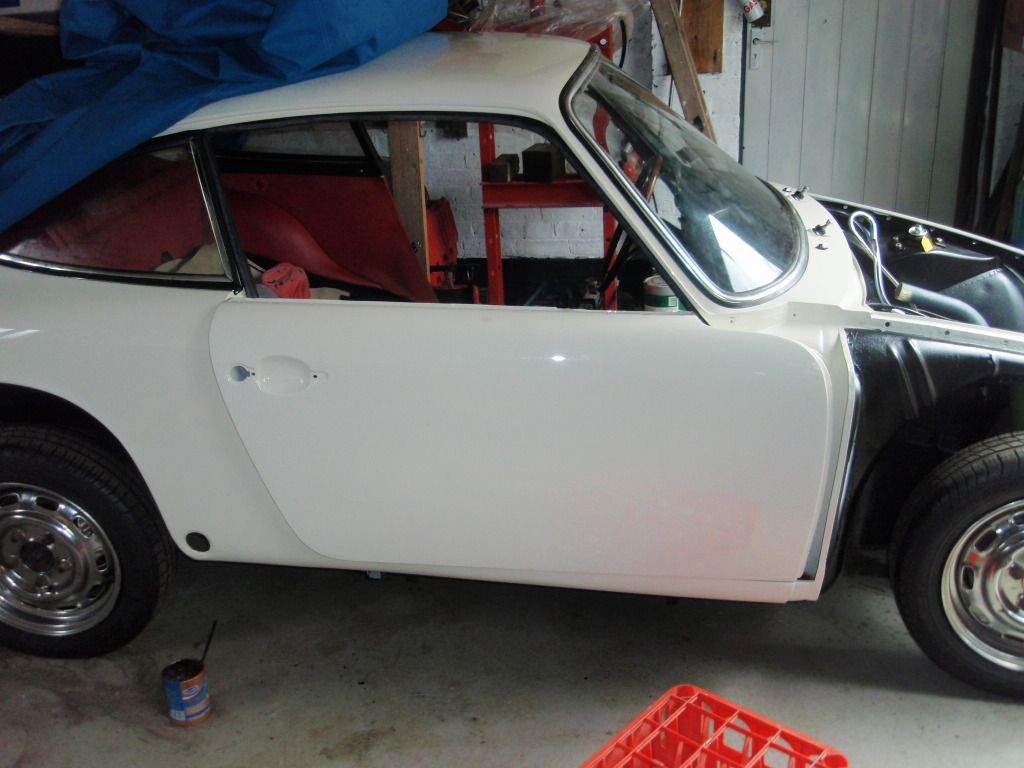
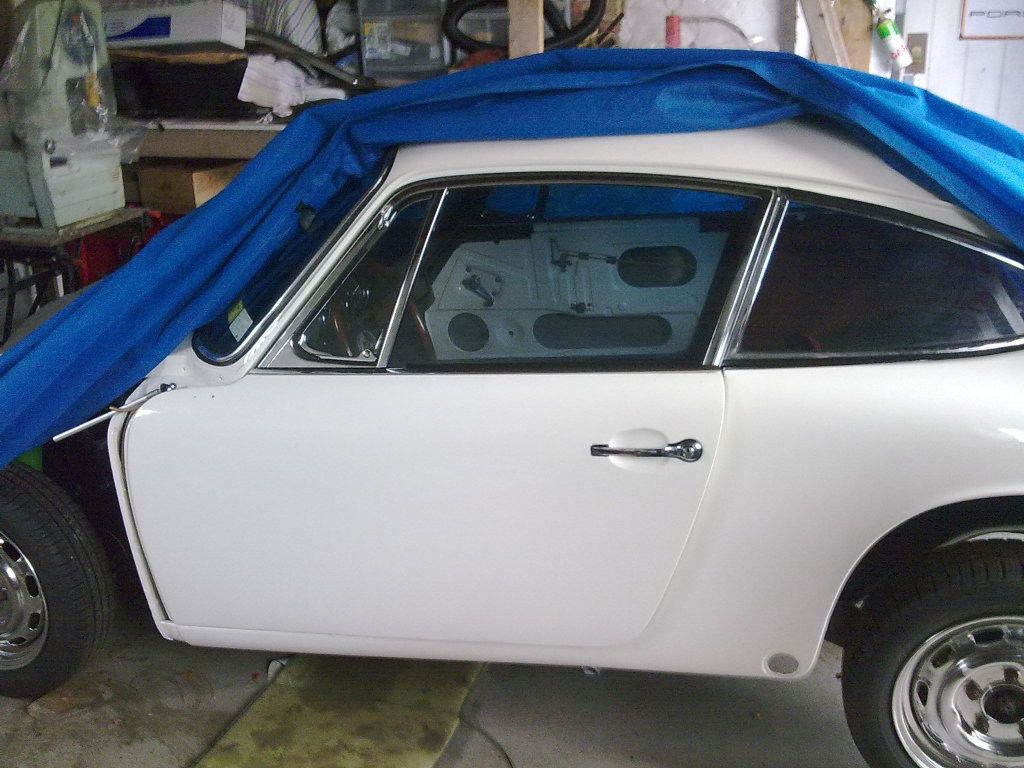
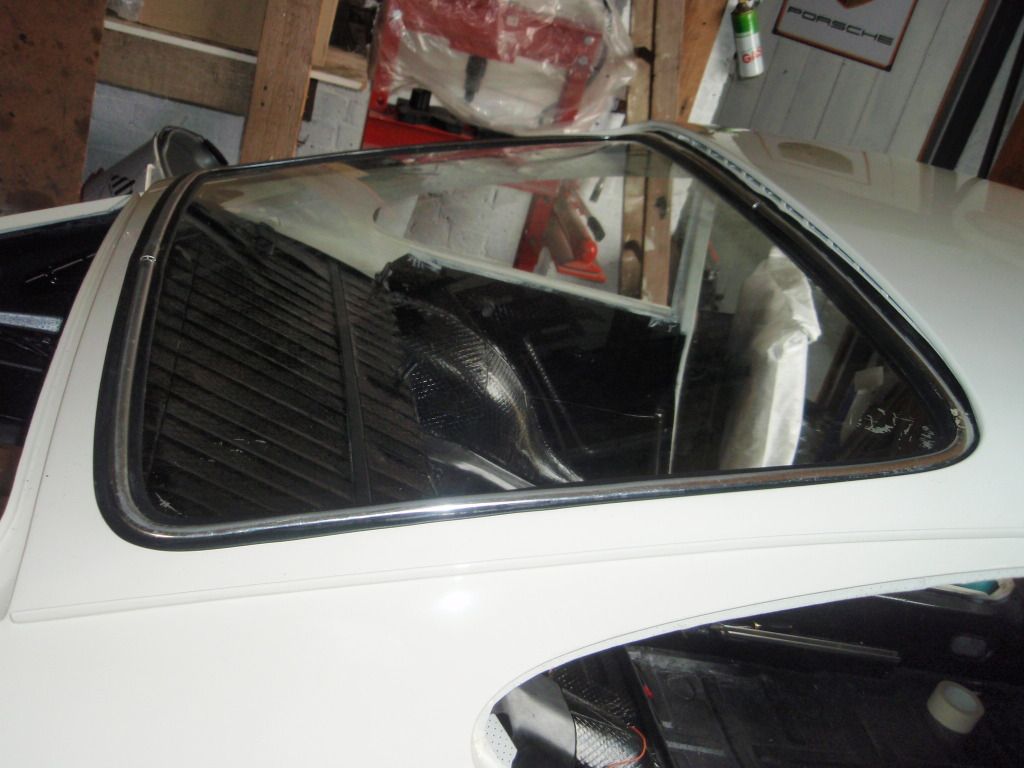
Then the windscreen. Wife opted out on this one as we were still speaking, and Garry's mate Steve stood in. Turns out it was a bit of an anticlimax after the rear - went in in 15min. Had the same trouble with a small section of the metal trim near the join, but this time it went back in after a bit of fiddling with assorted picks and spatulas.
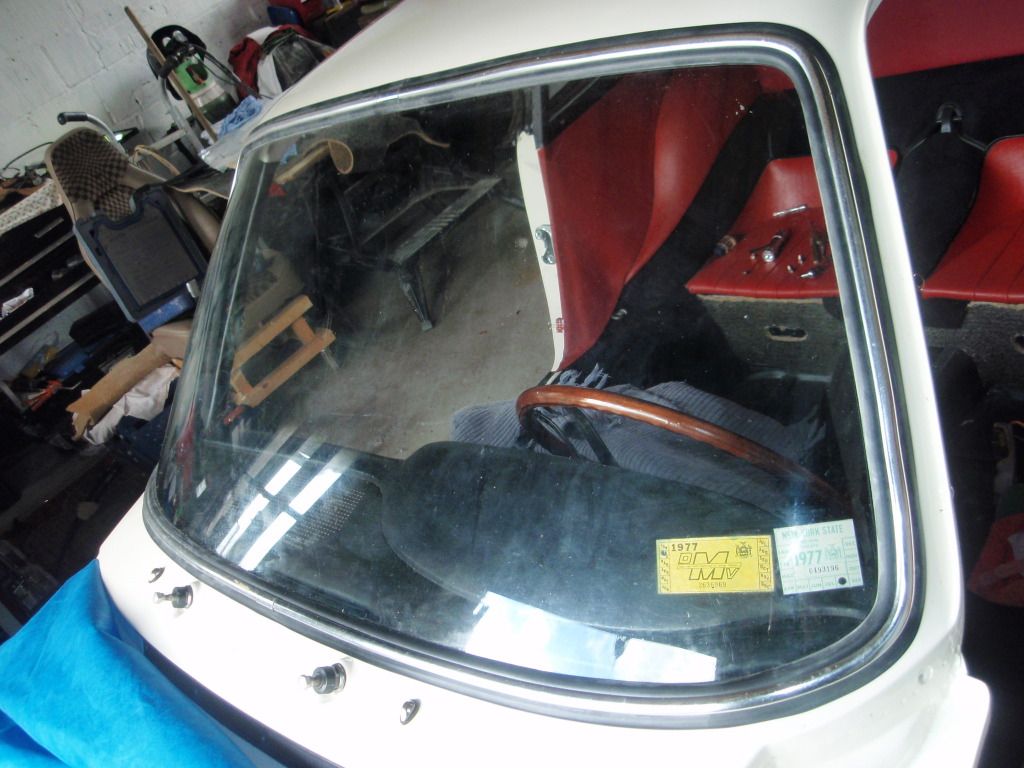
Decided to leave the 1977 NY state DMV stickers in the screen. I would have destroyed them getting them off, and they are a nice feature I think.